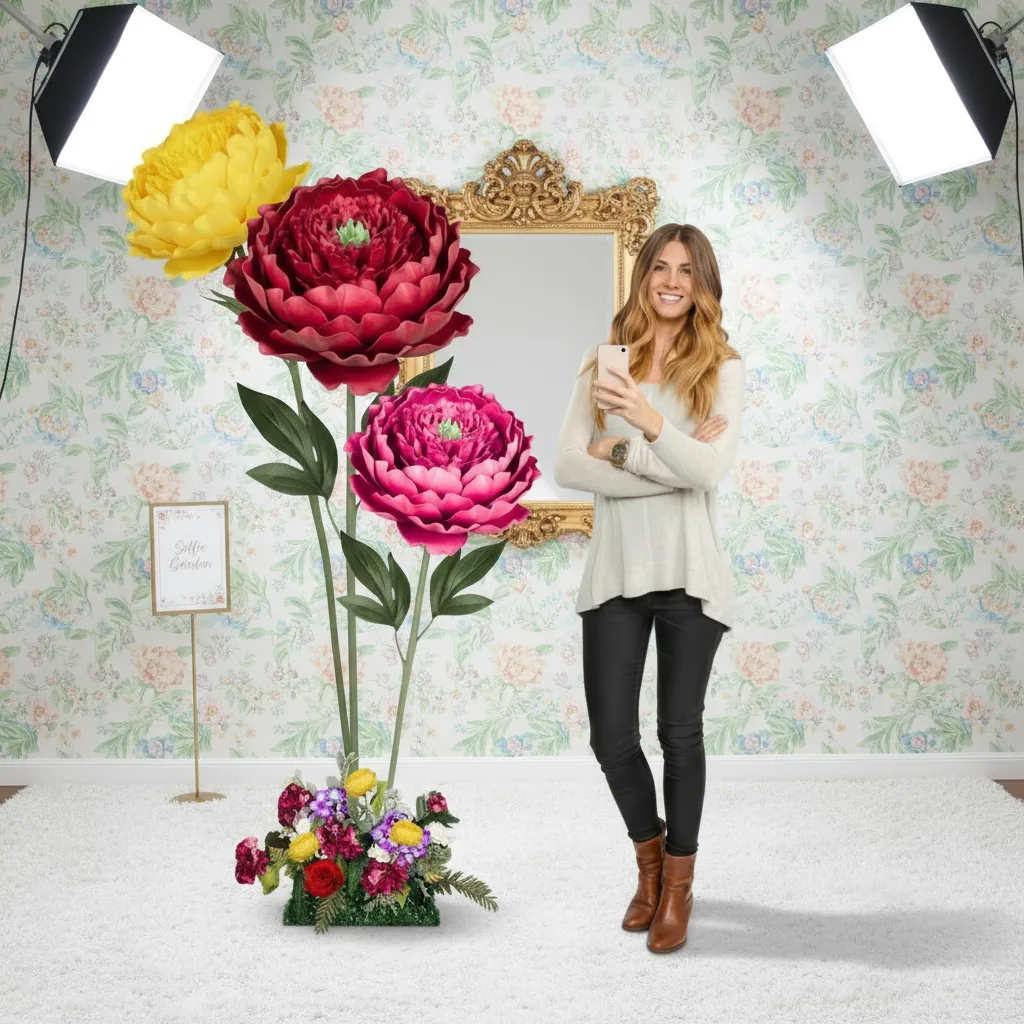
Mixing Molds & Sizes for Natural-Looking Arrangements

If you've ever looked at a natural flower arrangement — like, a really good one — you know exactly what I'm talking about. It doesn't look like someone measured everything out with a ruler. The blooms are different sizes. Some petals curl a little more than others. There's this beautiful, almost chaotic energy to it that just feels alive.
That's what I want to help you recreate. And honestly? The secret isn't some complicated technique. It's about mixing molds and sizes intentionally so your foam or sugar flowers stop looking like they came off an assembly line and start looking like they were just picked from a garden.
Whether you're building a lush arrangement for a wedding, a centerpiece for a corporate event, or a showstopper display for a boutique — this is the stuff that takes your work from "pretty" to "how did you DO that?" Let me walk you through exactly how I do it.
Key Takeaways
I get it. When you're starting out, matching feels safe. Same size petals, same mold, same curl — everything uniform. It looks neat and tidy.
But here's the thing: nature is not neat and tidy. Go look at any real rose bush right now. You'll see blooms at every single stage — tight little buds, flowers just starting to open, fully blown blossoms, and everything in between. The petals on one flower aren't identical to the petals on the flower right next to it.
When we try to make everything match, we accidentally signal to the viewer's brain: "this is fake." The brain is incredibly good at detecting patterns that are too perfect. So the fix? Intentional imperfection. And the easiest way to build that in is to start with your molds.
The "Too Perfect" Problem in Foam Flowers
I've seen gorgeous foam flowers that somehow still look stiff. And nine times out of ten, it's because every petal was made with the same mold, at the same pressure, curled the same way. The individual flower might be beautiful — but multiply it by twenty for an arrangement and it reads as a pattern, not a garden.
The solution starts before you even pick up your foam. It starts with choosing the right mix of molds.
When I first started building arrangements, I thought I needed one mold per flower type. Nope. You actually want multiple sizes of the same petal shape — and that's where our flower molds come in so handy.
Our molds are double-sided. That means every single mold you buy gives you two different texture options — one on each side. So you're already getting variety built right in. Use one side for your outer petals, flip it over for your inner petals. Suddenly the same flower has more visual depth without any extra work.
Here's my personal rule: never build an arrangement with fewer than three petal sizes. I use small, medium, and large — and I assign them roles.
When you have all three present, the eye travels through the arrangement instead of landing on one spot and stopping. That movement is what reads as "natural."
Real arrangements almost never feature just one type of flower. Think about it — a garden-style bouquet might have garden roses, ranunculus, anemones, and eucalyptus all together. The variety of petal shapes is just as important as size variety.
I love pairing a ruffled peony-style mold with a smoother rose mold. The contrast in texture between those two alone creates so much visual interest. Check out our life-size foam flower kits if you want to start with curated combinations that already work well together.
💡 Pro Tip
When shopping for molds, think in "flower families" — get one mold that's ruffled/layered (like a peony or ranunculus), one that's smooth and cupped (like a rose or tulip), and one that's flat and open (like an anemone or cosmos). Those three families together will give you almost any natural arrangement style you want.
Ok, this is where it gets really fun. Our flower molds are double-sided — and most people don't fully take advantage of that. They use one side and call it done. But when you flip that mold over and use the other texture on your inner petals? The difference is genuinely stunning.
Here's how I use both sides in a single flower for foam work:
This works for sugar flowers too. If you're a cake decorator, the same principle applies — use the more detailed side for petals that will be prominently displayed, and the softer side for petals that tuck under or fold inward. The result is a sugar bloom that looks like it actually grew, not like it was pressed in a mold. (Because, well, it was — but no one needs to know that.)
This is straight-up floral design theory — and it applies 100% to foam and sugar flower arrangements. Every professional florist builds arrangements in three layers. Once you understand this, you'll never look at a bouquet the same way again.
These are your stars. Big, fully open, maximum impact. In a natural flower arrangement, you typically have 3–5 focal blooms depending on the size of the piece. They set the color story and draw the eye in first.
For foam work, I make these with my largest mold size and I give them the most petal layers — sometimes 5 or 6 layers deep. They take more time, but they're worth it. For sugar flowers, these are the blooms that go at the top or front of the cake where they'll be seen first.
Secondary Blooms
These support your focal flowers without competing with them. Think half-open roses, smaller ranunculus, or a different flower species entirely. They're usually made with your medium mold size, and they fill the "negative space" around your focal blooms.
Real talk? This is the layer most people skip or rush. Don't. The secondary blooms are what make your arrangement feel lush instead of sparse.
Buds, tiny blooms, greenery, and textural elements. In foam work, I love making small tight buds using just 2–3 petals from my smallest mold. They tuck into gaps and make everything feel full and intentional.
If you want to go deeper on arrangement composition, my post on large floral arrangement ideas for stunning displays has a ton of inspiration for how to think about scale and placement.
🌸 Ready to build your mold collection?
Browse our full flower molds collection — double-sided, food-safe compatible, and built for both foam and sugar work.
Mold Pressure, Curl, and Shaping: The Details That Make It Real
Even with the perfect mold selection, you can still end up with flowers that look stiff if you're not varying how you use each mold. Here's what I mean.
Vary Your Press Pressure
When you press foam into a mold, the amount of pressure you use affects how deeply the veining imprints. Heavy pressure = sharp, defined veins. Light pressure = softer, more subtle texture. Use both within the same arrangement. Your focal flowers can have that crisp detail; your filler buds can be softer and more impressionistic.
Curl Direction and Degree
Not every petal should curl the same way or the same amount. Some petals in a real flower curl back dramatically. Others barely move. I curl some of my petals with a ball tool, some with my fingers, and some I leave almost flat. The variety is the point.
If you want to get really good at petal shaping, my post on heat gun techniques for shaping foam flower petals walks through exactly how I get those organic curves without cracking the foam.
Assembly Angle Matters
When you're building your arrangement, don't place every flower facing straight forward. Tilt some sideways. Let one droop slightly. Have a bud peeking out from behind a larger bloom. Flowers in nature don't all face the same direction — and neither should yours.
Foam vs. Sugar: Using the Same Molds for Both
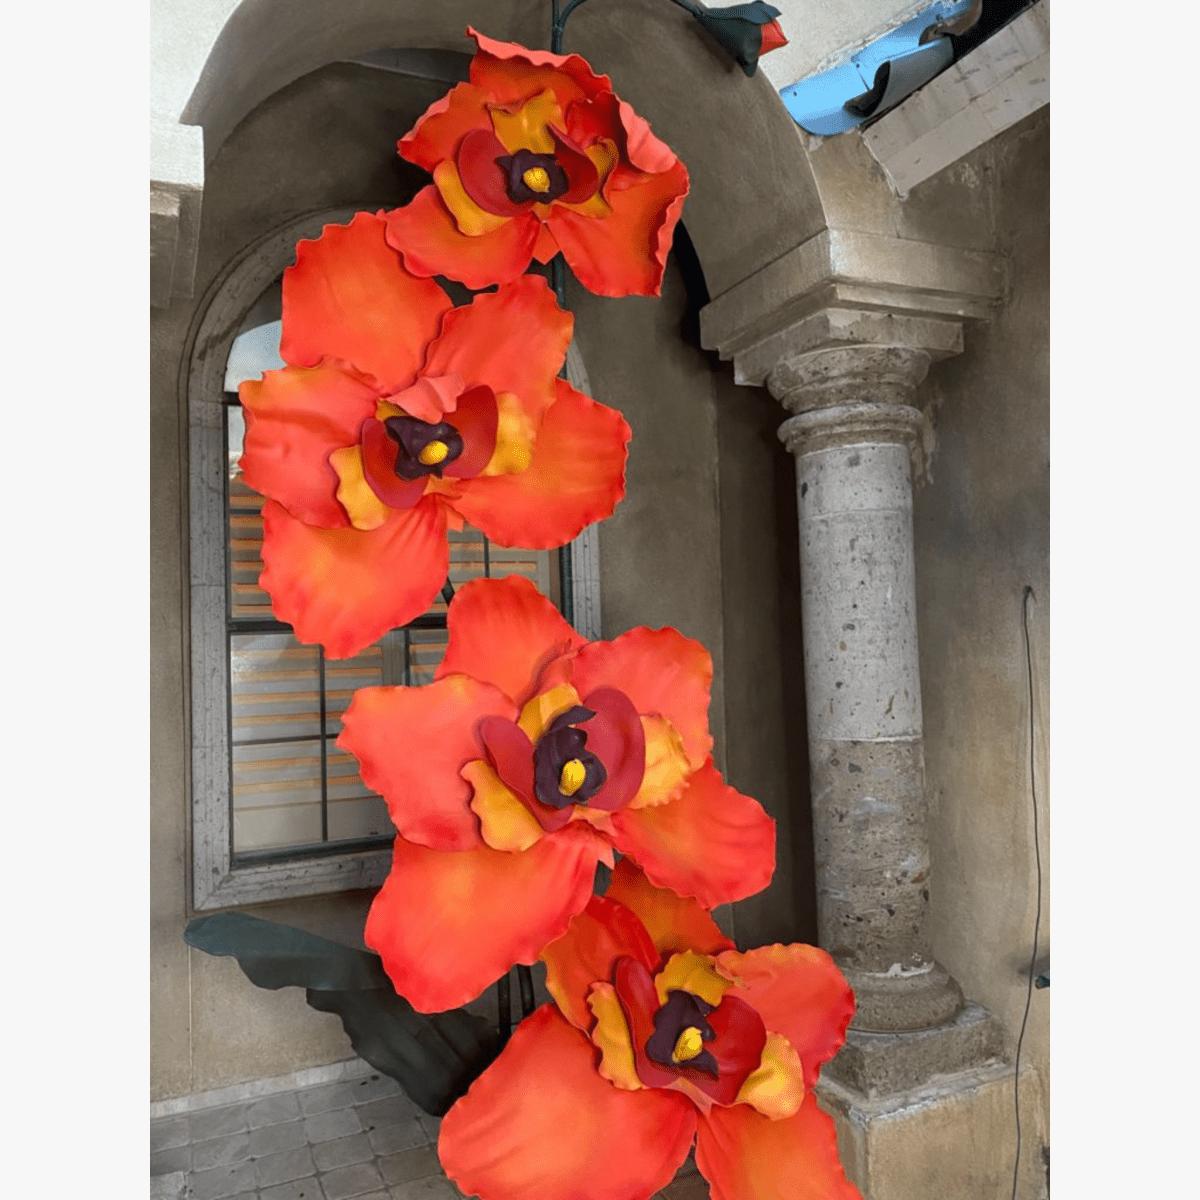
One of my favorite things about our flower molds is that they genuinely work beautifully for both foam crafting AND sugar/gumpaste work. Same mold, two completely different applications. If you're a baker who also does event décor (or vice versa), this is a game-changer for your budget.
| Feature | Foam Flower Use | Sugar / Gumpaste Use |
|---|---|---|
| Material pressed into mold | EVA foam sheets (typically 2mm) | Rolled gumpaste or sugar paste |
| Texture result | Soft veining, flexible petal | Crisp veining, hardens when dry |
| Shaping after molding | Heat gun or ball tool curling | Ball tool on foam pad while still soft |
| Best for | Event décor, backdrops, arrangements | Wedding cakes, celebration cakes |
| Reusability | Hundreds of uses | Hundreds of uses |
| Food safety | N/A | Food-safe compatible ✓ |
The EVA foam we carry in our EVA foam collection is specifically chosen to work beautifully with these molds — the right thickness and density to pick up texture cleanly without tearing.
Putting It All Together: A Natural Flower Arrangement Workflow
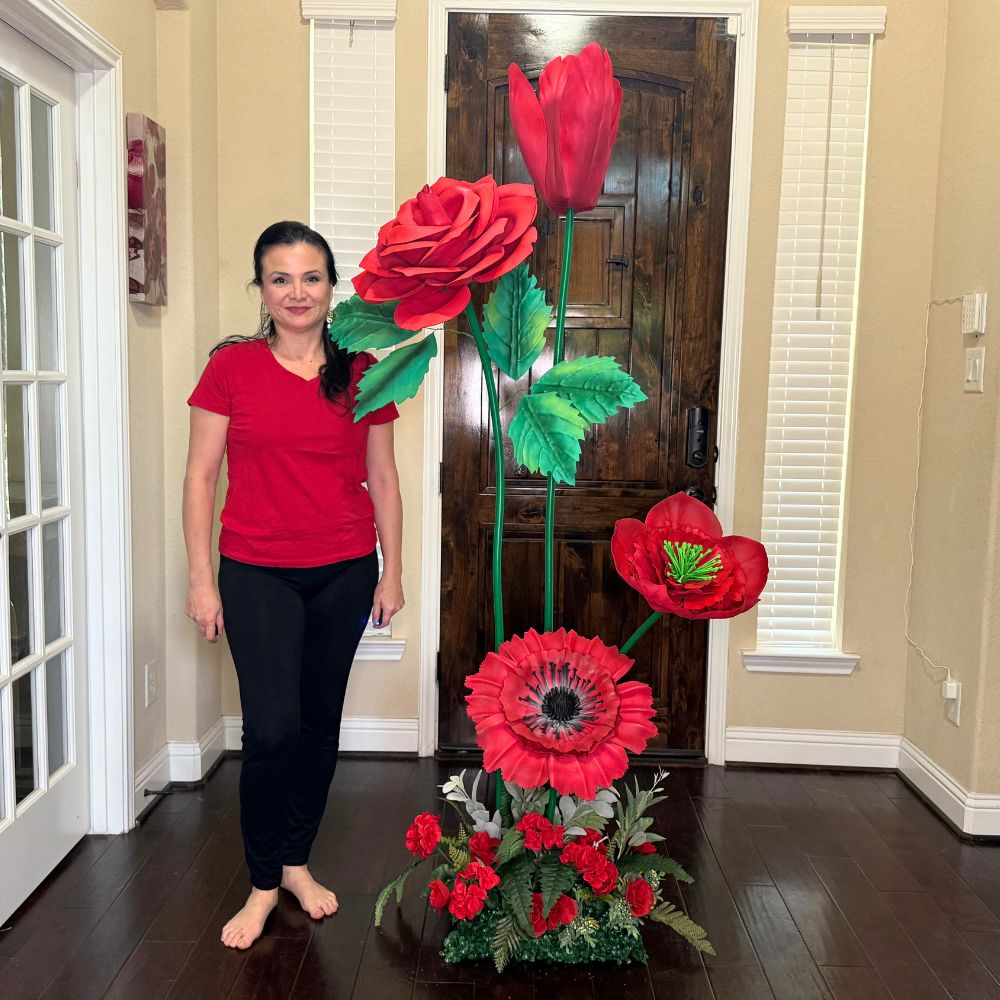
Let me give you my actual process from start to finish. This is what I do when I'm building an arrangement that needs to look like it could have come from a real garden.
- Step 1 — Choose your color palette first. I pick 2–3 main colors and 1–2 accent colors. This keeps variety from becoming chaos.
- Step 2 — Pull 3 molds minimum. At least two different flower species shapes, in at least two different sizes. I always use both sides of each mold.
- Step 3 — Make your focal flowers first. These take the most time and layers. I make 3–5 of these depending on arrangement size.
- Step 4 — Make 2x as many secondary blooms as focal flowers. Half-open, medium size, slightly different color shade if possible.
- Step 5 — Make a big batch of buds and filler. These go fast and fill everything in. Don't skip them.
- Step 6 — Assemble from the outside in, placing focal flowers last so you can see exactly where they'll have the most impact.
For arrangements that are going on a wedding arch or backdrop structure, check out my guide on freestanding flower arrangements for events — the structural considerations are a little different and I break it all down there.
💡 Pro Tip
Take a photo of your arrangement at each stage of assembly. When you're deep in it, it's hard to see what's missing. A photo gives you fresh eyes instantly — and you'll often spot exactly where you need more filler or a differently-sized bloom.
Frequently Asked Questions
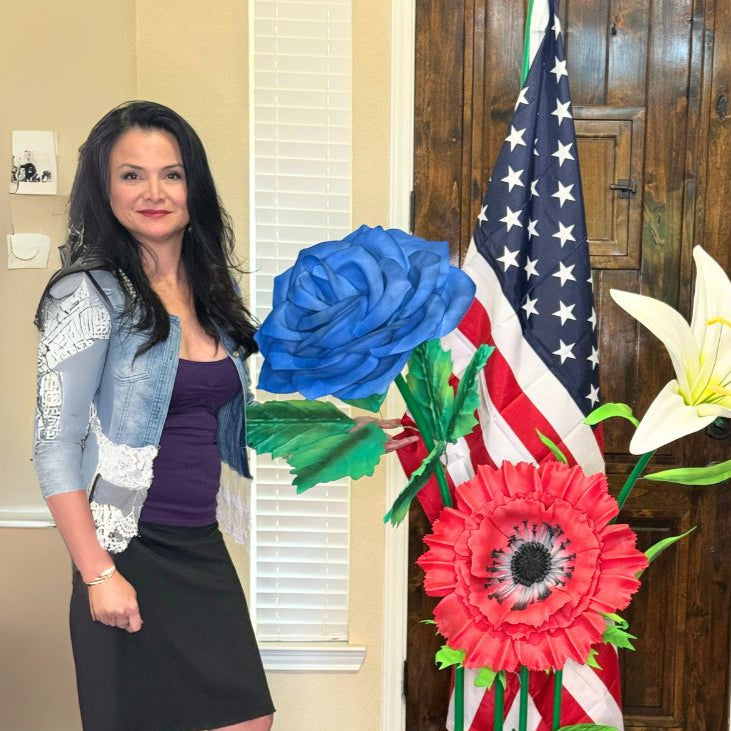
How many different molds do I need to make a natural-looking arrangement?
Honestly, you can create a beautiful, organic-looking arrangement with as few as 2–3 molds if you use them strategically. The key is having size variation — at least a small, medium, and large version of your petal shapes. Since our molds are double-sided, even two molds give you four distinct texture options to work with.
As you build your collection, I'd prioritize adding different flower species shapes before adding more sizes of the same shape.
Ready to Create Something Amazing?
Browse our collection of giant flower kits and start your next project today.