Molded Foam Flower Shaping Tips for More Natural Blooms

Key Takeaways
Most tutorials focus on cutting. And yes, cutting matters — but shaping is where the magic lives. A perfectly cut petal that's left flat looks like a cutout. A slightly imperfect petal that's been cupped and curled looks like it was just picked from a garden.
Think about a real rose. Not a single petal is flat. They curve inward, roll at the edges, and tuck against each other in this gorgeous, layered chaos. That's what we're chasing.
EVA foam is one of the most forgiving materials I've ever worked with, and that's exactly why I love it. It responds to heat in a way that lets you sculpt it almost like clay. Once it cools, it holds that shape. That heat-responsive memory is the whole foundation of molded foam flower shaping.
Before we get into technique, let's talk tools. You don't need a fancy setup, but you do need the right basics. I've tried shortcuts. They don't work as well.
Here's the science in plain English: EVA foam has a thermal memory. When you heat it, the material becomes pliable — almost like warm taffy. You can bend it, cup it, stretch it. When it cools, it remembers whatever position you held it in.
This is why cooling matters just as much as heating. If you shape a petal and then set it down before it's fully cooled, it will relax back toward flat. Hold that shape for at least 30-45 seconds after the foam stops feeling warm to the touch.
According to craft materials researchers, EVA foam begins to soften at around 140°F–160°F, which is why hot water works so well as a shaping method — it's right in that sweet spot without burning your hands or scorching the foam.
Heat Gun vs. Hot Water: Which Should You Use?
Both methods work beautifully. The heat gun gives you more control and speed — ideal when you're shaping dozens of petals for a big event install. Hot water is gentler and more forgiving, which I actually recommend for beginners learning their first molded foam flower shaping tips.
My honest opinion? Use hot water to learn the technique, then graduate to a heat gun for efficiency. Once you understand how the foam responds, the heat gun becomes second nature.
Ok, this is where it gets really fun. Let me walk you through the actual shaping moves I use on every single flower I make. Think of these as your foundational vocabulary — once you know them, you can mix and match to create any bloom.
This is the most important shape to master. A cupped petal has depth and dimension that makes the whole flower look full and lush.
Heat the center of your petal — not the edges. Press it gently into a rounded bowl or over a foam ball while it's warm. Hold it there for 45-60 seconds. When you release it, you should have a beautiful concave cup shape.
For a deeper cup, use a smaller bowl. For a shallower, more open cup (think garden rose rather than tight bud), use a wider, flatter surface. It's that simple — and that satisfying.
Technique 2: The Edge Curl (for Tulips, Poppies, Anemones)
Real flower petals almost never have perfectly straight edges. They ruffle. They curl. They have personality.
Heat the outer edge of your petal and immediately roll it around a dowel or thick pen. Roll toward the back of the petal for an outward curl, toward the front for an inward one. Hold for 30 seconds and release slowly.
I love doing different curl directions on petals in the same flower. One curls out, one curls in slightly — suddenly it looks like a real flower that's mid-bloom. That asymmetry is everything.
This one creates that tight, pointed petal tip you see in dahlias and chrysanthemums. Heat the tip of your petal and pinch it firmly between your fingers while it's warm. Pinch and twist slightly for a more natural spiral effect.
I'll be real — this technique took me a while to get consistent. The key is working quickly right after heating. The window of pliability is only about 10-15 seconds, so have your fingers ready before you apply heat.
Technique 4: The Gentle Bend (for Calla Lilies, Anthuriums)
Some flowers are all about a single elegant curve rather than complex shaping. For calla lilies and similar blooms, heat the entire petal evenly and then gently arc it over your forearm or a large rounded surface.
The key word is gently. You're not folding — you're coaxing. Think of it like bending a piece of warm caramel. Slow and deliberate.
Here's something I wish someone had told me earlier: shaping individual petals is only half the battle. How you layer those shaped petals completely changes the final look.
In nature, outer petals are larger and more open. Inner petals are smaller, more cupped, more tightly closed. When you replicate that progression in foam, the flower suddenly has a visual logic that reads as real — even from across a room.
This is my favorite molded foam flower shaping tip of all, and it's the most counterintuitive one: make your flowers slightly imperfect.
Real flowers aren't symmetrical. One petal is bigger than the others. One edge curls more dramatically. There's a little wrinkle here, a slight fold there. When every petal in your foam flower is identical and perfectly placed, it reads as artificial — because it is.
So deliberately vary your shaping. Make one petal's cup a little deeper. Let one edge curl more than its neighbors. Offset your petal placement slightly instead of spacing them at perfect intervals. According to Martha Stewart's floral design guides, asymmetry is one of the hallmarks of high-end floral arrangement — professional florists build it in intentionally.
The Wrinkle Technique
One of my secret weapons: after cupping a petal, while it's still slightly warm, I'll gently scrunch the base of the petal — just for a second — before releasing it. This creates subtle surface texture, like the natural veining and folds you see in real petals.
Don't overdo it. A light scrunch, not a crumple. You want texture, not damage.
Not every flower wants the same treatment. Here's my quick cheat sheet for the most popular giant flower varieties I make and sell through Amazing Giant Flowers.
Real talk: this is a question I get constantly. Should you paint your foam petals before or after shaping?
My answer: shape first, paint after — almost always. Here's why. Heat can warp or bubble acrylic paint if you apply it before shaping. You'll end up with cracked or peeling paint on your curves, which is heartbreaking after all that careful molding work.
The exception is if you're using a foam-safe spray paint and doing a very light base coat. In that case, a thin first coat before shaping is fine — the heat won't damage it. But detailed painting, shading, and finishing should absolutely happen after your shapes are set.
For painting techniques that work beautifully on shaped foam surfaces, check out our deep dive on flawless foam board paint finishes — it covers brush techniques, blending, and how to get that realistic petal gradient effect.
Common Mistakes and How to Fix Them
I've made every single one of these mistakes. So you don't have to.
For most giant flower projects, I recommend 2mm EVA foam for outer and mid-layer petals and 4-6mm for inner petals and structural elements that need to hold a deep cup shape. Thinner foam curves more naturally and mimics real petal drape, while thicker foam holds its molded shape more rigidly — which is actually what you want for the inner layers that support the whole flower.
If you're unsure, start with 2mm for your first flower. It's the most forgiving to shape and the most versatile across different flower types.
Yes! This is one of the best things about EVA foam. You can reheat and reshape as many times as you need. The foam doesn't degrade from multiple heat cycles the way some materials do. Just reheat gently, reshape, and hold until cool. I've reshaped petals three or four times before getting them exactly right.
Honestly, it depends on the flower type and your experience level. A beginner shaping their first giant rose might spend 2-3 hours on petal shaping alone. An experienced maker doing a simpler flower like a sunflower might get through all the shaping in 30-45 minutes. Don't rush it, especially when you're learning — the shaping is where the quality lives.
As you build muscle memory, you'll get significantly faster. I can now shape a full set of rose petals in under an hour.
Household items work beautifully. I use mixing bowls, large spoons, foam balls from the craft store, even my knee (don't judge me — it's perfectly rounded). The key is having a variety of curved surfaces in different sizes so you can create shallow and deep cups as needed. You don't need to buy specialty molds unless you're producing flowers at a very high volume and need consistent results quickly.
EVA foam is fairly weather-resistant for short-term outdoor use, but prolonged exposure to direct sun and heat can cause your carefully molded shapes to soften and lose their form. For outdoor events, keep flowers in shaded areas when possible and use a UV-protective sealant spray over your paint finish. For long-term outdoor installations, I'd recommend checking with us directly — we can advise on the best approach for your specific setup.
That's exactly what we offer at Amazing Giant Flowers! Our pre-cut EVA foam flower kits come with every petal already cut to size, plus video tutorials that walk you through the shaping process step by step. Kits start at around $80 for a single freestanding flower and go up from there depending on size and complexity. It takes all the cutting work out of the equation so you can focus purely on the fun part — the shaping and assembly.
If you take nothing else from this guide, take this: slow down on the shaping. It's the step most people rush, and it's the step that makes the biggest difference. Every extra minute you spend cupping, curling, and layering your petals shows in the final flower.
I genuinely believe anyone can make a stunning, realistic-looking giant foam flower — you just need the right techniques and a little patience. If you're ready to dive in, head over to the Amazing Giant Flowers shop and grab a kit. Everything you need is there, and I'll be cheering you on every step of the way. I'd love to see what you create!
Shop the supplies
Everything You Need for This Project
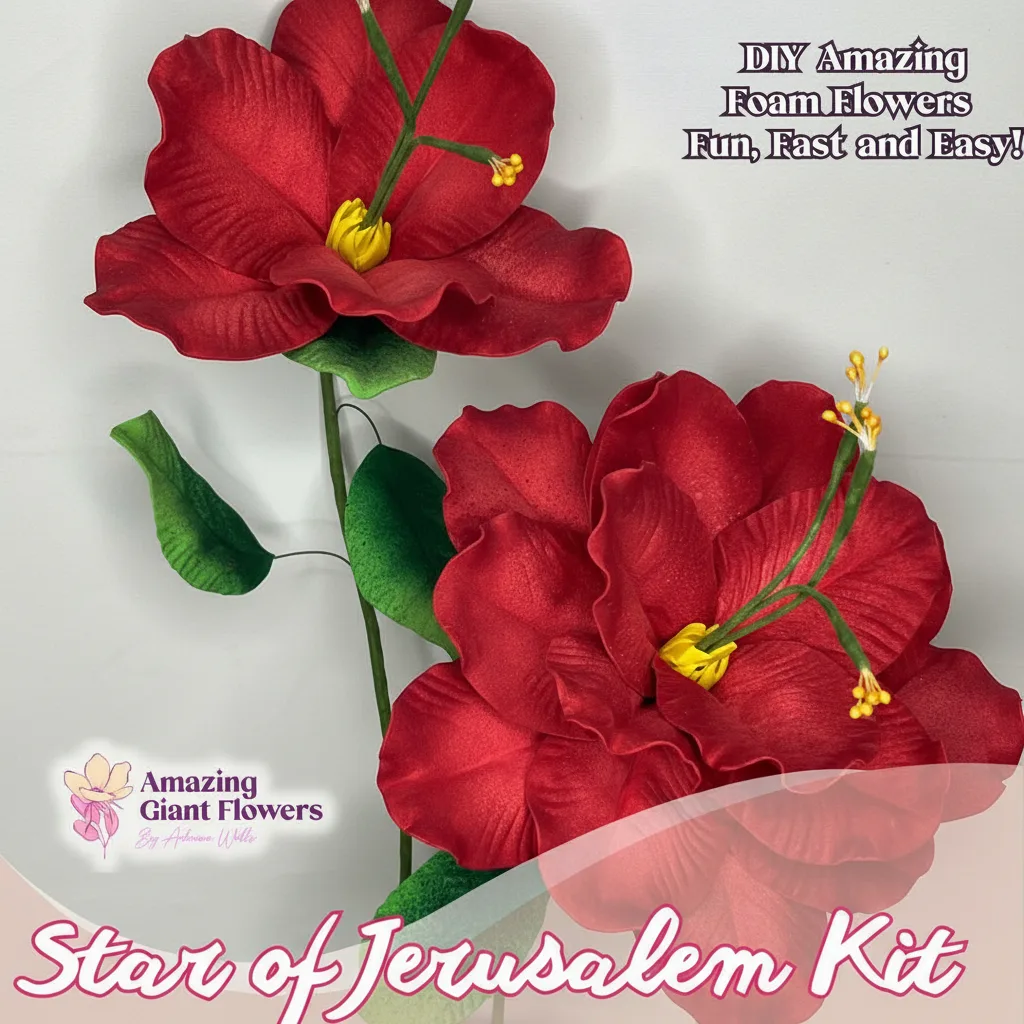
Real Touch Star of Bethlehem Foam Flower Kit — Large Tropical DIY Blooms (Star of Jerusalem) with Golden Pistils, Reusable Mold & Pre-Cut Petals
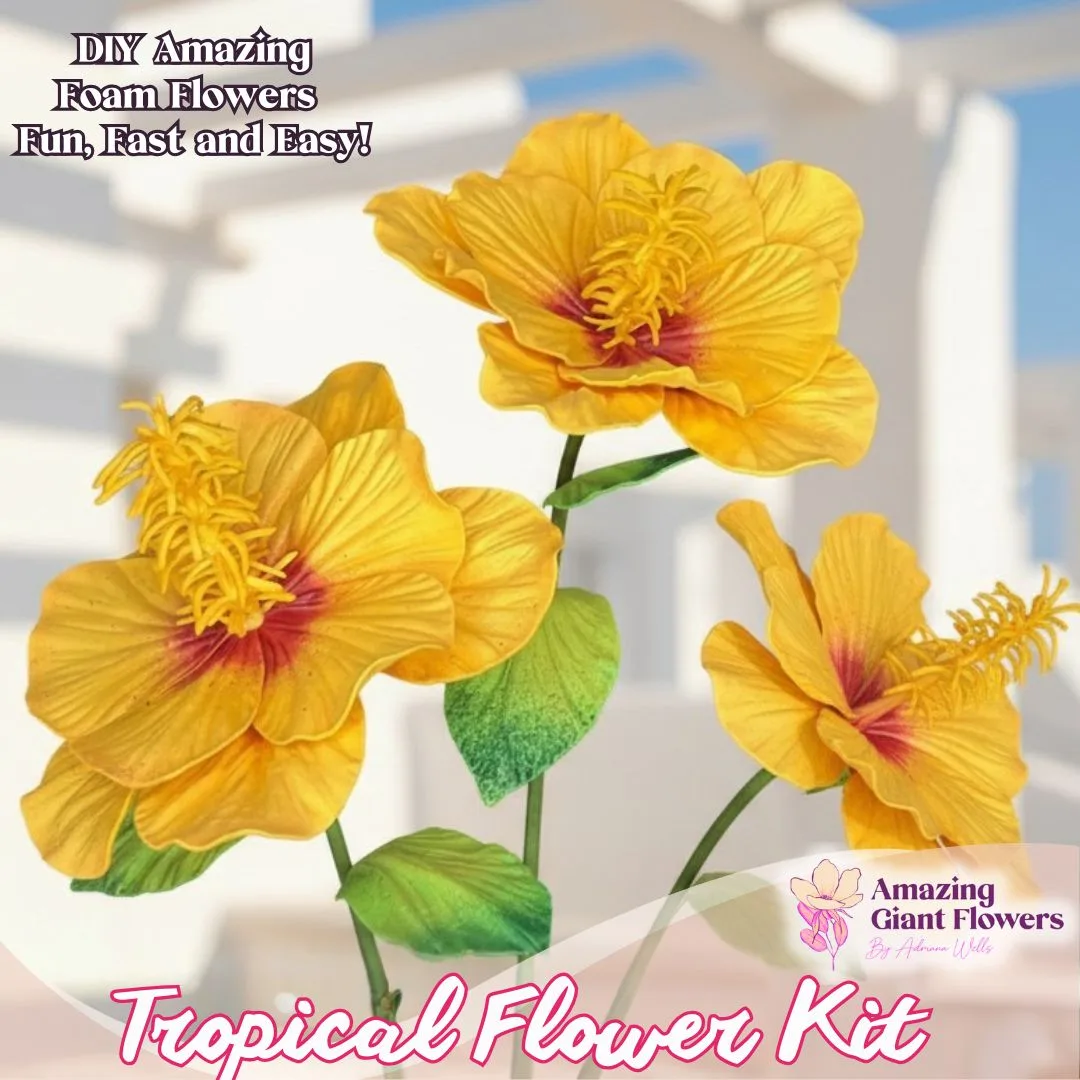
Real Touch Tropical Flower Foam Kit — Large DIY Hibiscus Blooms with Reusable Double-Sided Mold, Pre-Cut Petals, Bud & Leaves
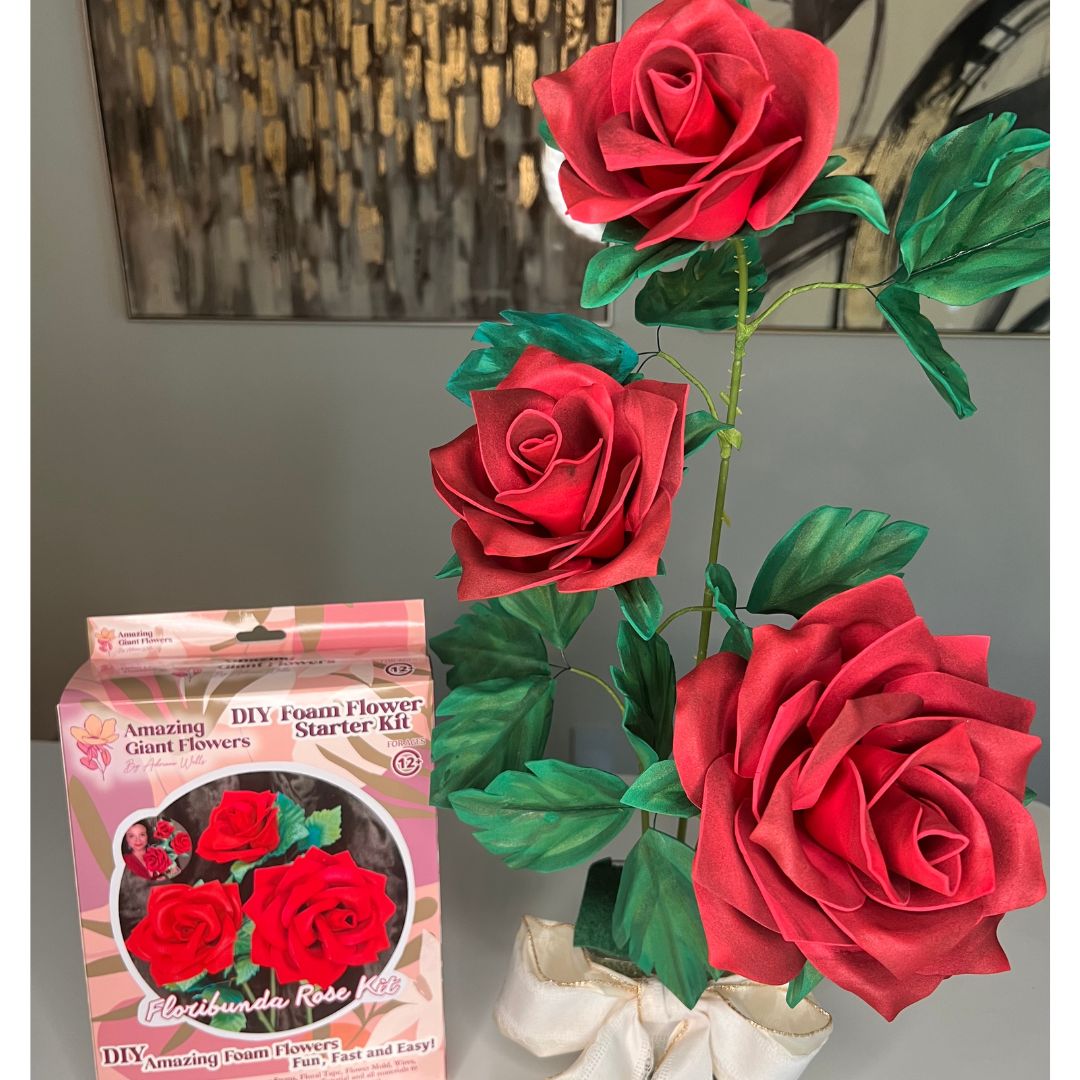
Real Touch Rose Foam Flower Kit — Realistic DIY Roses with 6" Double-Sided Mold & Pre-Cut Petals
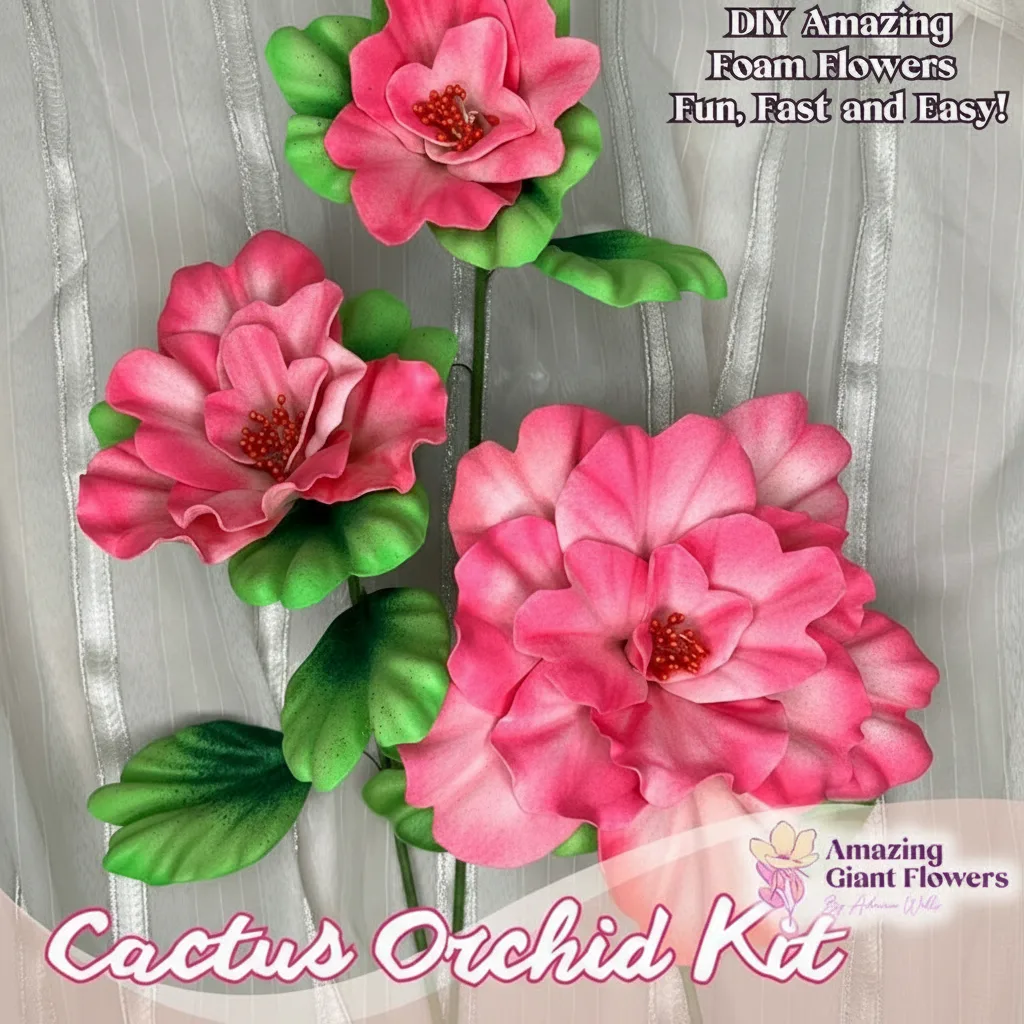
Real Touch Camellia Foam Flower Kit — Large DIY Ruffled Blooms with Reusable Mold, Pre-Cut Petals, Pistils & Leaves
Ready to Create Something Amazing?
Browse our collection of giant flower kits and start your next project today.