Molds for Real-Touch Foam Flowers That Fool the Eye
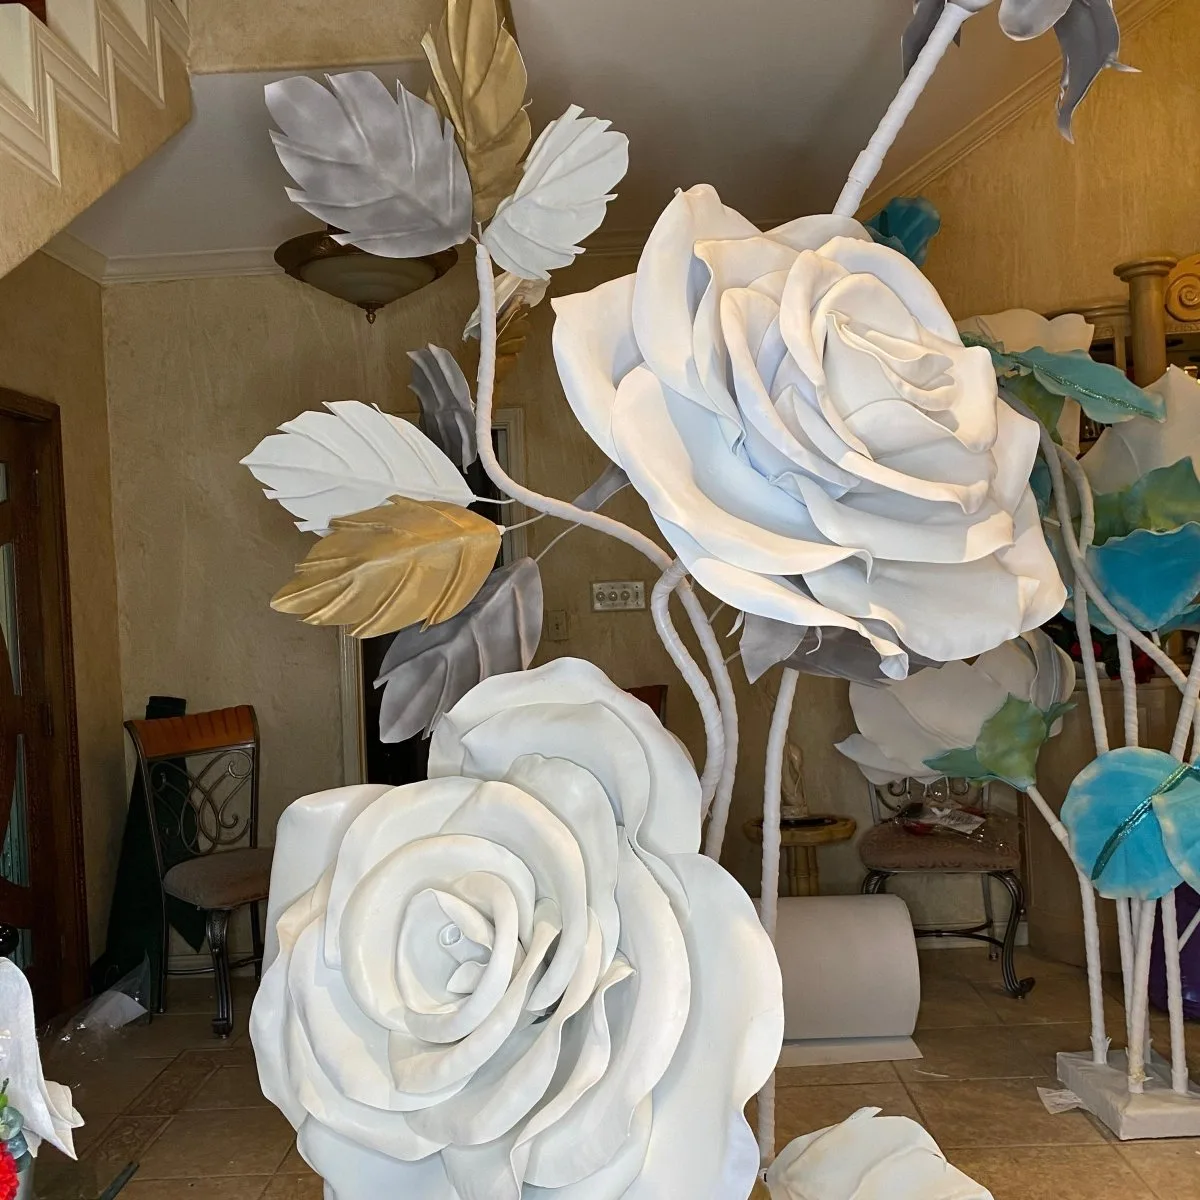
If you've ever held a foam flower that made someone do a double-take — lean in, squint, maybe even reach out to touch it — you already know what I'm chasing with every design I create. That moment of genuine confusion is the whole goal. And honestly? The secret weapon behind that kind of realism isn't the paint, isn't the foam, and it's not even the technique. It's the real touch petal mold.
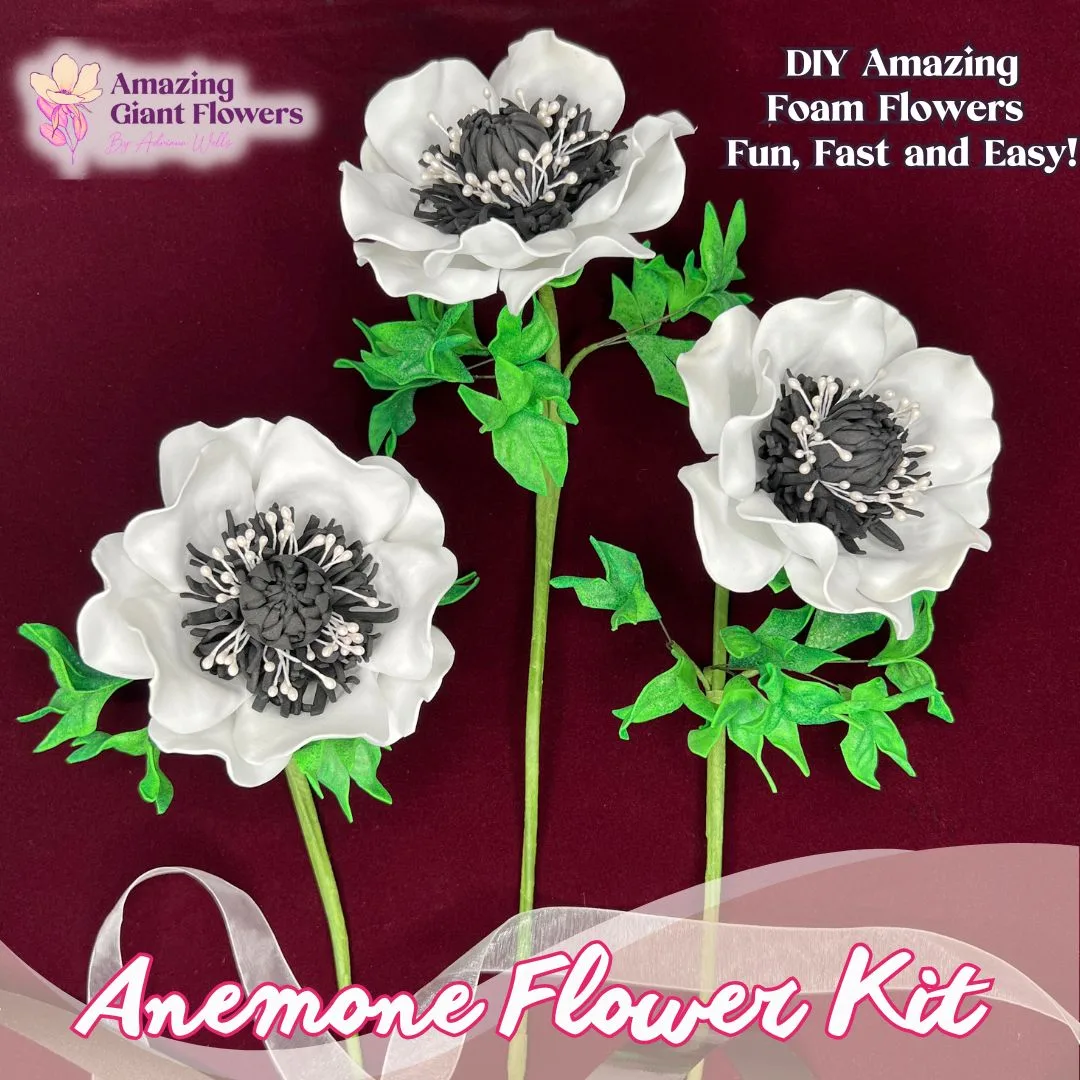
I've been making foam flowers for years now, and the single biggest leap in quality I ever made happened the day I started pressing my petals through a proper double-sided mold. Suddenly the veining was there. The subtle curve at the tip. That gentle ripple along the edge that makes a petal look like it was just cut from a garden rose this morning. No amount of hand-shaping gets you there the same way.
So if you're a decor crafter who's been frustrated that your flowers look "crafty" instead of convincing — this post is for you. Let me walk you through everything I know about using molds to get that fresh-cut, just-picked realism that makes people stop and stare.
Key Takeaways
Here's something I think about a lot: humans are wired to recognize flowers. We've been looking at them our whole lives. So when something is slightly off — too smooth, too uniform, no veining — our brain flags it as fake before we even consciously process why.
Texture is the very first signal the eye reads. Before color. Before shape. Before scale.
A real rose petal has a network of raised veins running from the base to the tip. It has a slightly different texture on the underside. The edge is never perfectly smooth — there's a micro-ripple, sometimes a tiny curl. When your foam petal replicates all of that? The brain just... accepts it.
What a Mold Actually Does to Your Foam
When you press warm EVA foam into a double-sided mold, you're not just adding surface detail. You're restructuring the memory of the material. The foam cools in the shape of the mold, holding the veining and curvature as a permanent feature — not a surface treatment that can rub off or flatten over time.
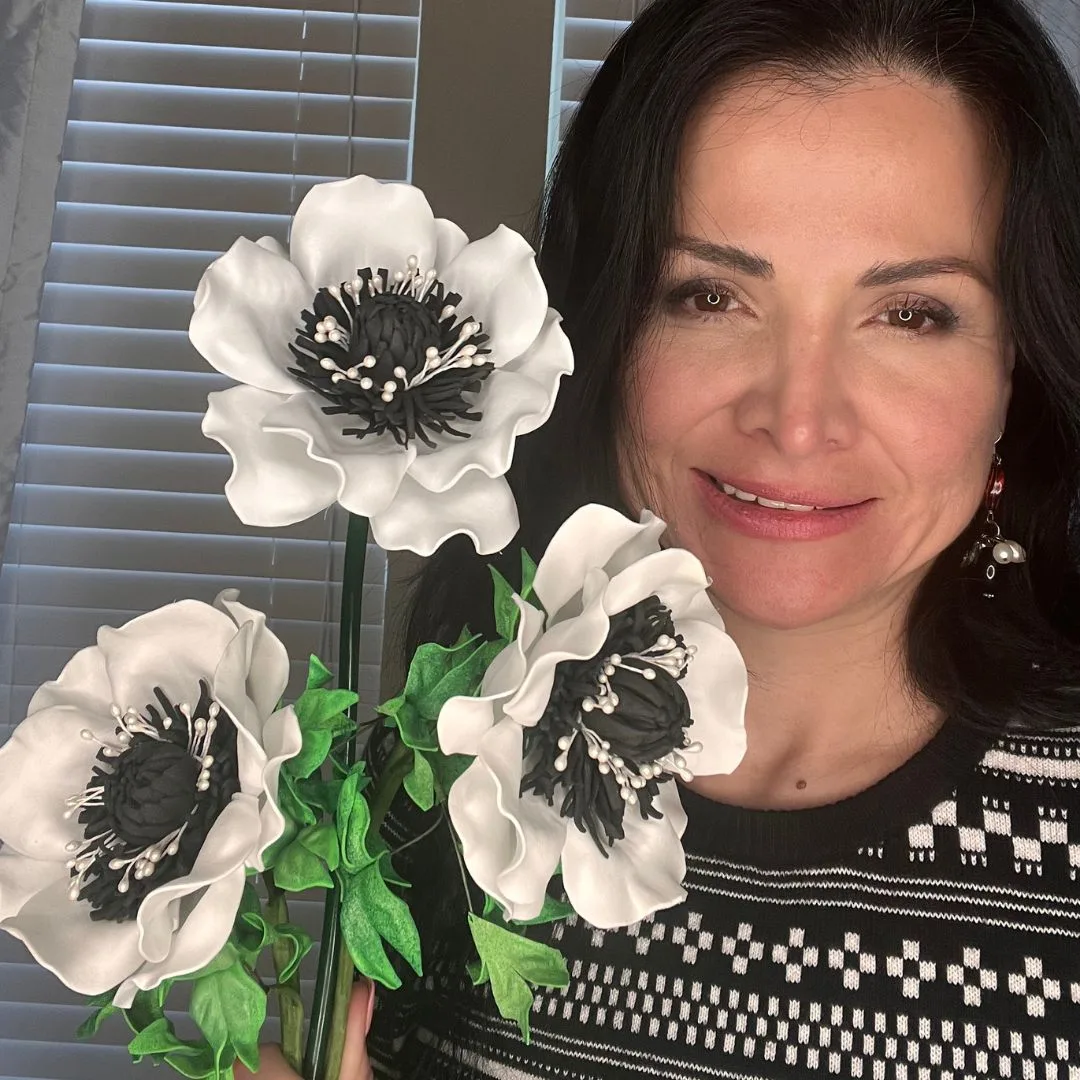
That's a huge deal for decor crafters. Your installation pieces need to hold up through an entire event, possibly in humidity or under warm lighting. A molded petal does that. A hand-shaped one? Not always.
Single-sided molds only texture one face of the petal. So you get beautiful veining on top, and a completely flat, obviously-foam underside. The moment anyone sees the back of your flower — say, on an arch or a hanging installation — the illusion breaks.
Double-sided molds texture both faces simultaneously. The underside gets its own natural-looking detail, which is exactly what a real petal has. It's one of those details that separates hobbyist work from professional-grade decor.
Not all molds are created equal, and the one you pick should match both the flower type you're making AND the scale of your installation. Let me break this down by how I think about it.
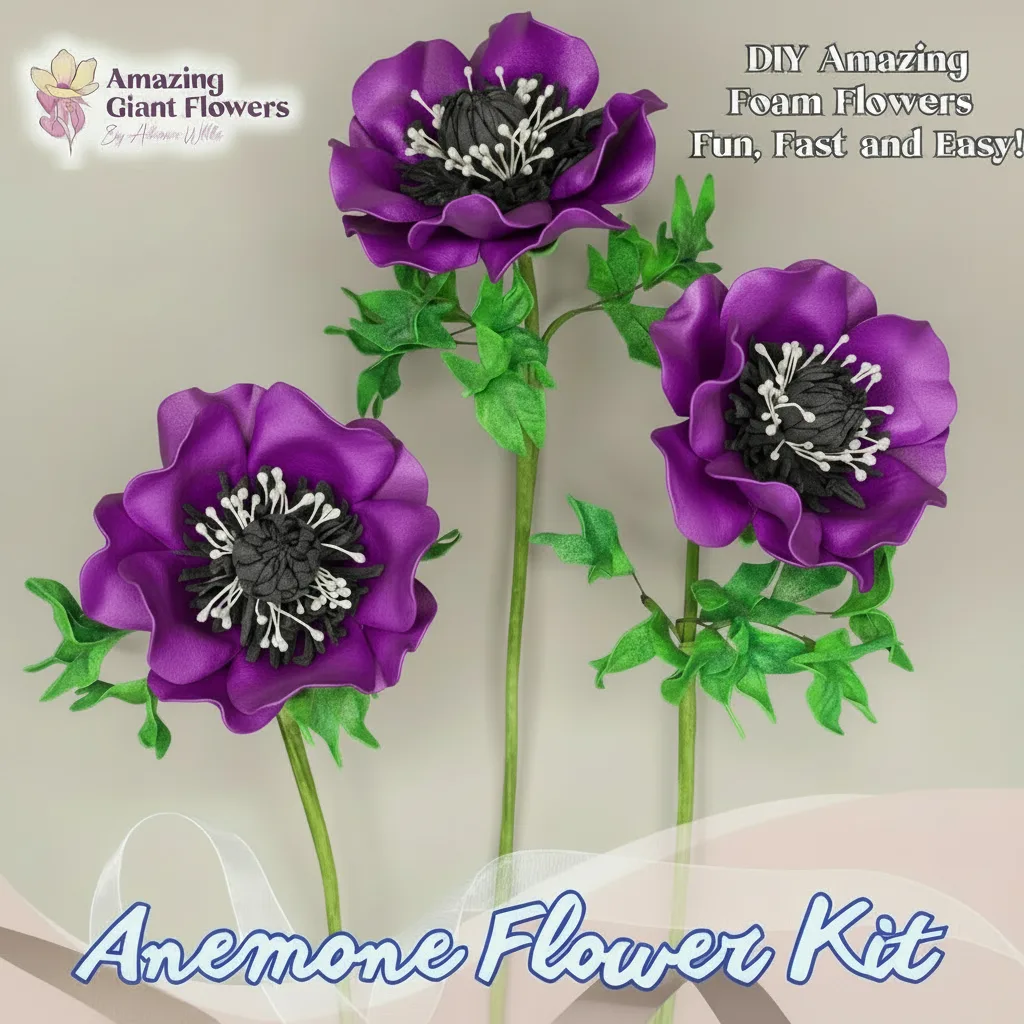
Rose petals have a very different vein structure than peony petals. Ranunculus petals are almost paper-thin with incredibly fine veining. Anemones have that gorgeous dark center and delicate radiating lines. A generic "flower petal mold" won't capture those species-specific details — and that specificity is what sells realism.
When you're shopping for a real touch petal mold, look for ones that are cast from actual botanical specimens. You can usually tell from the product photos — the detail should look almost photographic, not like a stylized or simplified version of a petal.
Petal Size and Your Installation Scale

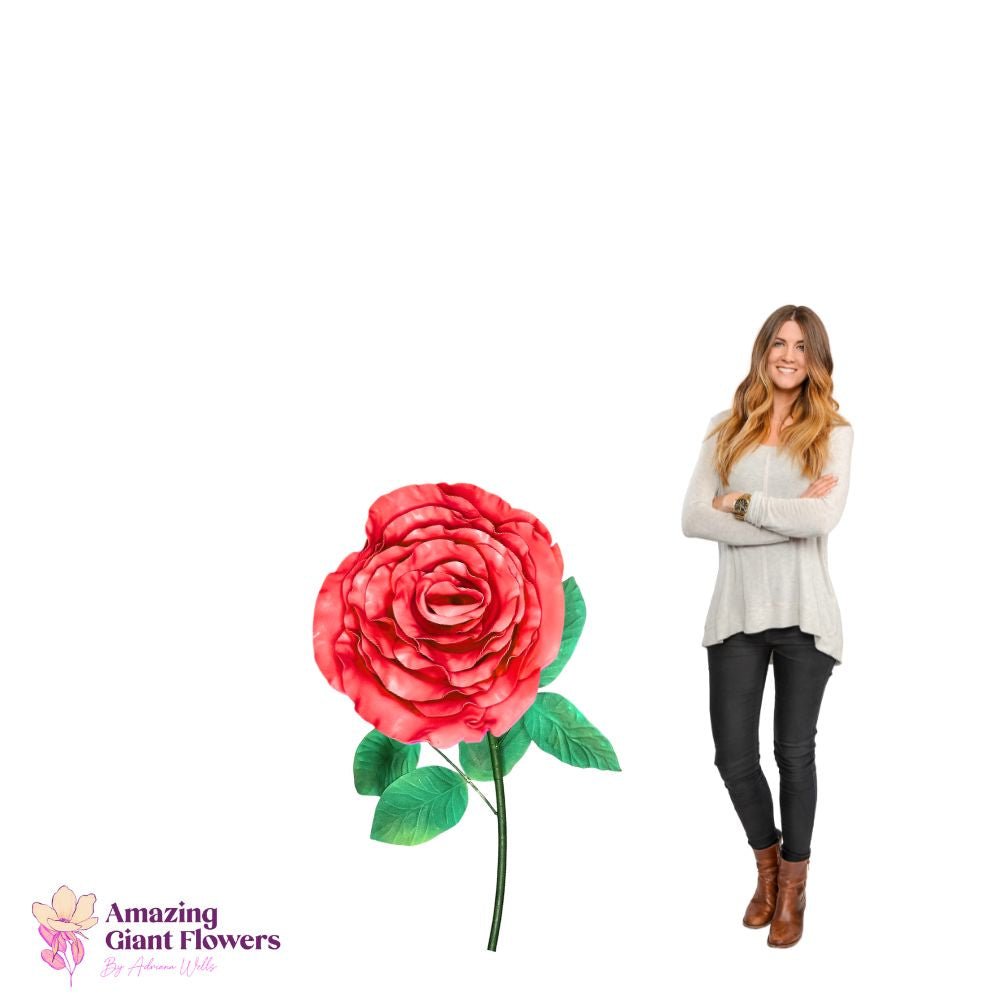
This is where I see crafters go wrong constantly. They use oversized petals when they want "dramatic" — but dramatic doesn't mean unrealistic. Life-size petals at natural flower scale actually read as MORE impressive in a large installation, because the eye accepts them as real.
💡 Pro Tip
Before you buy a mold, cut a test petal from your EVA foam at the size you plan to use. Hold it up next to a real flower from the grocery store. If the proportions match, you're in the right zone. This five-minute check saves so much frustration later.
Ok, this is where it gets really fun. The mold is just one part of a three-step system that I use for every realistic foam flower I make. When all three work together, the results are genuinely jaw-dropping.
2mm EVA foam is my go-to for most petals. It's thin enough to be delicate-looking, but has enough body to hold the molded shape without flopping. For thicker, more structural petals like magnolias or large roses, I'll go up to 3mm.
The quality of your foam matters more than most people realize. Cheap foam has inconsistent density, which means it takes the mold unevenly. You'll get crisp veining in one spot and nothing in another. I always recommend our EVA foam specifically because I know how it behaves — consistent, smooth, and it activates beautifully with heat.
You need to warm your foam before pressing it into the mold. A heat gun works perfectly — a few seconds of even heat until the foam becomes slightly pliable. Then press it into the mold firmly and hold for about 15-20 seconds while it cools.
Don't rush this. The petal needs to cool completely inside the mold for the texture to set permanently. If you pull it out too soon, the foam springs back and you lose half the detail.
I've written a whole deep-dive on this if you want to geek out: Heat Gun Techniques: Shaping Foam Flower Petals Like a Pro. Seriously worth a read before your first session.
Step 3 — Paint That Enhances, Not Covers
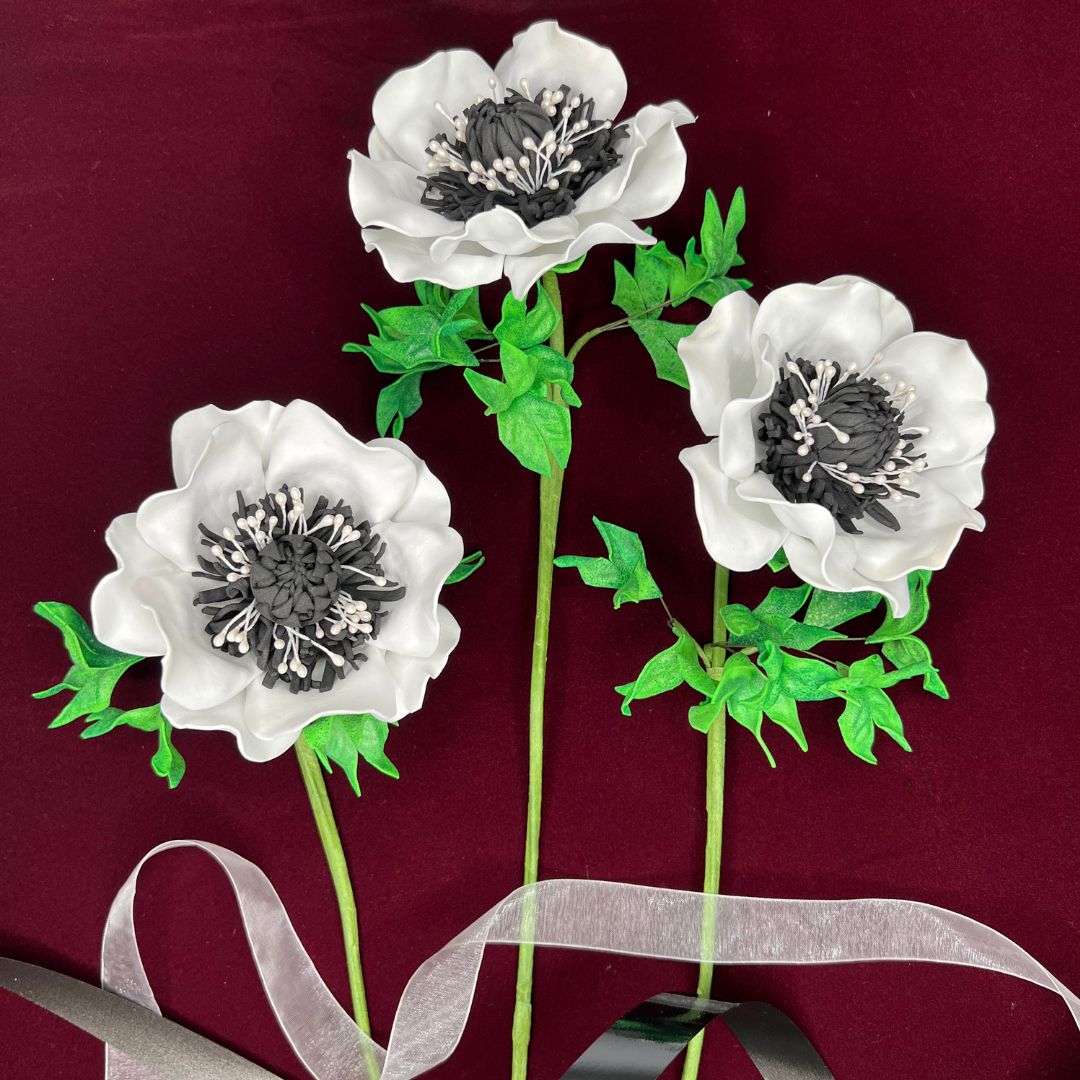
Here's where so many crafters accidentally erase all their hard work. Heavy, opaque paint fills in the veining you just created. You want translucent, layered color — think watercolor washes, not house paint.
I use diluted acrylic in 2-3 layers, letting each dry fully. The veining catches the darker tones and the raised areas stay lighter, exactly like a real petal. That contrast is what makes the texture pop visually.
I've tried a LOT of molds over the years. Some were amazing. Some were a complete waste of money. Here's an honest breakdown of what separates them.
Honestly? Skip the cheap stuff. I know it's tempting when you see a set of 20 molds for $15. But you'll spend more time being frustrated with the results than you'll ever save on cost. One great mold used hundreds of times is a much better investment.
🌸 Ready to get started?
Browse our full Flower Molds collection — double-sided, botanically accurate, and built for both foam crafters and cake decorators.
Getting a single beautiful petal is one thing. Building a full installation that holds the illusion from every angle? That's the real craft. Let me share how I think about putting it all together.
Real flowers aren't uniform. The outer petals of a rose are larger and more open. The inner petals are smaller, cupped, and tighter. When you build your foam bloom using petals from 2-3 slightly different sizes of the same mold, the flower reads as three-dimensional and alive.
I always cut my petals in at least two sizes — full size for the outer ring, and about 80% of that for the inner layers. The center I often curl tightly around a foam ball or a small rolled piece of foam. That tight center is what makes a rose look like a rose and not just a circle of petals.
Mix Your Blooms for a Garden-Fresh Look

No garden has only one type of flower. When you mix roses, ranunculus, and anemones — each made with their species-specific mold — the arrangement immediately reads as curated and natural. That variety is a huge part of what makes people believe they're looking at real flowers.
If you're building a full arch or backdrop, check out my guide on Giant Flower Wedding Arch: A Complete Guide for 2026 — I walk through the full layout strategy there.
A few finishing touches make a massive difference:
Here's something I love about our flower molds that I don't think gets enough attention. They're not just for foam. They're food-safe compatible, which means sugar artists and cake decorators use the exact same molds to create breathtaking gumpaste and sugar flowers.
The technique is different — you're rolling out sugar paste thin, pressing it into the mold, then using a ball tool and foam pad to cup and shape — but the result has that same incredible botanical realism. The veining that makes a foam petal look fresh-cut does the exact same thing in sugar.
So if you're a crafter who also does cake decorating, or you want to expand into sugar flowers as a complementary service — one set of molds covers both worlds. That's a genuinely useful investment.
Whether you're working in foam or sugar, the same principle applies: a quality real touch petal mold is the foundation everything else is built on. Get that right, and the rest of the process clicks into place beautifully.

Frequently Asked Questions
What is a real touch petal mold and how is it different from a regular mold?
A real touch petal mold is designed with botanically accurate surface detail — veining, midribs, and subtle texture — that mimics the actual structure of a living petal. Regular craft molds often have generic or shallow texture that looks decorative rather than natural.
The difference shows up immediately when you paint. Botanically accurate veining catches color the way a real petal does, creating that translucent, dimensional look that makes people do a double-take.
Which heat tool works best for pressing foam into a petal mold?
I reach for my heat gun most often — it heats the foam evenly and quickly without direct contact. You can also use a flat grill, an iron, or a hair styler depending on what you have available and the shape of the petal you're working with.
The key with any tool is to warm the foam until it's just pliable, press it firmly into the mold, and hold it there until it cools completely. Rushing that cooling step is the number one reason texture doesn't transfer cleanly.
Can I use these molds with EVA foam thicknesses other than 2mm?
Yes — 2mm is my go-to for most realistic petals because it's thin enough to look delicate but sturdy enough to hold shape. For flowers with thicker, more structural petals like magnolias or large roses, 3mm EVA foam works really well and still takes mold detail beautifully.
I'd avoid going much thicker than 3mm for detailed molds, because the foam doesn't compress evenly into fine veining at that thickness and you'll lose crispness in the texture.
What glue should I use when assembling molded foam petals?
I use 369 glue for most petal assembly — it gives you a little working time and creates a strong, flexible bond that holds up over time. A hot glue gun with silicone sticks is also a great option, especially when you need a faster set or are working on thicker foam layers.
Both options are sold separately in our shop. I recommend having both on hand — 369 glue for layering petals and detail work, hot glue for securing petals to stems or foam bases quickly.
I hope this gives you a clear, honest picture of what goes into making foam flowers that genuinely fool the eye. It's not magic — it's the right mold, the right foam, the right heat, and a little patience with the paint. Once you experience that moment where someone reaches out to touch your flower because they're not sure it's fake, you'll be completely hooked. I know I was. Come find me in our community and show me what you make — I genuinely love seeing what you all create. 🌸
Your Next Step Toward Flowers That Fool the Eye
At the end of the day, the secret to a foam flower that looks genuinely real comes down to one foundational decision: choosing a real touch petal mold with true botanical accuracy. Everything else — the heat shaping, the layered paint, the petal sizing — builds on that foundation. Get the mold right and the rest of the process falls into place in a way that feels almost effortless.
I've spent years refining this process, testing molds, and watching crafters go from their very first petal to full installations that stop people in their tracks. The learning curve is real, but it's also genuinely fun. Every bloom you make teaches you something, and the results get more beautiful every single time.
Whether you're starting with a single life-size craft kit to learn the basics, diving into our flower molds collection, or you're ready to let us handle everything with our Done For You service — I'm here for all of it. This is my favorite thing to talk about, and I mean that. Start your first petal today, or reach out to me directly and let's figure out the best path for your project together. 🌸
Shop the supplies
Everything You Need for This Project
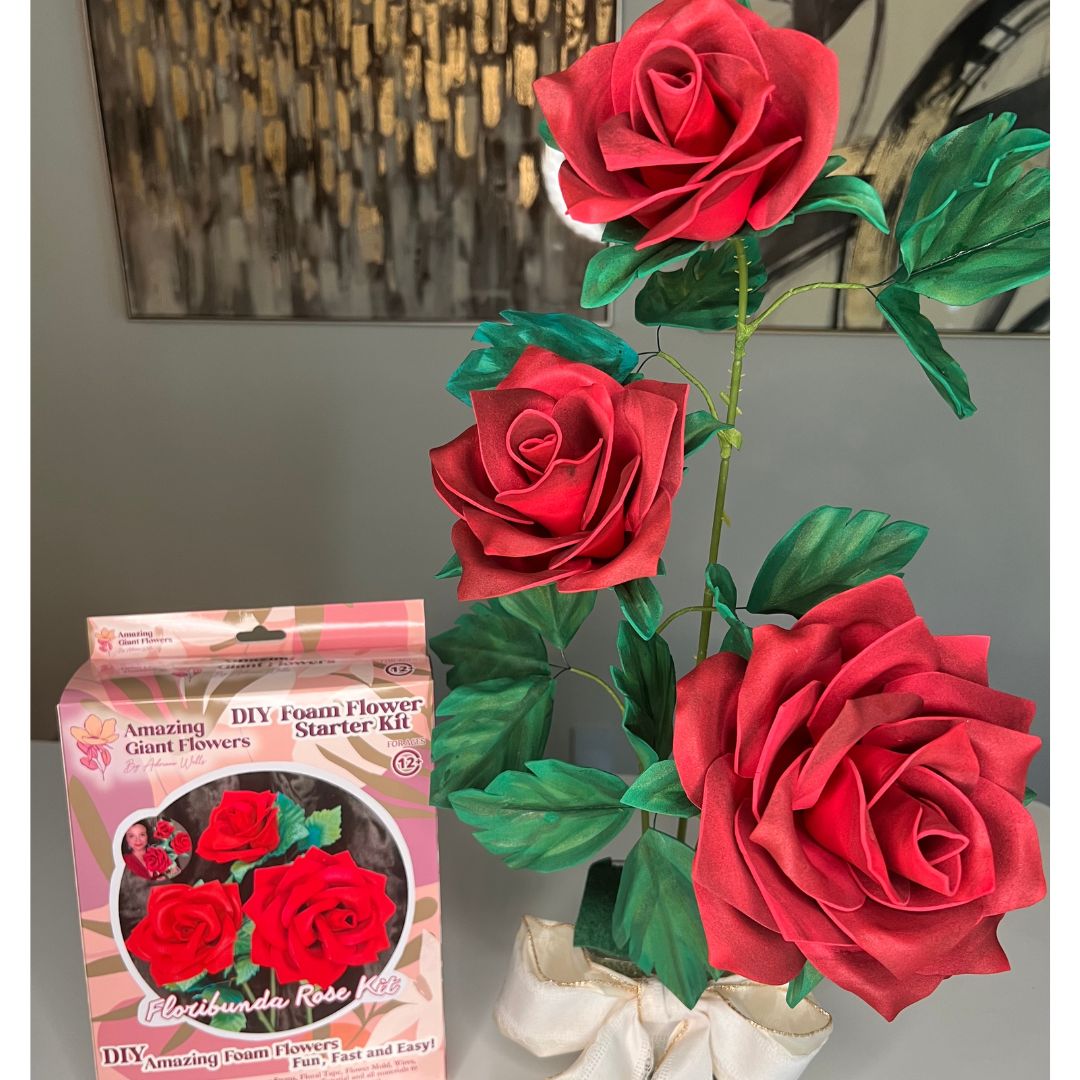
Real Touch Rose Foam Flower Kit — Realistic DIY Roses with 6" Double-Sided Mold & Pre-Cut Petals

Imperial Rose Petal Mold — Double-Sided Mold for Real-Touch, Life-Size Flowers
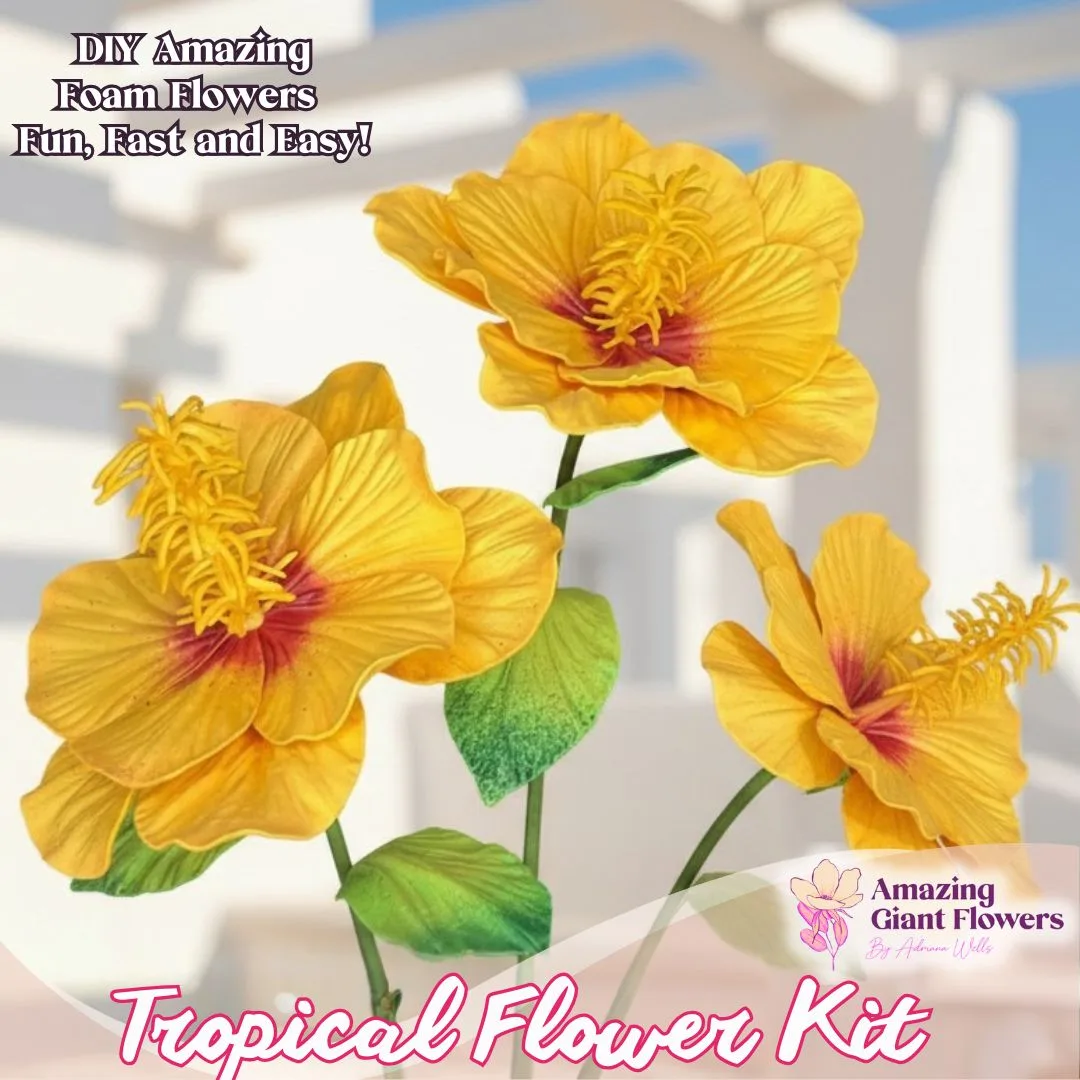
Real Touch Tropical Flower Foam Kit — Large DIY Hibiscus Blooms with Reusable Double-Sided Mold, Pre-Cut Petals, Bud & Leaves
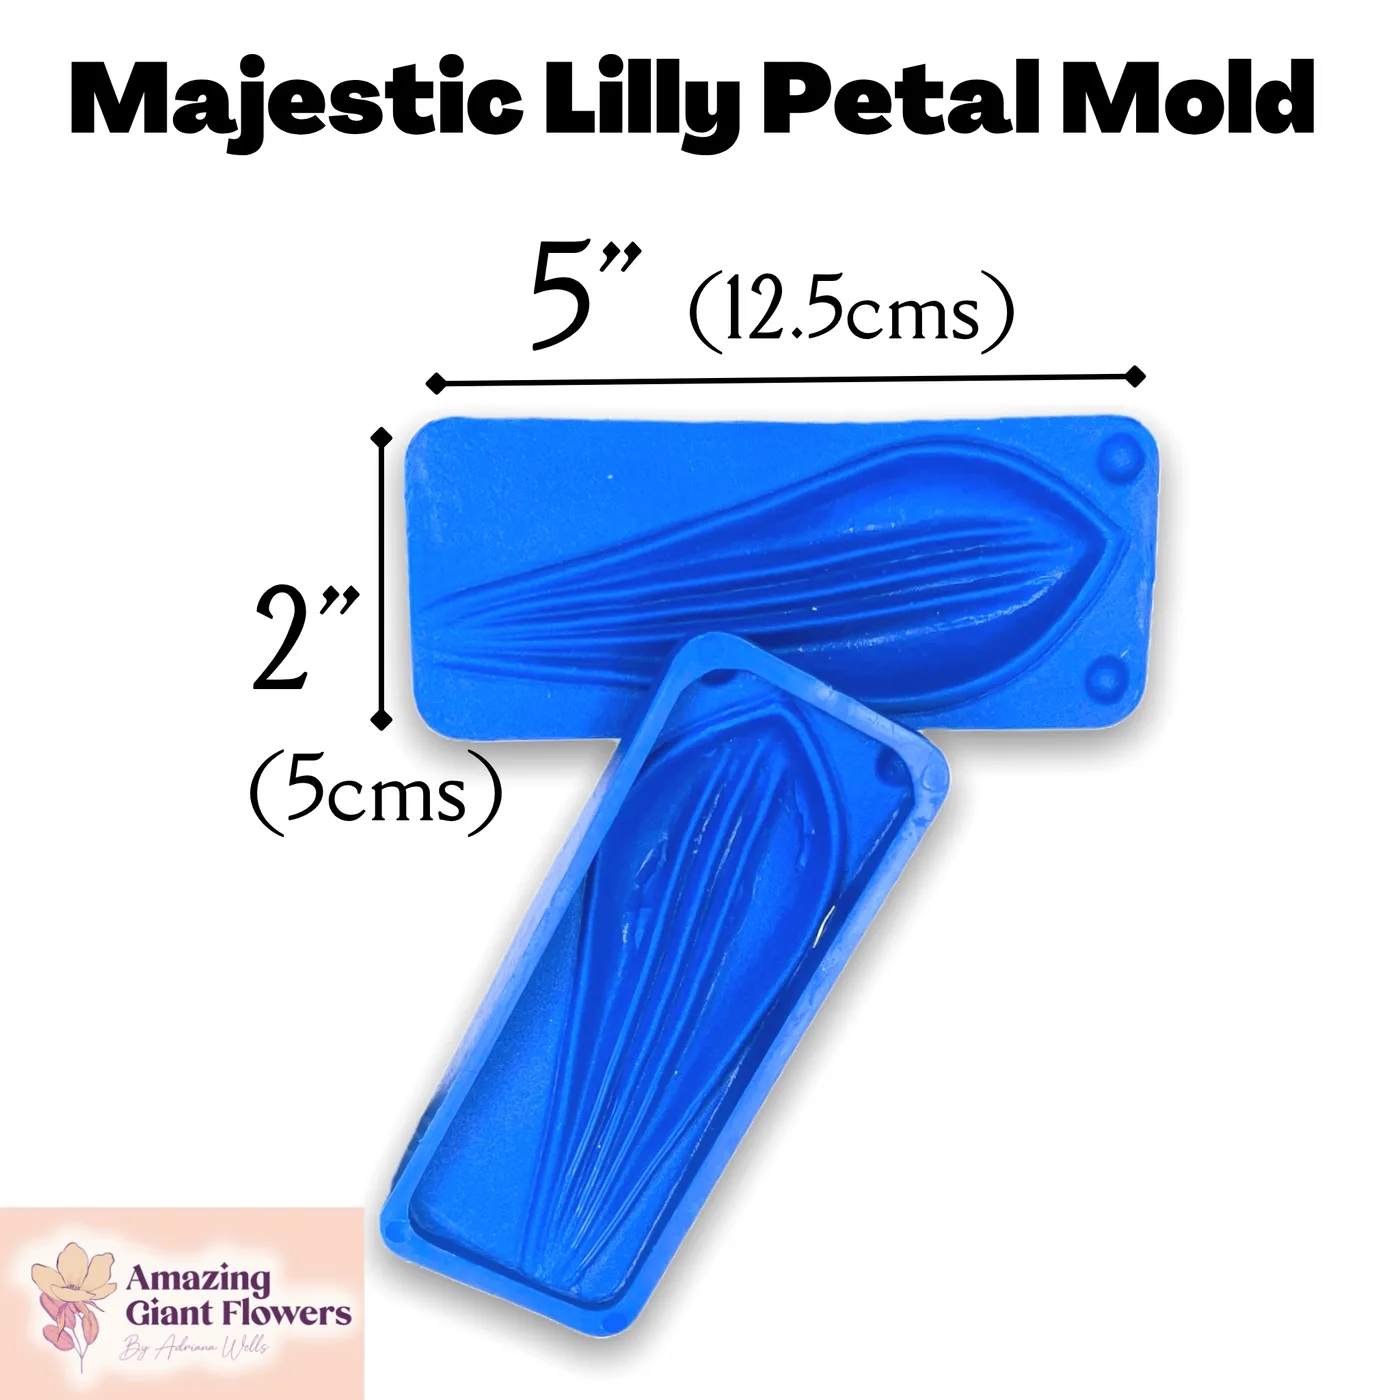
Majestic Lily Petal Mold — Double-Sided Mold for Real-Touch, Life-Size Flowers

Written by
Adriana WellsFounder & CEO of Amazing Giant Flowers
Adriana Wells is the founder and creative force behind Amazing Giant Flowers, a Texas-based company specializing in handcrafted giant foam flowers, luxury floral installations, and DIY flower-making supplies.
More about Adriana →Ready to Create Something Amazing?
Browse our collection of giant flower kits and start your next project today.