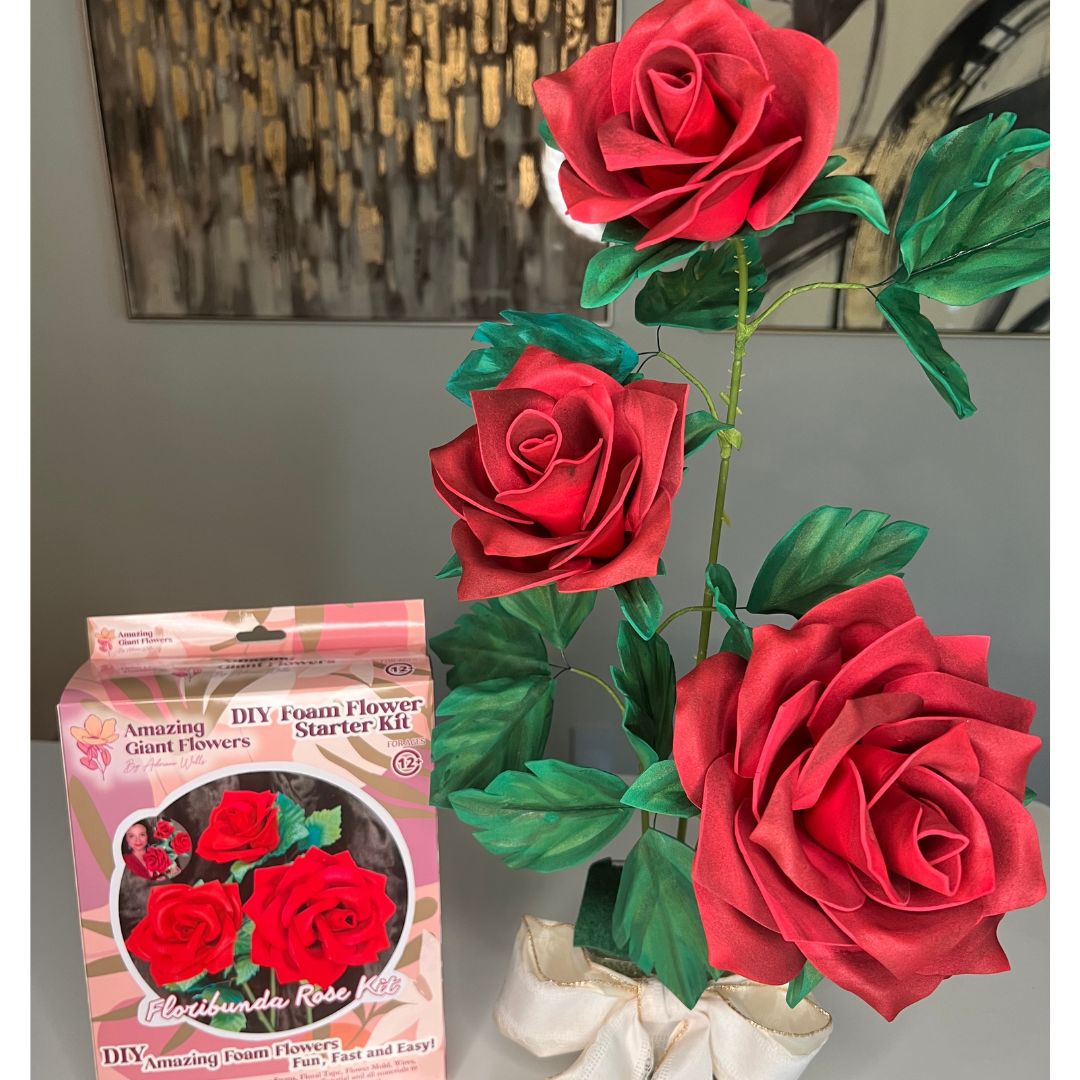
One Double-Sided Mold, Two Worlds: Foam Flowers & Sugar Art
If you've ever stood in a craft store holding a flower mold and thought, "wait, could I use this for my cake too?" — yes. Yes you can. And honestly, that little lightbulb moment is exactly what I want to talk about today.
I've been making foam flowers for years, and somewhere along the way my world collided with the cake decorating community. Bakers started sliding into my DMs asking if my molds were food-safe. Crafters started asking if they could use sugar molds on foam. And I realized — these two worlds have been solving the same problem with completely separate toolboxes. That felt like a waste.
So we designed our double-sided flower molds to serve both. One tool. Two crafts. Hundreds of uses. Let me show you exactly why this matters — whether you're building a foam flower wedding arch or piping sugar roses for a six-tier cake.
Key Takeaways
Ok, let me back up for a second and explain what "double-sided" actually means — because it's not just a marketing word.
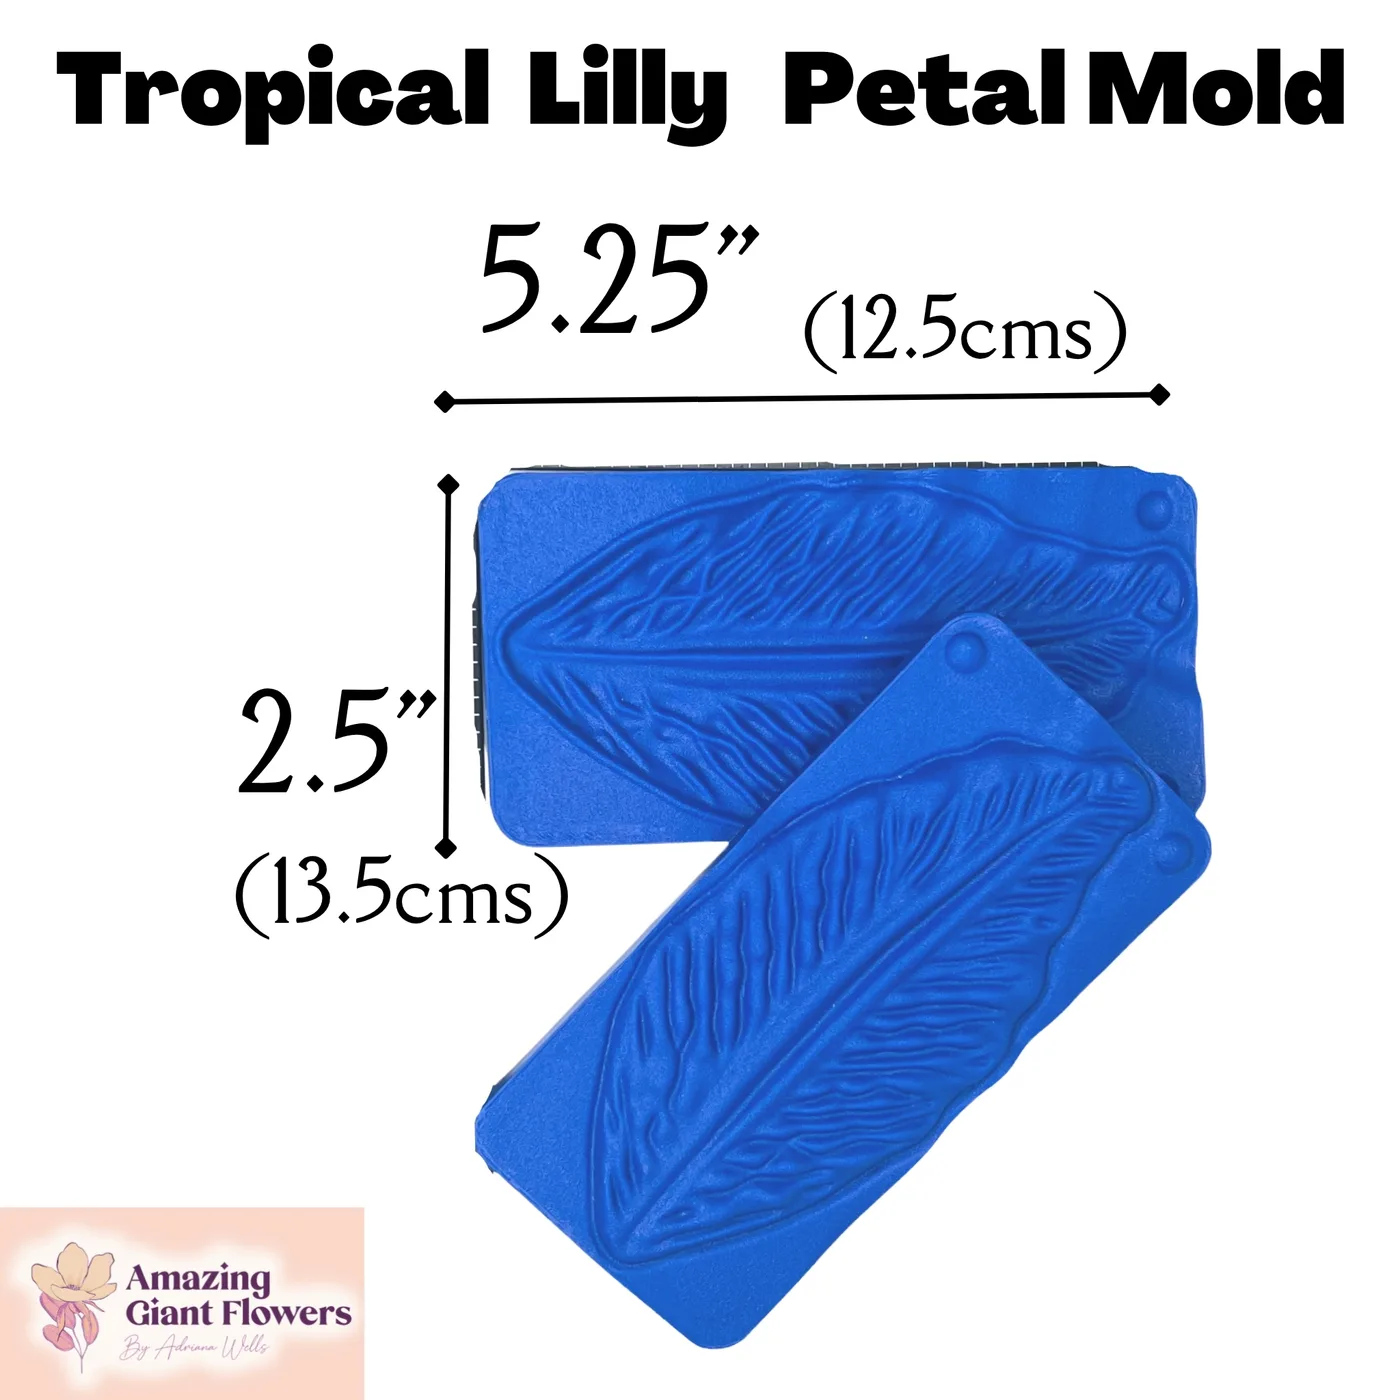
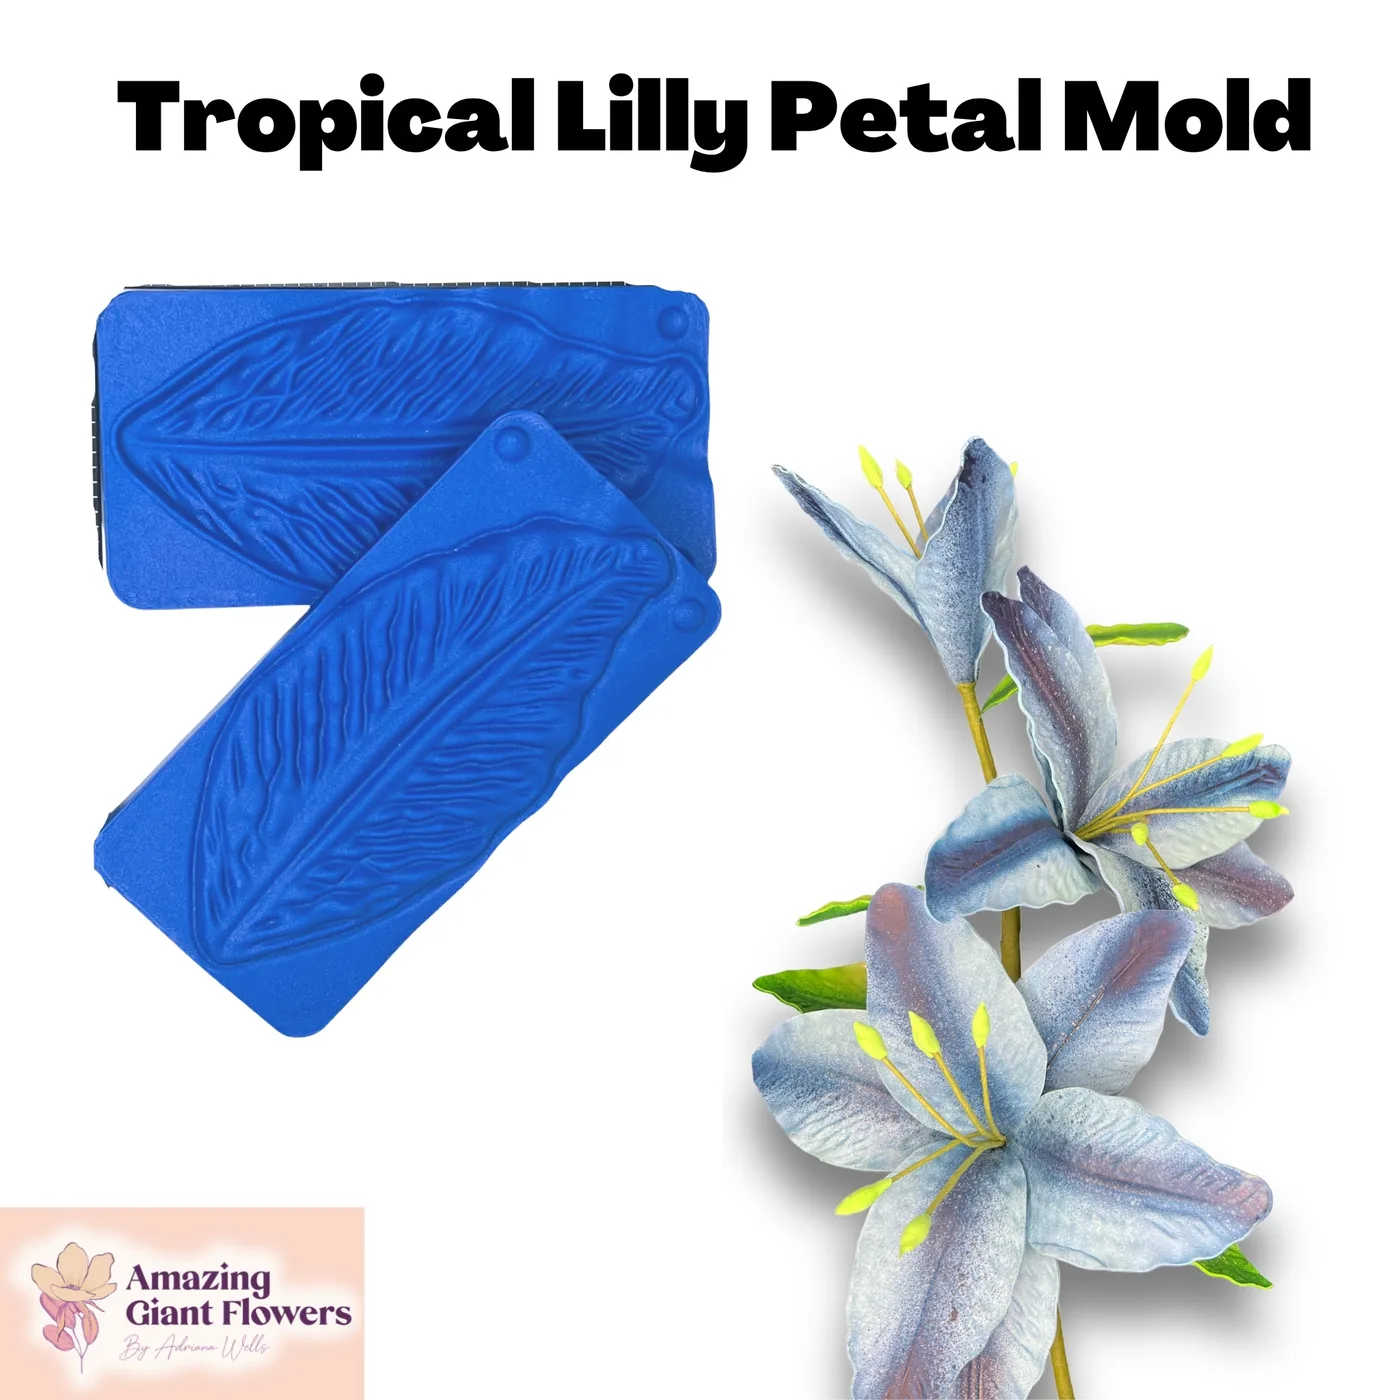
Each mold has two distinct surfaces. One side captures the front face of the petal — all those gorgeous veins, the texture, the natural curves. The other side captures the back of the petal, which has its own unique structure. When you press your material between both sides, you get a petal that looks real from every angle.
That's huge. For foam crafters, it means your flowers hold up in photos and up close. For cake decorators, it means your sugar petals have that museum-quality detail that makes people actually gasp.
The Veining Is Where the Magic Happens
I'm a little obsessed with veining. When I first started making foam flowers, the flat, smooth petals drove me crazy — they looked fake. The veining in our molds is taken directly from real botanical references. Every ridge, every branching line. It's the difference between "oh cute, a craft flower" and "wait, is that real?"
For sugar artists, that same veining catches the light on a cake in a way that makes the whole design feel elevated. One of my baker friends told me her clients started asking if she was using real flowers. She wasn't. She was using gumpaste and our mold.
This is where I live. Foam flowers are my thing, and our molds were originally born from this world. If you're a crafter building backdrops, arches, centerpieces, or photo walls — here's how the mold fits into your workflow.
You start with a sheet of EVA foam — I recommend 2mm for delicate petals and 4–6mm for sturdier base petals. Cut your petal shape (either freehand or using a template), then warm it slightly with a heat gun until it's pliable. Press it into the mold while it's warm.
Hold it for about 15–20 seconds. Let it cool in the mold. When you open it — that petal has shape, texture, and life. It's not flat anymore. It curves naturally, just like a real petal would.
If you want to go deeper on the heat gun technique, I wrote a whole guide on shaping foam flower petals with a heat gun — it's worth bookmarking.
What Foam Works Best?
- 2mm EVA foam: Roses, ranunculus, fine-petaled flowers. Delicate and realistic.
- 4mm EVA foam: Dahlias, peonies, sunflowers. Great mid-weight option.
- 6mm EVA foam: Large base petals, tropical flowers, statement blooms.
- Craft foam sheets: Budget-friendly for practice runs before cutting your good foam.
💡 Pro Tip
Lightly dust the mold with cornstarch before pressing foam. It prevents sticking and helps you release the petal cleanly without distorting those beautiful veins. Works for sugar too — more on that in a minute.
Real talk? When bakers first started reaching out to me, I wasn't sure our molds would translate. But then I tested them with gumpaste and I was genuinely shocked at the detail transfer. Every single vein. Every curve. Crystal clear.
The molds are made from food-safe compatible silicone, which means they're safe to use with edible materials. No off-gassing, no weird residue. Just clean, detailed impressions every time.
Roll your gumpaste or sugar paste thin — around 1–2mm for most petals. Lightly grease the mold with shortening or dust with cornstarch (see, same trick!). Press your paste in, close the mold firmly, and hold for 10–15 seconds.
Open carefully. You'll have a petal with crisp veining on both sides. Let it dry draped over a former or in a cupped position to get that natural curve while it sets. Once dry, dust with petal dust for color depth and a professional finish.
Which Sugar Pastes Work?
- Gumpaste: Best for thin, delicate petals that need to hold their shape. Dries firm.
- Fondant + tylose powder: A budget-friendly alternative. Mix in 1 tsp tylose per 250g fondant.
- Wafer paper: Thin, translucent petals with a completely different look — gorgeous for modern cakes.
- Modeling chocolate: Rich, flexible, and holds detail beautifully for sculptural work.
🌸 Ready to get started?
Browse our full flower mold collection — designed for both foam crafters and cake decorators. One tool, endless possibilities.
I get asked all the time which craft is "easier" or which produces better results. Honestly? They're just different. Here's a straight-up comparison so you can see where the mold fits into each world.
We didn't just make one rose mold and call it a day. Our collection covers a wide range of blooms — because different events, different cakes, and different aesthetics call for different flowers.
💡 Pro Tip
If you're a cake decorator who also does event styling (or vice versa), buy the mold once and use it across both sides of your business. Your cost-per-use drops dramatically after the first project — and clients in both worlds will notice the professional quality.
These molds are built to last — we're talking hundreds of uses without losing detail. But how you care for them makes a real difference in longevity.
Wipe down with a dry or barely damp cloth. Foam doesn't leave residue the way sugar does, so cleaning is quick. Store flat or hanging — don't fold or crumple the mold, or you'll distort the veining over time.
Rinse with warm water only — no harsh soaps, no dishwasher. Gumpaste and sugar paste release easily once the mold is rinsed. Pat dry and store flat. If you used shortening as a release, a tiny drop of dish soap on your finger, rinse thoroughly, and you're done.
Never use the same mold for food and non-food materials without a thorough wash in between. If you're using it for foam crafting and then switching to sugar art, give it a proper clean first. Keep it food-safe.
Frequently Asked Questions
Are these flower molds actually food-safe?
Yes — our molds are made from food-safe compatible silicone, which means they're safe for direct contact with edible materials like gumpaste, fondant, modeling chocolate, and wafer paper. Just make sure to clean them properly between uses, especially if you're switching between foam crafting and sugar art.
Do I need a different flower mold for foam vs. sugar?
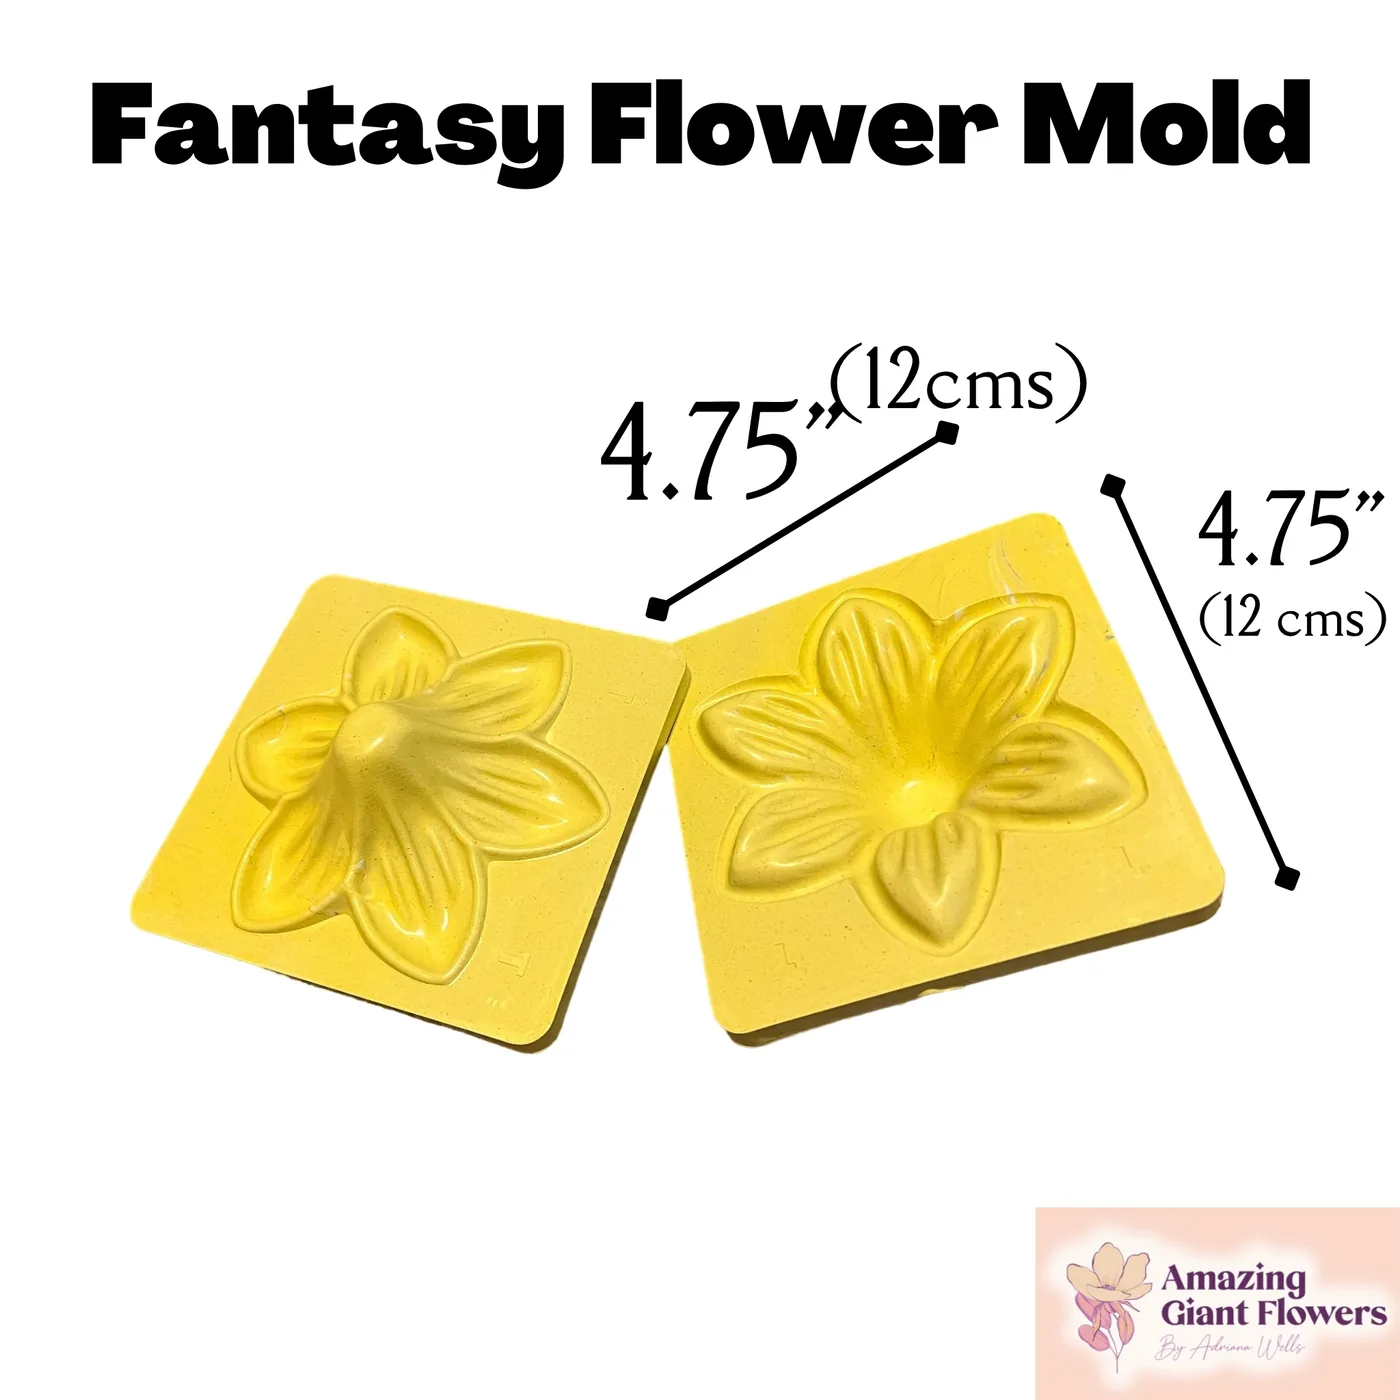
Nope — that's the whole point! One double-sided mold works for both. The same veining detail that makes foam petals look realistic also creates stunning sugar petals. The process is slightly different (heat for foam, rolling for sugar), but the mold itself is identical for both applications.
What thickness of gumpaste should I use with these molds?
For most petal molds, roll your gumpaste to about 1–2mm thick. Too thick and it won't capture the fine veining detail. Too thin and it'll tear when you remove it. If you're new to sugar flowers, practice a few times with a fondant/tylose mix before moving to pure gumpaste — it's more forgiving.
Can beginners use these molds, or are they for advanced crafters?
Total beginners can absolutely use these! For foam flowers, the learning curve is very gentle — warm, press, release, done. Sugar art takes a little more practice to get the paste consistency right, but the mold itself does the hard work of creating detail. I always say: the mold is your shortcut to professional results. Check out our
Ready to Create Something Amazing?
Browse our collection of giant flower kits and start your next project today.