How to Build a Wedding Flower Wall That Gets 1000 Photos
Key Takeaways
Real talk? I've seen every wedding trend come and go. Macramé walls, balloon installations, neon signs, mirror boards. They're all fine. But none of them have the staying power — or the photographic impact — of a flower wall.
There's a reason The Knot consistently lists flower walls as one of the top wedding backdrop trends year after year. They're timeless, they're versatile, and they work in every single lighting condition.
According to a Brides.com survey, couples spend an average of $2,000–$2,500 on wedding flowers alone. A DIY giant flower wall lets you redirect a huge chunk of that budget into something that doubles as décor AND the most-photographed spot of the night.
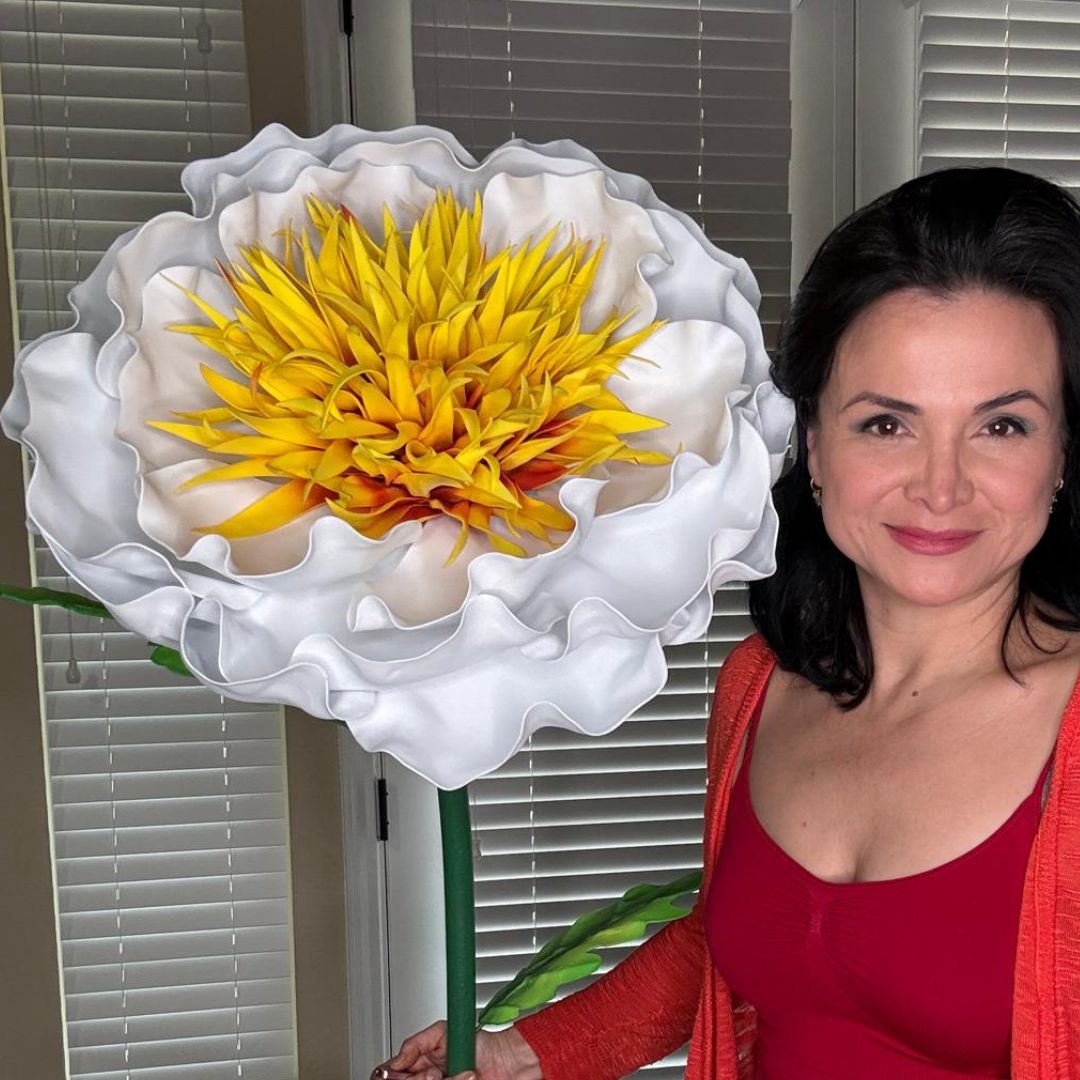
The psychology behind it is simple. Giant flowers are unexpected. They're oversized and dreamlike. When someone walks into a venue and sees a 5-foot bloom staring back at them, their first instinct is to pull out their phone.
That instinct is your best marketing. Every photo a guest posts is free advertising for your wedding aesthetic — and if you're an event planner or small business owner, it's free advertising for you.
Planning Your Wedding Flower Wall Photo Backdrop: Size, Layout, and Color
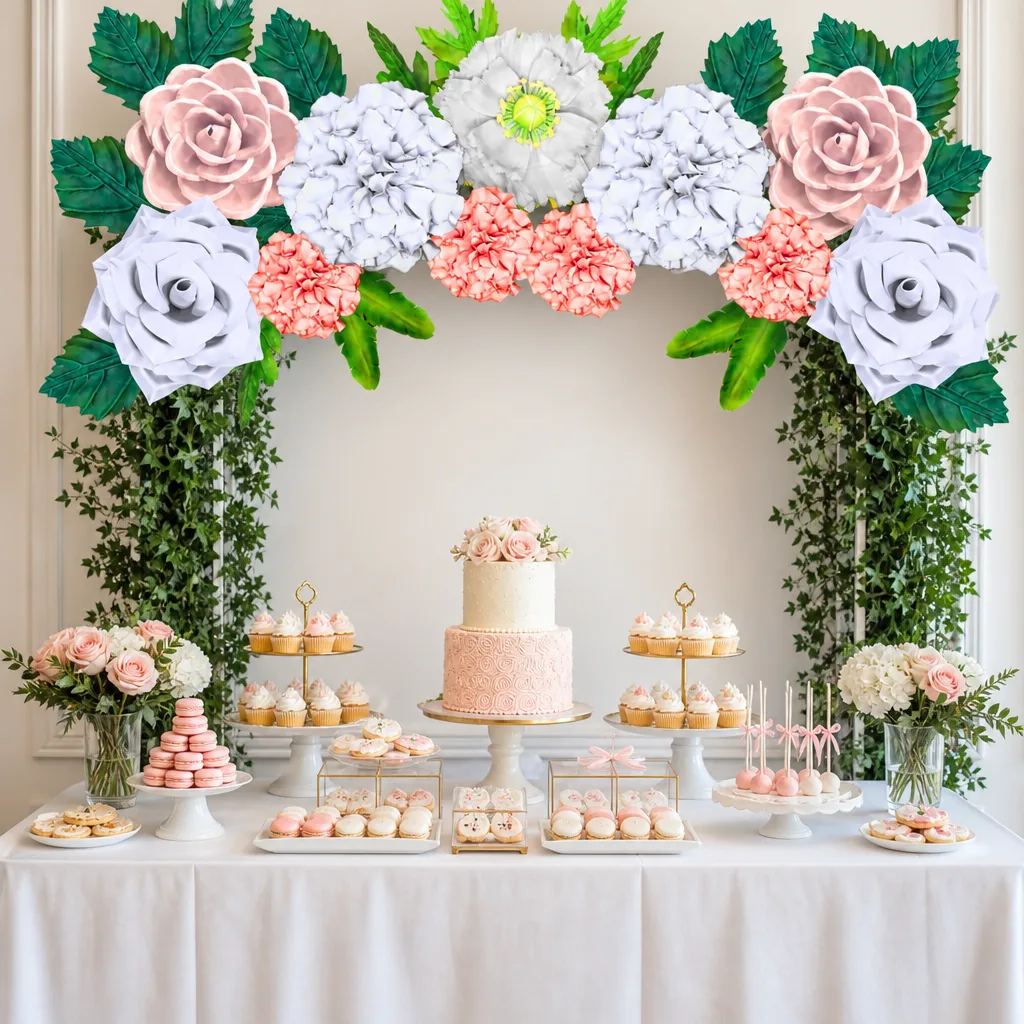
How Big Should Your Flower Wall Be?
This is the question I get asked most. And my honest answer is: bigger than you think.
A backdrop that's too small gets lost in a venue. Guests won't naturally gravitate toward it, and it won't fill a photo frame the way you want it to.
Here's my general sizing guide based on years of building these:
Color is where so many people overthink it. Let me simplify this for you.
Two to three colors max. I mean it. More than three and your backdrop starts looking chaotic in photos. The camera flattens depth, and too many competing colors become visual noise.
Some of my favorite combinations that photograph absolutely beautifully:
- Blush, ivory, and sage: The classic romantic palette. Works in any lighting, flatters every skin tone in photos.
- White and gold: Dramatic, editorial, timeless. Especially stunning with warm lighting.
- Dusty rose and burgundy: Rich and moody. Perfect for fall weddings or evening receptions.
- Lavender, soft purple, and cream: Dreamy and ethereal. Photographs with a soft, almost glowing quality.
- Bright coral and peach: Fun, vibrant, perfect for outdoor daytime weddings where you need color that pops in natural light.
Mapping Out Your Layout Before You Build
Don't skip this step. I learned the hard way — twice — that just winging the layout leads to a backdrop that looks unbalanced and patchy in photos.
Grab a piece of graph paper or use a free tool like Canva. Sketch out your frame dimensions. Then map where your anchor flowers (your largest, 4–5 foot blooms) will go.
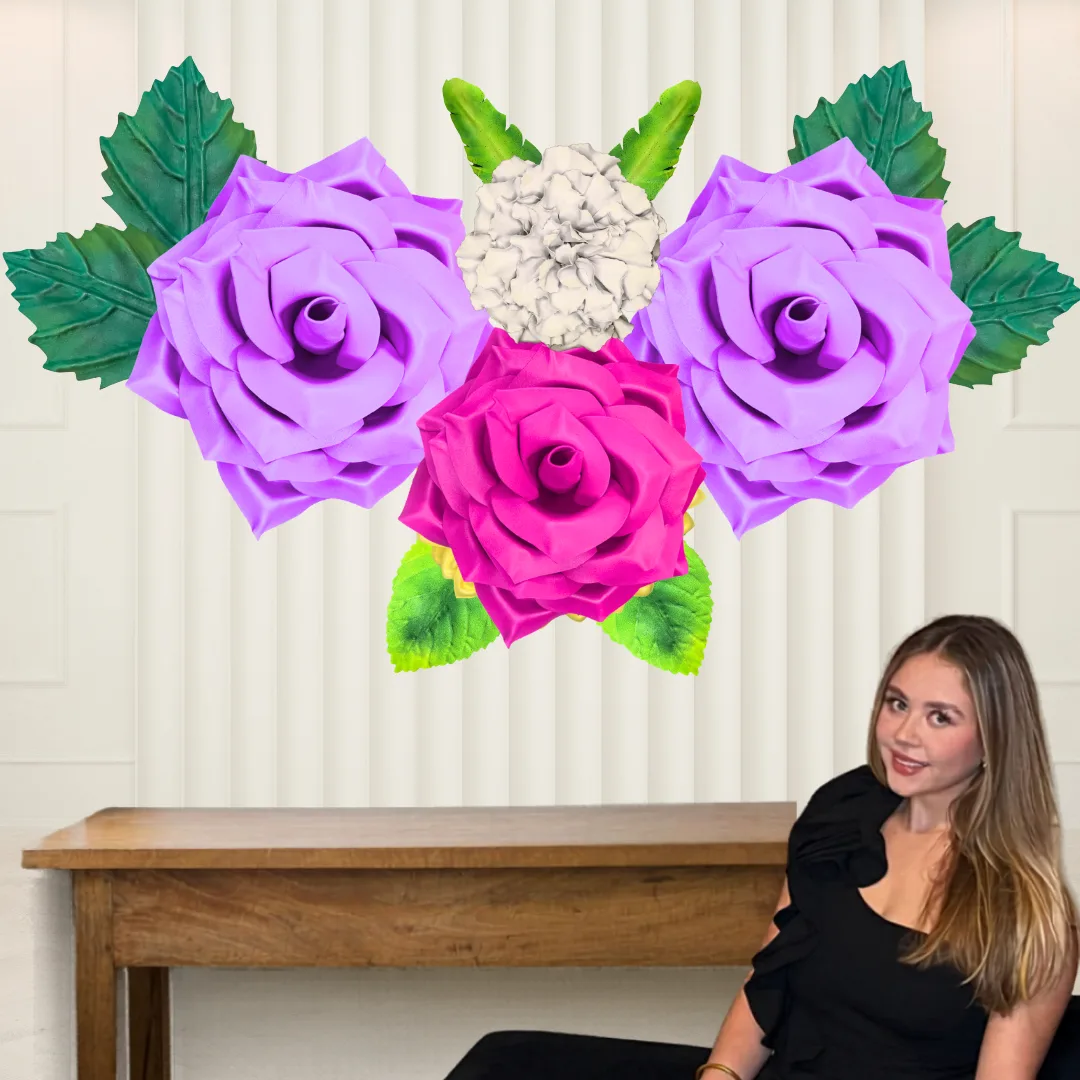
The rule I always follow: place your largest flowers in odd numbers. Three big anchors, five medium fills, then scatter your smaller accent flowers. Odd numbers create visual movement. Even numbers feel static.
I've tested basically everything. Crepe paper, tissue paper, fabric, silk, and EVA foam. After all of it, EVA foam is the only material I trust for a wedding flower wall that needs to last an entire event and still look perfect in the last photo of the night.
Here's a straight comparison so you can make an informed decision:
| Material | Durability | Photo Quality | Cost | DIY Difficulty |
|---|---|---|---|---|
| EVA Foam | Excellent — reusable for years | Outstanding — holds shape perfectly | $80–$180 per flower kit | Beginner-friendly with kits |
| Fresh Flowers | Poor — wilts within hours | Beautiful but inconsistent | $800–$3,000+ for a full wall | Requires professional florist |
| Crepe Paper | Fair — tears easily | Good for small flowers only | Low upfront, high labor | Moderate — very time intensive |
| Silk/Fabric | Good | Can look flat in photos | Medium | Moderate |
| Tissue Paper | Poor — humidity destroys it | Decent for small accents | Very low | Easy but fragile |
Honestly? Skip the cheap crepe paper for a wedding backdrop. It tears when guests brush against it, it droops in humidity (hello, outdoor summer weddings), and it looks noticeably flat in photos.
EVA foam is the professional standard for a reason. It holds its shape under venue lighting, it's lightweight enough to mount on almost any surface, and — this is huge — you can reuse it. One investment, multiple events.
A gorgeous flower wall on a weak frame is a disaster waiting to happen. I've seen it. A backdrop that tilts mid-reception, or worse — falls. That's not the memory anyone wants from their wedding.
Your frame needs to be sturdy, level, and properly anchored. Here are your three best options:
This is my go-to for most weddings. PVC is lightweight, inexpensive, and incredibly easy to work with. You can build a 10-foot wide by 8-foot tall grid for under $60 in materials.
Use 1-inch diameter PVC pipe for the main frame and connect sections with elbow and T-joints. Add cross-bracing every 24 inches for stability. Attach the whole thing to a weighted base — sandbags work perfectly for outdoor setups.
Option 2: Wire Mesh Panel System
Wire mesh (also called hardware cloth or garden fencing) is fantastic for flower walls because you can literally hook or zip-tie flowers directly onto it with no additional mounting hardware.
Stretch 4-foot by 8-foot wire mesh panels across a PVC or metal pipe frame. The grid pattern makes it incredibly easy to space your flowers evenly and symmetrically.
If you're renting a pipe-and-drape setup from your venue or a rental company, you can absolutely attach giant foam flowers directly to the drape backing.
Use S-hooks or large binder clips to hang flowers without damaging them. This is the easiest setup and breakdown option — ideal if you're an event planner doing multiple events.
Ok, this is where it gets really fun. If you're using pre-cut kits from Amazing Giant Flowers, your petals are already cut to exact dimensions. No guesswork, no uneven edges.
Here's the process I walk every customer through:
Step 1: Shape Your Petals
Take each pre-cut petal and run your bendable pipe stem along the center back. Apply a line of hot glue and press the stem in place. Hold for 10 seconds.
Then gently curve the petal over your knee or a rounded surface. This gives it that natural, dimensional shape that makes foam flowers look so realistic — and so stunning in photos.
Start from the outside in. Glue your outer ring of petals first — these are your largest petals, typically 18–24 inches long for a 4-foot flower.
Work inward, overlapping each layer slightly. The overlap is critical. It's what creates that lush, full look that photographs so richly.
Your center layer should use your smallest, most tightly curled petals. The center piece — the foam disc or cone — goes in last.
Step 3: Add Dimension to Every Flower
This is the step most beginners skip, and it's the one that makes the biggest difference. Don't let all your petals face the same direction.
Angle some petals forward, some slightly back. Tilt the whole flower face slightly downward if it's going near the top of your backdrop — this ensures it reads well in photos taken from standing height.
Start mounting your anchor flowers first — your largest blooms. Place them at your visual focal points: center top, lower left, lower right.
Then fill in with medium flowers, then small accent pieces. Step back every few flowers and look at the overall composition. Fill any flat or empty-looking spots with smaller blooms or leaf accents.
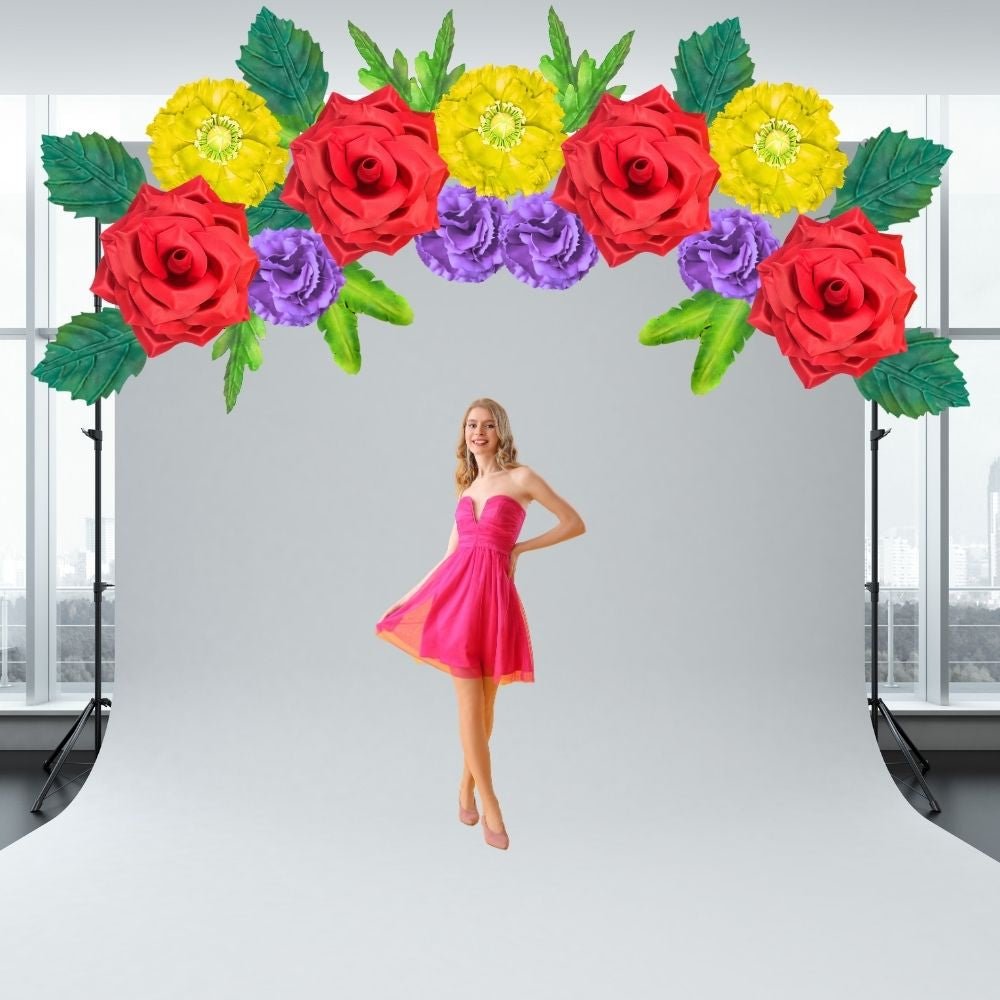
For more inspiration on building out a full arch or backdrop structure, our guide on how to make an oversized flower arch backdrop covers some great complementary techniques.
The Lighting Secret That Makes Your Wedding Flower Wall Photo Backdrop Go Viral
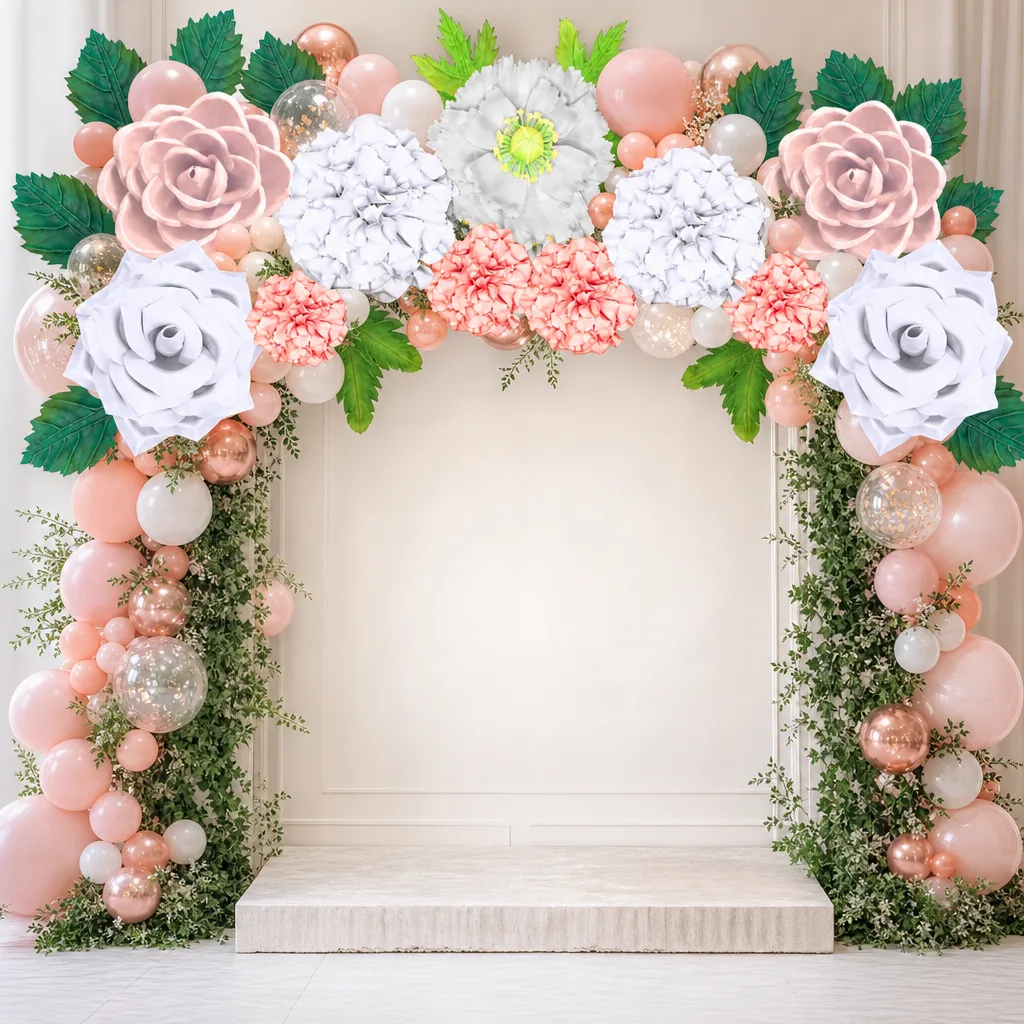
I cannot stress this enough. The difference between a flower wall that looks "nice" in photos and one that looks absolutely jaw-dropping is almost always lighting.
According to WeddingWire, lighting is consistently ranked as one of the top factors couples wish they'd invested more in. And when it comes to a photo backdrop, the right light is everything.
Front lighting (light coming straight at the backdrop) is flat and unflattering. It washes out the dimension of your flowers and makes everything look two-dimensional in photos.
Side lighting — or lighting from a 45-degree angle — creates shadows in the curves and folds of your petals. Those shadows are what make the flowers look three-dimensional and lush in photographs.
Position two warm-white LED uplights at 45-degree angles, about 4–6 feet in front of the backdrop. Warm white (around 2700–3000K color temperature) makes EVA foam flowers glow beautifully and flatters skin tones in photos.
If your budget allows, add a third light slightly behind and above the backdrop to create a subtle rim light. This makes the flowers look like they have an almost ethereal glow. Photographers love it.
Natural Light Considerations
For outdoor daytime weddings, position your backdrop so it faces north or is shaded from direct overhead sun. Direct overhead sunlight creates harsh shadows that look terrible in photos.
Soft, diffused light — like open shade or a lightly overcast sky — is the absolute best natural lighting for a flower wall backdrop. Martha Stewart Weddings has a great breakdown of outdoor wedding photo lighting if you want to go deeper on this.
The backdrop is the star, but what surrounds it matters more than people realize. A stunning flower wall surrounded by cluttered, mismatched décor loses half its impact in photos.
The area directly in front of your backdrop — roughly 6–8 feet of clear space — should be as uncluttered as possible. No chairs, no tables, no signage competing for attention.
If you're using the backdrop as a photo booth area, a simple clear acrylic welcome sign or a small floral arrangement on a slim pedestal is all you need. Anything more and you're competing with your own backdrop.
A plain floor in front of a flower wall can look stark in photos. Consider a white or blush floral rug, a few scattered rose petals, or even a simple white dance floor panel.
For outdoor setups, a section of white or cream pampas grass flanking the backdrop adds incredible texture and depth to photos without competing with the flowers.
Complementary Décor Elements
Giant flower walls pair beautifully with a few specific elements:
Let me be real with you here because I know budget is a real concern. Here's what you're actually looking at for a DIY flower wall using giant foam flowers.
According to IBISWorld, the US floral industry is worth $7.9 billion — and professional fresh flower walls for weddings can cost anywhere from $1,500 to $5,000+ when installed by a florist.
A DIY giant foam flower wall? Here's a realistic breakdown:
Total DIY investment: approximately $550–$900 for a full 8-foot wide backdrop — versus $1,500–$5,000 for a professionally installed fresh flower wall. And yours is reusable.
A Statista report found that the average US wedding costs over $30,000. Saving $1,000–$4,000 on your backdrop is a meaningful number — and you end up with something that looks better in photos anyway.
Building the backdrop is step one. Getting guests to actually use it — and getting those 1,000 photos — is a whole strategy in itself.
Don't hide your backdrop in a corner. Place it along the main traffic flow of your reception — near the bar, near the entrance, or adjacent to the dance floor. Anywhere guests naturally congregate.
According to event planning research from HGTV, guests are 3x more likely to engage with a photo opportunity when it's placed along a natural traffic path versus tucked away in a designated "photo booth" corner.
A simple sign — "Take a photo and tag us!" with your wedding hashtag — dramatically increases the number of photos guests take. It gives them permission and a reason to stop.
Keep the sign small and elegant. Acrylic with gold lettering sits beautifully in front of a flower wall without competing with it.
Have Your Photographer Spend Time There
Brief your photographer in advance. Ask them to capture at least 20–30 minutes of candid shots of guests in front of the backdrop throughout the reception. The best photos aren't always the posed ones — it's the laughing, the dancing, the stolen moments in front of your beautiful wall.
For a standard 8-foot wide by 8-foot tall backdrop, I typically recommend 3–4 large anchor flowers (4–5 feet), 4–6 medium flowers (2–3 feet), and 6–10 smaller accent pieces. That gives you full, lush coverage without any gaps.
Our bundle kits include 8–12 flowers and are designed specifically for backdrop builds — they're the most cost-effective way to get everything you need in one order.
Honestly, the earlier the better. I recommend giving yourself at least 3–4 weeks before your wedding to build and test your backdrop. This gives you time to make adjustments, add more flowers if needed, and do a full lighting test.
The great news is that EVA foam flowers don't wilt or degrade, so building them weeks in advance is totally fine. Store them in a cool, dry place and they'll look perfect on the day.
Yes — with some prep. EVA foam handles outdoor conditions well, but you'll want to anchor your frame securely against wind. Use sandbag weights at the base and, if possible, position the backdrop against a wall or fence for additional stability.
Avoid placing it in direct, harsh sunlight for extended periods — not because the foam will damage, but because harsh overhead light creates unflattering shadows in photos. Shaded or diffused light is always better for photography.
What's the difference between a freestanding flower kit and a wall-mounted kit?
Our freestanding kits ($80–$180) come with a base that lets the flower stand independently — perfect for flanking a backdrop, lining an aisle, or creating a photo moment without any wall attachment. Our wall-mounted kits ($50–$120) are designed to attach directly to a surface, frame, or wire mesh panel.
For a full backdrop build, I usually recommend a combination of both — wall-mounted flowers for the main structure, with a few freestanding pieces flanking the sides for depth and dimension.
This is one of the biggest advantages of foam over fresh flowers. EVA foam flowers are lightweight and surprisingly resilient. For transport, wrap individual flowers loosely in tissue paper and stack them in large plastic bins or wardrobe boxes.
For storage, keep them in a cool, dry space away from direct sunlight (prolonged UV exposure can fade colors over time). Stored properly, your giant foam flowers will last for years of events.
Absolutely. EVA foam takes paint beautifully. You can use foam-safe acrylic paint to customize, ombre, or add detail to any flower. Our guide on flawless foam board paint finishes covers exactly which paints work best and how to apply them without cracking.
Many of our customers also order natural-colored foam sheets and paint their own custom palette — it's a great option if you need a very specific color match for your wedding theme.
You've got everything you need to build a wedding flower wall that genuinely stops people in their tracks. The planning, the materials, the build, the lighting, the styling — it's all here. Now it's just about getting started.
If you're ready to dive in, head over to
Ready to Create Something Amazing?
Browse our collection of giant flower kits and start your next project today.