Your First Flower Wall: A Stress-Free Beginner Guide

If you've been Googling how to make a flower wall and feeling a little overwhelmed by all the tutorials out there — girl, I see you. I was exactly there once. Staring at a pile of foam sheets, a heat gun I'd never touched, and absolutely zero idea where to start. Spoiler: it turned out beautifully. And yours will too.
The truth is, a flower wall sounds way more complicated than it actually is. Once you understand the basic process — pick your kit, build your flowers, mount them — everything clicks into place. And I genuinely believe that anyone can do this on their first try, even if you've never crafted anything more complex than a birthday card.
This guide is written specifically for beginners. No fluff, no confusing jargon. Just the real, honest steps I wish someone had handed me when I was starting out. Let's do this together.
Key Takeaways
Here's something I tell every single beginner who reaches out to me: don't start from scratch. I know it's tempting to buy a big sheet of EVA foam and try to trace and cut your own petals. I did that. It took me three hours and my petals looked like sad little blobs.
A wall flower kit changes everything. The petals are already cut for you, sized perfectly, and ready to shape. You skip the most frustrating part of the process and go straight to the fun stuff.
What's Actually Inside a Kit
Our kits come with pre-cut EVA foam petals in multiple layers, a center piece, and full instructions. The foam is the good stuff — not the flimsy craft store sheets. It holds its shape after heat shaping and looks genuinely lush once it's assembled.
You get everything sized and ready. All you bring is your heat gun, glue gun, and about an hour of your time for an 18" flower.
Our wall flower kits come in 18", 24", and 30" sizes. For your very first build, I always recommend the 18". It's big enough to look dramatic on a wall but small enough that you're not wrestling with giant petals while you're still learning the heat-shaping technique.
Once you've built two or three 18" flowers and you're feeling confident? Jump up to the 24" or 30". Trust me, you'll be ready faster than you think.
One of the biggest beginner mistakes I see is over-buying tools. You do not need a $200 crafting setup to make a gorgeous flower wall. Real talk? Here's the short list.
That's genuinely it for your first build. If you want to go deeper on painting techniques before you start, check out my post on flawless foam board paint finishes — it's a game changer for getting that professional look.
💡 Pro Tip
Keep a silicone mat or a piece of parchment paper on your work surface. Hot glue peels right off silicone, which saves you from a sticky mess and keeps your workspace clean the whole time.
How to Make a Flower Wall: Step-by-Step for Beginners
Ok, this is where it gets really fun. Let me walk you through the actual build process so you know exactly what to expect before you even open your kit.
Before you touch the heat gun, lay all your petals out flat and sort them by size. Most flowers have 3-4 layers of petals, going from largest at the base to smallest at the center. Getting familiar with the layers before you start means you won't be scrambling mid-build.
This is the step that feels scary but is actually the most satisfying once you get it. Hold your heat gun about 4-6 inches from the petal and move it in a slow sweeping motion. The foam will start to soften and curl. Use your fingers (carefully — the foam gets warm) or a rounded object like a marker cap to press the petal into a curved shape.
Work quickly but gently. The foam holds its shape as it cools, which takes about 10-15 seconds. If you don't love the shape, just reheat and try again. No pressure.
For a deeper dive on this technique, my post on heat gun techniques for shaping foam flower petals covers every detail you need.
Start with your largest petal layer and glue them evenly around the base circle. Then add the next layer slightly overlapping and offset from the first. Keep working inward, adding each layer, until you reach the center piece.
The offset layering is what creates that lush, full look. Don't line the petals up perfectly — a little variation is exactly what makes it look real and organic.
Step 4: Add the Center
The center is your finishing touch. Glue it down firmly and give the whole flower a gentle squeeze from the sides to make sure everything is secure. Then step back and look at what you just made.
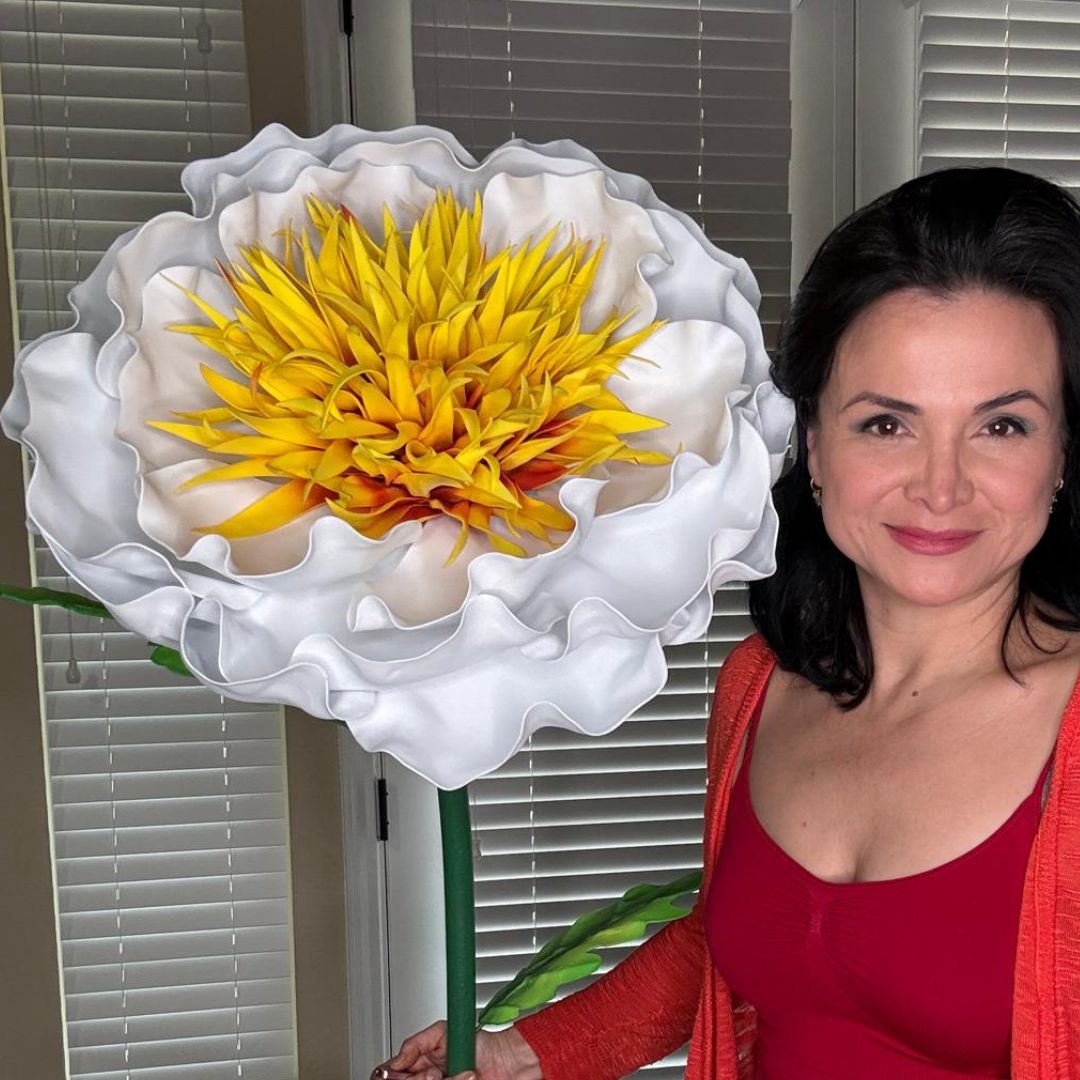
You made a giant flower. I'm not kidding when I say this moment never gets old.
This is the part that makes people the most nervous, and I totally get it. But I promise — mounting is straightforward once you know your options.
For a temporary display — a party, a photoshoot, a pop-up event — large Command strips are your best friend. Use 2-3 strips per flower depending on the size. Press firmly, wait the full recommended time before hanging, and you're good to go.
This method works beautifully on painted drywall and leaves zero damage. Perfect for renters or venues where you can't put holes in walls.
If you're installing flowers in a boutique, studio, or permanent event space, a small nail or screw through the base of the flower into a stud gives you a rock-solid mount. The flower head covers the hardware completely — no one will ever see it.
Planning a full backdrop? Start by laying your flowers out on the floor first to play with your arrangement before anything goes on the wall. Mix your 18", 24", and 30" sizes for depth and visual interest. Odd numbers of flowers almost always look better than even numbers — it's a design trick that works every single time.
🌸 Ready to get started?
Browse our Wall Flower Kit collection — starting at just $37.99 — and find your perfect first build.
Choosing Your Colors Like a Pro
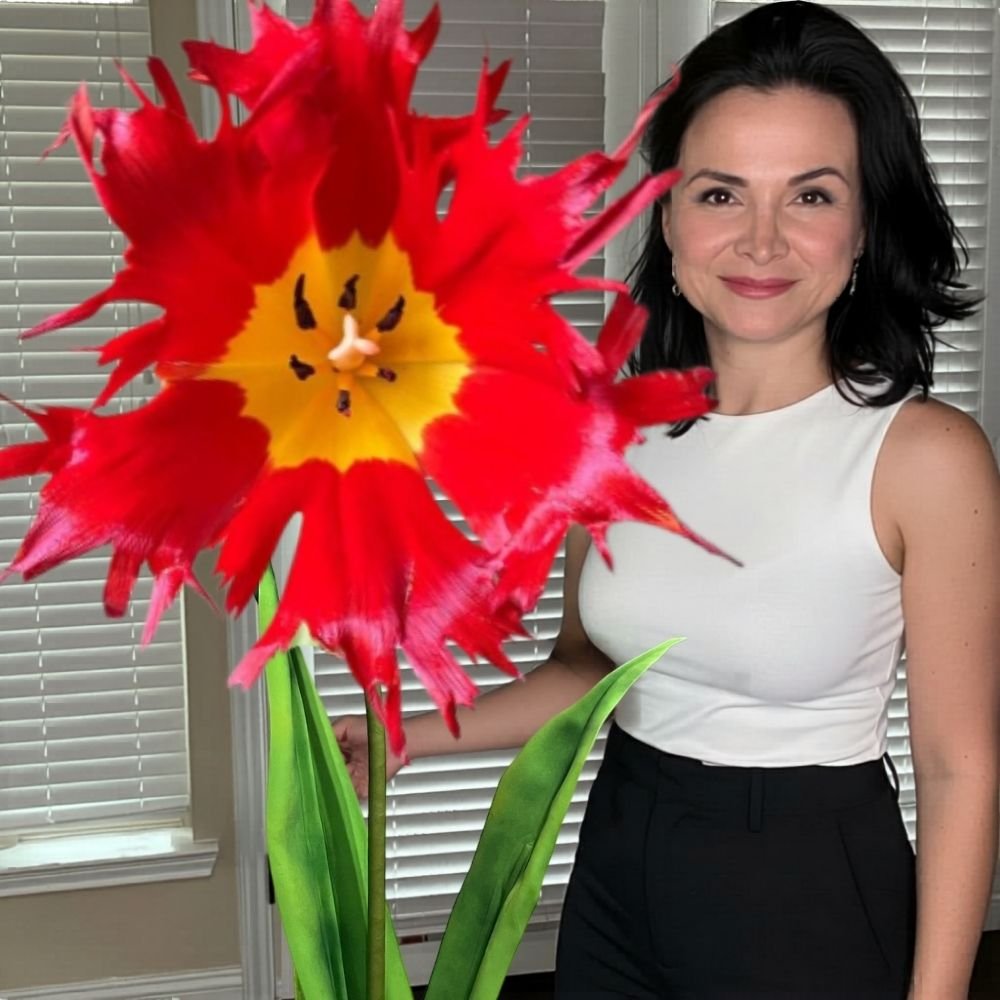
Here's something I wish someone had told me early on: the color of your foam matters less than you think, because you're going to paint it anyway. Our EVA foam takes acrylic paint beautifully, and layering colors — a deeper base with a lighter highlight on the petal tips — is what gives your flowers that magazine-worthy look.
Color Combinations That Always Work
- Classic white with a blush center: Timeless, elegant, works for literally every event.
- Deep burgundy with dusty rose: So rich and moody — perfect for fall or a romantic wedding backdrop.
- Coral and peach blend: Fresh, summery, and gorgeous for baby showers and bridal events.
- Monochromatic lavender: Different shades of the same color family always look sophisticated and intentional.
If you want a detailed walkthrough on getting paint onto foam without it looking streaky or flat, my guide on painting on foam core has everything you need.
Wall Flower Kit Size Comparison
Not sure which size to order? Here's a quick breakdown to help you decide:
| Size | Best For | Build Time (Approx.) | Beginner Friendly? | Starting Price |
|---|---|---|---|---|
| 18" | First build, accent pieces, smaller walls | 45–60 minutes | ✅ Yes — highly recommended | From $37.99 |
| 24" | Statement walls, backdrops, mixed arrangements | 60–90 minutes | ✅ Yes — after 1-2 practice builds | See shop for pricing |
| 30" | Full backdrops, events, professional installs | 90–120 minutes | ⚡ Better with some experience | See shop for pricing |
What to Do When Things Don't Go Perfectly
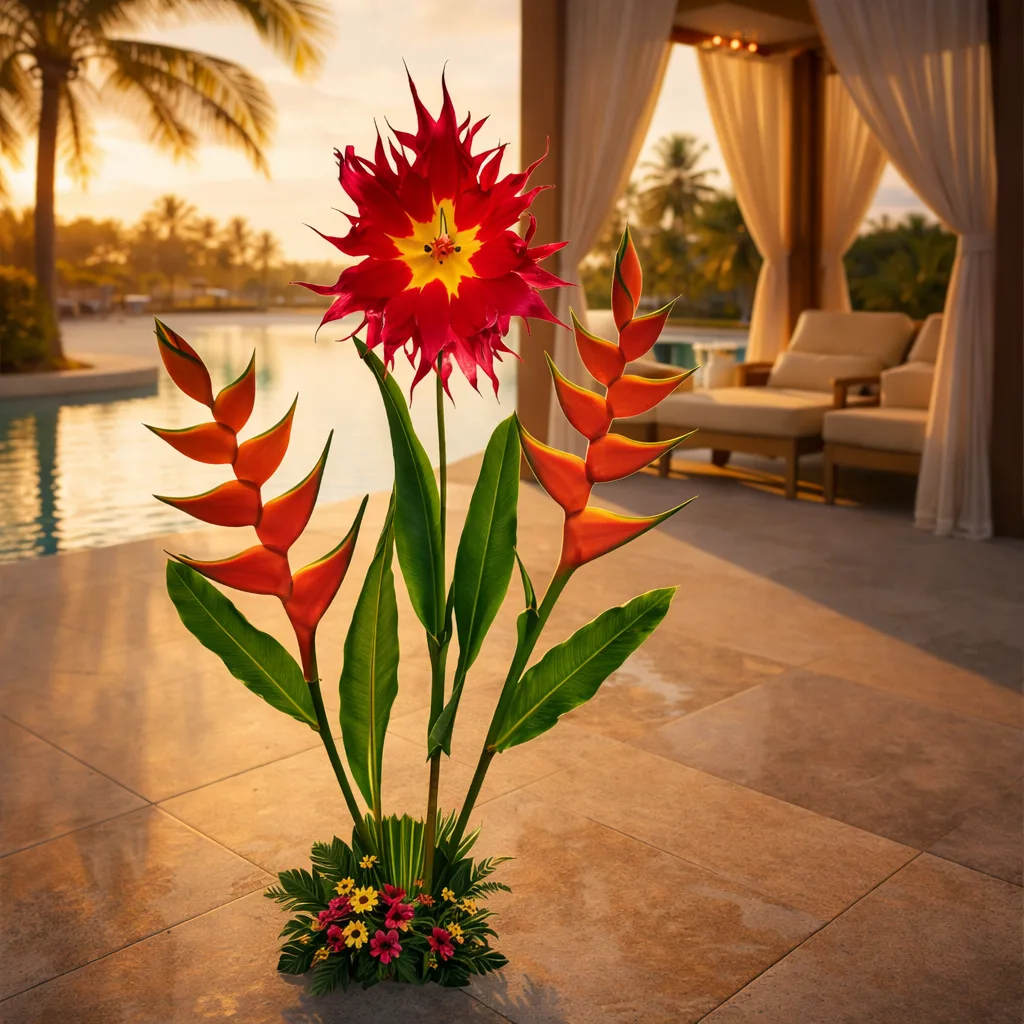
Real talk? Something will probably go slightly sideways on your first build. A petal might not curve the way you wanted. A glue string might appear from nowhere. A color might dry darker than expected. This is completely normal and not a reason to panic.
Common Beginner Fixes
- Petal won't hold its curve: Reheat it — EVA foam is incredibly forgiving and can be reshaped multiple times.
- Glue strings everywhere: Let them dry completely, then rub them off with your fingers or a cool hair dryer. They disappear instantly.
- Petal gaps showing: Add a small extra petal piece from your scrap foam to fill the gap. Nobody will ever know.
- Paint looks streaky: Let it dry fully and add a second coat with a damp sponge instead of a brush for a smoother finish.
The best thing about EVA foam is that it's endlessly fixable. I've never had a flower that couldn't be saved with a little patience. Check out our EVA foam collection if you want extra material on hand for just this reason.
💡 Pro Tip
Build a "practice petal" before you start on your actual kit. Take one scrap piece of foam, heat it, shape it, paint it. Get comfortable with how the material behaves before you touch your real petals. Five minutes of practice saves an hour of frustration.
Where to Use Your Finished Flower Wall

Once you've built your first flower, you're going to want to put it everywhere. And honestly? You should. These things are incredibly versatile.
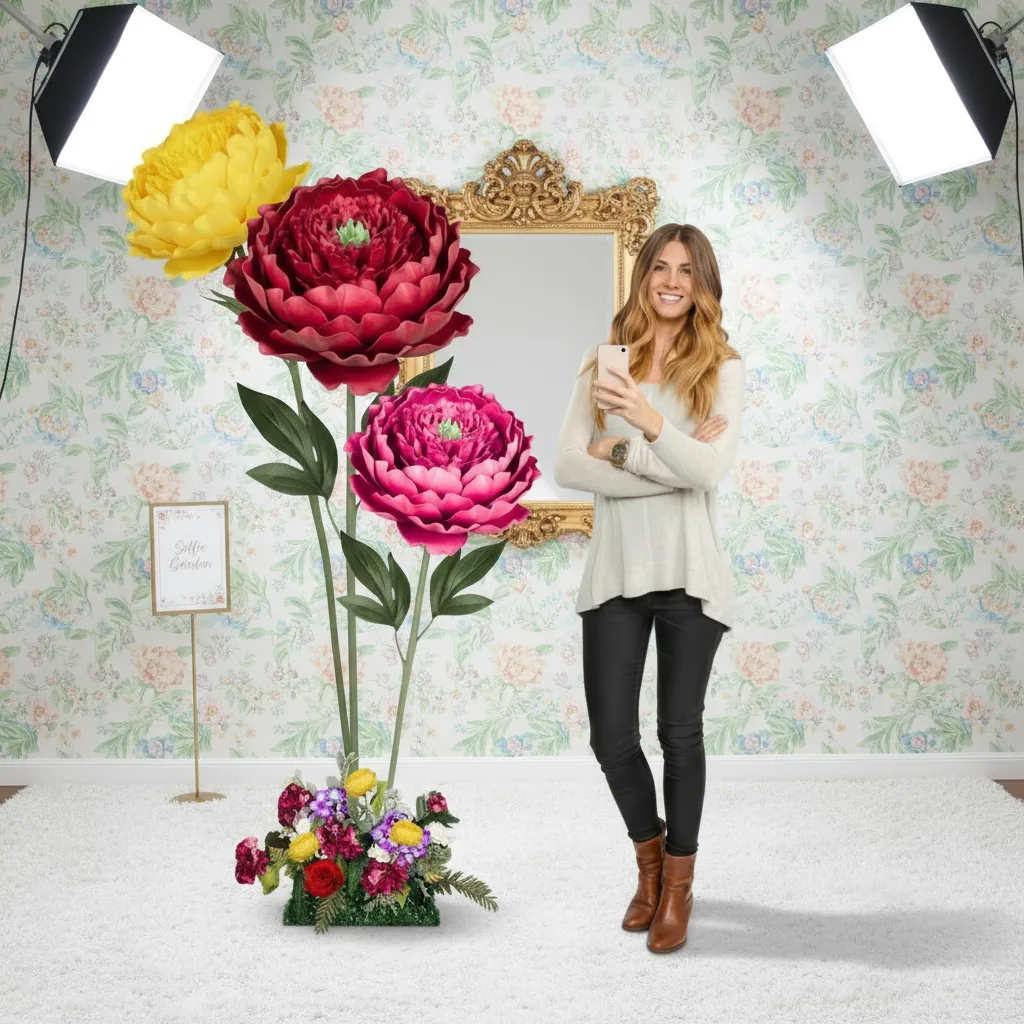
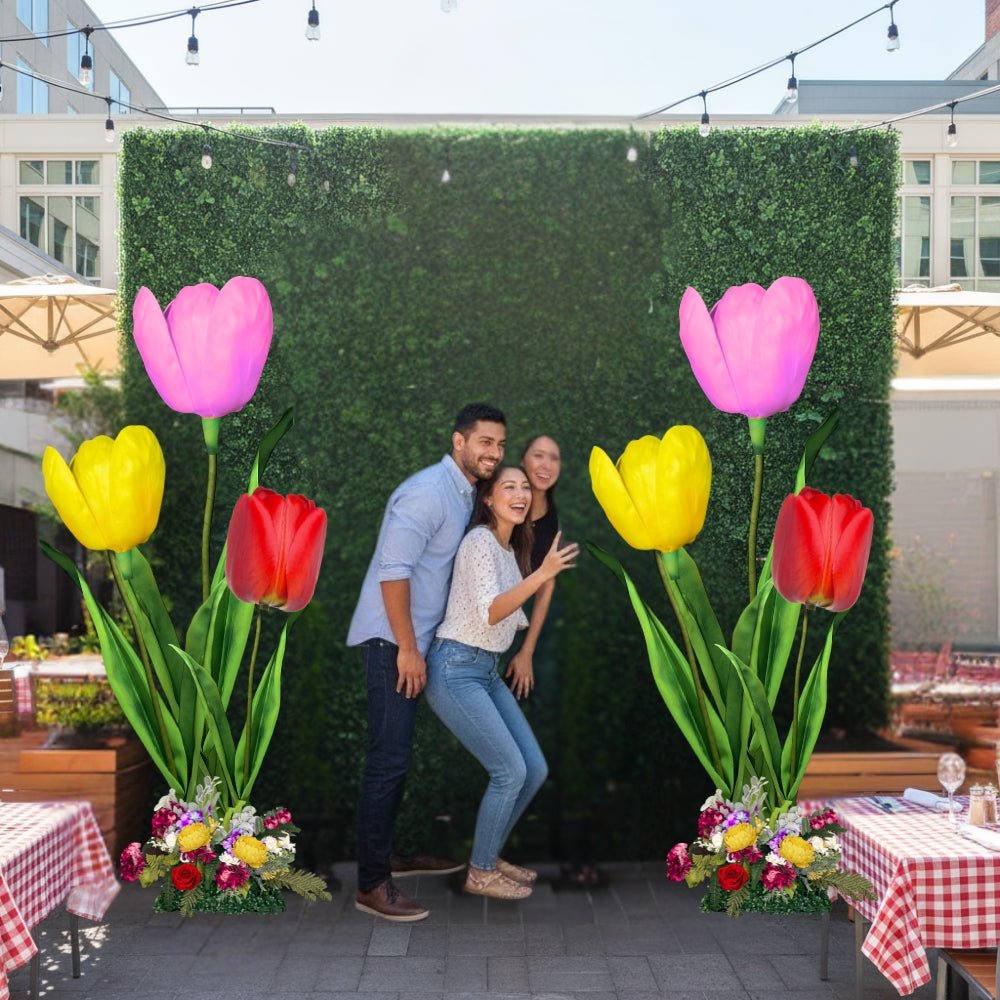
- Photo backdrops: A cluster of 3-5 flowers on a wall creates an instant photo moment. Great for photo booth setups at any event.
- Baby showers and bridal showers: A soft floral wall behind the dessert table or gift table is always a hit. See some gorgeous inspiration in my baby shower backdrop ideas post.
- Boutique and retail displays: Giant flowers on a shop wall stop people in their tracks. Seriously — they drive foot traffic and social shares like nothing else.
- Home decor: A single 30" flower above a bed or sofa? Absolutely stunning and completely unexpected.
- Graduation parties: Check out my graduation party backdrop ideas for some serious inspiration.
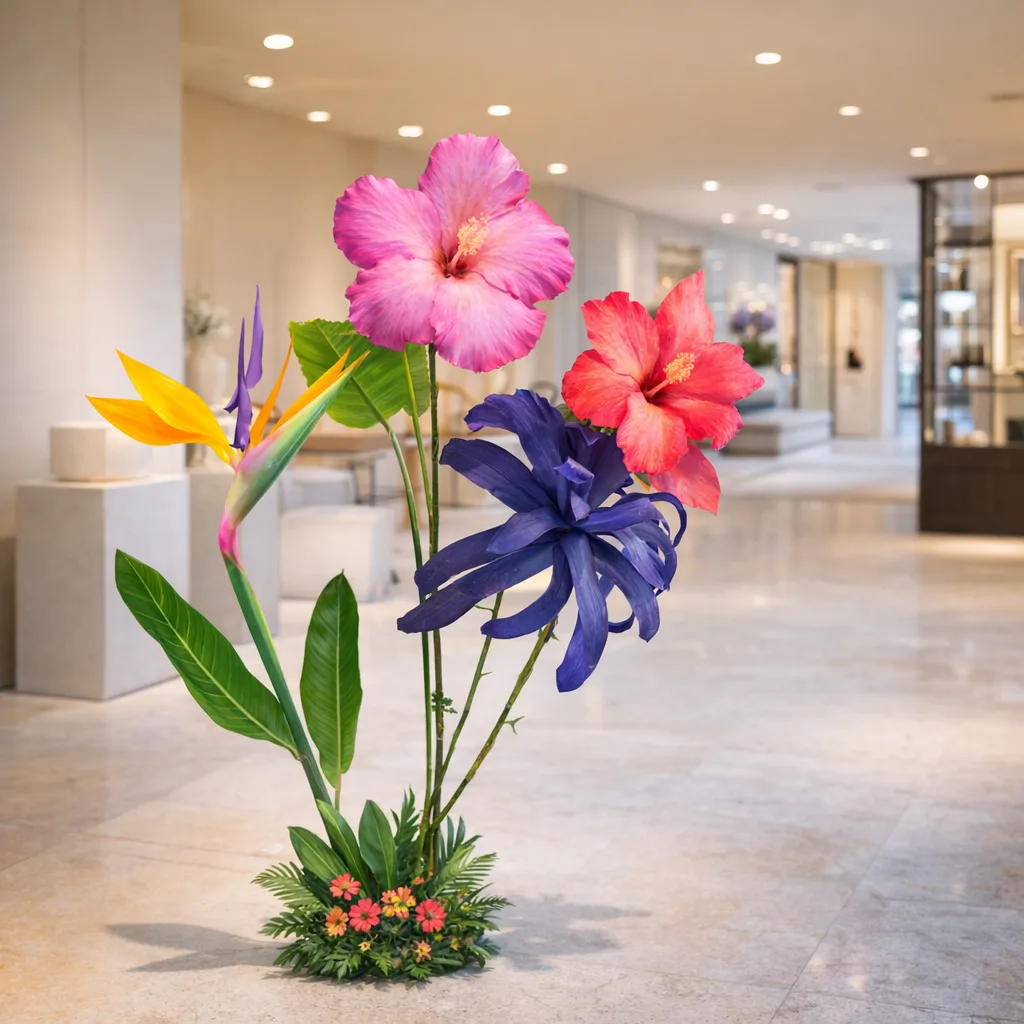
If you're thinking about taking this beyond personal projects and into events or business, you might also love my post on freestanding giant flower arrangements for events — because once you've mastered the wall, the next step is going big in open spaces too. Our freestanding flower kits are built for exactly that.
Frequently Asked Questions
Do I need any crafting experience to make a flower wall?
Absolutely not. Our wall flower kits are designed with beginners in mind — the petals are pre-cut, the instructions are clear, and the materials are forgiving. If you can use a glue gun and a heat gun (both of which take about five minutes to get comfortable with), you can build a beautiful flower wall.
I've had customers tell me their very first craft project ever was one of our kits — and they sent me the most gorgeous finished photos. You've got this.
How many flowers do I need for a full backdrop wall?
It depends on the size of your wall and how full you want the look. A typical 8-foot wide backdrop with a
Ready to Create Something Amazing?
Browse our collection of giant flower kits and start your next project today.