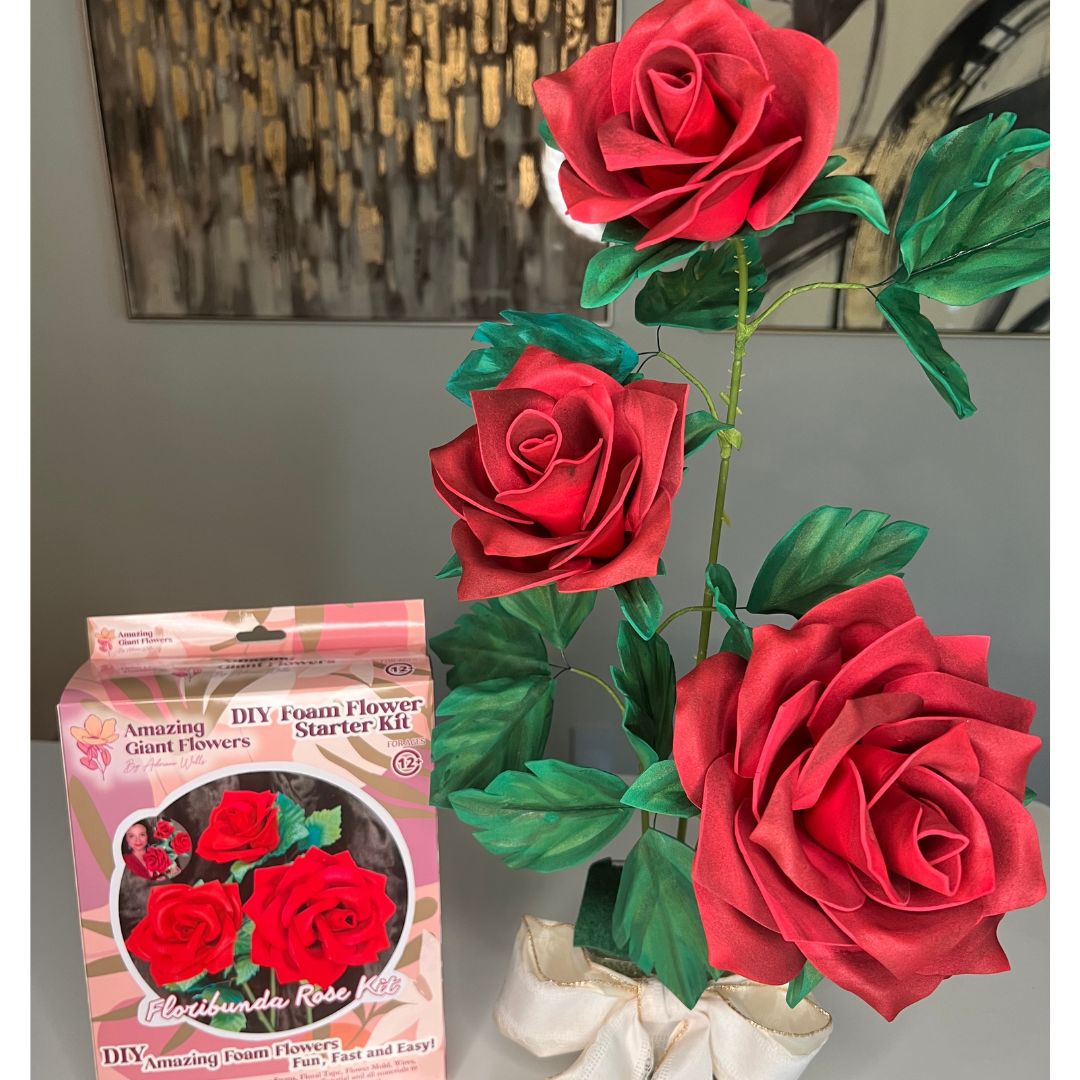
A Beginner's Guide to Building Your First Real Touch Rose
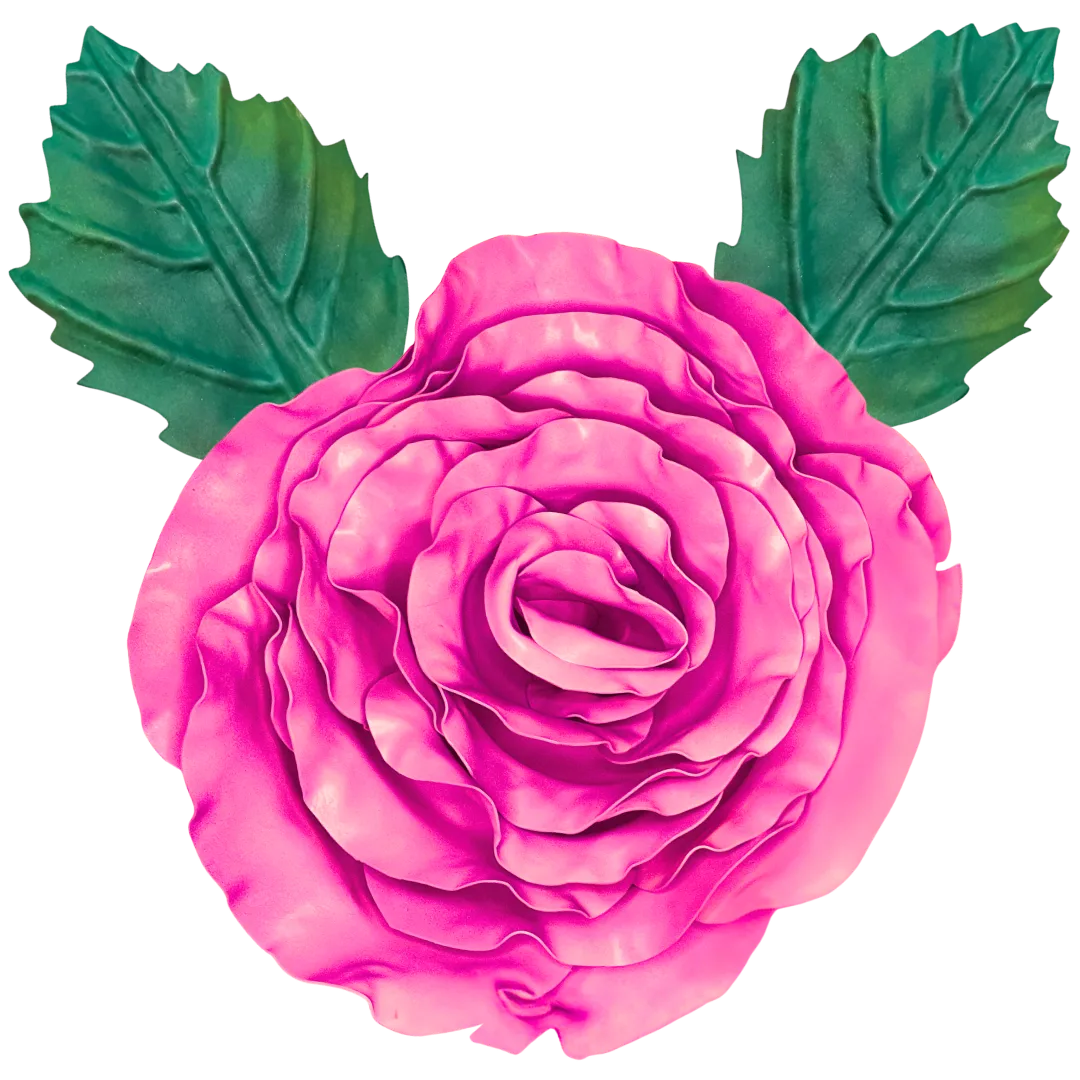
So you've been scrolling Pinterest for the last hour, completely obsessed with those impossibly beautiful foam roses that look like they were plucked straight from a garden. And now you're wondering — can I actually make one of those? Yes. Yes, you absolutely can. And if you grab a real touch rose craft kit, I promise you it's way more doable than you're imagining right now.
I'm Adriana, and I've been making life-size foam flowers out of my Houston studio for years. I've taught total beginners — people who've never picked up a craft knife in their lives — and watched them walk away with roses so realistic that guests at events try to smell them. That moment never gets old for me.
This guide is specifically for you if you're just starting out. No fluff, no assuming you already know what EVA foam is. We're going from zero to your first gorgeous bloom, together.
Key Takeaways
Real talk? When I first started making oversized flowers, I tried paper. Templates, layers, curling with a bone folder — the whole Lia Griffith method. And I loved it, I did. But paper flowers have a serious weakness: they don't survive humidity, outdoor events, or an accidental spilled drink. Houston summers basically destroyed my first paper arch.
Foam changed everything. Specifically, EVA foam — that soft, flexible material that shapes beautifully with heat and holds its form forever. If you want to go deep on the material science of it, I wrote a whole breakdown in A Crafter's Guide to Every Type of Foam for Giant Flowers. But for now, just know this: foam is more forgiving, more durable, and honestly more realistic than paper.
And when you're a beginner? Forgiving is everything.
Foam vs. Paper: The Honest Comparison
| Feature | EVA Foam Roses | Paper Flowers (Lia Griffith style) |
|---|---|---|
| Durability | Lasts years with proper storage | Fragile, tears easily |
| Waterproof | Yes — outdoor safe | No — moisture destroys it |
| Realism | Real-touch finish mimics actual petals | Clearly paper on close inspection |
| Beginner-friendly | Very — heat reshapes mistakes | Moderate — cutting is precise work |
| Tools needed | Heat gun, craft glue, kit | Scissors, bone folder, glue, templates |
| Price per flower | ~$8–$25 depending on kit | ~$5–$15 but higher time cost |
Want a deeper dive on this comparison? I covered it thoroughly in Foam Flowers vs Paper Flowers: Which Is Better for Events? — worth a read before you commit to a material.
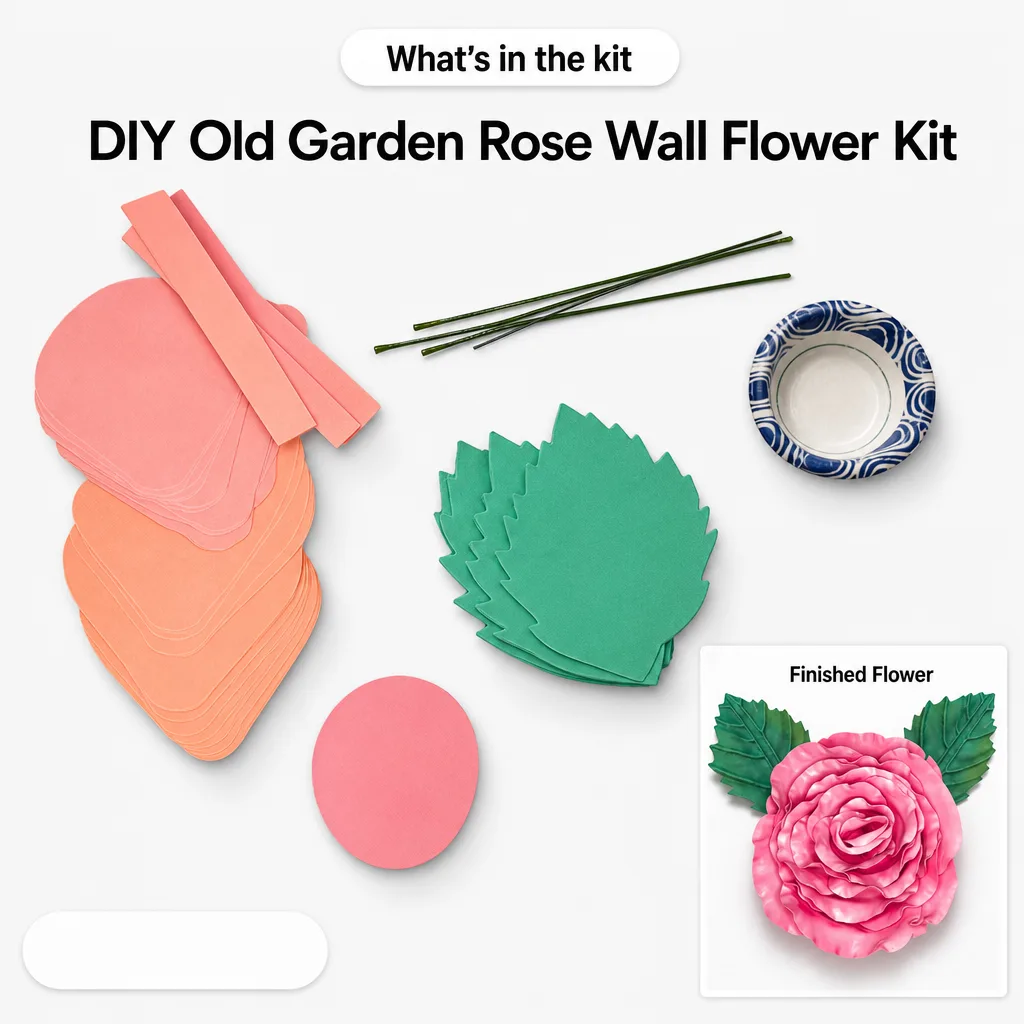
Ok, this is where it gets really fun. When you open one of our Life-Size Foam Flower Kits, you're not staring at a pile of raw foam wondering what to do. Everything is thought out for you.
Here's what you get:
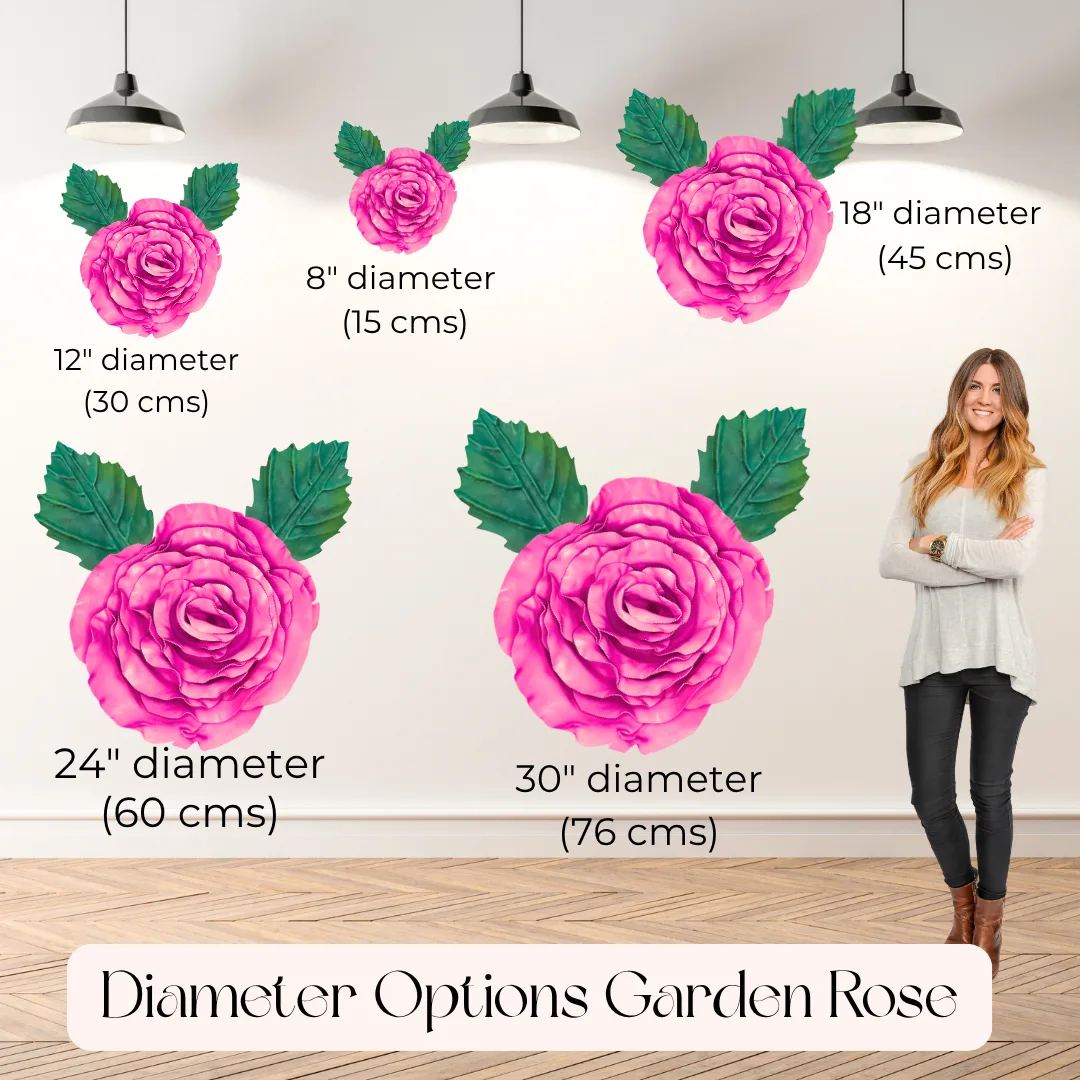
Kits range from $34.99 to $49.99 and make anywhere from 2 to 6 flowers depending on the size you choose. For a first-timer, I always recommend starting with a kit that makes 3–4 flowers so you have room to practice without pressure.
Good news: you don't need a craft room full of equipment. Seriously. Here's what I tell every beginner who reaches out to me:
💡 Pro Tip
Keep a bowl of cold water nearby when you're heat-shaping petals. If you overshoot the curl or the shape isn't right, dunk the petal in cold water immediately — it resets the foam and you can try again. This trick alone will save your sanity on your first attempt.
Let me walk you through this like we're sitting at my craft table together. I'll keep it simple and honest about where beginners usually get tripped up.
Your kit will have petals in different sizes — small ones for the center, larger ones for the outer layers. Lay them all out before you start. Don't skip this step. Grabbing the wrong size mid-build is the #1 beginner mistake and it throws off your whole flower shape.
Hold your heat gun about 3–4 inches from a petal and move it in slow circles for about 5–8 seconds. The foam will soften — you'll feel it go slightly limp. Press it immediately into the mold and hold for 10 seconds. Release. That curve you see? That's your petal.
For a deeper dive into heat gun technique, I have a dedicated post on heat gun techniques for shaping foam flower petals that's super helpful for beginners.
Step 3 — Build the Center First
Take your two smallest petals and roll one into a tight cone — this is your rose bud center. Glue it. Then wrap the second small petal around it, slightly offset. This offset wrapping is what gives a rose its signature spiral look.
Step 4 — Layer Outward
Work from small to large, gluing each petal slightly lower than the last. Angle them outward more as you go — inner petals are upright, outer petals open and relaxed. Rotate your rose as you build so you're always adding to the "thinnest" side.
Step 5 — Finish and Fluff
Once all petals are glued, go back with your heat gun on a low pass and gently encourage the outer petals to curl back a little more. This is the finishing touch that makes it look alive. Let it cool completely before handling.
🌸 Ready to get started?
Browse our Life-Size Foam Flower Kits collection and find your perfect match. Kits start at just $34.99 and everything you need is included.
What to Do With Your Finished Rose
Once you've made your first one, I guarantee you'll immediately start thinking about making more. That's just how it goes. Here are some ideas for where your life-size foam roses can shine:
- Wedding arches: Foam roses hold up beautifully in outdoor ceremonies. I've seen stunning setups in my post on giant foam flowers for wedding arches.
- Photo backdrops: A cluster of 6–8 life-size roses makes an incredible backdrop for parties, bridal showers, or brand activations. Check out this DIY giant flower backdrop guide for inspiration.
- Quinceañera and graduation décor: These events are made for dramatic floral statements. I have specific guides for quinceañera backdrop ideas and graduation party backdrop ideas if you're planning ahead.
- Home décor: A single life-size foam rose in a vase on your entryway table? Absolutely stunning and it lasts forever.
- Baby showers: Soft, romantic, beautiful — foam roses are perfect for baby shower backdrops.
"One of my customers told me her guests spent the entire reception trying to figure out if the roses were real. That's the goal. That's always the goal."
Common Beginner Mistakes (And How to Avoid Them)
📺 Watch our step-by-step tutorial: How to Make a Giant Rose
I've watched a lot of beginners work through their first kits, and honestly? The same few things trip everyone up. Let me save you the trouble.
- Overheating the foam: If you hold the heat gun too close or too long, the foam warps and bubbles. Keep it moving, keep your distance at 3–4 inches, and trust the process.
- Not using the mold: I've seen people skip it because they think they can freehand the curve. You can't. Not at first. The mold is what makes it look real — use it every single time.
- Gluing too fast: If your glue is still stringy and wet when you press the petal, it'll shift. Hold each petal firmly for a full 15–20 seconds before releasing.
- Making all petals the same angle: Remember — inner petals upright, outer petals open. This is what creates dimension.
- Rushing the center: The center bud sets the whole shape of your rose. Take your time with those first two petals. Everything else builds on them.
💡 Pro Tip
Make your first rose without any pressure to display it. Treat it as a practice run. By your second flower you'll already feel the difference — your hands will know how the foam behaves, your eye will know what angles look right. The learning curve is short, I promise.
Frequently Asked Questions
Do I need any craft experience to use a real touch rose craft kit?
Absolutely not. These kits are designed specifically with beginners in mind. The pre-cut petals and included mold remove the two most technically demanding parts of the process. If you can use a glue gun and a heat gun, you can make a beautiful foam rose. Most beginners complete their first flower within 45–60 minutes.
How long do foam roses last?
Ready to Create Something Amazing?
Browse our collection of giant flower kits and start your next project today.