Bendable Pipe 101: A Beginner's First Sturdy Stem
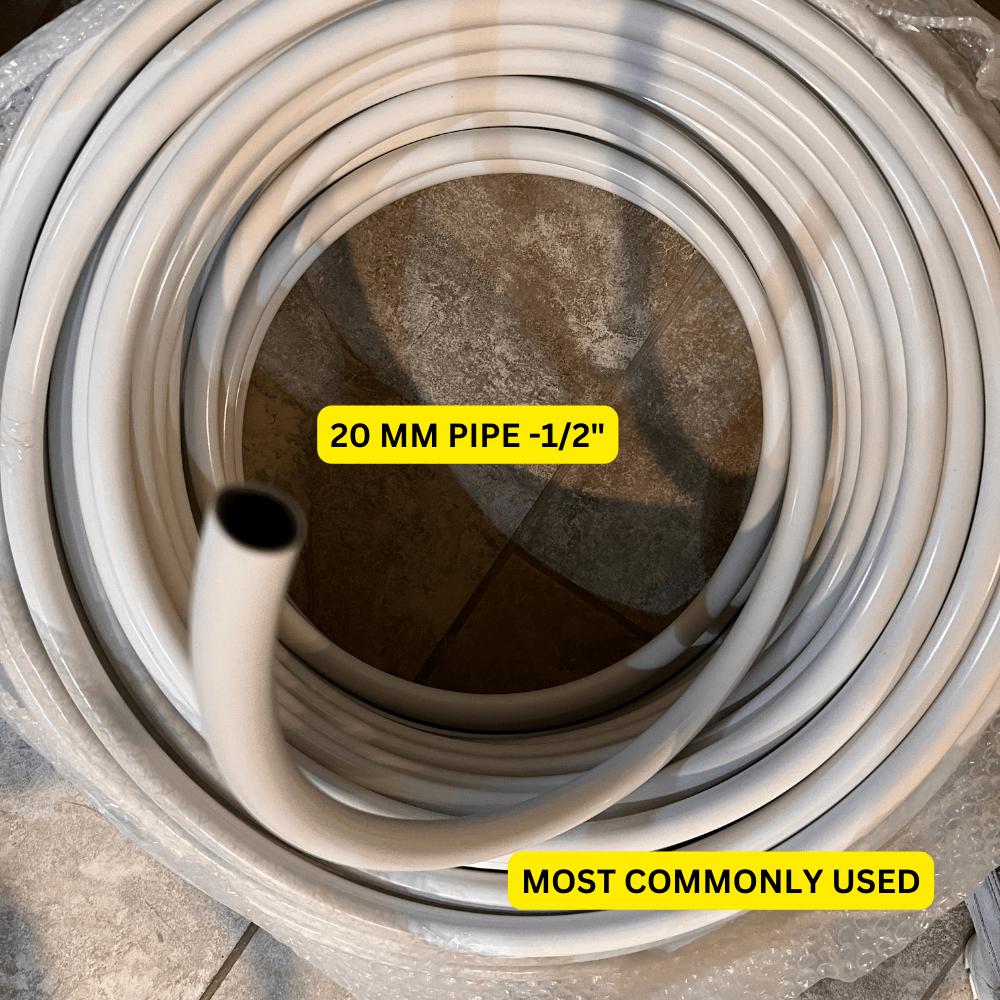
If you've been wondering how to use bendable pipe to build your first giant flower stem, I want you to take a breath — because this is genuinely one of the easiest parts of the whole process. I remember staring at my first coil of bendable pipe thinking, "Okay, now what?" And honestly? Within five minutes I was shaping it, bending it, repositioning it, and completely in love with how forgiving it is.
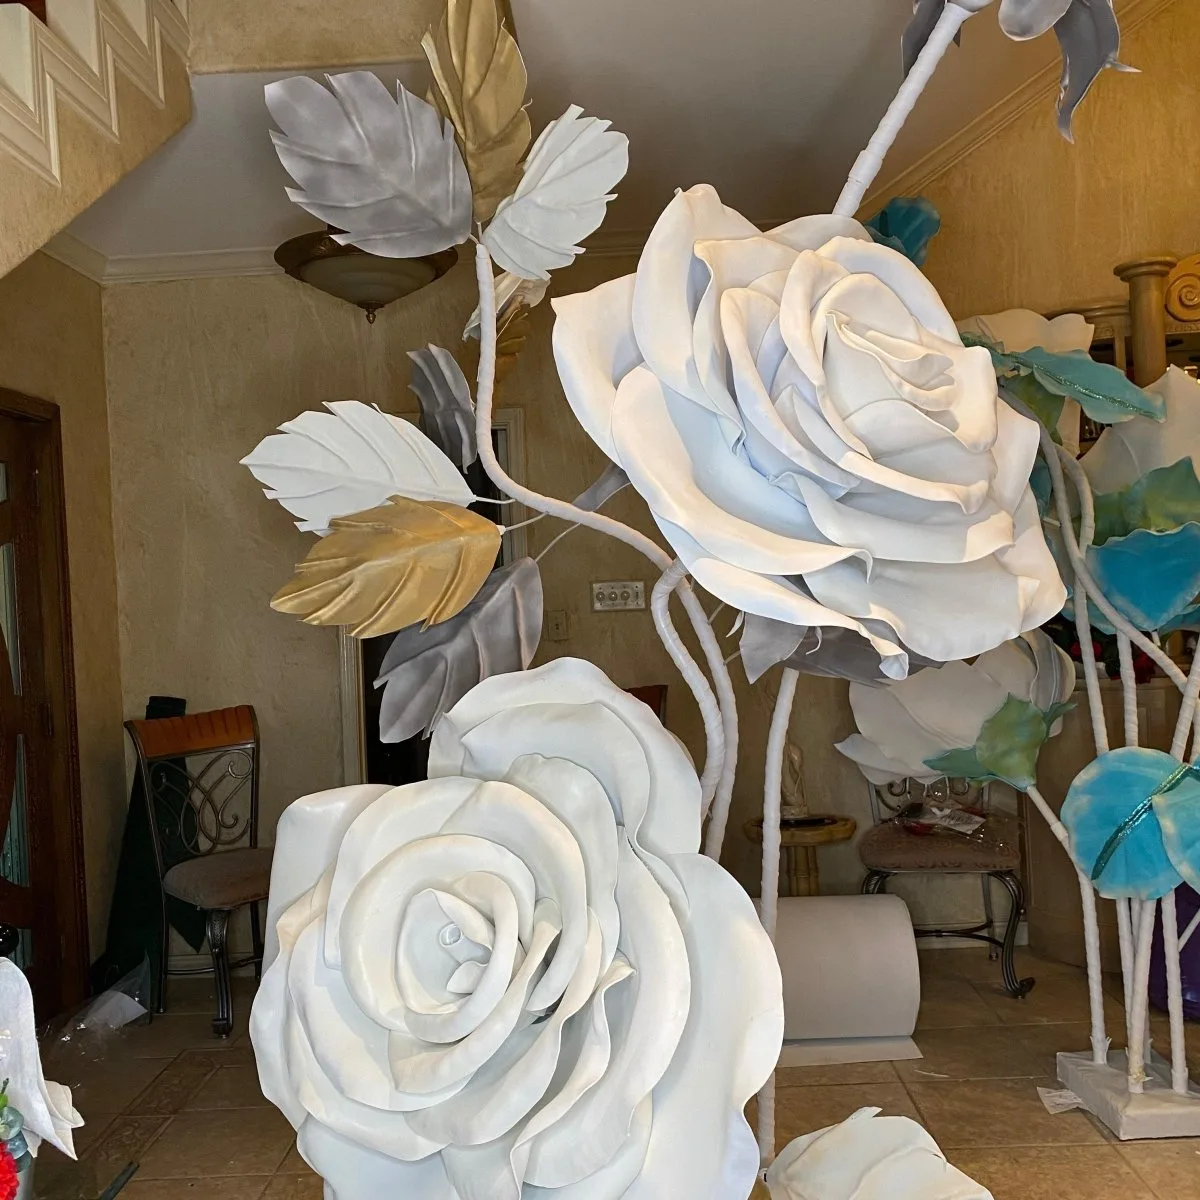
Bendable pipe (sometimes called armature wire or flexible conduit depending on where you're shopping) is the secret backbone of every freestanding giant flower display I make. It's what takes a beautiful foam or fabric bloom from "pretty flat thing" to a dramatic, dimensional, standing-tall showstopper. Without a solid stem, you've got a flower. With one? You've got an installation.
This guide is specifically for you if you've never touched a bendable pipe before. We're starting from zero, no experience required. By the end, you'll know exactly what to buy, how to shape it, how to attach your bloom, and how to troubleshoot the little things that trip up beginners. Let's do this.
Key Takeaways
Let me clear something up right away. "Bendable pipe" isn't one single product — it's a category. What we sell in our bendable pipes collection is a flexible, malleable tubing that has enough internal structure to hold a position when you bend it, but enough give that you can reshape it by hand without tools.
Think of it like a heavy-duty pipe cleaner — but one that can actually support the weight of a 24-inch foam peony.
The Core Properties That Make It Beginner-Friendly
- Repositionable: Bent it too far? Bend it back. No damage, no drama.
- Lightweight: Your flower display won't topple under its own stem weight.
- Cuttable: Standard wire cutters or even heavy-duty scissors trim it to your needed length.
- Paintable: Wrap it in floral tape or hit it with spray paint to match your color palette.
When I first started making giant flowers for events here in Houston, I tried wooden dowels. They snapped. I tried PVC. It wouldn't curve. Bendable pipe was the moment everything clicked — it works with you, not against you.
Not all bendable pipes are created equal, and picking the wrong one for your first project is the #1 beginner mistake I see. Here's what to look at before you order.
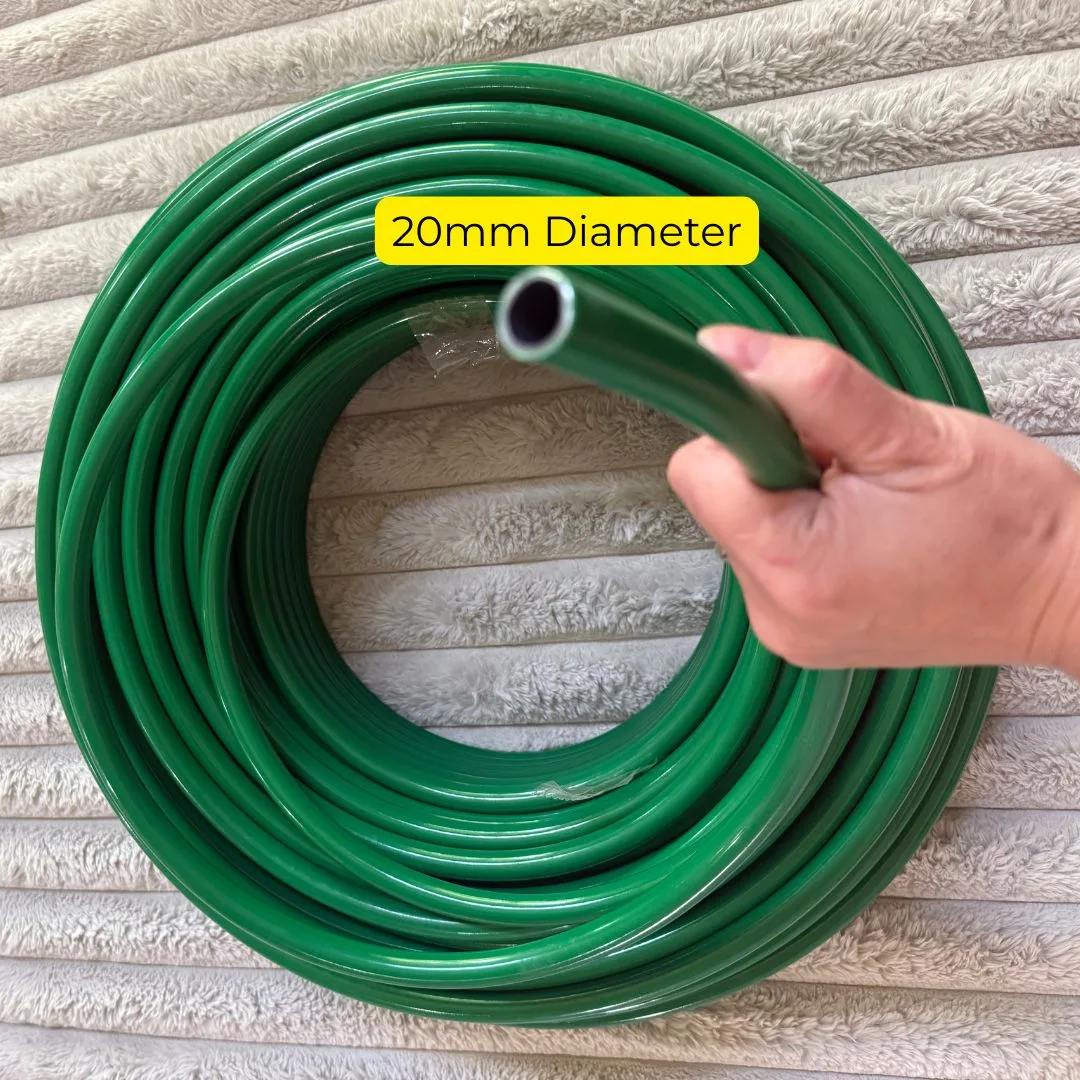
Thinner pipes (around ½ inch diameter) are great for smaller blooms — think 12–18 inch flowers. For larger blooms in the 24–36 inch range, you want something closer to ¾ inch to 1 inch diameter so the stem doesn't wobble under the flower's weight.
My honest recommendation for a first stem? Go ¾ inch. It's the sweet spot — easy to bend by hand, stiff enough to stand, and works with most beginner flower sizes.
For a freestanding single-stem display, I usually cut to about 36–48 inches total. That gives you roughly 30–40 inches of visible stem plus a few inches that anchor into your base or stake into the ground.
If you're building something for a freestanding giant flower arrangement, you might want stems at varying heights — some at 48 inches, some at 30 inches — to create that natural, layered look.
💡 Pro Tip
Always cut your pipe 2–3 inches longer than you think you need. You can always trim more off, but you can't add length back. Ask me how I learned this the hard way at a wedding in Katy, TX with 20 minutes to setup time left.
Tools You Need (Spoiler: It's a Very Short List)
One of the things I love most about teaching beginners is watching their faces when I tell them the tools list. They're expecting something intimidating. It's not.
That's it. No power tools. No special workshop. I've built stems at my kitchen table with a toddler on my hip. You've got this.
Ok, this is where it gets really fun. Let's actually build something. I'm going to walk you through creating a single freestanding stem from scratch — the kind that makes people walk into a room and immediately ask, "Wait, who made that?"
Decide on your finished stem height. For a first project, I suggest 36 inches of visible stem. Add 4 inches for your anchor point. Cut to 40 inches total.
Use your wire cutters and make a clean, straight cut. No jagged edges — they'll snag your floral tape later.
Real flowers don't grow perfectly straight. Neither should yours. Hold the pipe in both hands and apply gentle, even pressure to create a slight natural curve — maybe a 10–15 degree lean at the top. This is what gives giant flowers that organic, alive-looking quality.
Want a dramatic droop? Bend more. Want a stiff, formal look? Keep it nearly straight. The pipe does whatever you tell it to do. That's the whole magic.
Starting at the bottom, stretch your floral tape slightly as you wrap upward in a spiral. Stretching activates the adhesive — don't skip this or it won't stick. Work your way to the top in one continuous motion.
Green tape reads as "stem." Brown tape reads as "branch." Both are beautiful. Match to your event palette.
Step 4 — Anchor Your Stem
Push the bottom 3–4 inches of your pipe into your base. If you're using a pot filled with floral foam or sand, press firmly and wiggle slightly to seat it. If you're using a stake for outdoor events, drive it into the ground first, then slide the pipe over the top.
Check for wobble. A little is fine. A lot means you need more anchor depth or a heavier base.
Apply a generous ring of hot glue to the top inch of your pipe. Press your flower head firmly onto it and hold for 30 seconds. Let it cool fully before you let go or adjust the angle.
Tilt the bloom slightly toward the viewer — about 20–30 degrees forward. This is how real flowers face. It makes a huge difference in photos.
🌸 Ready to get started?
Browse our bendable pipes collection and find your perfect match for your first stem.
Pairing Bendable Pipe With the Right Flower Materials
Your stem is only as good as the flower sitting on top of it. Here's a quick cheat sheet for what works with what.
| Flower Material | Recommended Pipe Diameter | Stem Length (Typical) | Best For |
|---|---|---|---|
| EVA Foam (12–18 inch bloom) | ½ inch | 24–36 inches | Tabletop centerpieces, small clusters |
| EVA Foam (24–30 inch bloom) | ¾ inch | 36–48 inches | Freestanding displays, photo backdrops |
| Fabric Flower (any size) | ¾ inch | 30–48 inches | Weddings, upscale events |
| Paper Flower (18–24 inch bloom) | ½ inch | 24–40 inches | Indoor events, bridal showers, quinceañeras |
| Large Mixed Installation (36+ inch bloom) | 1 inch | 48–60 inches | Arches, grand entrances, corporate events |
If you're working with EVA foam for your blooms — which I highly recommend for beginners because it's so forgiving — you'll want to check out our full guide on every type of foam for giant flowers before you order materials. Knowing your foam helps you pick the right pipe weight.
Common Beginner Mistakes (And Exactly How to Avoid Them)

I've taught hundreds of crafters at this point, in workshops and through our online community. These are the mistakes I see on repeat — and they're all completely fixable.
Mistake 1 — Skipping the Base
Trying to prop your stem up with tape, rocks, or a vase full of marbles. I've seen it. It doesn't end well. Use a proper base. Our freestanding flower kits are designed to work with our pipes specifically — no guessing, no wobbling.
Mistake 2 — Over-Bending in One Spot
Bending the same spot repeatedly weakens the internal structure. Spread your bends across a 6–8 inch section for curves, rather than creating a sharp kink at one point.
Mistake 3 — Gluing Before the Pipe Is Stable
Hot glue your bloom on after the stem is anchored and you're happy with the position. If you glue first and then try to adjust the curve, you risk cracking the glue joint. Anchor first. Glue second. Always.
Mistake 4 — Choosing Pipe That's Too Thin
Beginners often default to the thinnest option because it seems easier to bend. But a thin pipe under a heavy bloom will droop over the course of a 4-hour event. Go one size up from what you think you need. You'll thank yourself at hour three of the wedding reception.
What You Can Build Once You've Mastered One Stem

Here's the thing about learning how to use bendable pipe for one stem: you've just unlocked everything else. Every giant flower project — arches, backdrops, freestanding gardens, hanging installations — is just multiples of this one skill.
- Flower arches: Multiple stems bent and clustered over a frame — see our full giant flower wedding arch guide for the next step up.
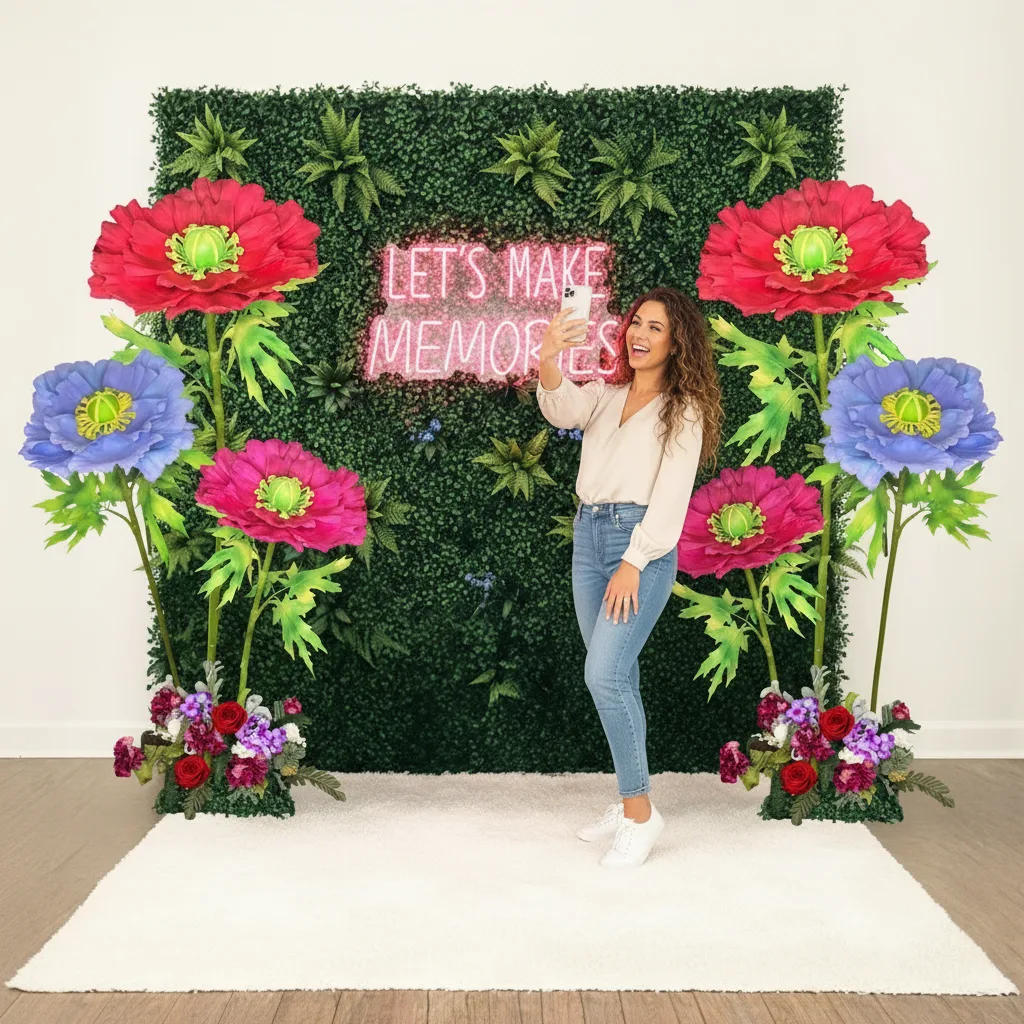
- Photo booth backdrops: Stems anchored at varying heights behind a frame. Our DIY giant flower backdrop guide walks you through this beautifully.
- Freestanding garden clusters: Groups of 5–9 stems at different heights in a single base — stunning for giant flower centerpieces.
- Hanging installations: Pipe bent into a hook shape at the top, bloom facing down — dramatic ceiling pieces for galas and corporate events.
One stem. That's where it all starts. And once you've built your first one and stood back and looked at it? You're going to want to build ten more. I promise.
"One stem is where it all starts — and once you've built your first one and stood back to look at it, you're going to want to build ten more."
Frequently Asked Questions

Can I reuse bendable pipe for different events?
Yes — and this is one of my favorite things about it. Just reshape the pipe by hand for your new display. If you've wrapped it in floral tape, peel that off and rewrap in a new color. The pipe itself holds up through many reshapings before it starts to fatigue.
I have pipes in my studio that have been to at least a dozen events. They're still going strong.
Do I need any special training to learn how to use bendable pipe?
Absolutely not. If you
Ready to Create Something Amazing?
Browse our collection of giant flower kits and start your next project today.