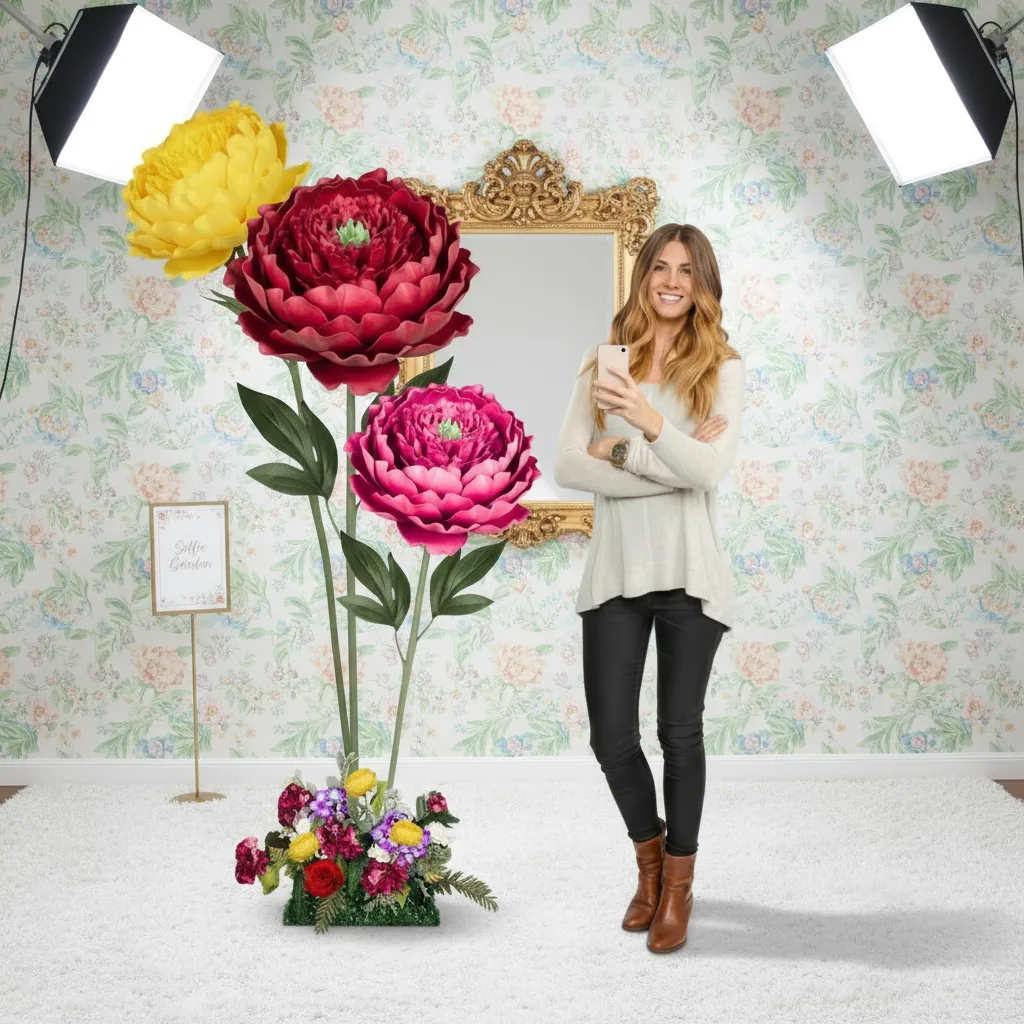
Color Your Own Foam Flowers: A Palette Playground

If you've ever stared at a display of foam flowers wishing they came in that exact dusty mauve or the perfect sage green to match your vision board — I get it. I've been there. That frustration is actually what pushed me to figure out how to color foam flowers at home, and honestly? It changed everything about how I create.
Here's what nobody tells you upfront: foam is one of the most color-receptive materials you'll ever work with. Once you understand which paints and techniques play nicely with EVA foam, you're not limited to whatever shades happen to be on a shelf. You become the designer. Every shade you can dream — terracotta, champagne, deep burgundy, iridescent pearl — is suddenly possible.
I'm going to walk you through everything I've learned (including the mistakes so you don't have to make them). Whether you're working with our Life-Size Foam Flower Kits or cutting your own petals from EVA foam sheets, this guide has you covered.
Key Takeaways
Let me just say this plainly: EVA foam absorbs color in a way that paper and fabric simply can't match. Paper flowers (hi, Lia Griffith fans — I see you) are beautiful, but the moment you try to customize the color? You're fighting the grain of the paper, worrying about warping, and crossing your fingers that the dye doesn't bleed weird.
Foam doesn't do that. It's waterproof, flexible, and durable, which means you can layer colors, blend gradients, and even wipe off mistakes before they dry. It's genuinely forgiving in a way that makes it perfect for crafters who want to experiment.
The Real-Touch Advantage
Our Life-Size Foam Flower Kits have a real-touch finish — meaning the surface has a slight texture that mimics actual petals. That texture? It grabs paint in the most beautiful way. You get this natural, slightly matte look that reads as incredibly realistic once it's colored and shaped.
When I first started experimenting with coloring techniques, I was honestly shocked at how a simple two-tone acrylic wash could make a foam peony look like it came straight from a garden. No joke.
Ok, this is where it gets really fun. Not all paints are created equal when it comes to foam, and I've tested a lot of them so you don't have to waste money on the wrong stuff.
This is my go-to, always. Acrylic paint is flexible when dry, which matters enormously for petals that get bent and shaped. It comes in literally thousands of colors, it's cheap, and it blends like a dream.
If you want dreamy, translucent, watercolor-style petals, alcohol inks are your best friend. They sink into the foam surface and create this gorgeous depth that acrylics just can't replicate.
The downside? They're less forgiving and they spread fast. I always recommend practicing on scrap foam first. But when you nail it — oh wow. A ranunculus petal with a soft pink-to-coral alcohol ink fade is genuinely breathtaking.
Important caveat here: not all spray paints are foam-safe. You need to use acrylic-based spray paint — solvent-based formulas will literally melt your foam. Always check the label. Rust-Oleum's 2X Coverage in flat or satin finish works beautifully.
Spray paint is incredible for base coating a large batch of petals quickly. I use it all the time when I'm making flowers for events and need to color 50+ petals in an afternoon.
💡 Pro Tip
Always do a test patch on a small piece of scrap foam before committing to any new paint or ink. EVA foam can vary slightly in density and surface texture between brands, and what works perfectly on one sheet might behave differently on another. Two minutes of testing saves you a ruined batch every time.
Let me break this down into the actual process I use. This works whether you're using our kits or working from scratch. If you're curious about cutting your own foam, check out The Best Way to Cut Foam for Flawless DIY Crafts — it'll save you a ton of headaches.
Before you open a single paint bottle, decide on your palette. Are you going monochromatic? Two-tone? Ombre? Having a plan means you won't end up with a muddy mess halfway through.
I keep a little notebook where I sketch out color combinations. Sounds old-fashioned, but it works. You can also use Pinterest or even a paint chip from the hardware store as your reference.
Start with your lightest or most dominant color as a base coat across all petals. Work on flat petals before shaping them — this is critical. If you try to paint already-curved petals, you'll get uneven coverage in the creases.
Use a wide, flat brush for large petal surfaces and a smaller detail brush for edges. Let it dry fully — I usually wait 30 minutes minimum.
Step 3 — Add Depth with Shading
This is the step that separates a flat-looking flower from a jaw-droppingly realistic one. Mix a slightly darker version of your base color and dry-brush it along the petal edges and base. Dry-brushing means you load your brush, then wipe most of the paint off on a paper towel before touching the petal.
The result is a subtle gradient that mimics how real petals naturally deepen in color toward their center. It's a game-changer.
Once your base color and shading are fully dry, now you shape. Use a heat gun on low setting to gently curve and cup each petal. The paint will move with the foam without cracking as long as it's fully dry first.
For a deep dive on this technique, I highly recommend reading Heat Gun Techniques: Shaping Foam Flower Petals Like a Pro. Seriously, bookmark it.
After shaping, add any final detail work — a tiny highlight of white on petal tips, a touch of gold on the center, whatever your vision calls for. Then seal everything with a matte or satin acrylic sealer spray. This locks in your color work and gives the flower that polished, professional finish.
🌸 Ready to get started?
Our Life-Size Foam Flower Kits come with pre-cut petals and a mold — everything you need to start coloring your dream flowers today. Kits start at just $34.99.
Creative Coloring Techniques to Try Right Now
Once you've got the basics down, this is where the real fun begins. I call it the palette playground phase — and it's my favorite part of the whole process.
Ombre and Gradient Petals
Start with your lightest color at the petal tip and blend toward a deeper shade at the base. Work wet-on-wet for the smoothest transition. A blending medium (available at any craft store) slows the drying time and gives you more room to blend beautifully.
Watercolor Wash Effect
Thin your acrylic paint way down — like, 50/50 with water — and apply it in loose, flowing strokes. Let it pool slightly in the natural texture of the foam. The result looks genuinely like a painted watercolor illustration. Stunning for garden-party aesthetics.
Metallic and Gilded Accents
A little gold or rose gold goes a long way. Dry-brush metallic acrylic lightly over petal edges after your base color is set. It catches the light and makes your flowers look absolutely luxurious. I've done this for corporate events and the reaction is always incredible — check out some of those ideas in 10 Corporate Event Engagement Ideas for 2026.
Two-Tone Dipped Look
Paint the top two-thirds of each petal one color and the bottom third a contrasting or complementary shade. Don't blend — let the contrast be bold. This looks incredible on large dahlias and peonies and photographs beautifully for backdrops and photo booths.
Foam Flowers vs. Paper Flowers: The Coloring Comparison
Real talk? I love paper flowers for what they are. But when it comes to custom color work, foam wins every single time. Here's the honest breakdown:
| Feature | Foam Flowers (EVA) | Paper Flowers |
|---|---|---|
| Paint compatibility | Acrylic, alcohol ink, spray — all work beautifully | Limited — too much moisture causes warping |
| Color blending | Excellent — smooth gradients possible | Difficult — paper absorbs unevenly |
| Durability after coloring | High — flexible, won't crack or tear | Low — paint can stiffen and crack paper |
| Waterproof after sealing | Yes — fully weatherproof | No — water will damage regardless |
| Ombre capability | Seamless with wet blending | Possible but tricky and time-consuming |
| Metallic finishes | Stunning — metallic acrylic adheres perfectly | Decent but less luminous |
| Reusability | High — can be stored and reused many times | Low — fragile over time |
Want the full deep-dive on this comparison? I wrote a whole post about it: Foam Flowers vs Paper Flowers: Which Is Better for Events?
Color Inspiration: What Shades Are Trending Right Now
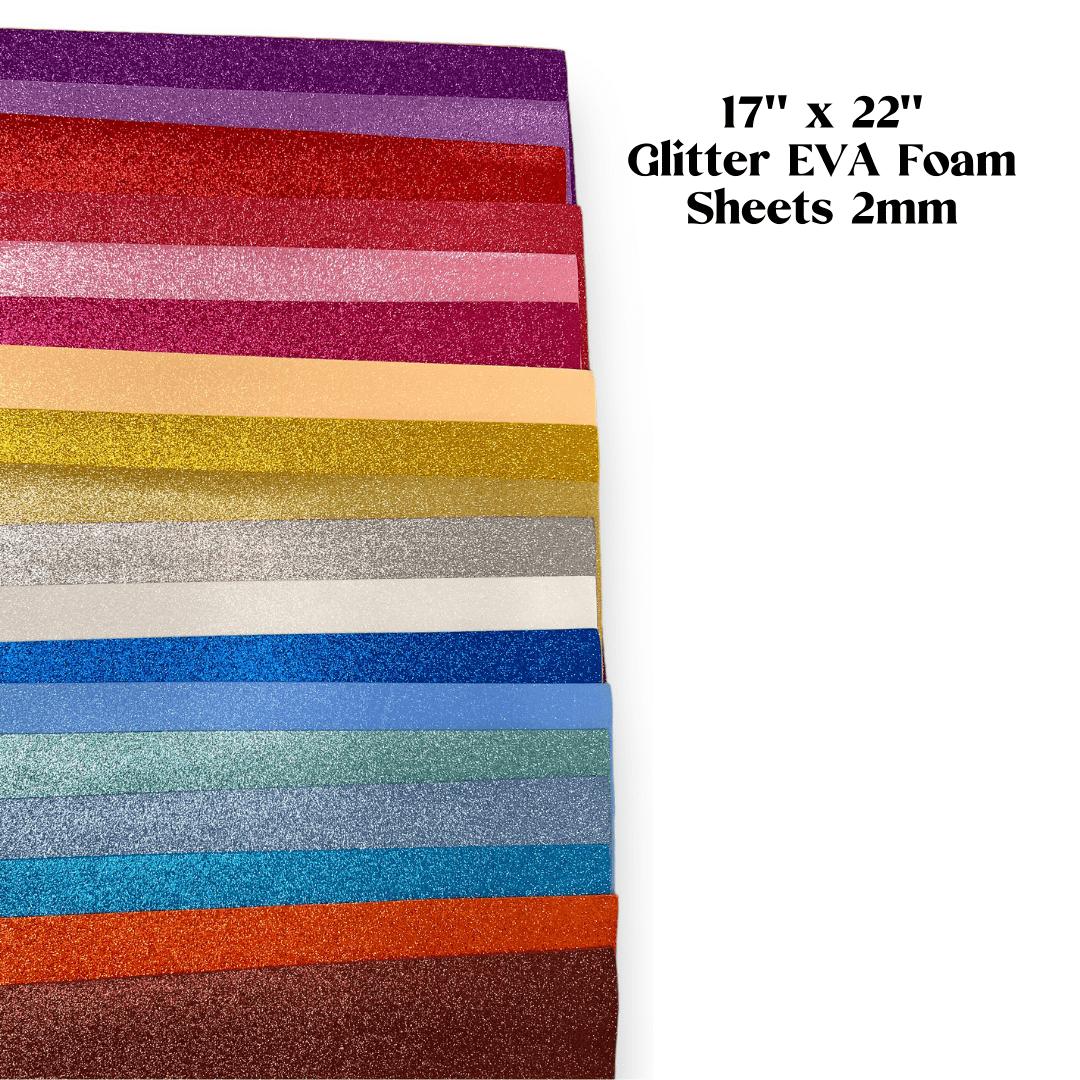
I get asked about color trends constantly, so here's what I'm seeing everywhere right now — and what they look like on foam:
- Warm terracotta and clay: Mix burnt sienna + a touch of white acrylic. Gorgeous for boho events and fall weddings.
- Dusty lilac: Start with white, add a tiny drop of purple and even tinier drop of blue. Dreamy for bridal showers — see Bridal Shower Backdrop Ideas for inspo.
- Deep jewel tones: Sapphire, emerald, and amethyst — these look incredible with metallic gold accents. Perfect for quinceañeras.
- Soft sage green: Mix yellow ochre + white + a drop of green. Pairs beautifully with blush for 2026 wedding palettes.
- Champagne and cream: A warm white with just a whisper of yellow and gold dry-brushed over the top. Timeless and elegant.
💡 Pro Tip
When mixing custom colors, always mix more than you think you need. Color-matching a custom mix halfway through a project is nearly impossible, and running out mid-batch is genuinely heartbreaking. I mix in small mason jars and keep them sealed with a lid between coats.
Frequently Asked Questions
Can I use regular house paint to color foam flowers?
Technically yes, but I wouldn't recommend it as your first choice. Latex house paint can work in a pinch — it's acrylic-based — but it tends to be thicker and less flexible than craft or artist acrylics. It can also feel slightly stiff on petals once dry.
If you do use house paint, thin it slightly with water and use a satin or flat finish. Gloss can look plasticky and will show every brush stroke. Honestly though? A bottle of craft acrylic costs $1–$2 and gives you much better control.
Will the paint crack when I shape the petals with a heat gun?
Only if the paint isn't fully dry before you apply
Ready to Create Something Amazing?
Browse our collection of giant flower kits and start your next project today.