Which Giant Flower Kit Is Easiest for First-Time Builders?
If you've been scrolling Pinterest or Instagram and thinking "I want to make those gorgeous giant flowers but I have zero idea where to start" — this guide is literally written for you. Finding the easiest giant flower kit when you're brand new to crafting can feel overwhelming. There are so many options, so many materials, and honestly? A lot of conflicting advice out there.
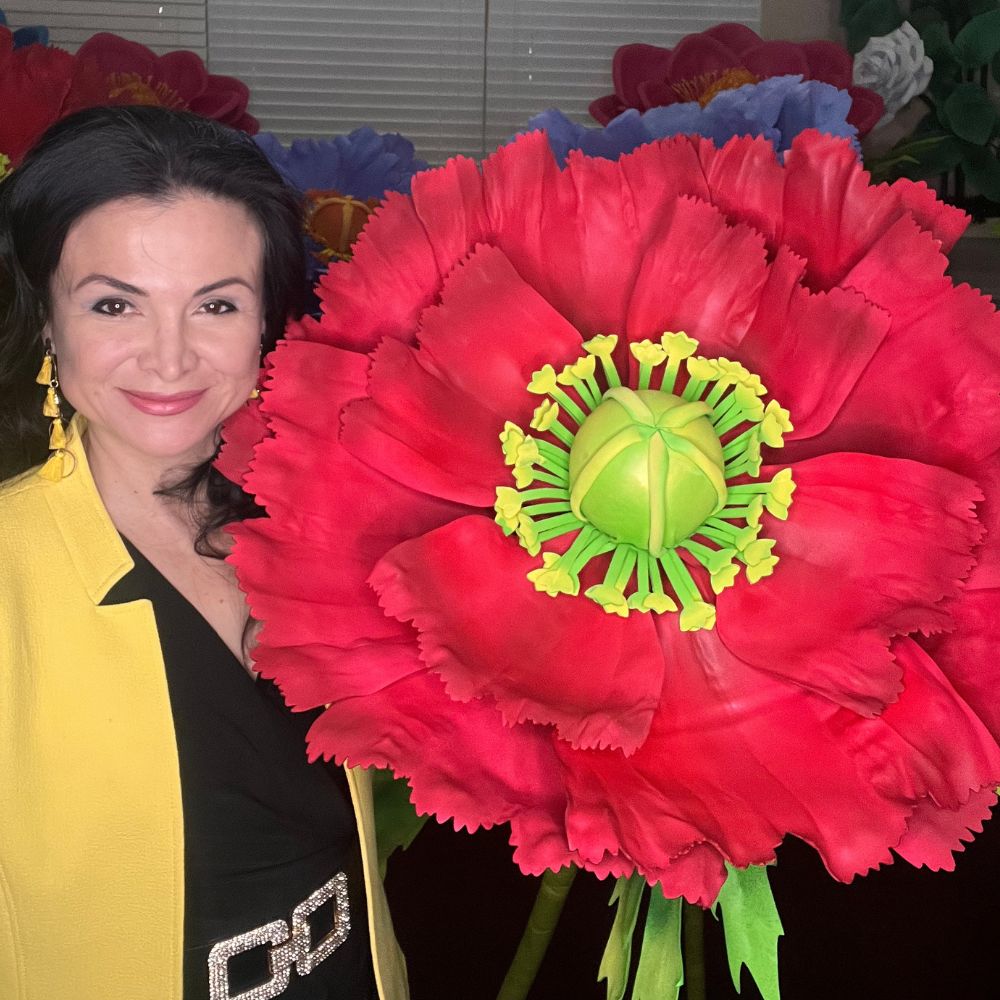
I'm Adriana, and I started Amazing Giant Flowers right here in Houston because I was that confused beginner once. I remember standing in a craft store holding a sheet of foam, completely clueless. Now I've helped thousands of crafters — first-timers, moms planning birthday parties, event planners, brides on a budget — create absolutely stunning displays. And I want to help you do the same.
So let me walk you through exactly what to look for, what to avoid, and which kits will actually set you up for success on your very first build. No fluff. Just real talk from someone who's been in the trenches.
Key Takeaways
Here's the thing about making giant flowers from scratch: it's totally doable, but the learning curve is steeper than most tutorials let on. You have to source the right foam, figure out petal shapes, cut everything precisely, and then somehow assemble it into something that looks intentional.
A good kit eliminates most of that guesswork. Everything is pre-cut, pre-planned, and sized to work together. You're not starting from zero — you're starting from step three.
What Makes a Kit "Beginner Friendly"?
Not all kits are created equal. I've seen some out there that claim to be easy but still require you to do complicated cuts or source your own hardware. So here's what I actually look for:
Our Freestanding Giant Flower Kits check every single one of those boxes. And I'm not just saying that because it's my shop — I designed them specifically because I couldn't find anything like this when I was starting out.
Ok, let me break this down by the different types of kits you'll encounter. Because "giant flower kit" can mean a lot of different things depending on where you're shopping.
These are my personal favorite for beginners. Why? Because they're self-contained. You build the flower, it stands on its own, and suddenly you have a 5-foot statement piece that looks like it cost a fortune.
Our freestanding kits start at around $80 and go up to $180 depending on the flower style. They come with pre-cut EVA foam petals, video tutorials, and everything you need to get that flower standing tall. You can also trim them shorter — so if your venue has lower ceilings or you want a tabletop version, you're covered.
These are great for backdrops and photo walls. If you're dreaming of a full flower wall for a wedding or quinceañera, check out our wall flower kits. They're a little more involved because you're typically building multiples and arranging them together, so I usually recommend starting with a freestanding kit first to get your technique down.
You can absolutely buy EVA foam sheets and bendable pipes separately and design your own. I love this path for experienced crafters. But for beginners? Honestly, skip it for now. Get comfortable with a kit first, then branch out into custom designs once you know how the materials behave.
I get asked all the time: "Adriana, should I buy a kit or just DIY everything?" So I put together this honest comparison so you can see exactly what you're getting into with each approach.
Real talk? Paper kits are cheaper upfront but they don't hold up the same way. EVA foam is weather-resistant, reusable, and far more durable. If you want to use your flowers more than once — and trust me, you will — foam is the way to go. You can read more about the differences in my post on Foam Flowers vs Paper Flowers: Which Is Better for Events?
I want to demystify this process because I think a lot of beginners psych themselves out before they even start. So here's the honest, real-life breakdown of what it looks like to build one of our freestanding kits.
I know, I know — you want to dive right in. But please watch the video tutorial before you touch anything. It's only about 20–30 minutes and it will save you so much confusion. Our tutorials are filmed in real time, not sped up, so you can actually follow along.
Spread everything out on a clean flat surface. Your pre-cut EVA foam petals will be organized by size — typically you'll have large outer petals, medium mid-layer petals, and smaller inner petals plus a center piece. Seeing them all laid out makes the assembly so much less intimidating.
This is where it gets really fun. You'll use a heat gun to gently curve and shape each petal. The EVA foam responds beautifully to heat — it softens, you shape it, it cools and holds. If you want to go deeper on this technique, I wrote a whole post on Heat Gun Techniques: Shaping Foam Flower Petals Like a Pro.
💡 Pro Tip
Keep your heat gun moving — don't hold it in one spot. Think of it like blow-drying your hair. Slow, sweeping motions give you the most even, natural-looking curve on your petals.
Start with your largest petals and work your way inward. Hot glue is your best friend here. Work in sections rather than trying to glue everything at once. The flower will literally take shape before your eyes and that moment — when it starts looking like an actual flower — is genuinely thrilling.
Your kit comes with a bendable pipe stem that you can trim to your desired height. Full height is around 5 feet, which is stunning for an entrance or ceremony backdrop. But you can absolutely trim it shorter for tabletop displays or lower venue ceilings. Just use wire cutters and measure twice before you cut!
Here's where you can really make it your own. EVA foam takes paint beautifully — you can do ombre effects, solid colors, even metallic finishes. I recommend acrylic craft paint as your starting point. It's affordable, widely available, and adheres well to foam.
Want a flawless finish? Check out my guide on Flawless Foam Board Paint Finishes — it covers everything from prep to sealing so your colors stay vibrant.
Color Inspiration for Beginners
- Classic white — timeless, works for literally any event, looks incredible in photos
- Blush pink + dusty rose ombre — the most popular choice for weddings and baby showers
- Bold fuchsia or coral — perfect for quinceañeras and tropical-themed parties
- Metallic gold or silver — stunning for corporate events and NYE parties
🌸 Ready to get started?
Browse our Freestanding Giant Flower Kits and find your perfect match. Prices start at just $80!
Real Beginner Mistakes (And How to Avoid Them)
I've seen a lot of first builds — both beautiful ones and ones that made me wince a little. Here are the most common beginner mistakes so you can skip right past them.
Rushing the Glue
Hot glue needs a moment to set. If you're moving on to the next petal before the previous one is fully bonded, things start shifting. Give each petal 30–60 seconds before you move on. Patience here pays off in a big way.
Skipping the Sealer
If you're painting your flower and want it to last, seal it. A good acrylic sealer protects the color and gives it a professional finish. I have a whole guide on using Mod Podge Clear Acrylic Sealer that walks you through the process.
Going Too Big Too Fast
One of my customers — a sweet woman named Maria who was planning her daughter's quinceañera — messaged me saying she'd ordered 15 flowers for her first project. She pulled it off, but she also lost about three years off her life in stress. Start with one or two flowers. Get comfortable. Then scale up.
Your first flower doesn't have to be perfect. It just has to teach you something. Every single build after that will be faster, easier, and more beautiful.
Where to Use Your Finished Giant Flowers
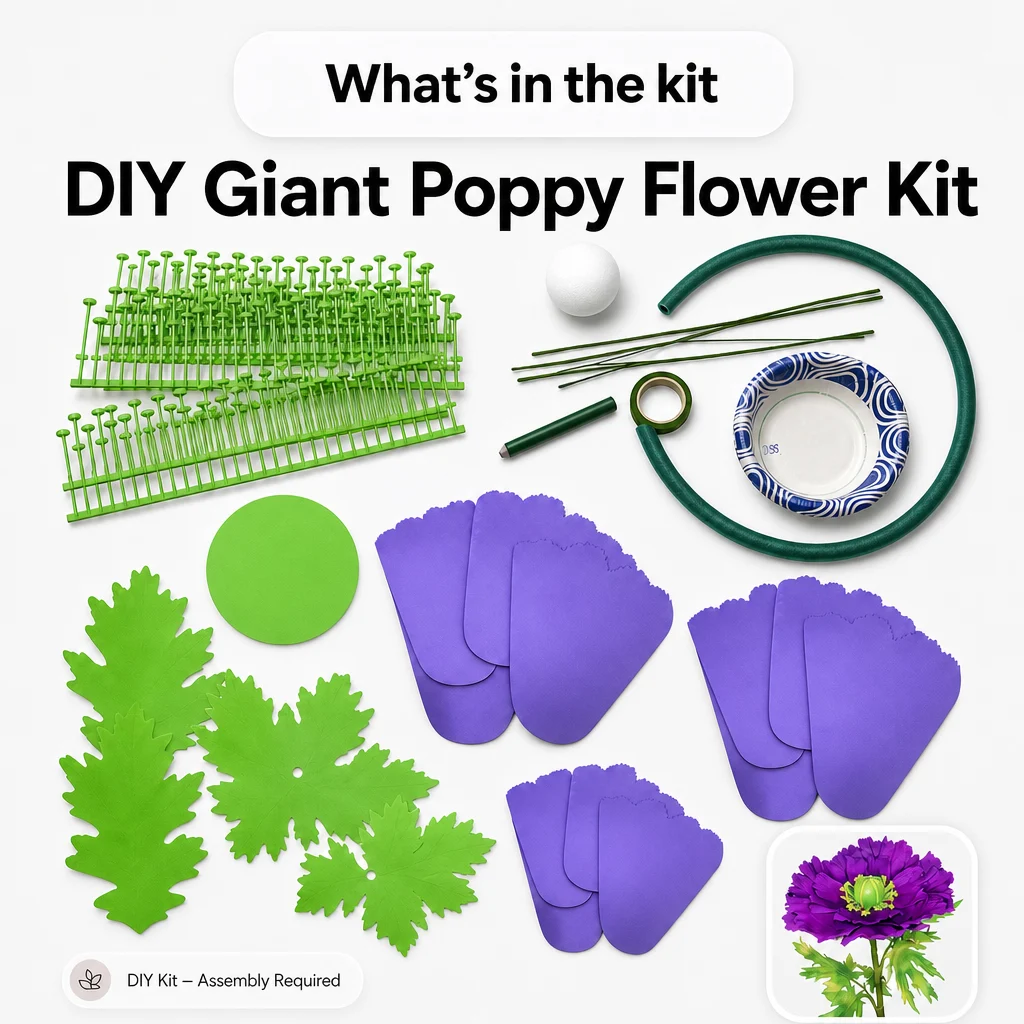
Once you've built your first flower, you're going to want to put it everywhere. And honestly? You can. Here are some of my favorite ways beginners use their freestanding flowers:
- Wedding ceremony backdrops — pair 3–5 freestanding flowers for a stunning arch effect. See my post on Giant Flower Wedding Arch: A Complete Guide for 2026 for inspiration
- Baby shower photo walls — a single giant flower behind a welcome sign is *chef's kiss*. Check out Baby Shower Backdrop Ideas: Giant Flowers for 2026
- Birthday party entrances — flank the doorway with two 5-foot blooms and watch everyone's jaw drop
- Graduation celebrations — school colors, giant flowers, instant party. See Graduation Party Backdrop Ideas
- Corporate events and brand activations — more companies are using giant flowers for photo moments than ever before
Frequently Asked Questions
Do I need any special tools to build a freestanding giant flower kit?
The main tools you'll need are a heat gun (for shaping petals), a hot glue gun, and wire cutters for trimming the stem to your desired height. Most crafters already have a hot glue gun, and heat guns are available at any hardware store for around $20–$30. Everything else comes in the kit.
How long does it take to build my first giant flower?
Most beginners complete their first freestanding flower in 2–4 hours, including painting time. Your second flower? Probably half that. The learning curve is real but it's short — once you get the hang of shaping and
Ready to Create Something Amazing?
Browse our collection of giant flower kits and start your next project today.