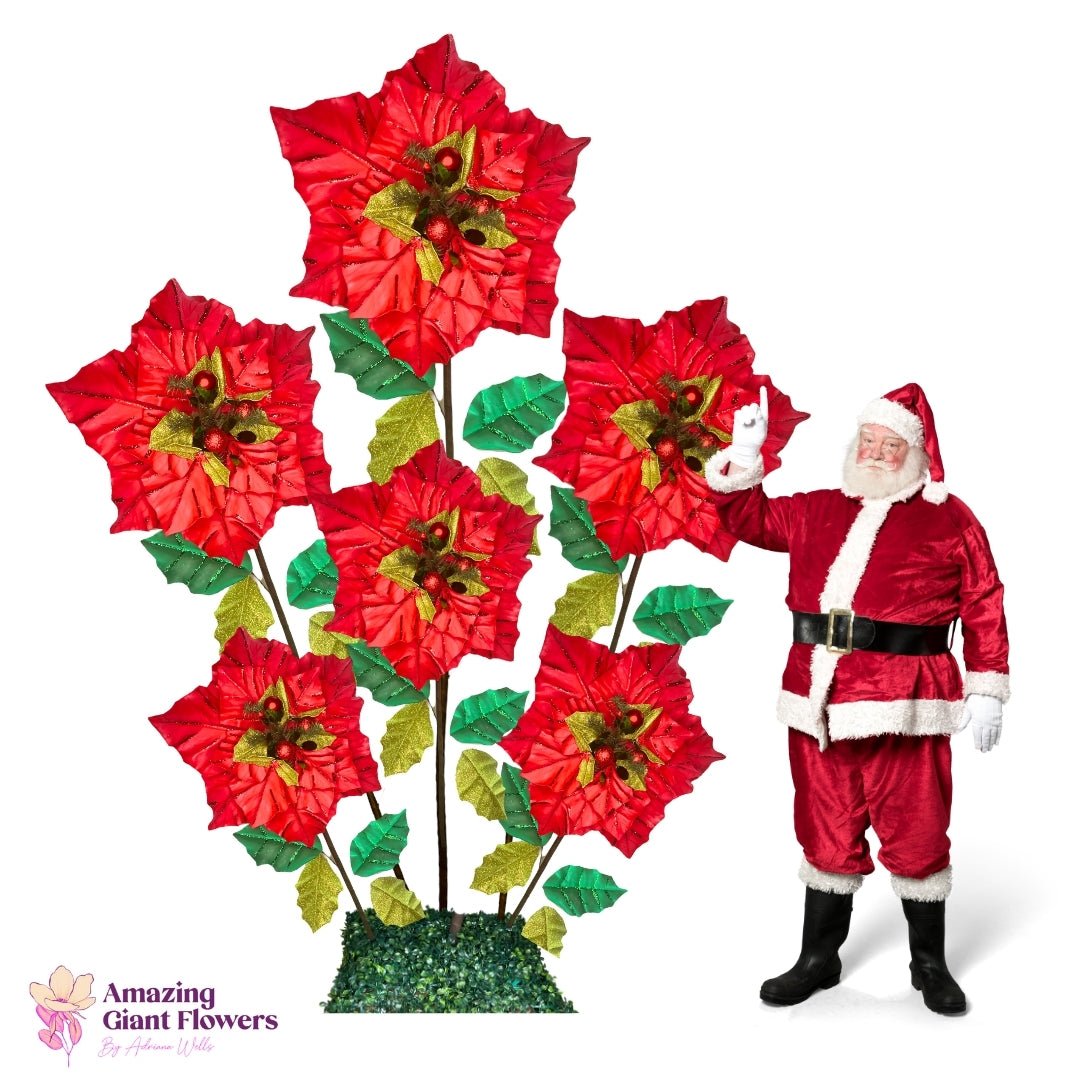
EVA Foam Flower Petals: Thin-Sheet Techniques

If you've ever held a finished EVA foam flower petal up to the light and thought, wow, that actually looks real — you know the feeling I'm chasing every single time I sit down at my craft table. EVA foam flower petals have completely changed the way I build giant blooms, and honestly, once you understand how thin-sheet techniques work, you'll never go back to stiff, flat, cardboard-looking petals again.
I started Amazing Giant Flowers because I was frustrated. Frustrated with petals that wouldn't curl right, that looked chunky, that lost their shape by the time the event was over. Sound familiar? The secret — and it took me way longer than I'd like to admit to figure this out — was all in the foam. Specifically, the thickness, the heat application, and the way you handle thin sheets during shaping.
So if you're a flower maker who wants lifelike petals every single time, pull up a chair. This is the deep dive I wish someone had given me years ago.
Key Takeaways
Let me be really direct here: not all foam is created equal, and for petal work specifically, thickness is everything. When I first started making giant flowers, I grabbed whatever foam I could find — thick craft foam from the dollar store, upholstery foam scraps, you name it. The results were... not great.
Thin-sheet EVA foam — we're talking 2mm to 4mm — behaves completely differently. It's flexible enough to curl and wave like a real petal, but firm enough to hold its shape once it cools. That combination is magic.
The Science Behind the Softness
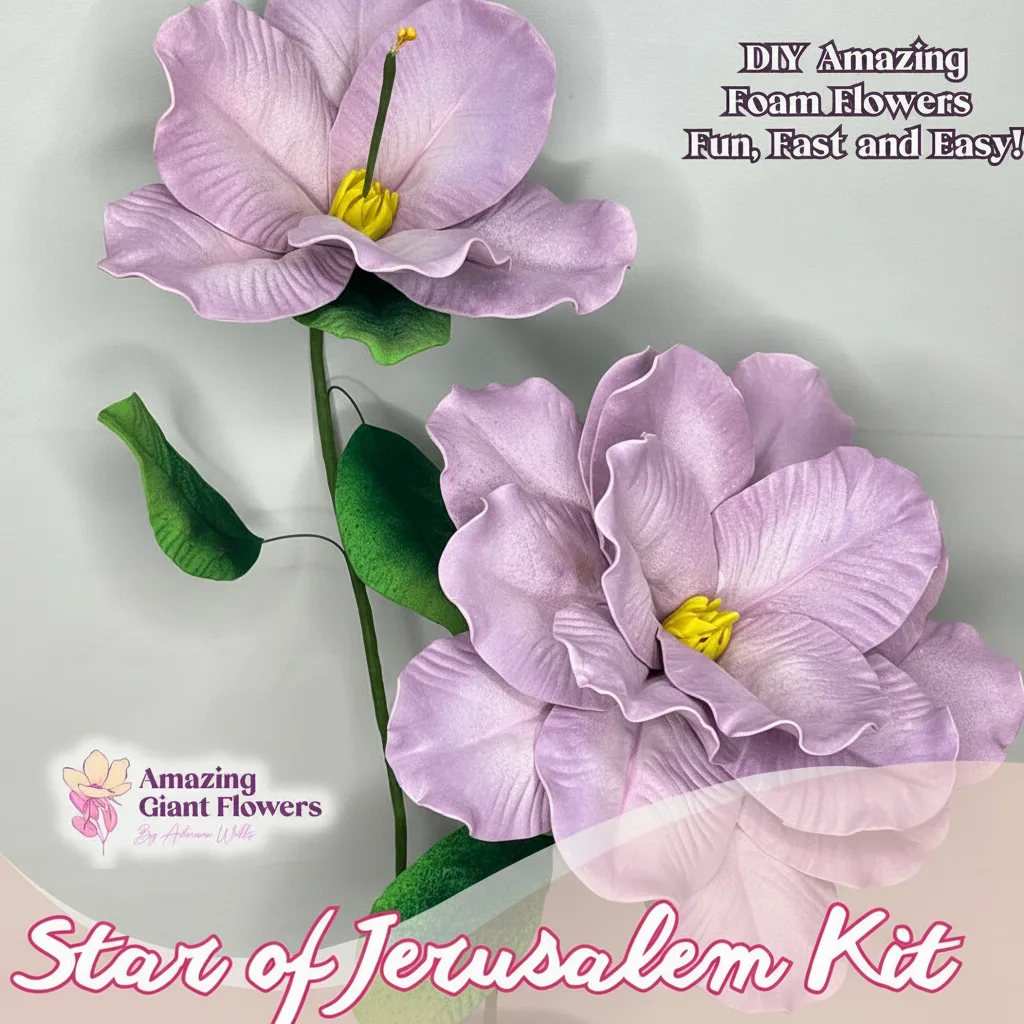
EVA stands for ethylene-vinyl acetate. It's a closed-cell foam, which means it doesn't absorb moisture, it's lightweight, and — here's the part flower makers care about — it becomes pliable when heated and holds its new shape when cooled. That's called thermoplastic memory, and it's your best friend.
Thin sheets heat through faster and more evenly. A 2mm sheet responds to a heat gun in about 3–5 seconds. A 6mm sheet? You're fighting uneven heating, and the inside of the foam often stays stiff while the outside gets scorched. For petals, thin wins. Every time.
Real flower petals have curves, veins, translucency, and irregular edges. Thin EVA foam can mimic three of those four. The curve comes from heat shaping. The veins come from your molds or tools. The irregular edges come from your cutting technique. (Translucency is the one thing foam can't fake — but honestly, at giant scale, nobody's holding your peony up to a window.)
Ok, this is where it gets really specific — and I love getting specific because this is the stuff that actually changes your results. Different flowers, different petals, different foam thickness. Here's how I think about it.
See how it's not one-size-fits-all? If you want to go deeper on which foam type suits which project overall, I wrote a full breakdown in A Crafter's Guide to Every Type of Foam for Giant Flowers — definitely worth a read before you stock up.
Here's a truth nobody tells beginners: the cut is half the petal. You can have the most perfectly heated, beautifully shaped foam in the world, and if your edges are jagged or torn, the whole thing reads as "craft project" instead of "flower."
For more detail on cutting approaches, I really recommend reading The Best Way to Cut Foam for Flawless DIY Crafts. It covers everything from basic scoring to more advanced techniques.
Consistency is what separates a professional-looking flower from a homemade one. I always cut a master template from cardstock before I cut a single piece of foam. Trace it with a fine-tip marker, cut just inside the line, and you get clean edges every time.
For giant flowers, I usually make 3–4 petal sizes per flower — the innermost petals are smaller and more upright, the outer ones are larger and more open. This mimics how real flowers grow and makes the finished piece look incredibly natural.
💡 Pro Tip
Stack 4–6 layers of 2mm EVA foam and cut multiple petals at once. Use binder clips to hold the stack firmly. This saves enormous amounts of time and keeps your petal shapes perfectly consistent across the whole flower.
Heat Shaping Techniques That Make EVA Foam Flower Petals Look Real
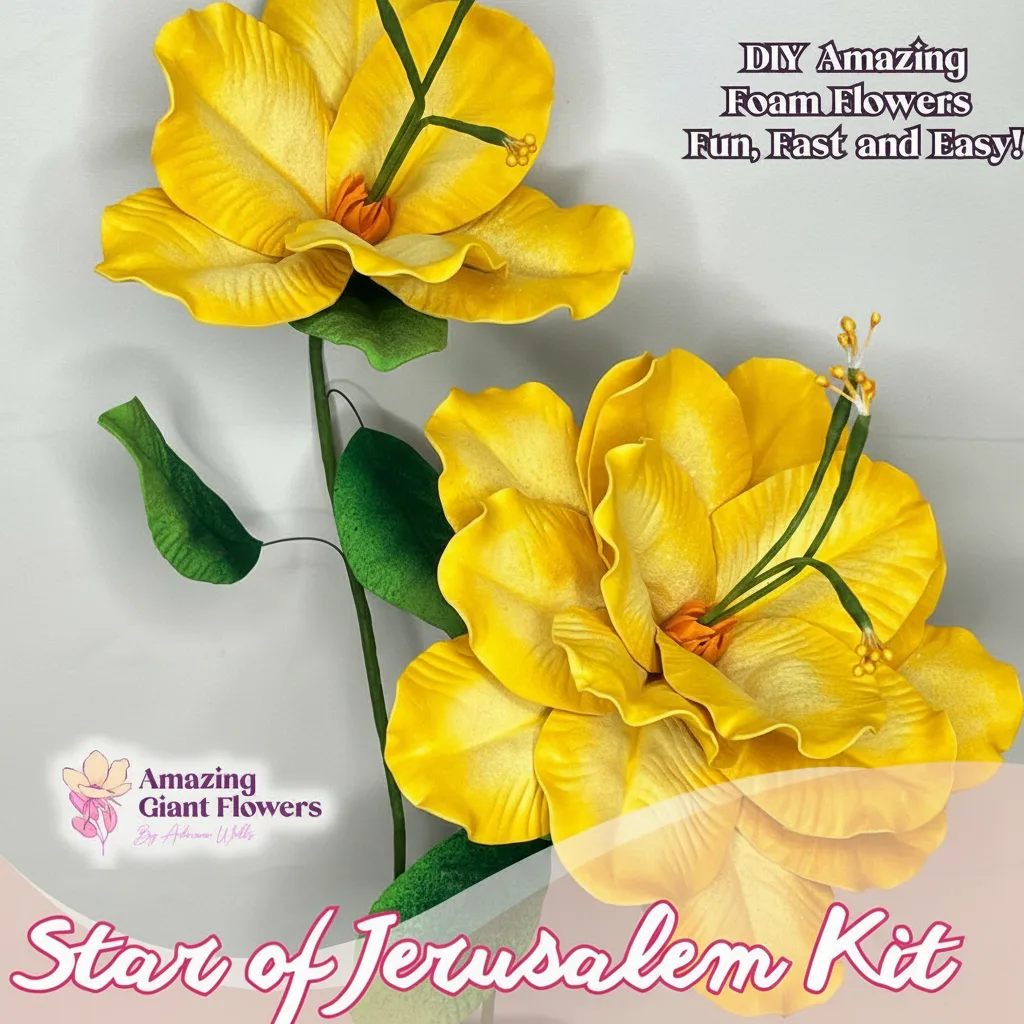
This is the section I get the most questions about. And honestly? It's where the magic happens. Heat shaping is what takes a flat foam cutout and turns it into something that looks like it was just plucked from a garden.
I know, I know — you've seen people use hair dryers. A hair dryer is not a heat gun. Hair dryers top out around 140°F. A heat gun reaches 250–1000°F. For EVA foam, you need somewhere in the 250–300°F range to get real pliability without scorching.
Move the heat gun constantly — about 4–6 inches from the surface, sweeping side to side. Never hold it in one spot. Thin 2mm sheets will be ready to shape in about 3 seconds. You'll feel the foam go soft in your fingers. That's your cue.
I go into even more detail on this in Heat Gun Techniques: Shaping Foam Flower Petals Like a Pro — if heat shaping is new to you, that post is required reading.
Once you've got your basic shaping down, texture is the next level. And this is where flower molds become absolutely worth every penny.
Silicone flower molds press vein patterns, petal textures, and surface detail directly into your warm EVA foam. The process is simple: heat your petal, press it into the mold, hold for 15–20 seconds, release. The foam cools in the shape of the mold and holds that texture permanently.
The difference between a textured petal and a smooth one is genuinely striking. Up close, textured petals look almost botanical. For wedding work especially, this detail matters enormously.
You don't always need a formal mold. Some of my favorite texture tools are:
🌸 Ready to get started?
Browse our EVA foam collection — rolls and sheets from 2mm to 10mm, ready to ship. Find your perfect match and start making petals that actually look real.
Layering and Assembly: Building a Full Flower from Thin Sheets
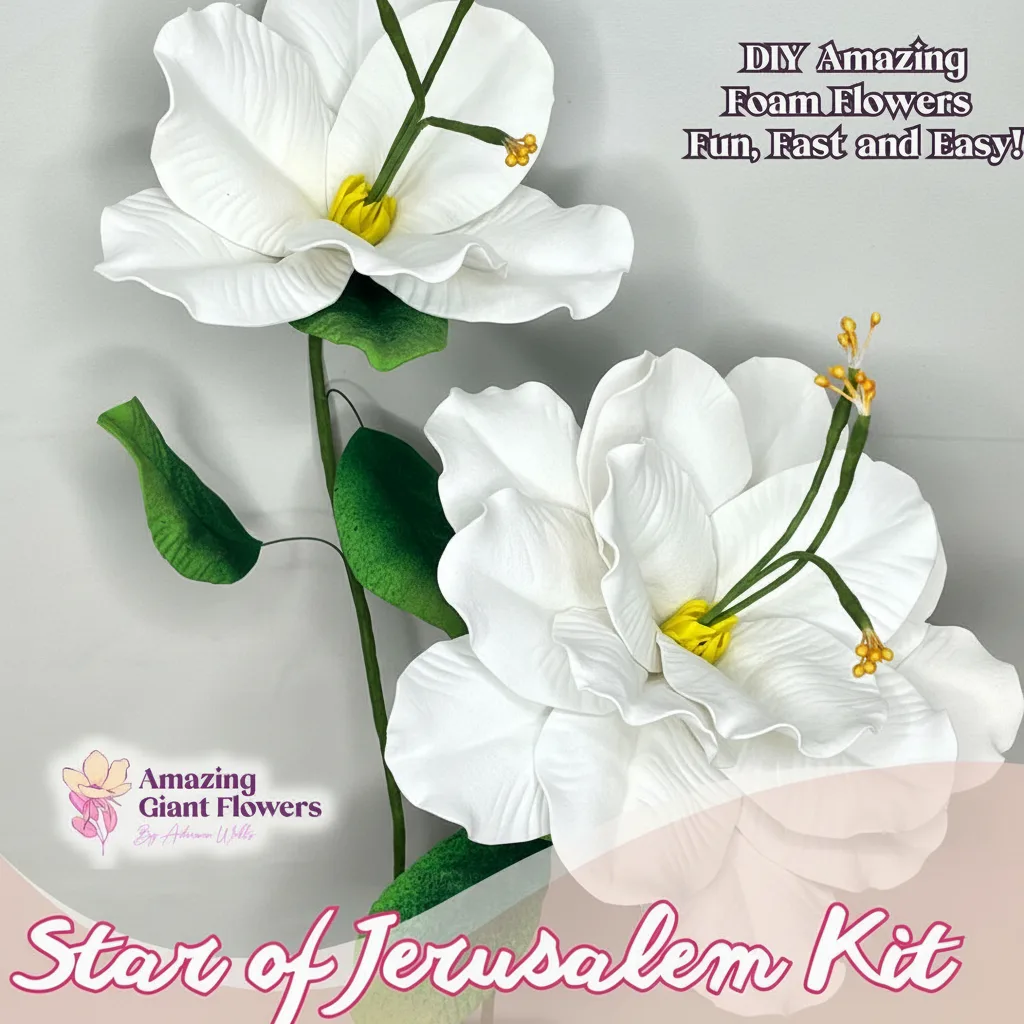
Individual petals are beautiful. But the real art is in how you layer them together. Thin-sheet EVA petals stack and overlap in a way that thick foam simply can't — and that layering is what creates the lush, full look of a real flower head.
For most giant flowers, I work in 3–5 concentric rings of petals, from the innermost (smallest, most upright) to the outermost (largest, most open and relaxed). Each ring is glued with a low-temperature hot glue gun — high temp can actually re-melt your thin foam if you're not careful.
The trick is to offset each ring by half a petal width from the one inside it. This is exactly how real flowers grow. It fills gaps naturally and creates that gorgeous layered depth.
For freestanding flowers, your petals need something to live on. That's where our freestanding flower kits come in — they give you a pre-built base so you're not engineering a structure from scratch. And our bendable pipes let you angle petals exactly where you want them, which is huge for getting that natural, open-bloom look.
If you're building for a wedding arch or backdrop, check out Giant Foam Flowers for Wedding Arch for specific assembly tips in that context.
💡 Pro Tip
Before you glue anything permanently, do a dry assembly — lay all your petals out in position and take a photo. Look at it on your phone screen. You'll immediately see any gaps or awkward spots that you'd miss looking at the flower straight on. Fix those before the glue comes out.
Painting and Finishing EVA
Ready to Create Something Amazing?
Browse our collection of giant flower kits and start your next project today.