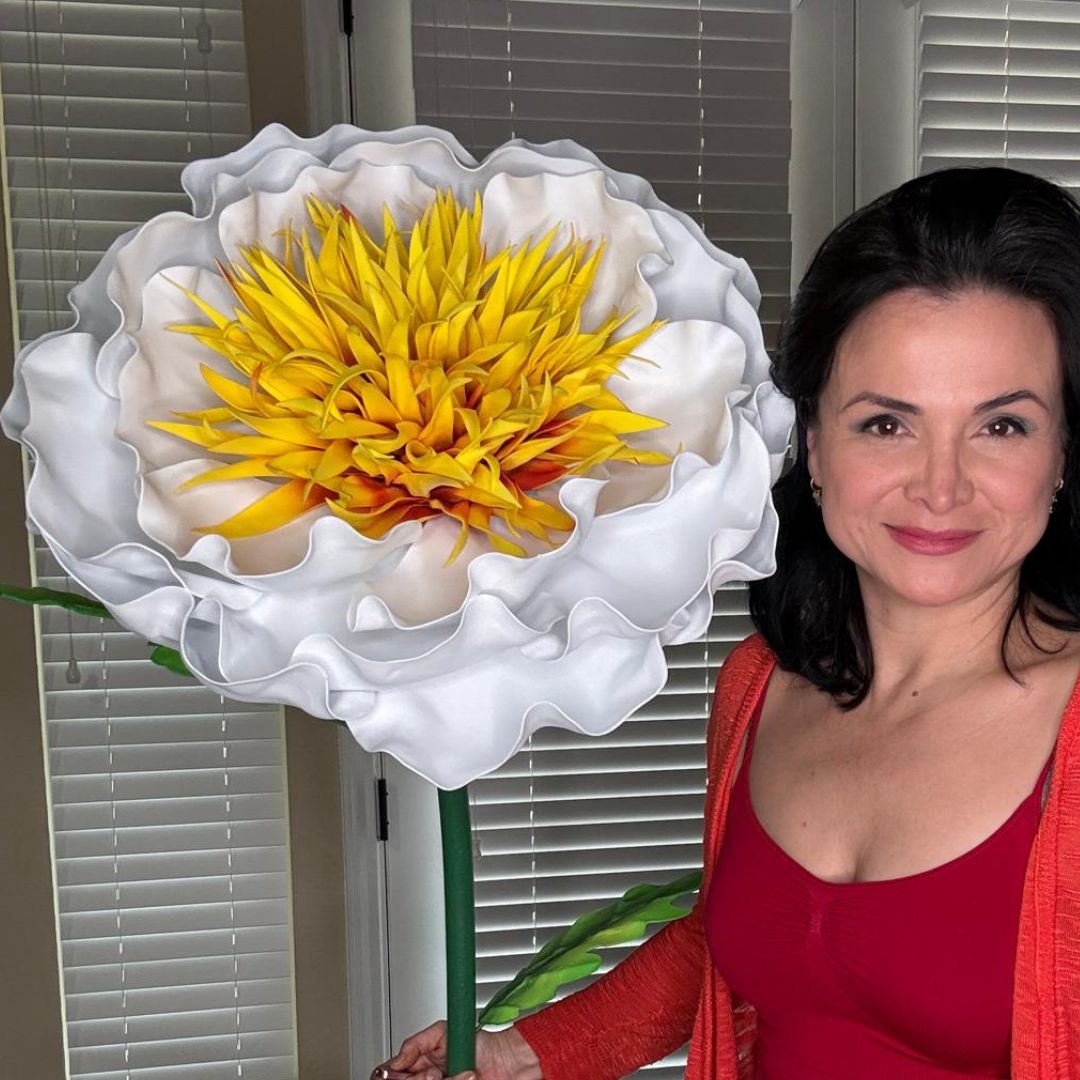
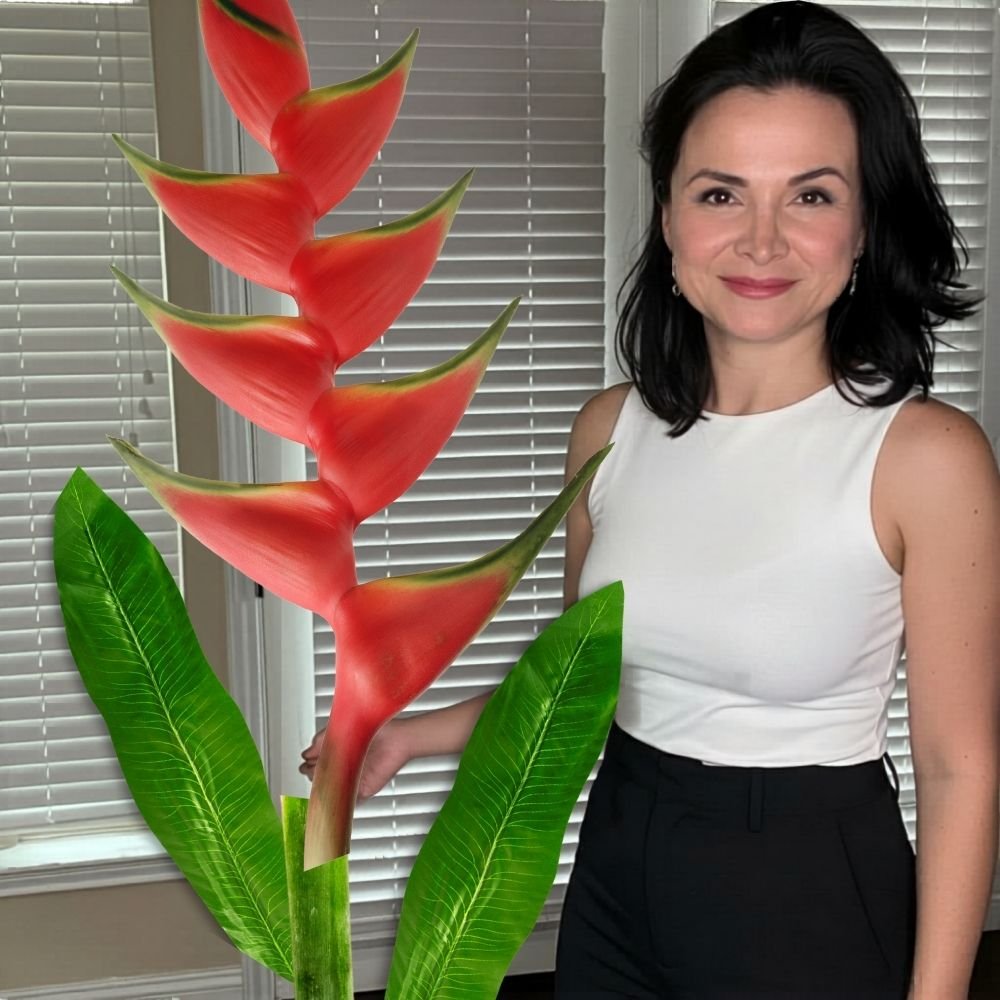
Setting Up Your First Freestanding Flower: A Start-to-Finish Walkthrough
Key Takeaways
- Your freestanding flower kit includes pre-cut EVA foam pieces, a bendable pipe stem, and a base — no cutting required on your first build.
- The whole setup process takes 2-4 hours for a first-timer, and much less once you've done it once.
- A low-temp glue gun is your best friend — high-temp guns melt EVA foam and ruin petals fast.
- Proper base weighting is the #1 thing beginners skip, and it's why flowers tip over at events.
- You don't need to paint before assembly — but if you want to customize colors, paint your foam pieces before you glue them together.
What's Actually Inside Your Kit (And What Each Piece Does)
Your kit will typically include these components:
- Outer Petals (Large): These are your showstopper pieces — usually 18-24 inches long, pre-cut from 6mm or 8mm EVA foam. They form the dramatic outer ring of the bloom.
- Inner Petals (Medium): Slightly smaller, usually 12-16 inches, and often a different shape. These layer over the outer petals and add depth.
- Center Cone or Dome: The circular center piece that everything wraps around. This is your anchor point.
- Bendable Pipe Stem: A thick, flexible wire-core stem that holds the flower upright. Ours are 36-48 inches long depending on your kit size.
- Base Plate: A flat EVA foam disc or cross-shaped base that keeps your stem stable on flat surfaces.
- Instruction Card + Video QR Code: Scan it. Seriously. The video tutorials show things that are hard to explain in words.
Take a minute to count your pieces against the instruction card. Most kits have 12-20 individual foam pieces total. If something's missing, reach out before you start — it's much easier to troubleshoot before glue is involved.
Tools You'll Need Before You Start Your Freestanding Flower Kit Setup
Non-Negotiables
- Low-Temperature Glue Gun: This is critical. High-temp glue guns melt EVA foam and leave you with warped, bubbly petals. Get a low-temp gun — they run around $10-15 at any craft store.
- Low-Temp Glue Sticks: Make sure they're compatible with your gun. Grab at least 20-30 sticks for your first build. You'll use more than you think.
- Ruler or Tape Measure: For checking petal placement symmetry. Trust me, eyeballing it leads to lopsided flowers.
- Flat Work Surface: A table, not the floor. Your back will thank you.
- Wax Paper or Parchment Paper: Put this under your work area. Glue drips everywhere and parchment makes cleanup so much easier.
Nice-to-Have Tools That Make Life Easier
- Foam-Safe Acrylic Paint + Brush: If you want to customize your flower color before assembly. More on painting in a minute.
- Clothespins or Binder Clips: For holding glued pieces in place while they set. Glue sets in about 30-60 seconds, but clips help with tricky curved pieces.
- Heat Gun (on LOW): For gently curling petal edges to add a natural, dimensional look. This is optional but gorgeous.
- Pliers: For bending and shaping your pipe stem into the exact angle you want.
According to a The Knot survey, couples spend an average of $1,500-$2,500 on wedding floral décor. A single freestanding giant flower kit from us starts at around $80. The math on DIY is honestly wild.
Should You Paint Before or After Assembly?
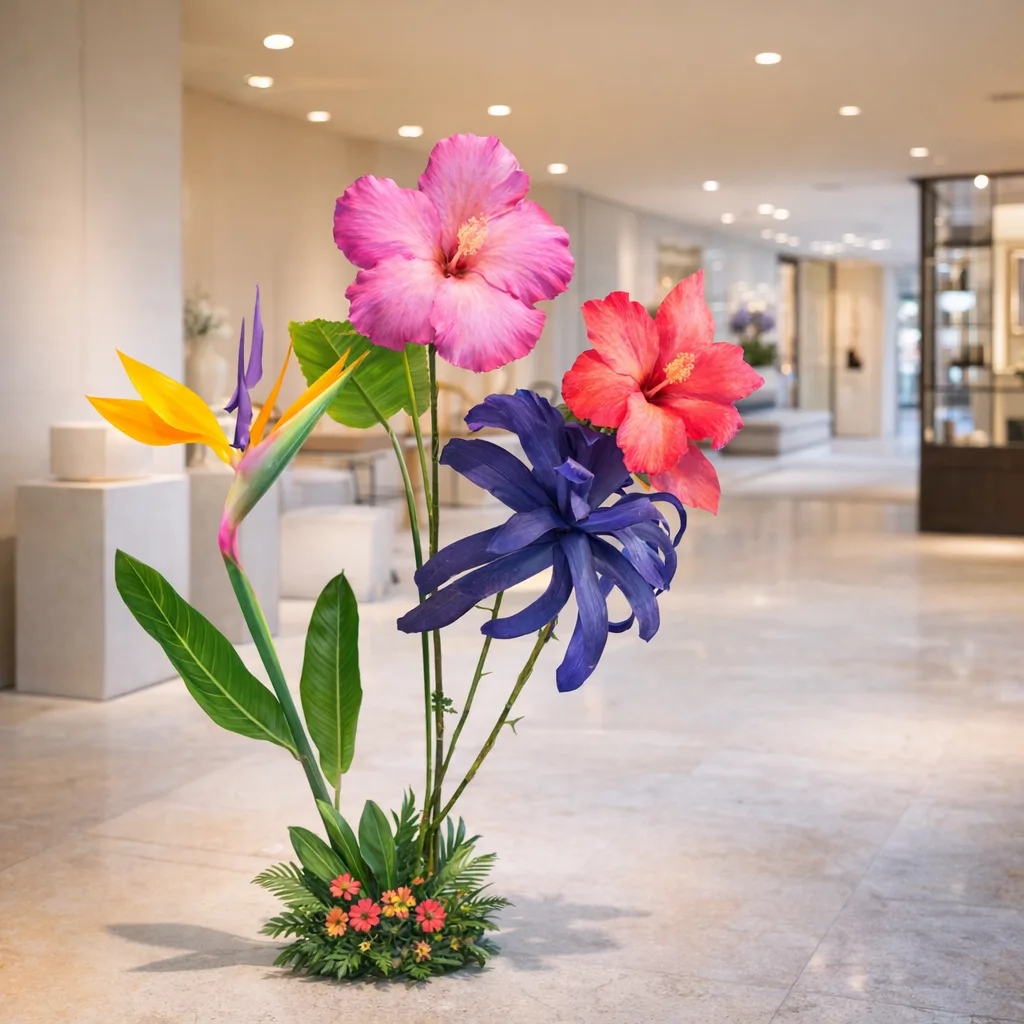
Here's my painting workflow: Lay all your foam pieces flat on a covered surface. Use foam-safe acrylic paint — regular craft acrylics work great on EVA foam. Apply 2-3 thin coats, letting each coat dry fully before the next.
Want a gradient effect? Paint the base of each petal a deeper shade and blend toward a lighter tone at the tips. It looks incredibly realistic and takes maybe 15 extra minutes of work. For a deeper dive on getting paint finishes right on foam, check out our guide on flawless foam board paint finishes — it covers everything from primer to sealant.
Let your painted pieces dry completely — at least 1-2 hours — before moving to assembly. Rushing this step leads to smeared paint and sticky glue joints.
Step-by-Step Assembly: Your First Freestanding Flower Kit Setup, Start to Finish
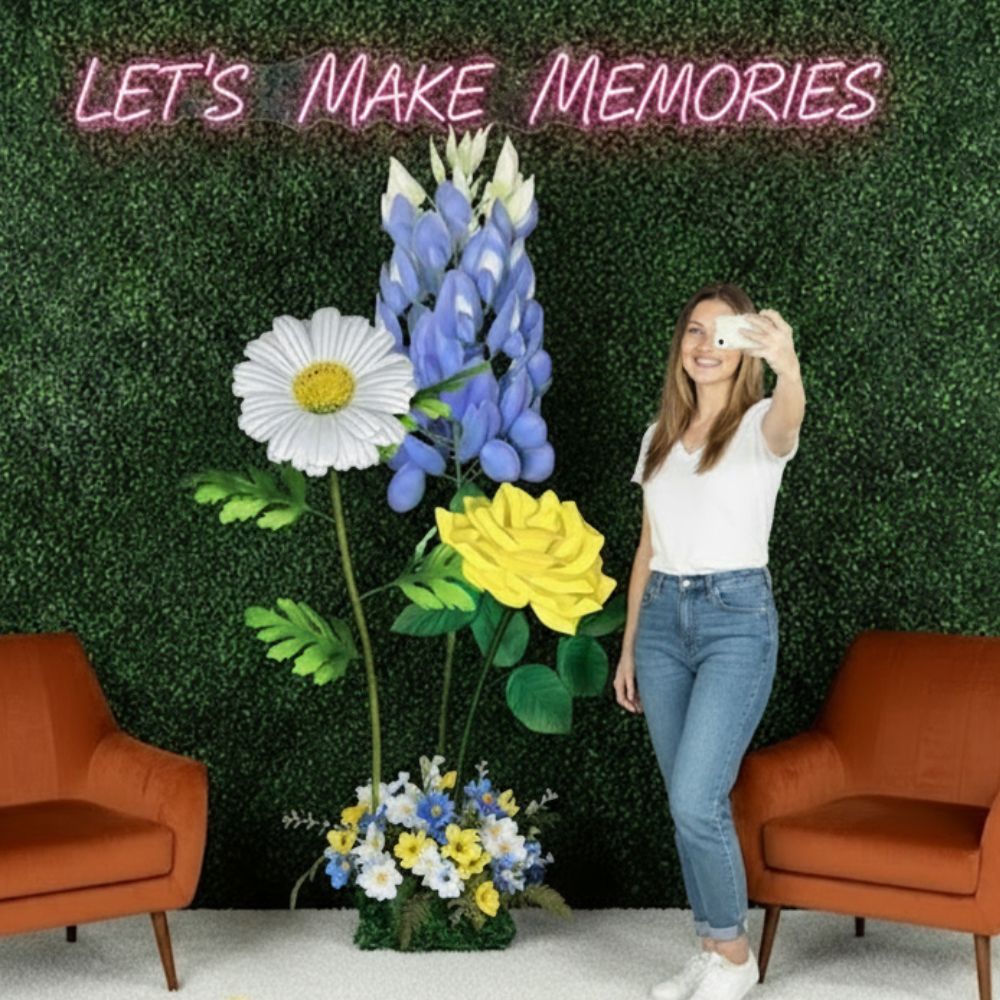
Step 1 — Prepare Your Stem and Base
Take your bendable pipe stem and insert it through the center hole in your base plate. Most base plates have a pre-cut hole — if yours doesn't, use a sharp pencil or skewer to make one.Bend the bottom 2-3 inches of the stem at a 90-degree angle underneath the base plate. This creates a hook that locks the stem in place. Apply a generous ring of low-temp glue around where the stem meets the base, on both the top and bottom.
Let this dry for a full 2-3 minutes before moving on. This joint takes all the weight of your flower, so don't rush it.
Step 2 — Build Your Center Dome
Your center cone or dome piece gets assembled first because everything else layers around it.If it's a flat circle, roll it gently into a cone shape and glue the overlapping edges together. Hold it firmly for 60 seconds while the glue sets. If it's pre-formed, just check that the shape is even and round.
Slide the dome onto the top of your stem and glue it in place. Make sure it sits level — tilt it slightly forward if your flower will be displayed at a viewing angle.
Step 3 — Attach the Inner Petals
This is the layer that goes on first, closest to the center dome. I know it feels backwards, but trust the process.Apply a line of glue along the bottom inch of each inner petal's base. Press it firmly against the stem, just below the center dome. Space them evenly — most kits have 5-7 inner petals that should fan out at equal intervals.
A quick trick: before gluing, hold all your inner petals in position around the stem and mark even spacing with a light pencil dot. Glue one petal, let it set, then use that as your reference point for the rest.
Step 4 — Layer On the Outer Petals
Your outer petals go on last and should sit slightly lower and wider than the inner layer. This overlap is what creates that gorgeous, full, dimensional bloom shape.Glue each outer petal so it nestles between two inner petals — not directly behind them. This staggered placement is the secret to a flower that looks lush and full rather than flat.
Step back and look at your flower from across the room after every 2-3 petals. Adjust while the glue is still slightly warm. Once it's fully set, repositioning means tearing foam — not fun.
Step 5 — Add the Finishing Curl
This optional step makes a massive difference in how realistic your flower looks.Using a heat gun on its lowest setting, gently warm the tip of each petal for 3-5 seconds. While it's warm and pliable, curl the tip back slightly with your fingers. Hold for 10 seconds while it cools and sets.
Don't hold the heat gun too close — keep it at least 4-6 inches away from the foam surface. EVA foam responds quickly to heat, and too much will warp rather than curl.
The One Thing Beginners Always Skip: Weighting Your Base

Here's how to weight your base properly:
- Sand in a Bag: Fill a small zip-lock bag with 1-2 cups of sand and tape it to the underside of your base plate. Cheap, effective, invisible.
- Decorative Rocks: Place smooth river rocks around the base of the stem. They look intentional and add weight.
- Floral Foam Block: Wedge a block of wet or dry floral foam around the stem base inside a decorative pot or container. This is my favorite method for events.
- Pot with Plaster: For permanent installations, set your stem in a small pot filled with quick-dry plaster. Unbeatable stability.
For outdoor setups, weighting is even more critical. A 5-foot flower in a light breeze acts like a sail. Double your base weight for anything going outside.
Sizing Guide: Which Kit Size Is Right for Your Space?
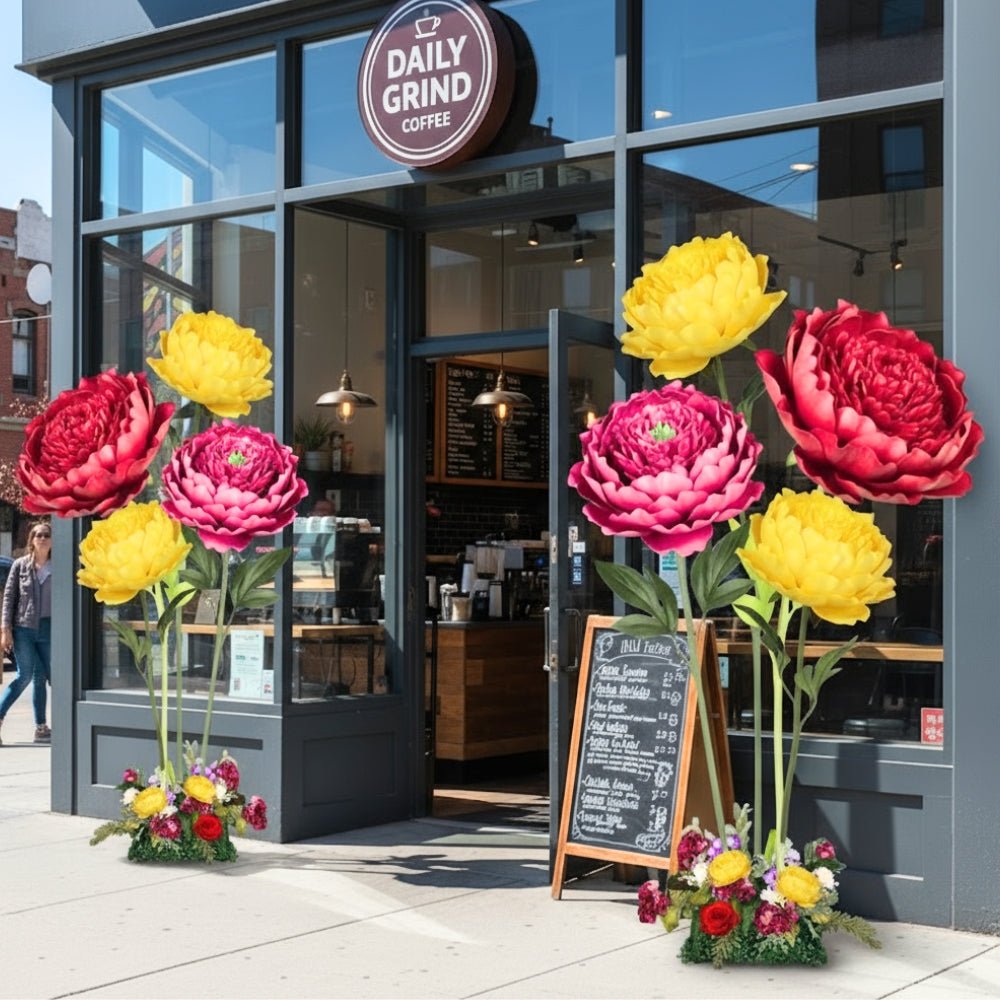
| Flower Height | Best For | Kit Price Range | Recommended Placement |
|---|---|---|---|
| 2 feet | Table centerpieces, shelves, small backdrops | $80–$100 | Tabletop, countertop |
| 3 feet | Ceremony aisles, photo backdrops, retail displays | $110–$140 | Floor, weighted base |
| 4 feet | Statement pieces, entrance décor, arches | $140–$160 | Floor, heavy weighted base |
| 5 feet | Commercial installs, large events, photo ops | $160–$180 | Floor, plaster or sand base |
For wedding arches specifically, I always recommend at least 6-8 flowers in mixed sizes for a full, lush look. Our giant flower wedding arch guide walks through exactly how to arrange them.
Common First-Timer Mistakes (And How to Avoid Them)
Using Too Much Glue
More glue does not mean stronger hold. It means visible glue strings, lumpy joints, and foam that looks messy up close. Use thin, precise lines of glue — less than you think you need.Skipping the Video Tutorial
The QR code on your instruction card links to a video for a reason. Written instructions are great, but watching someone actually fold and glue a petal in real time is a completely different experience. Watch the video first, then build.Not Letting Glue Fully Set Between Steps
I know you're excited. I know you want to see the finished flower. But rushing through the assembly without letting each layer set properly leads to petals that shift, sag, or pop off during transport.Painting After Assembly
We covered this, but it bears repeating: paint your pieces before gluing them together. Every single time. No exceptions.Ignoring Symmetry
Step back from your flower every few petals. Check it from multiple angles. A small misalignment at petal three becomes a big gap by petal seven. Adjust early, adjust often.Transporting and Storing Your Finished Flower
For storage between events, hang your flower stem-up from a hook in a closet or storage room. This keeps petals from getting flattened and the shape stays perfect for years.
According to Statista, the US event planning industry is valued at over $5 billion. More events means more demand for statement décor — and giant flowers that can be reused across multiple events are an incredible investment.
If you're an event planner or small business owner building an inventory, our giant flower event budget guide breaks down exactly how to price your flowers into client proposals.
Frequently Asked Questions
How long does a freestanding flower kit setup take for a first-timer?
Most first-timers complete their first flower in 2-4 hours, including paint drying time. If you're skipping paint (using the foam's natural color), you can often finish in 60-90 minutes. By your second or third flower, you'll be down to 30-45 minutes per bloom.
Do I need any special skills or crafting experience?
Genuinely, no. I designed these kits for people who have never crafted before. The foam is pre-cut, the stem is pre-sized, and the video tutorial walks through every step visually. If you can use a glue gun, you can build one of these flowers.
Can I reuse my freestanding flower kit after an event?
Absolutely — and this is one of the biggest advantages over fresh flowers. EVA foam flowers are incredibly durable and can be reused dozens of times with proper storage. Many of our customers use the same flowers across multiple events for years.
According to a Brides.com report, fresh wedding flowers typically cost $2,000-$2,500 and are discarded after one use. A reusable foam flower kit is a completely different value equation.
What's the best way to customize the color of my foam flower?
Use foam-safe acrylic paint applied in thin coats before assembly. Standard craft acrylics from any hobby store work perfectly. For deeper, richer colors, apply a white base coat first — it makes every color on top more vibrant. You can also use spray paint formulated for foam, but always test on a scrap piece first.
For detailed painting techniques, our crafter's guide to painting on foam core has everything you need.
How do I make my freestanding flower stable enough for outdoor use?
For outdoor setups, you need a significantly heavier base than for indoors. My recommendation: set your stem in a small planter pot filled with quick-dry concrete or plaster. Let it cure fully before the event. For softer ground like grass, use a ground spike adapter — a metal stake that slides over your pipe stem and pushes directly into the soil.
Can I connect multiple freestanding flowers together to make an arch or backdrop?
Yes! This is one of my favorite setups. Use zip ties or floral wire to connect stems to a backdrop frame or PVC pipe arch structure. For a full tutorial on this, check out our guide on how to make an oversized flower arch backdrop — it covers the whole framing and arrangement process.
Your first freestanding flower setup is going to feel like a big deal — because it is. You're creating something genuinely beautiful with your own hands, and that feeling when you step back and see the finished bloom standing there? It never gets old. I promise. If you're ready to get started, head over to our shop and grab your first kit. And if you have questions along the way, reach out — I love hearing from first-timers and I'm always happy to help troubleshoot. You've got this.
Ready to Create Something Amazing?
Browse our collection of giant flower kits and start your next project today.