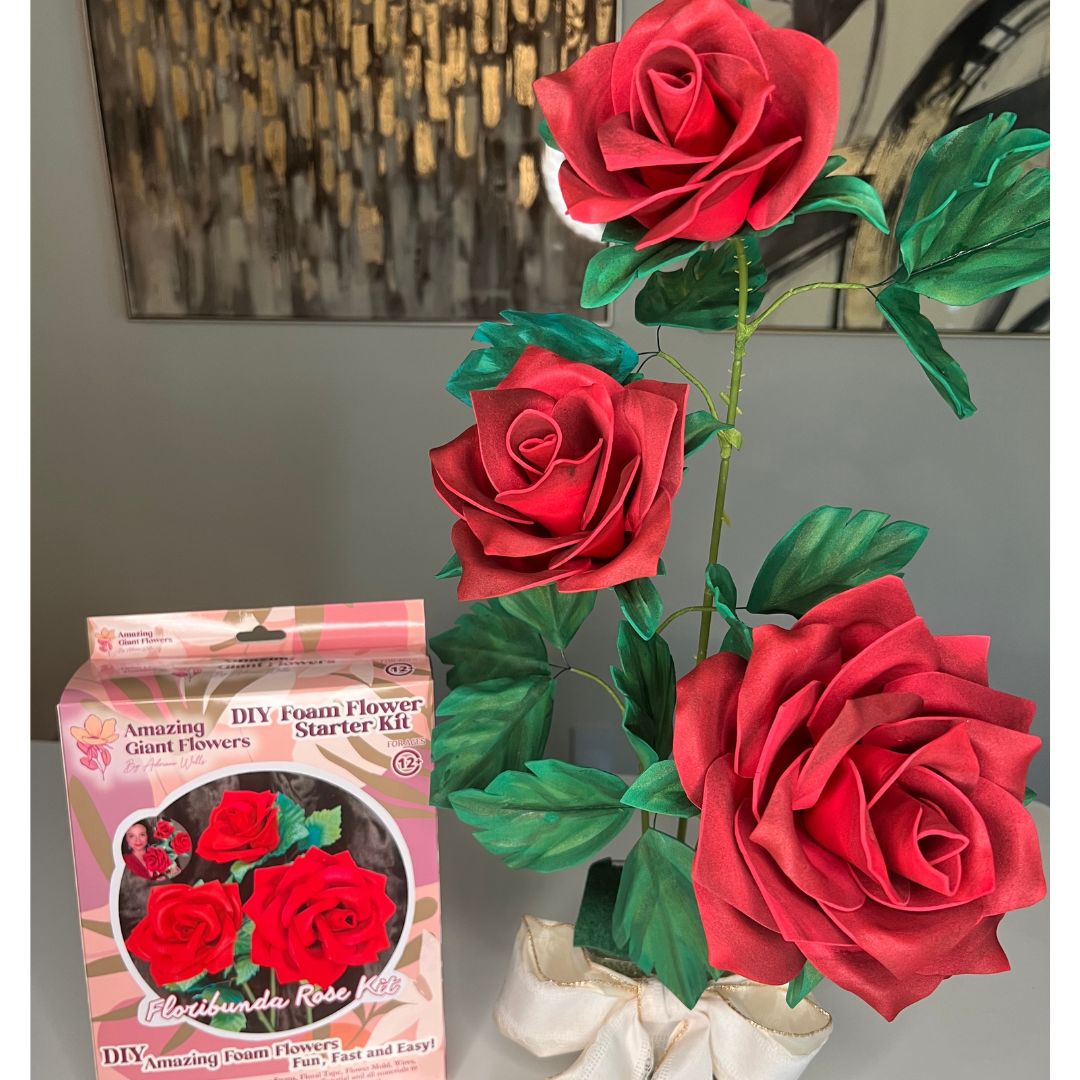
Gender-Reveal Flower Wall: Pink & Blue Ready

You're pregnant, you're glowing, and now you're in full-on planning mode for the big moment — the reveal. I get it. I've watched hundreds of couples stress over this exact thing: how do we make this moment actually look as incredible as it feels? A gender reveal backdrop is the answer. Not a balloon arch that deflates before the photos are done. Not a paper banner that wrinkles in the humidity (Houston summers, I'm looking at you). A real, lush, statement flower wall that makes everyone in the room gasp before you even pop the confetti cannon.
Here's what I've learned after years of making giant flowers for every kind of celebration: the backdrop IS the moment. It's what your photographer frames. It's what shows up in every single photo. It's the thing your mom screenshots and sends to every aunt and cousin in the family group chat.
So let's talk about how to build one that's genuinely stunning — with pink and blue flowers that are reveal-ready, totally DIY-able, and honestly? Way more affordable than you'd think.
Key Takeaways
Real talk? I've seen a lot of gender reveal setups. And the ones that look incredible in photos — the ones that go on Instagram and make people stop scrolling — always have a strong backdrop as the anchor.
Balloons are fun but they're temporary and honestly a little chaotic in photos. Fabric draping looks flat. Store-bought vinyl banners scream "last minute." But a flower wall backdrop? It has texture, dimension, color, and that handmade-with-love energy that nothing else can fake.
The Photo Factor
Your photographer (or your cousin with the good iPhone) needs something to work with. A flower wall gives every shot a built-in focal point. The flowers frame you. They add depth. They make even a simple pose look editorial.
I always tell expecting couples: invest in the backdrop first, then figure out the rest of the decor around it. Everything else is secondary.
Here's something people don't think about: your giant foam flowers don't disappear after the party. Mount them in the nursery. Use them for the baby shower. Bring them out for the first birthday. You're not buying a one-time decoration — you're building a collection.
Ok, this is where it gets really fun. Our Wall Flower Kits come in three sizes for standalone wall use: 18", 24", and 30". And the secret to a backdrop that looks professionally designed? You use all three.
Think of your wall like a garden. You wouldn't plant all the same size flowers — you'd layer tall ones with medium ones and little ones peeking through. Same principle here.
A wall that's roughly 6 feet wide by 5 feet tall is the sweet spot for a gender reveal — big enough to be dramatic, manageable enough to build in an afternoon. For that size, I'd typically recommend a mix of about 3 large (30"), 4 medium (24"), and 5-6 small (18") flowers.
💡 Pro Tip
Before you mount anything, cut out paper circles in your flower sizes and tape them to the wall. Live with the layout for a day. You'll catch any awkward spacing before you make a single hole. This step has saved so many of my customers from headaches — trust me on this one.
Let's talk color, because this is where expecting couples get a little overwhelmed. Do you go classic pink and blue? Do you do a neutral palette and add the reveal color at the end? Do you mix in white?
My honest opinion: don't overthink it. The classic pink and blue combo is classic for a reason — it photographs beautifully, it reads immediately, and it's genuinely joyful. Here's how I'd break it down.
Option 1: The Classic Reveal Wall
Half the wall in soft blush/pink tones, the other half in powder blue, with white flowers in the center where they blend. It's like a color gradient that tells the whole story of the reveal before the moment even happens. Stunning in photos.
Option 2: The Neutral Base with Reveal Pops
Build your base wall in white and ivory, then add a few strategic pink and blue flowers — keeping the secret until the reveal moment when you swap in the winning color's flowers (or add a final statement bloom). This is a little more theatrical and honestly, really fun if you're into the drama of it.
Option 3: All-Pink or All-Blue Statement Wall
If you already know the sex and you're just doing a celebration reveal for guests, go full monochrome. An all-pink wall or an all-blue wall is incredibly striking and looks like something out of a magazine. I've seen all-pink flower walls stop people in their tracks.
Our EVA foam takes paint like an absolute dream, so you can mix custom shades — dusty rose, lavender, periwinkle, mint. Check out our guide on flawless foam board paint finishes for tips on getting the exact shade you're dreaming of.
How to Build Your Gender Reveal Flower Wall Step by Step
I want to walk you through this like I'm sitting at your kitchen table with you. Because building a flower wall sounds intimidating, but it's genuinely one of the most satisfying crafts you'll ever do — especially when it's for your baby.
Step 1: Order Your Kits and Gather Supplies
Start with your Wall Flower Kits — kits start at $37.99 for the 18" size. Each kit includes pre-cut EVA foam petals and a center piece, so you're not starting from scratch with raw foam. You'll also want:
- Acrylic paint in your chosen pink and blue shades
- A heat gun for shaping petals into that gorgeous curved, realistic shape
- A hot glue gun for assembly
- Command strips or small nails for wall mounting
- Foam brushes for smooth paint application
Step 2: Paint Your Petals
Paint before you assemble. Lay all your petals flat, apply two coats of acrylic, and let them dry completely. For a more dimensional look, try dry-brushing a slightly lighter shade on the petal tips — it adds that real-flower depth that makes people do a double-take. Our crafter's guide to painting on foam core has everything you need to know.
Step 3: Shape and Assemble
This is my favorite part. Use your heat gun to gently warm each petal and curve it — this is what gives foam flowers that lifelike, cupped shape instead of looking flat. Work quickly and carefully. Once shaped, layer and glue your petals from the outside in. For pro-level petal shaping, read our heat gun techniques guide.
Step 4: Mount and Style
Start with your largest flowers and work inward. Use your paper layout as a guide. For heavier 30" flowers, I recommend small nails or picture hooks over Command strips. Step back frequently — distance is your best design tool. What looks too sparse up close often looks perfectly balanced from across the room.
🌸 Ready to get started?
Browse our Wall Flower Kit collection and find your perfect pink and blue combo — kits start at just $37.99.
Wall Flower Kit Size Comparison for Your Gender Reveal Backdrop

Not sure which sizes to order? Here's a quick breakdown to help you plan your wall.
| Size | Starting Price | Best Role on the Wall | Qty for 6x5 ft Wall | Visual Impact |
|---|---|---|---|---|
| 18" | $37.99 | Filler & detail blooms | 5–6 flowers | Charming, adds texture |
| 24" | Varies by style | Mid-layer anchors | 3–4 flowers | Bold, balanced |
| 30" | Varies by style | Hero/statement blooms | 2–3 flowers | Showstopping, dramatic |
Styling the Rest of Your Reveal Around the Flower Wall

Once your wall is built, everything else falls into place. The flower wall does the heavy lifting — you just need to layer in a few supporting elements.
The Reveal Moment Setup
Stand directly in front of your flower wall for the reveal. Whether you're popping a confetti cannon, cutting a cake, or opening a box of balloons — the wall behind you is the frame for that moment. Make sure your photographer knows to shoot wide enough to capture the full wall.
The Photo Booth Zone
After the reveal, your flower wall instantly becomes a photo booth backdrop. Set up a little station with props — "Boy or Girl?" signs, tiny baby shoes, a chalkboard with the due date. Guests will line up. I promise. If you want more photo booth backdrop inspiration, I've got a whole guide on the best photo booth backdrops for 2026.
Add a Welcome Sign or Table
A small table in front of the wall with a welcome sign, a flower arrangement, and maybe a gender prediction poll for guests ties the whole setup together. For welcome sign backdrop ideas specifically for baby-related events, check out my post on 10 welcome board backdrop ideas for a baby shower entrance.
Consider Going Freestanding
If you're hosting your reveal at a venue where you can't put holes in the walls (been there), our freestanding flower kits are your best friend. Same stunning impact, zero wall damage. You can also read our full guide on freestanding giant flower arrangements for events for more ideas.
Frequently Asked Questions

How many wall flower kits do I need for a gender reveal backdrop?
It depends on the size of wall you want to fill, but for a standard 6-foot-wide reveal backdrop, most couples find that 10–12 flowers in a mix of 18", 24", and 30" sizes gives a full, lush look without any awkward gaps. If you're going for a more organic, scattered look rather than wall-to-wall coverage, you can absolutely do it with fewer — even 6-8 well-placed large blooms can be incredibly striking.
Can I reuse the flowers after the gender reveal?
Absolutely, and this is honestly one of my favorite things about foam flowers. EVA foam is incredibly durable — these flowers can be taken down, stored flat, and remounted for your baby shower, nursery wall, or first birthday party. If you want to repaint them a different color for the next event, that's easy too. You're not buying a single-use decoration.
How do I mount the flowers without damaging my walls?
For 18" flowers, heavy-duty Command strips work great. For 24" and 30" flowers, I recommend small picture hooks or nails — the flowers are lightweight enough that you don't need anything heavy-duty, but Command strips can occasionally lose grip with larger pieces, especially in humid climates (Houston, I'm talking to you again). Always test a single flower for 24 hours before committing the whole wall.
What's the difference between wall flower kits and freestanding kits?
Wall flower kits are designed to be mounted flat against a wall — they're the perfect choice when you have a wall to work with and want that seamless, built-in backdrop look. Freestanding kits come with a base or stake system so they can stand on their own on a floor or in a garden. Both are made from the same beautiful EVA foam and are fully customizable — it just depends on your venue setup.
Do I need any special crafting experience to build a flower wall?
Not at all. I designed these kits specifically for people who have never made a giant flower in their life. If you can use a hot glue gun and a foam brush, you can build a stunning wall. Most customers finish their first flower in about 45 minutes — and then they're completely hooked. The kits come with pre-cut petals, so the hardest part (cutting foam precisely) is already done for you. If you want extra
Ready to Create Something Amazing?
Browse our collection of giant flower kits and start your next project today.