How to Use a Giant Flower Birthday Backdrop Kit for a Big Impact Party
Key Takeaways
- A giant flower birthday backdrop kit can be assembled in 2-4 hours with no prior crafting experience required.
- EVA foam flowers are reusable, weather-resistant, and lightweight — making them far more practical than fresh floral arrangements.
- The right kit size depends on your wall space: 8-12 flowers typically cover a 6-8 foot backdrop beautifully.
- Color selection, flower sizing, and layering depth are the three factors that make the biggest visual difference.
- You can repurpose your backdrop flowers for future events — holidays, graduations, baby showers — making the investment go much further.
Why Giant Flower Backdrops Are the Ultimate Birthday Party Statement
What Makes Foam Flowers Better Than Fresh Flowers for Backdrops?
Fresh flowers are gorgeous — I would never say otherwise. But for a backdrop? They wilt. They're expensive. And you can't exactly reuse a $400 fresh flower wall next month for your niece's baby shower. Brides.com reports that couples spend an average of $2,000–$2,500 on fresh wedding flowers alone. Birthday party budgets are usually a fraction of that. EVA foam flowers, on the other hand, are lightweight, durable, and endlessly reusable. They don't require water, they don't droop in the Texas heat (trust me, I've tested this), and they look just as stunning in photos as the real thing.Choosing the Right Giant Flower Birthday Backdrop Kit
Kit Size: How Many Flowers Do You Actually Need?
The size of your backdrop depends on two things: your wall space and how full you want it to look. Here's my general rule of thumb:- Small accent backdrop (4-5 feet wide): You'll want around 4-6 flowers, mixing 2-3 sizes. Perfect for a dessert table or small apartment party.
- Standard photo backdrop (6-8 feet wide): This is the sweet spot. An 8-10 flower bundle fills this space beautifully with good layering.
- Full wall statement (8-10 feet wide): Go for a 12+ flower bundle or combine two kits. This is what you see at big quinceañeras and corporate events.
Flower Size: Big, Bigger, or All of the Above?
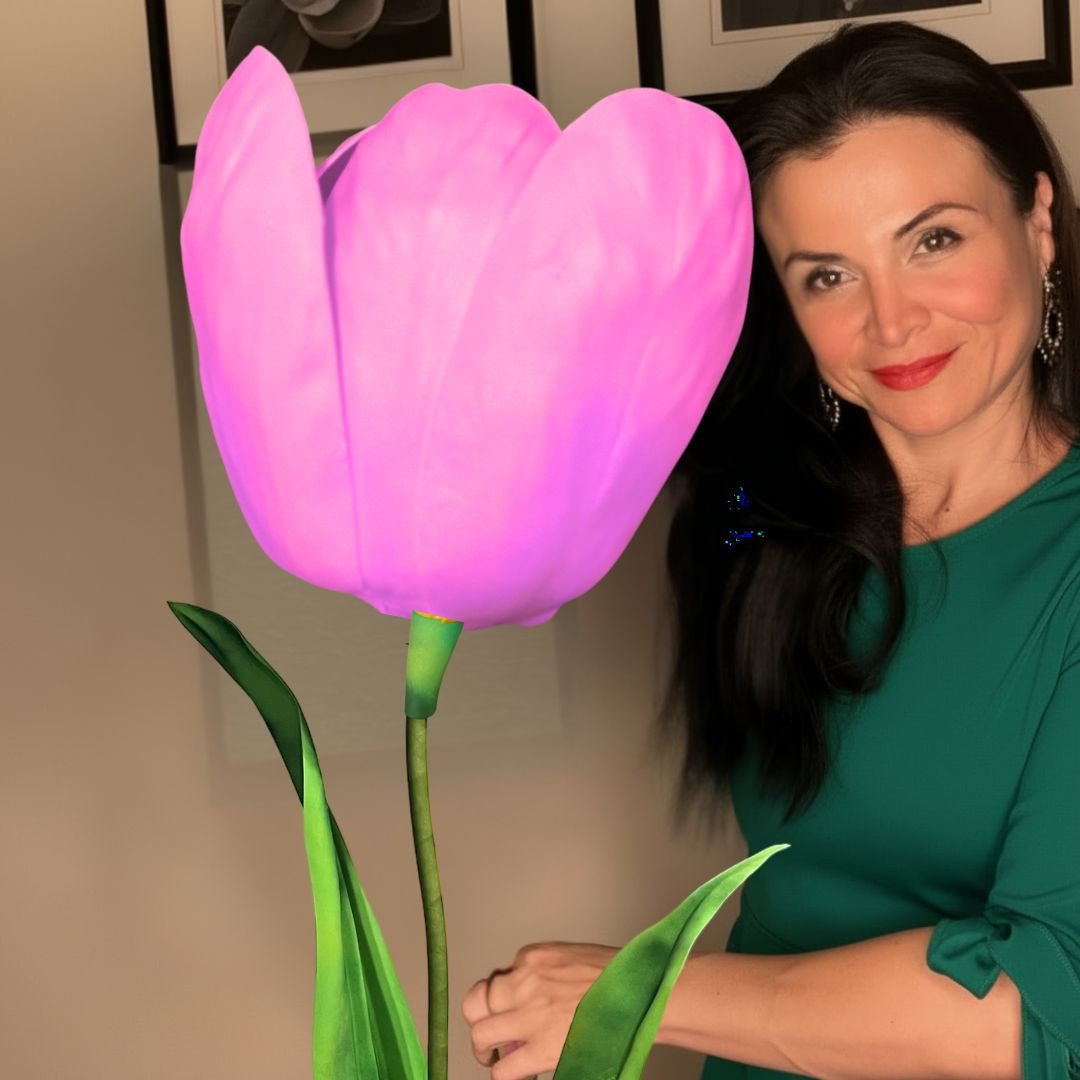
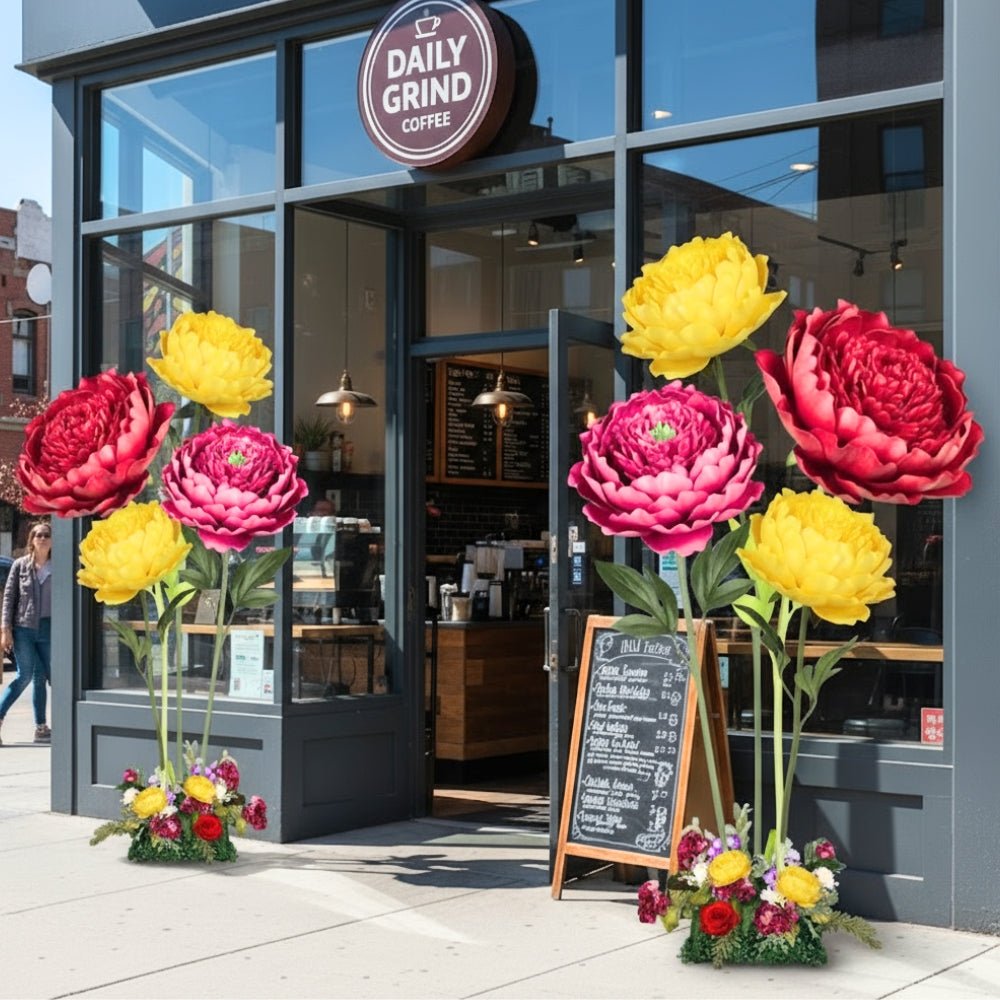
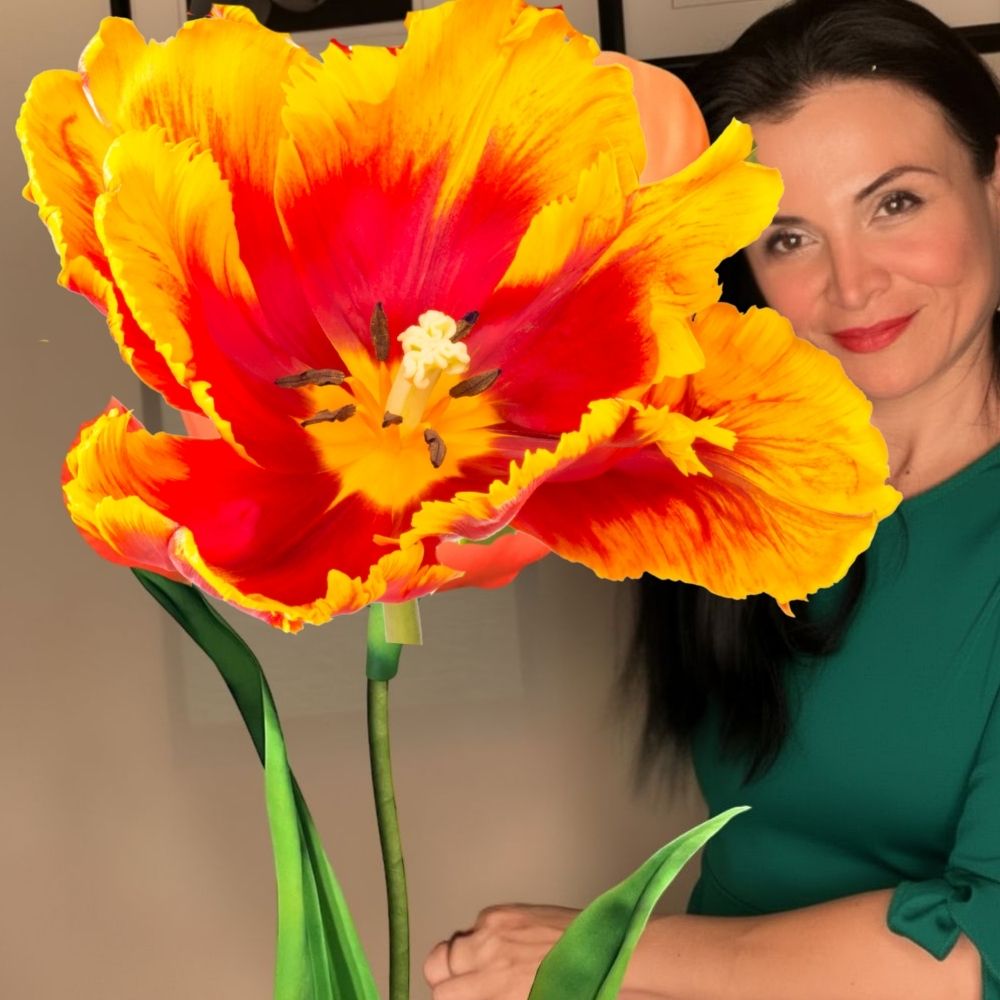
Our giant flowers range from 2 feet to 5 feet tall. For a birthday backdrop, I almost always recommend mixing sizes. A backdrop with all the same-size flowers looks flat. But when you anchor the center with a 4-5 foot statement flower, surround it with 3-foot mid-size blooms, and tuck in some 2-foot accent flowers around the edges? That's when it starts looking like something out of a magazine.Freestanding vs. Wall-Mounted: Which Is Right for Your Party?
This is one of the most common questions I get. Here's the honest breakdown:| Feature | Freestanding Kit | Wall-Mounted Kit |
|---|---|---|
| Price Range | $80–$180 per flower | $50–$120 per flower |
| Setup Location | Anywhere — indoors or outdoors | Requires a wall or backdrop stand |
| Stability | Self-supporting with bendable stem | Secured directly to surface |
| Best For | Outdoor parties, venues, open spaces | Indoor parties, rental halls, apartments |
| Reusability | Very high — easy to move and store | High — lightweight and easy to remove |
| Assembly Time | 30–60 min per flower | 20–45 min per flower |
What Comes Inside a Giant Flower Birthday Backdrop Kit
The Kit Contents Explained
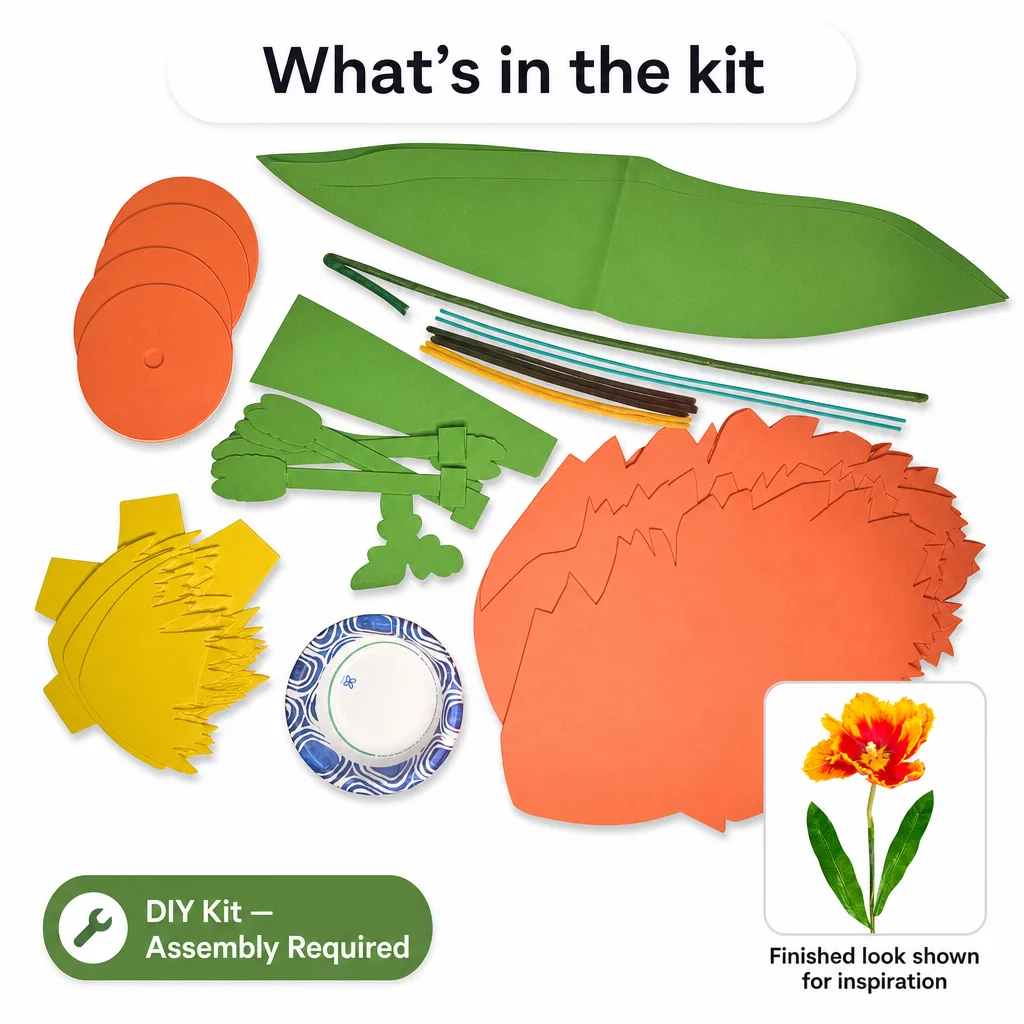
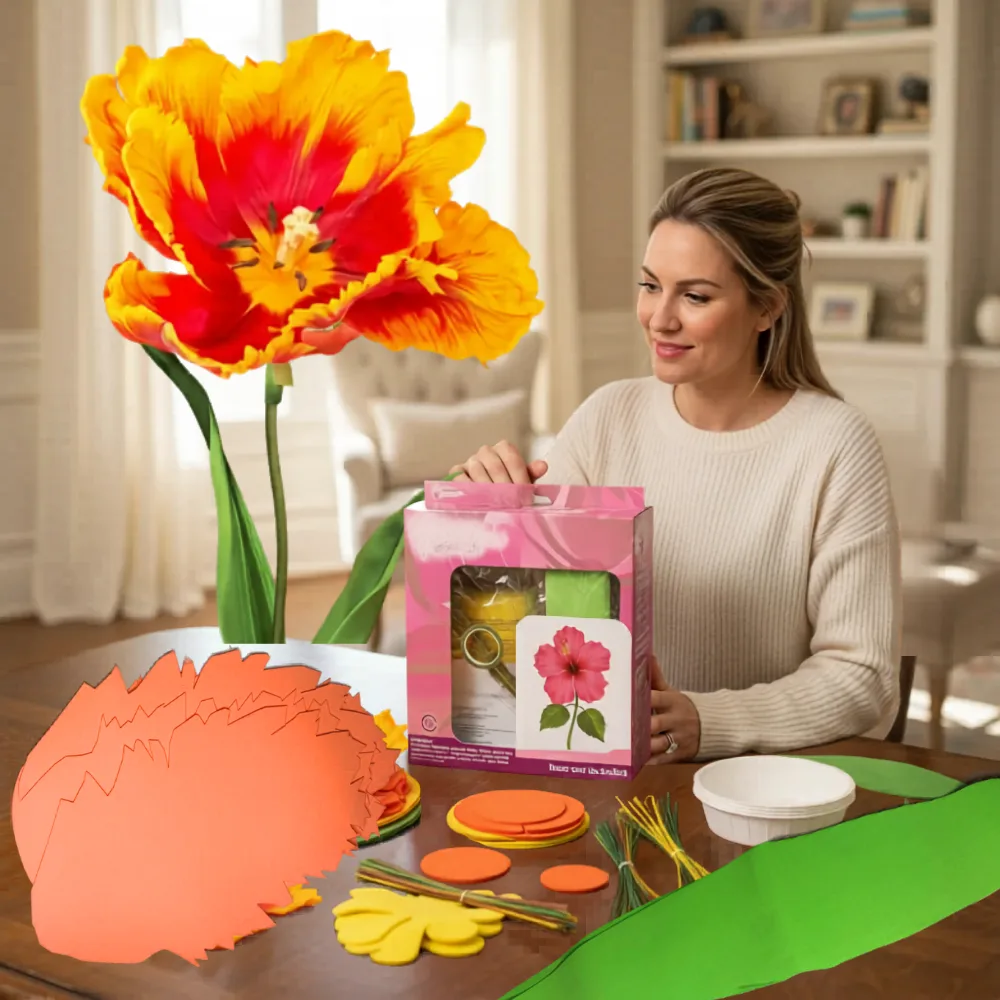
- Pre-cut EVA foam petals: These are already shaped and sized for you. No cutting required. Each petal is precision-cut so they all match perfectly — something that took me so many ruined sheets to figure out how to do right.
- EVA foam center pieces: The center disc and layered cone pieces that give the flower its dimensional, realistic look.
- Bendable pipe stem: For freestanding kits, this is your backbone. It's flexible enough to pose, but sturdy enough to hold a 3-4 pound flower upright all day.
- Wall mounting hardware: For wall kits, you'll get everything you need to attach securely without damaging your wall (hello, Command strips and foam-safe adhesive).
- Video tutorial access: Every kit ships with a link to my step-by-step video walkthrough. I walk you through every single step — no guessing, no frustration.
What You'll Need to Supply Yourself
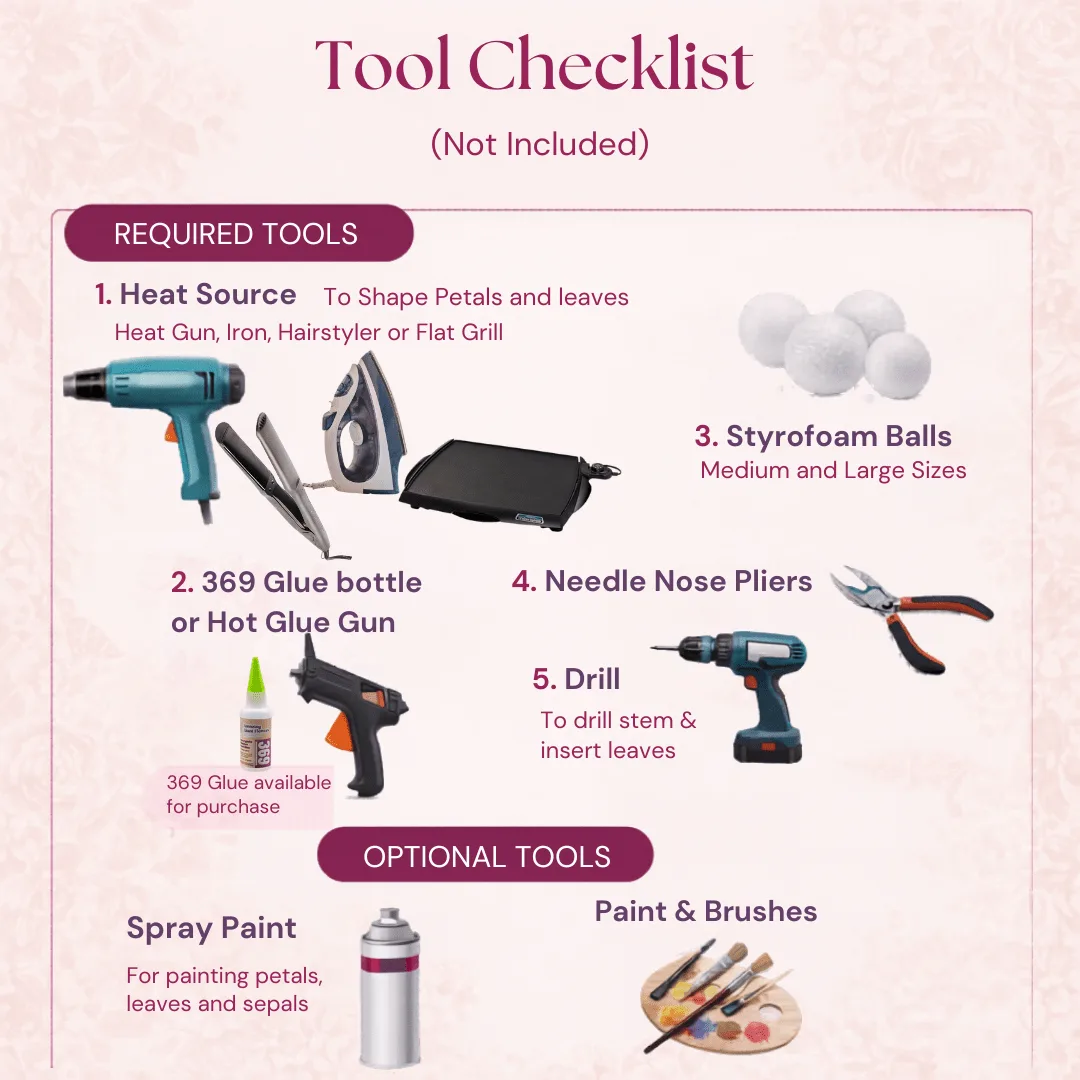
The kits are designed to be as complete as possible, but you'll want to have a few things on hand:- Low-temperature hot glue gun: This is non-negotiable. High-temp guns will melt the EVA foam. I cannot stress this enough — go low-temp.
- Acrylic paint (if customizing color): Our foam takes paint beautifully. Check out our guide on flawless foam board paint finishes for the best techniques.
- A large flat workspace: A kitchen table or clean floor works perfectly. You need room to spread out petals.
- Patience and a snack: Seriously. Put on a good playlist, grab some coffee, and enjoy the process.
Step-by-Step: How to Assemble Your Giant Flower Birthday Backdrop Kit
Step 1: Lay Out All Your Pieces First
Before you touch the glue gun, spread everything out on your workspace. Sort petals by size and layer. Most of our flowers have 3-4 petal layers, going from largest at the base to smallest near the center. This sounds obvious, but I can't tell you how many people skip this and end up confused mid-assembly. Lay it all out. Take a breath. You've got this.Step 2: Shape Your Petals
Here's the secret that separates a flat-looking flower from a gorgeous, dimensional one: curl your petals before gluing. Gently roll each petal around a cylindrical object — a marker, a rolling pin, even a cardboard tube. Hold it for about 10-15 seconds. The EVA foam has memory, so it will hold the curve. For the outermost petals, curl them backward (away from center). For inner petals, curl them slightly inward. This creates that natural, blooming look.Step 3: Build From the Outside In
Start with your largest base petals and work your way inward. Apply a small bead of low-temp hot glue at the base of each petal and press firmly for 5-10 seconds. Overlap each petal by about 1-2 inches as you go around. Think of how real flower petals layer — they don't sit in a perfect row, they nestle against each other.Step 4: Add the Center
The center is what makes the whole flower pop. For most of our designs, this is a layered cone or rolled piece that sits slightly elevated above the petals. Apply glue generously to the base of your center piece and press it firmly into the middle. Hold it for a full 20-30 seconds — this joint takes the most stress, so give it time to set.Step 5: Attach to Your Stem or Mounting Hardware
For freestanding flowers: Thread your bendable pipe stem through the back of the flower base and secure with glue. Bend the bottom of the stem into a coil or spiral to create a stable base, or insert it into a foam block or bucket of sand. For wall-mounted flowers: Apply your foam-safe adhesive or Command strips to the back of the flower base. Press firmly against your wall and hold for 60 seconds. Let it cure for at least 30 minutes before letting go completely.Designing Your Giant Flower Birthday Backdrop: Color, Layout, and Styling Tips

Choosing a Color Palette That Pops on Camera
I always tell people: design your backdrop for photos first, the room second. Because every single guest is going to photograph in front of it. Some color combos that consistently kill it on camera:- Blush pink + cream + sage green: Timeless and elegant. Works for first birthdays, bridal showers, and adult birthday parties alike.
- Hot pink + coral + white: Bold and tropical. Great for summer outdoor parties.
- Lavender + dusty blue + silver: Dreamy and ethereal. Perfect for princess themes or winter birthdays.
- Burnt orange + mustard + terracotta: Boho chic and trending hard right now. Stunning for fall birthdays.
- All white with gold accents: Sophisticated and timeless. Pairs beautifully with gold balloon arches and fairy lights.
Layout Principles for a Balanced, Beautiful Backdrop
Don't just slap flowers on a wall and hope for the best. Here's how I approach layout: Start with your largest flower as the anchor. Place it slightly off-center — dead center often looks too rigid and formal. About ⅓ from one side tends to feel more dynamic. Build in a triangle or arc. Your eye naturally follows triangular shapes. Place three large flowers in a loose triangle, then fill in with smaller flowers around them. Vary your depth. If you're using wall-mounted flowers, mount some flat and let others extend outward slightly. This creates a 3D effect that photographs beautifully. Check out our DIY giant flower backdrop for photos guide for more advanced layout techniques.Adding the Finishing Touches
Giant flowers are stunning on their own, but a few additions take the backdrop to the next level:- Greenery and leaves: Tuck EVA foam leaves between flowers to add natural movement and fill gaps.
- Fairy lights: Weave warm white string lights through and behind the flowers. The glow adds warmth and makes evening photos magical.
- A personalized banner: A simple "Happy Birthday [Name]" banner hung in front of or below the flowers adds a personal touch without competing visually.
- Balloons: A few large balloons (especially foil number balloons for milestone birthdays) complement the flowers without overwhelming them.
Common Mistakes to Avoid With Your Giant Flower Birthday Backdrop Kit
Mistake #1: Using a high-temp glue gun. I said it before and I'll say it again. High-temp guns melt EVA foam and create a stringy, messy disaster. Always use low-temp. Mistake #2: Skipping the petal shaping step. Flat petals = flat flowers. Take the extra 10 minutes to curl and shape. It makes an enormous difference. Mistake #3: Making all flowers the same size. Variety in size is what creates visual interest. A backdrop of identical flowers looks like clip art. Mix your sizes. Mistake #4: Not testing your wall mounting before the party. Always do a test mount 24-48 hours before your event. The last thing you want is flowers sliding down the wall while guests are arriving. Mistake #5: Forgetting about lighting. Even the most beautiful backdrop can look dull in bad lighting. If your venue has dim or yellow lighting, bring a ring light or two clip-on LED panels to illuminate your backdrop for photos.
Repurposing Your Backdrop After the Birthday Party
After the birthday party, your flowers can become:
- Holiday décor: Repaint them in reds and greens for Christmas, or pastels for Easter. Our guide on foam board paint finishes shows you exactly how to get a smooth, professional repaint.
- A photo booth backdrop: Set them up at your next event as a photo moment. See our guide to the best photo booth backdrops for inspiration.
- Nursery or bedroom wall art: Wall-mounted flowers look incredible as permanent room décor for kids' spaces.
- Your next party: Baby shower, graduation, bridal shower — these flowers work for everything. Check out our baby shower backdrop ideas for inspo.
Frequently Asked Questions
How long does it take to assemble a giant flower birthday backdrop kit?
Most people complete a single flower in 30-60 minutes, depending on size and complexity. For a full backdrop of 8-10 flowers, budget about one full day — or spread it over two evenings. The video tutorials that come with every kit make the process much faster, especially for first-timers.
Can I use the giant flower birthday backdrop kit outdoors?
Yes! EVA foam is weather-resistant and holds up well in outdoor conditions. For outdoor setups, I recommend freestanding kits with weighted bases rather than wall-mounted options. If you're in a windy area, anchor your stems in buckets of sand or use a heavy base. Avoid prolonged direct rain — while the foam itself is fine, your glue joints can weaken if soaked for hours.
What size giant flower backdrop kit do I need for a standard 8-foot wall?
For an 8-foot wide wall, I recommend a bundle of 10-12 flowers in mixed sizes (ranging from 2 feet to 4 feet). This gives you enough coverage to fill the space without gaps, while still allowing room for layering and depth. Our Bundle Kits starting at $350 are designed with exactly this in mind.
Can I paint or customize the flowers in my kit?
Absolutely — and I encourage it! EVA foam takes acrylic paint beautifully. You can paint the petals before or after assembly. For the smoothest finish, use a foam roller or sponge brush rather than a bristle brush, which can leave streaks. Check out our detailed guide on painting on foam core for pro tips on getting a flawless finish.
How do I store giant foam flowers after the party?
Storage is simple. Do not crush or stack heavy items on top of them — the petals can deform under sustained pressure. Store them upright in large garbage bags or wrap loosely in tissue paper. A spare closet or under-bed storage box works great. Stored properly, your flowers will look just as good at the next party as they did at this one.
Are giant flower birthday backdrop kits beginner-friendly?
One hundred percent yes. That's literally why I designed them this way. The petals are pre-cut, the instructions are clear, and the video tutorials walk you through every step. I've had customers with zero crafting experience create absolutely stunning backdrops on their first try. If you can use a glue gun, you can make these flowers.
There's something really special about creating the backdrop for someone's birthday celebration with your own hands. It's not just décor — it's a gift. It's the thing everyone will photograph in front of, the thing that sets the whole mood of the party, the thing the birthday person will remember for years. And honestly? It's way more fun than ordering something generic online. You get to choose the colors, the sizes, the layout. You get to make it *theirs.* If you're ready to get started, head over to our shop and browse our kits — or reach out if you have questions about which kit is right for your party. I love helping people find the perfect setup. This is literally my favorite thing to talk about.
Ready to Create Something Amazing?
Browse our collection of giant flower kits and start your next project today.