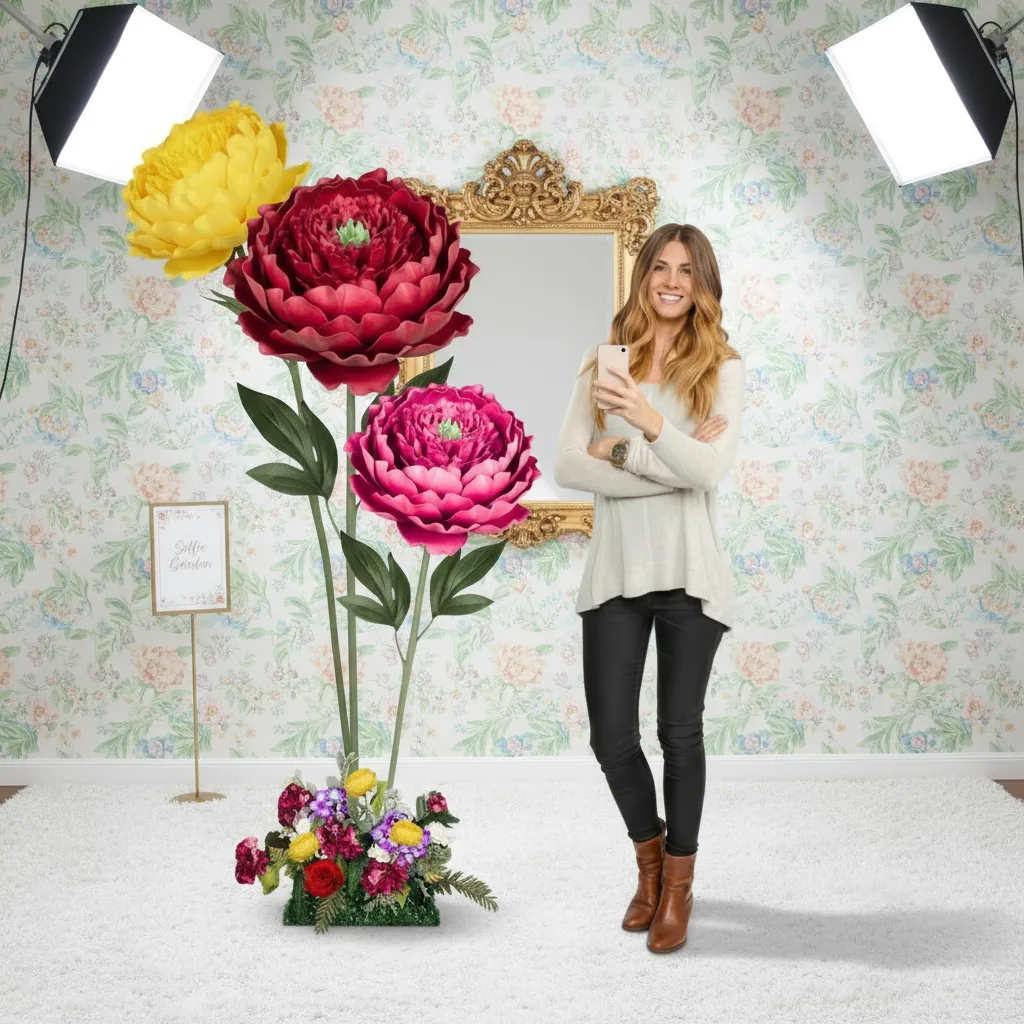
Giant Flower Garlands and Swags: A Full Tutorial

If you've been searching for a giant flower garland swag tutorial that actually walks you through the whole process — start to finish, no skipped steps — you just found it. I've made hundreds of these for weddings, corporate events, baby showers, and everything in between, and I'm going to share everything I know right here.
Garlands and swags are honestly one of my favorite things to create. There's something magical about draping a lush cascade of giant blooms across a mantle, a ceremony arch, or a staircase railing. It transforms a space in a way that nothing else quite does.
In this tutorial, I'm covering materials, construction, how to get that gorgeous draped swag shape, and all the little tricks I've picked up over the years. Whether you're a first-time crafter or a seasoned event decorator, there's something here for you.
Key Takeaways
Let me paint you a picture. You walk into a wedding reception and there's a long sweetheart table. Above it, draped in a gentle arc between two points, is a cascading swag of enormous blooms — soft blush peonies, ivory ranunculus, dusty rose dahlias, all 2 to 3 feet across. That's a giant flower garland swag.
A garland is a continuous strand of decorative elements. A swag is the specific shape — that beautiful drooping arc or curve between two anchor points. Put giant foam flowers on a garland and let it swag, and you've got something truly show-stopping.
According to a Brides.com survey, couples spend an average of $2,000–$2,500 on wedding flowers. A single fresh floral garland installation can eat up $400–$800 of that budget — and it lasts one day.
A giant foam flower garland? You build it once, you reuse it forever. I've had clients use the same garland for a wedding, then a baby shower, then a birthday party. The math is honestly ridiculous in the best way.
Before we dive into construction, let's talk supplies. Getting the right materials makes the difference between a garland that looks incredible and one that flops (literally).
Not all foam is created equal, and this matters more than people realize. I've written a full deep-dive in A Crafter's Guide to Every Type of Foam for Giant Flowers if you want the whole story.
For garlands specifically, you want lightweight EVA foam. The garland base has to carry the cumulative weight of all your flowers, so every ounce matters. Denser foam means a heavier garland means a sagging, drooping mess at your event.
Ok, this is where it gets really fun. Each flower in your garland is built the same way as a freestanding giant flower — you're just going to attach it differently at the end.
If you're using a kit from Amazing Giant Flowers, your petals are pre-cut and ready to go. That's honestly the biggest time-saver. If you're cutting from sheets, trace your petal template onto the foam and cut with sharp scissors or a craft knife.
For a garland, I recommend making flowers in two sizes: 24-inch blooms and 18-inch blooms. Alternating sizes creates rhythm and depth along the swag.
Step 2: Shape the Petals
This step transforms flat foam into something that looks alive. Run a heat gun on low across the surface of each petal while gently cupping it in your palm. The foam will soften and hold whatever shape you give it.
Curl the edges back slightly on outer petals. Give inner petals a tighter, more upright curve. Work quickly — EVA foam sets fast once it cools.
Start with your center cone. Roll a piece of 6mm EVA foam into a tight cone shape and hot glue it. Then layer your petals around it, smallest to largest, overlapping each layer slightly.
Each layer should have 5–7 petals. A full garland flower typically has 3 layers of petals plus the center. That's roughly 16–22 petals per bloom.
Here's where garland flowers differ from freestanding ones. Instead of a tall floor stem, you're attaching a short bendable pipe stem — about 6–8 inches long. Push it through the back of the flower base and hot glue it securely.
This short stem is what you'll wrap around your rope base later. The bendable wire inside means you can angle the flower face forward, upward, or slightly to the side — total control.
Building Your Garland Base
The base is the spine of your entire installation. Get this right and everything else falls into place.
Measure your intended span and add 30–40% extra length to account for the swag drop. If your anchor points are 6 feet apart and you want a 12-inch drop in the center, you'll need about 7.5–8 feet of rope.
For a dramatic deep swag — the kind that drops 18–24 inches — add 50% to your span measurement. It sounds like a lot, but that's what creates the gorgeous curve.
Cut your rope to length and seal the ends with a lighter to prevent fraying. Then tie a small loop at each end — these are your anchor points for hooks, nails, or zip ties.
Lay the rope flat on your work surface. This is your canvas. Now you're going to start building.
Before any flowers go on, I always attach a layer of artificial greenery to the rope. Wrap eucalyptus sprigs or leaf garland around the rope with floral wire, covering it completely. This creates a lush green foundation and hides any gaps between flowers.
Think of it like the foliage in a real floral arrangement — it's the supporting cast that makes the stars (your giant blooms) look even better.
Arranging and Attaching the Flowers: The Heart of This Giant Flower Garland Swag Tutorial
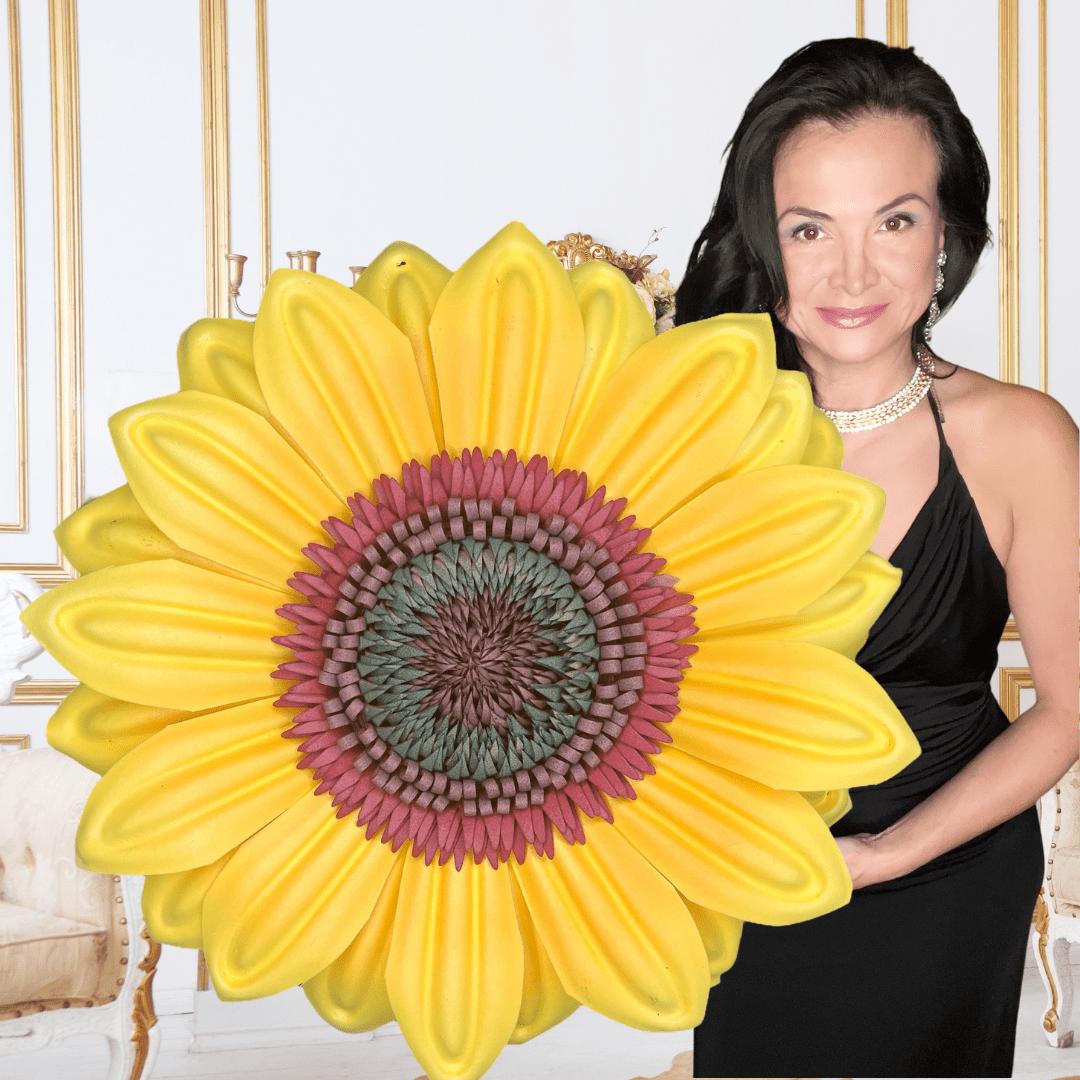
This is the part where your garland starts looking like something out of a magazine. Take a breath. Lay everything out before you commit to gluing anything.
Lay your greenery-covered rope on the floor in its final swag shape. Then place your flowers on top of it — don't attach yet — and step back to look.
I like to start with the largest flowers at the center low point of the swag, then graduate to smaller flowers as you move toward the ends. It feels natural and draws the eye to the most dramatic part of the drape.
Space your main flowers 8–10 inches apart, center to center. This sounds sparse when you're laying them out, but once your filler blooms and greenery are in, it'll look full and lush.
Resist the urge to crowd your flowers. Overcrowded garlands lose the individual beauty of each bloom. Give them room to breathe and they'll reward you.
Wrap each flower's short pipe stem around the rope twice, then twist the end back on itself to lock it. Add a dab of hot glue at the connection point for extra security.
Angle each flower slightly differently — some facing straight forward, some tilted up, some angled slightly left or right. Variation in angle is what makes it look natural rather than manufactured.
Filling In the Gaps
Once your main flowers are attached, add smaller accent blooms (4–6 inch foam flowers or artificial ranunculus) in the gaps. Then tuck in extra greenery sprigs to fill any remaining holes.
Step back every few minutes and look at the whole thing. You're looking for even distribution of color and size, with no obvious bare patches.
One of the most common questions I get is: "How many flowers do I need?" Here's a quick reference table I put together based on years of building these installations.
The beauty of this style of installation is its versatility. I've hung these things in more places than I can count.
Real talk? I've made every single one of these mistakes myself. Learn from my pain.
Anything thinner than 3/8 inch will cut into your flower stems under the weight of the blooms. I learned this the hard way when a garland slowly rotated and all my flowers ended up facing the wall instead of the audience. Not a great look at someone's wedding.
I know it feels like an extra step. It's not optional. Without greenery, you'll see the rope between flowers and the whole thing looks sparse and unfinished. The greenery layer is what makes it look like a real, lush installation.
A garland of identical flowers looks like a craft project. A garland with varied sizes and depths looks like professional floral design. Mix your 24-inch statement blooms with 18-inch secondary flowers and 4–6 inch accent buds.
Always do a full test hang at home before you show up at a venue. Check that the swag shape holds, that no flowers are rotating, and that the anchor points are secure. There is nothing worse than discovering a problem while you're on a ladder in a ballroom an hour before guests arrive.
Honestly? Skip the low-temp glue entirely for this project. It doesn't bond EVA foam securely enough, especially when the garland flexes during transport and installation. High-temp glue only. Use a silicone finger cap if you're worried about burns.
Color is where you really get to have fun. Here are some of my favorite combinations that I've seen work beautifully in real installations.
According to The Knot's wedding trend reports, blush and dusty rose remain the top wedding color choices year after year — so if you're building garlands for weddings, that classic romance palette is a safe, beautiful bet.
I want to give you real numbers here because this is often the deciding factor for clients and event planners.
According to IBISWorld, the US floral industry is worth $7.9 billion — and a significant chunk of that is event florals that last exactly one day. A professionally installed fresh floral garland swag for a 6-foot span typically runs $350–$700, not including installation labor.
A comparable giant foam flower garland built from our kits? Materials cost $150–$280 depending on the number of flowers. And you can reuse it. A Bundle Kit from our shop gives you 8–12 pre-cut flowers for $350–$600 — that's a full garland's worth of flowers that you own permanently.
A WeddingWire cost guide notes that floral installations are one of the fastest-rising wedding expenses, with garland and arch installations increasing 15–20% in cost over the past three years. The case for reusable foam has never been stronger.
Storing and Transporting Your Giant Flower Garland
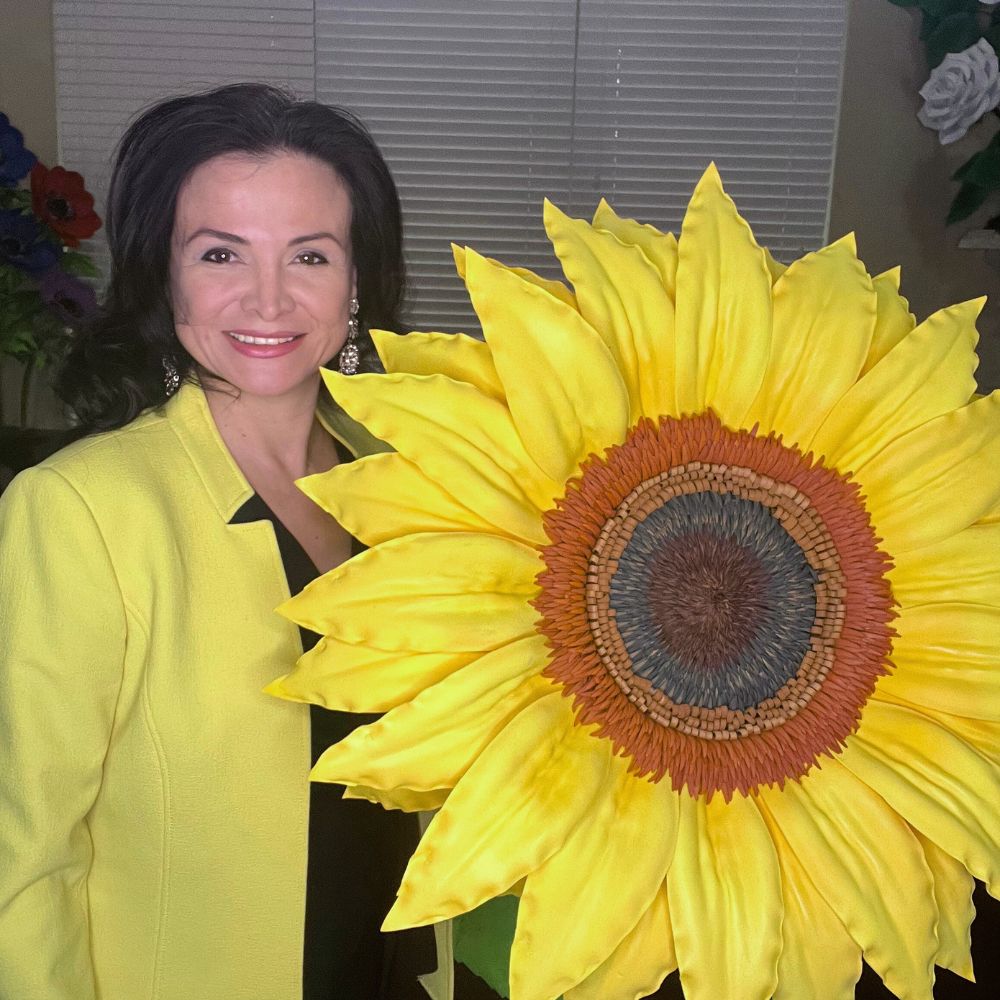
One of the biggest advantages of foam garlands is that they travel and store beautifully. Here's how I do it.
Coil your garland loosely — never fold it sharply — and store it in a large plastic bin with a lid. The flowers can rest against each other gently. EVA foam is resilient and bounces back from gentle compression.
Keep it out of direct sunlight during storage. Prolonged UV exposure can fade colors over time, even with UV-resistant foam. A cool, dark closet or storage room is ideal.
I use large plastic storage bins (66-quart or larger) for transport. Line the bottom with a thin layer of bubble wrap, coil the garland inside, and place another layer of bubble wrap on top before closing the lid.
For very large garlands, a wardrobe box (the tall moving boxes for hanging clothes) works perfectly. You can drape the garland inside without compressing the flowers at all.
For a first-timer, a 6-foot garland with 8–10 flowers will take about 8–12 hours spread across a couple of days. Once you've made a few flowers and have your rhythm, that same garland takes 4–6 hours. Using pre-cut kits from Amazing Giant Flowers cuts that time significantly since the most labor-intensive step — cutting petals — is already done for you.
I always tell people: make your flowers first over several evenings, then dedicate one focused session to assembling the garland. It's much less overwhelming that way.
Can I make a giant flower garland without a kit?
Absolutely — if you have EVA foam sheets, a heat gun, hot glue, and templates, you can build everything from scratch. I have a full walkthrough in our large fabric flower tutorial that covers the foundational skills. That said, pre-cut kits genuinely save hours of cutting time and ensure your petals are perfectly symmetrical.
This comes down to how you attach the stems. Wrap each stem around the rope at least twice and add a generous dab of high-temp hot glue at the contact point. For extra security, wrap the stem connection with a few rounds of floral tape before gluing. The tape adds friction that prevents rotation.
Also make sure your rope base has some texture — smooth rope gives stems nothing to grip. Twisted nylon rope works much better than braided smooth rope for this reason.
Outdoor installations need stronger anchor points than indoor ones. Use heavy-duty cup hooks rated for at least 10 lbs per anchor point, even if your garland weighs less — wind load adds stress. For temporary outdoor setups, heavy-duty zip ties around tent poles or railing posts work extremely well.
EVA foam handles outdoor conditions reasonably well for short-term events, but avoid leaving your garland in direct sun for more than a few hours. Heat can soften the foam and cause petals to lose their shaped curl. For longer outdoor events, partial shade placement keeps everything looking crisp all day.
Yes! A garland swag is one of the most popular ways to decorate a wedding arch. You'd typically hang two or three swags across the top of the arch at different heights, or run a continuous garland along the entire arch frame. I've covered this in detail in our giant foam flowers for wedding arch guide — it's a great companion read to this tutorial.
EVA foam takes paint beautifully. I use acrylic craft paint applied with a foam brush for base coats, then add depth with dry-brushing techniques. For a polished finish, seal everything with a matte or satin Mod Podge. We have a full guide on flawless foam board paint finishes that walks through the whole process.
If you've made it this far, you have everything you need to build a stunning giant flower garland swag that will genuinely stop people in their tracks. This is one of those projects where the process is just as satisfying as the result — there's something deeply satisfying about watching a rope and some foam sheets transform into something that looks like it belongs in a luxury event magazine.
If you're ready to get started, head over to the Amazing Giant Flowers shop and grab a kit. The pre-cut petals make this so much more approachable, I promise. And if you build one, I genuinely want to see it — tag us and show me what you made. Nothing makes my day like seeing what you all create.
Ready to Create Something Amazing?
Browse our collection of giant flower kits and start your next project today.