Halloween Props From EVA Foam: Start Building Now
If you've ever scrambled to finish your Halloween build the week before October 31st — hot glue burns on your fingers, foam scraps everywhere, zero sleep — then you already know. EVA foam halloween props don't make themselves overnight. The good news? You're reading this now, which means you actually have time to do this right.
I'm Adriana, and I've been working with EVA foam for years — giant flowers, event installations, cosplay builds, you name it. And every single fall, I watch makers rush into Halloween season completely unprepared. They grab whatever foam they can find at the last minute, it's the wrong thickness, the wrong density, and the whole project becomes a stressful mess instead of a fun one.
So let's flip that script. Whether you're building a haunted house, a full cosplay armor set, creepy oversized floral props, or a spooky photo booth backdrop, this guide is going to walk you through everything you need to know about using EVA foam to make it happen — and make it happen well before October hits.
Key Takeaways
Real talk? EVA foam is one of the most versatile craft materials on the planet. It's lightweight, flexible, carvable, heat-shapeable, and it paints like a dream when you prep it properly. Professional haunted house designers use it. Theme park prop builders use it. Broadway uses it. And it's 100% accessible to you, right now, from your craft table at home.
When I first started making giant flowers out of EVA foam, I was honestly blown away by how much you could do with it. You can make it look like stone, like metal, like bark, like velvet petals. For Halloween specifically, that kind of versatility is everything.
What Makes EVA Foam Different From Other Craft Foams
Not all foam is created equal. EVA (ethylene-vinyl acetate) foam is denser, more durable, and more heat-responsive than the flimsy craft foam you'll find at a dollar store. It holds its shape after you heat and mold it. It doesn't crack when you bend it. And it doesn't fall apart the second you try to paint it.
I wrote a whole breakdown on this if you want to go deep: A Crafter's Guide to Every Type of Foam for Giant Flowers — it covers the differences between foam types in detail. Spoiler: EVA wins for serious project work, every time.
Here's where a lot of beginners go wrong. They grab one thickness and try to use it for everything. That's like using one brush for an entire painting — it just doesn't work.
We carry all of these in our EVA foam shop, in both rolls and sheets depending on what your project needs.
Ok, this is where it gets really fun. Let me give you some actual project ideas so you can start picturing what's possible.
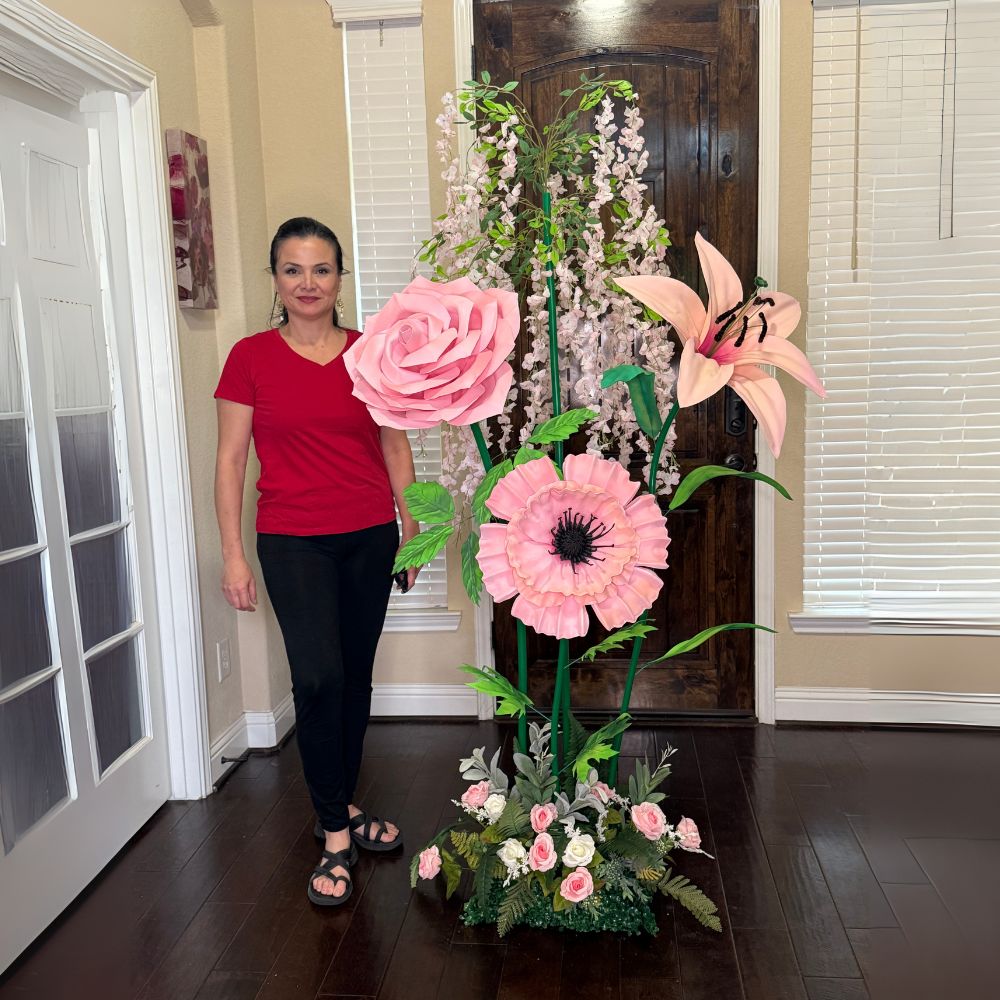
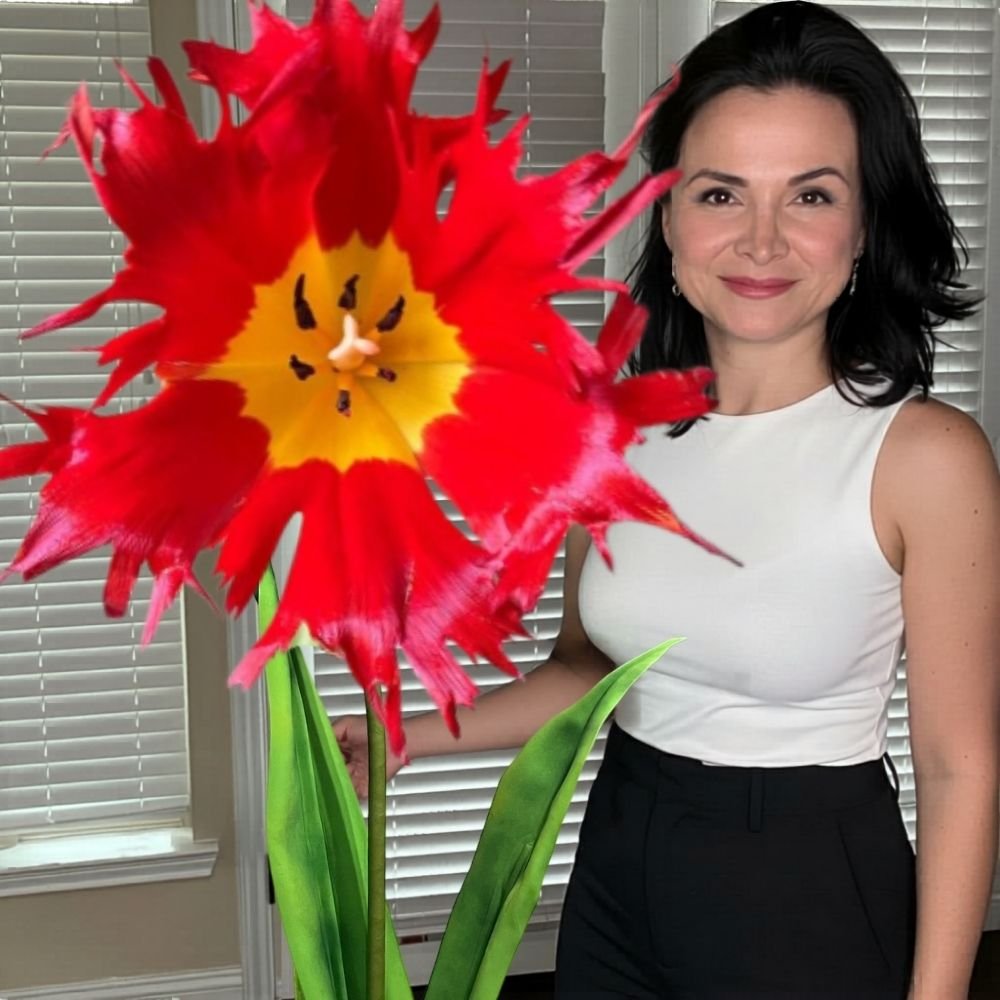
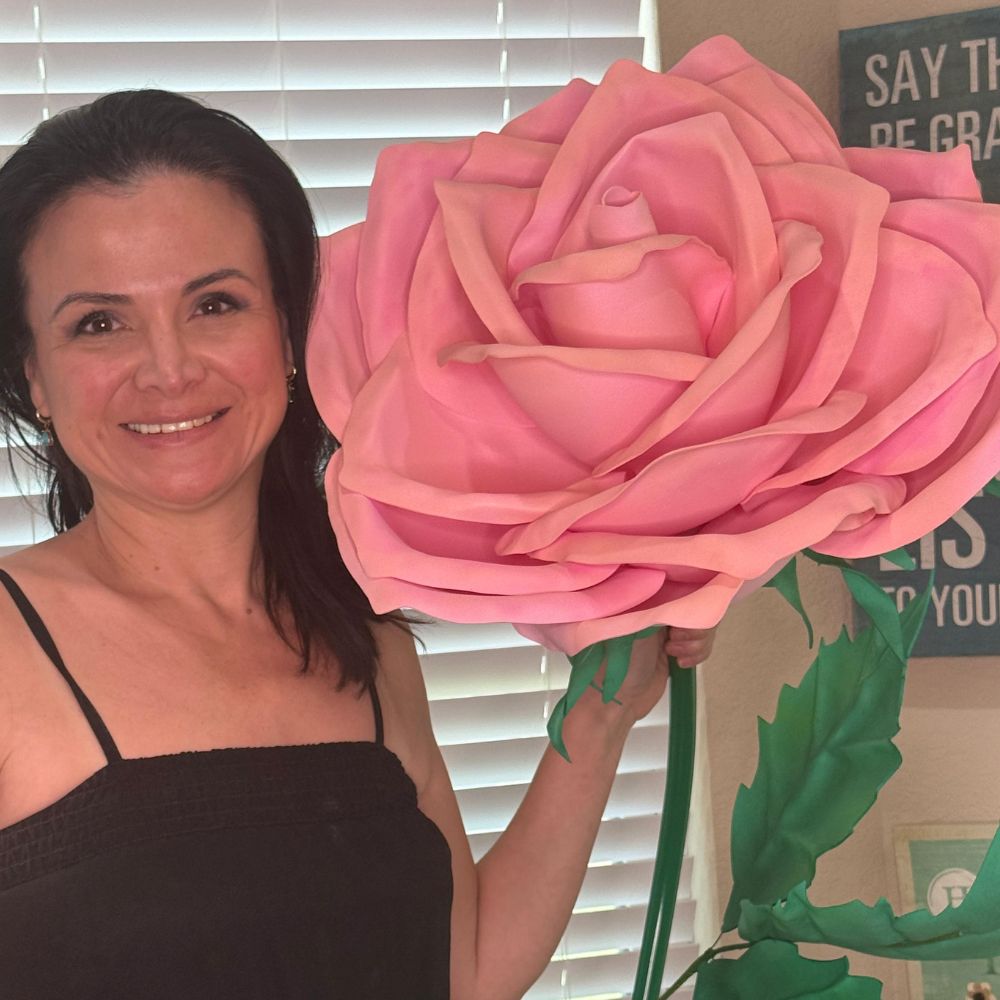
This is my personal favorite Halloween application. Imagine oversized black roses, deep purple dahlias, or blood-red peonies as part of a haunted garden display or a gothic photo booth backdrop. EVA foam makes the most stunning oversized petals — you can curl them with a heat gun, layer them for dimension, and paint them in the most dramatic colors.
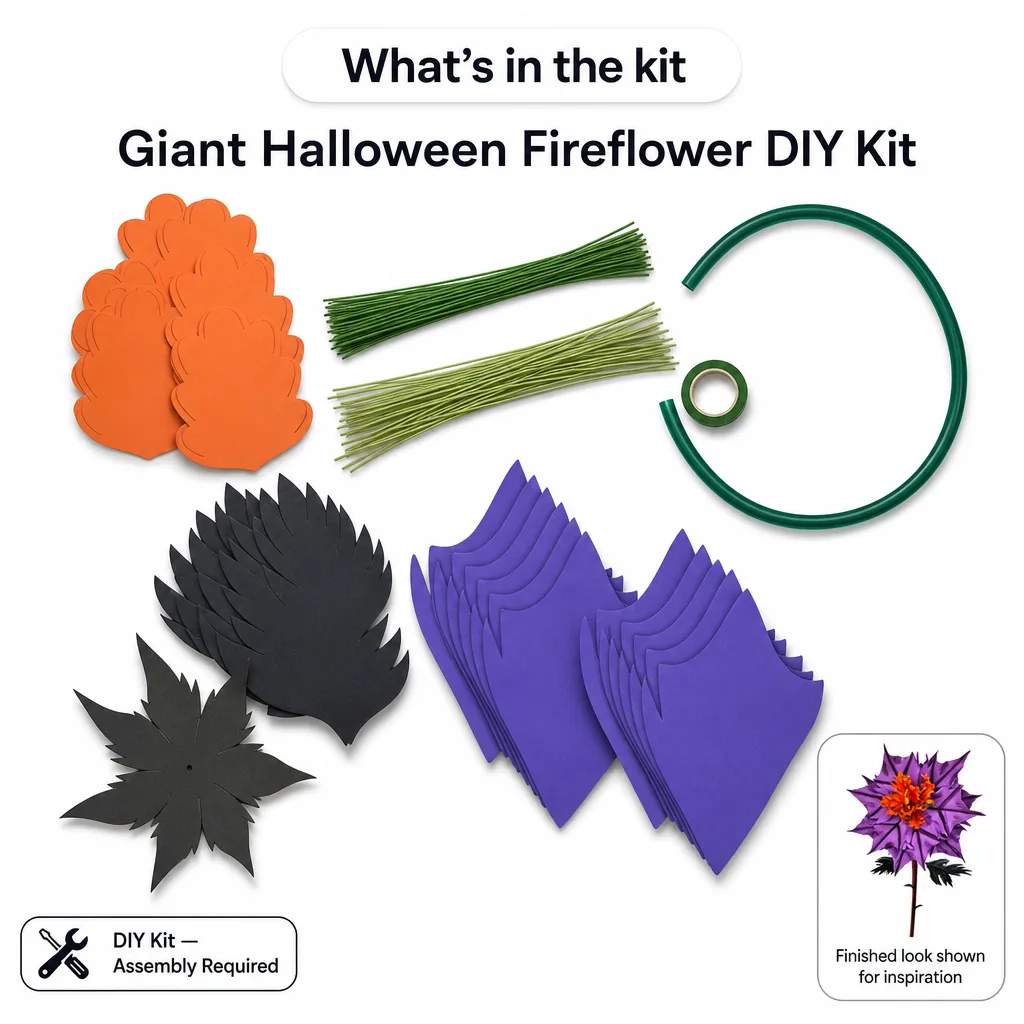
Pair your foam with our flower molds to get perfectly shaped petals every single time. And if you want your flowers to stand independently in a display, check out our freestanding flower kits — they make the structural part so much easier.
Thick EVA foam sheets are incredible for creating textured wall panels. You can carve stone patterns into 10mm foam with a wood burning tool, paint it with acrylics, and suddenly your garage looks like a dungeon. I've seen makers use this technique to build entire castle walls for haunted houses — it's lightweight enough to hang, durable enough to last multiple seasons.
EVA foam is literally the gold standard for cosplay armor. If you're planning a Halloween costume that goes beyond a store-bought outfit — a demon warrior, a fantasy villain, a sci-fi creature — EVA foam is how the pros do it. Heat it, shape it over a form, glue it, paint it. The results are genuinely jaw-dropping.
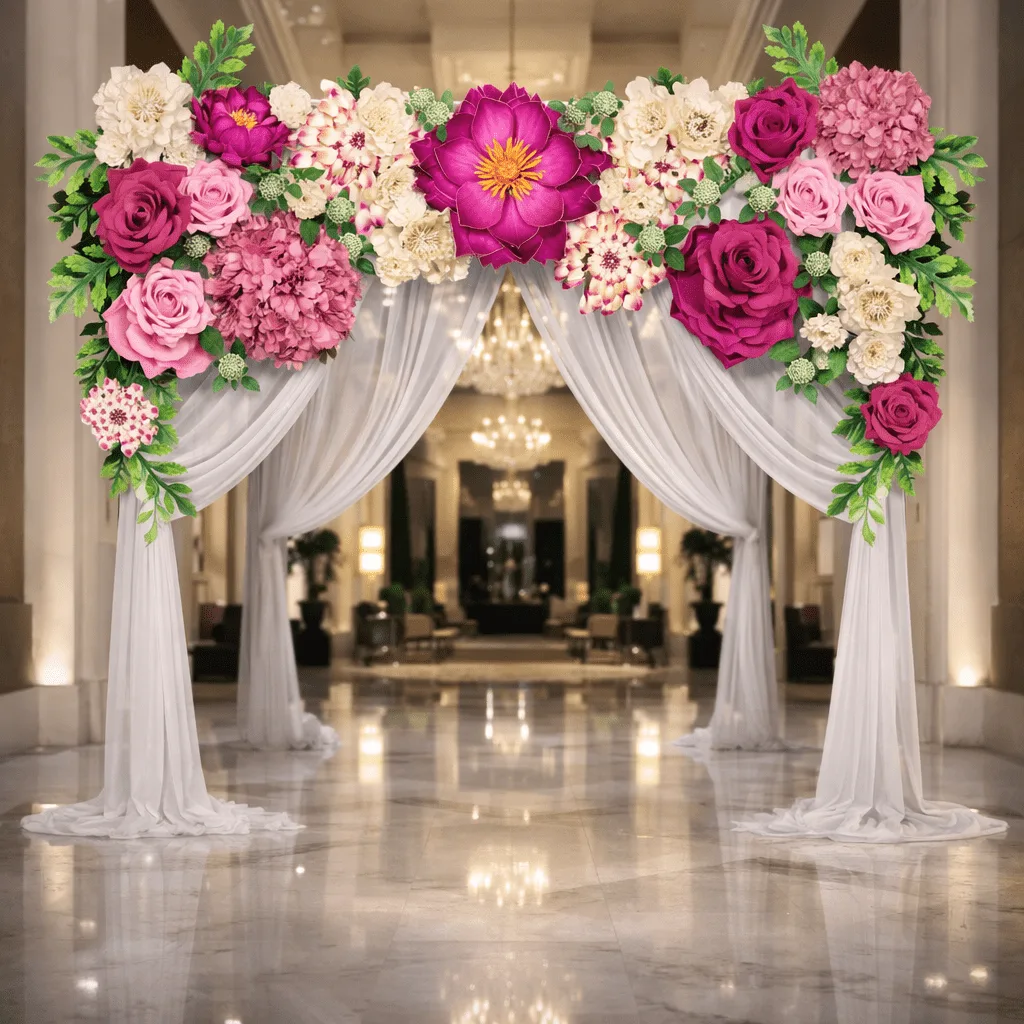
Halloween parties need photo moments. A giant foam skull, oversized mushrooms for a dark fairytale vibe, or a creepy floral arch — these are the kinds of statement pieces that make your event unforgettable. Check out our guide on DIY Giant Flower Backdrop for Photos for inspiration you can directly adapt for Halloween.
Teachers, drama directors, and classroom crafters — EVA foam is your best friend for October. It's safe, easy to cut with scissors (for thinner sheets), and kids can paint it with basic acrylic paints. Giant foam bats, creepy trees, oversized pumpkins — all very doable with the right thickness and a little creativity.
You don't need a workshop full of fancy tools. Honestly, you can get started with stuff you probably already have. But there are a few things worth knowing before you dive in.
Sharp is everything. A dull blade tears foam instead of cutting it cleanly. Use a sharp craft knife or box cutter for straight lines, and sharp scissors for curves on thinner sheets (2mm–4mm). For thicker foam, score and slice — don't try to cut through in one pass.
I go into a lot more detail on this in The Best Way to Cut Foam for Flawless DIY Crafts — worth a read before you start your first big build.
Shaping With Heat
This is where EVA foam gets magical. A heat gun (or even a hair dryer on high) softens the foam so you can curve it, dome it, roll it, or press it into a mold. It cools and holds its shape in seconds. For Halloween props, this means you can create curved armor plates, rolled petal edges, and organic shapes that look nothing like flat foam.
I've got a full technique guide on this: Heat Gun Techniques: Shaping Foam Flower Petals Like a Pro. Even if you're not making flowers, the shaping principles apply to any EVA foam project.
Contact cement is king for EVA foam. Apply it to both surfaces, let it get tacky, press together — done. Hot glue works for lighter-duty connections and is great for quick assembly, but it can pull away from foam under stress. For structural Halloween props that need to last, go contact cement.
Here's the thing about painting foam — you must seal it first or the paint will crack and peel. Plasti-Dip is my go-to for a flexible base coat. Acrylic paints work beautifully on top of it. For that stone, rust, or aged-wood Halloween look, dry brushing with multiple paint colors is your best friend.
💡 Pro Tip
For a quick aged-stone effect on your Halloween props, paint your sealed foam with a dark gray base, let it dry completely, then dry brush a light gray over raised edges. Finish with a black wash in the recesses. Takes 20 minutes and looks like you spent hours on it.
Let me make this easy for you. Here's a quick reference table so you can match your project to the right foam thickness without guessing.
I cannot stress this enough. The difference between a Halloween prop you're proud of and one that looks rushed? It's almost always time. Not talent. Not money. Time.
Here's a realistic breakdown of what a solid EVA foam Halloween build actually looks like:
- Week 1 — Planning and materials: Sketch your design, figure out your thickness needs, order your foam. (This is the step most people skip and then regret.)
- Week 2 — Templates and cutting: Make your paper templates, transfer to foam, cut all your pieces. Don't rush this — clean cuts make everything easier downstream.
- Week 3 — Shaping and assembly: Heat gun work, gluing, building up your 3D form. This is where the magic happens and also where you need patience.
- Week 4 — Sealing and painting: Prime with Plasti-Dip or similar, then paint. Multiple coats. Dry brushing. Details. Let each layer dry fully.
- Week 5+ — Finishing and display prep: Touch-ups, mounting, any final structural reinforcements, photographing your work.
Five weeks. That's what a really good build takes. And if you start that process in August or early September? You arrive at Halloween weekend relaxed, proud, and ready. If you start October 20th? You arrive stressed, burned (literally, from the hot glue), and wishing you'd planned better.
🌸 Ready to get started?
Browse our full EVA foam collection — rolls and sheets in 2mm through 10mm, ready to ship. Don't wait until September runs out.
Pairing EVA Foam With the Right Supplies for Halloween Builds

Foam alone gets you far. But the right supporting supplies get you all the way there.
Bendable Pipes for Structural Support
If you're making any kind of freestanding Halloween prop — a giant spooky flower, an oversized mushroom, a creepy vine installation — you need an internal structure. Our bendable pipes are exactly what professional prop makers use. You can shape them into any form, and then build your EVA foam around them. Game changer for large-scale Halloween displays.
Flower Molds for Consistent Petal Shapes
If your Halloween vision involves any kind of botanical element — and trust me, gothic flowers are having a major moment — our flower molds will save you so much time. Press your heated foam into the mold, let it cool, and you've got a perfectly shaped petal in seconds. Repeat 30 times and you've got a stunning giant rose.
Paints and Finishes
Don't skip the sealant step. Seriously. Bare EVA foam will eat your acrylic paint and crack. Plasti-Dip spray, Mod Podge, or a dedicated foam primer — pick one and use it. Then go wild with your acrylics. Metallics, matte blacks, deep purples, blood reds. Halloween is the one time of year where "too dramatic" isn't a thing.
Frequently Asked Questions
Is EVA foam safe for kids to use for Halloween crafts?
Yes — with some supervision for the cutting and heat-shaping steps. Thinner EVA foam (2mm–4mm) can be cut with scissors, making it very accessible for older kids. The heat gun step should be adult-only, but once pieces are shaped and cooled, kids can absolutely paint and assemble. It's a fantastic material for classroom Halloween projects.
Can I reuse EVA foam Halloween props next year?
Absolutely, and this is one of my favorite things about EVA foam
Ready to Create Something Amazing?
Browse our collection of giant flower kits and start your next project today.