Heat-Forming EVA Foam: 6 Common Mistakes and How to Fix Them
Key Takeaways
EVA foam — ethylene-vinyl acetate — is one of the most versatile craft materials out there. According to Grand View Research, the global EVA foam market was valued at over $8.5 billion and continues to grow, largely because of how incredibly useful the material is across industries.
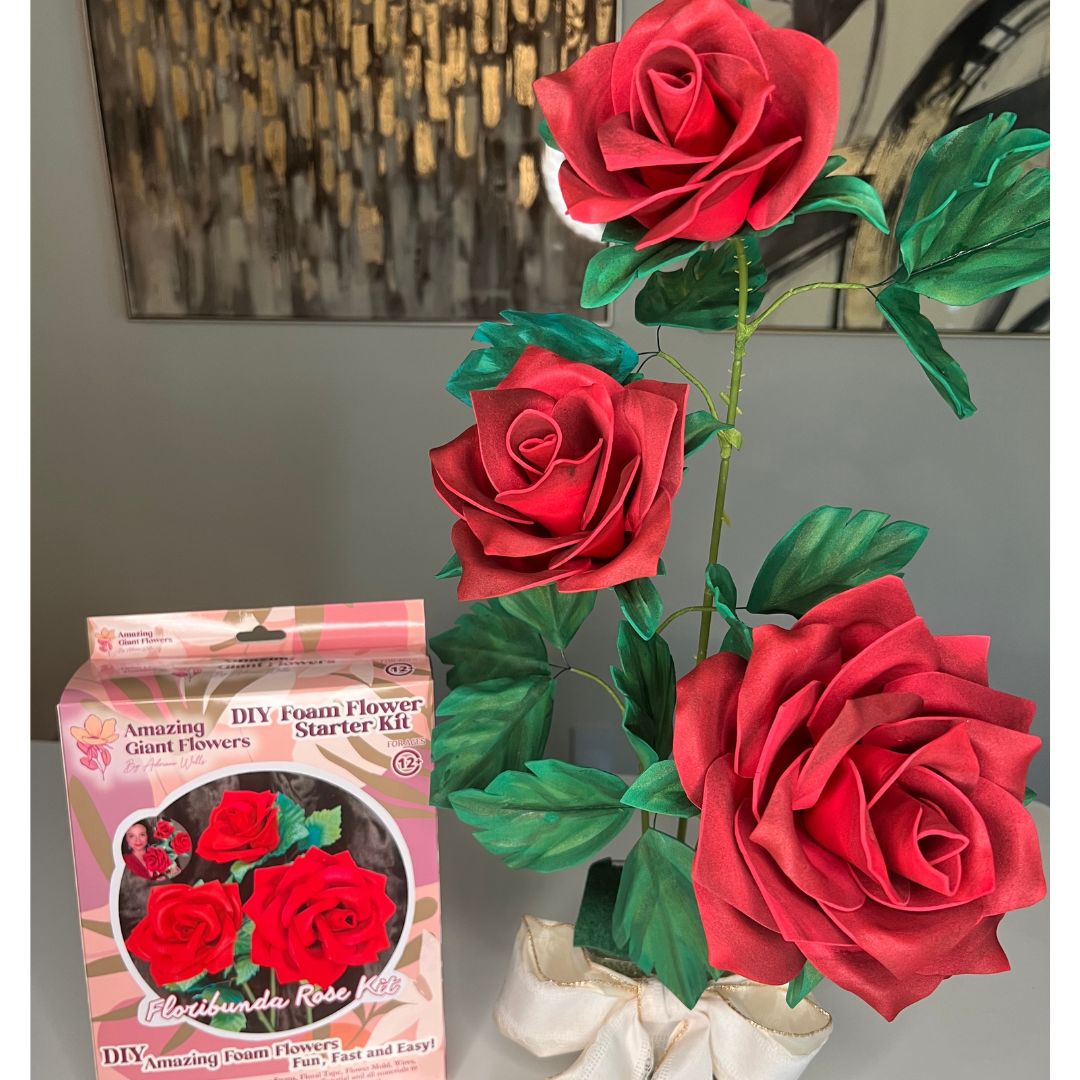
For giant flower making specifically, it's a dream. Lightweight, durable, paintable, and — when you heat it correctly — it becomes completely moldable.
The magic of heat forming is that EVA foam has a thermoplastic memory. Heat it up, shape it, let it cool, and it holds that shape. No glue required for the curve. No wire armature needed inside each petal.
But that thermoplastic memory is also what makes it unforgiving when you get the heat wrong. Too much heat, applied too fast, and you've got a bubbled, melted surface. Too little, and the foam snaps back flat the moment you let go.
I've used EVA foam to create 2-foot to 5-foot giant flowers for events, weddings, brand activations — even pieces for Disney. And I promise you, mastering heat forming is the single skill that will level up your work faster than anything else.
Let's get into the mistakes. And more importantly — how to fix them.
Mistake #1: Using the Wrong Heat Tool
The Heat Gun vs. Hair Dryer Debate
This is the most common heat forming EVA foam mistake I see, especially from beginners. People reach for their hair dryer because it's sitting right there on the bathroom counter. I get it. But a hair dryer does not get hot enough to properly activate EVA foam's thermoplastic properties.
A standard hair dryer maxes out around 140°F (60°C). EVA foam needs to reach approximately 160-180°F (71-82°C) to become pliable enough to hold a new shape when cooled.
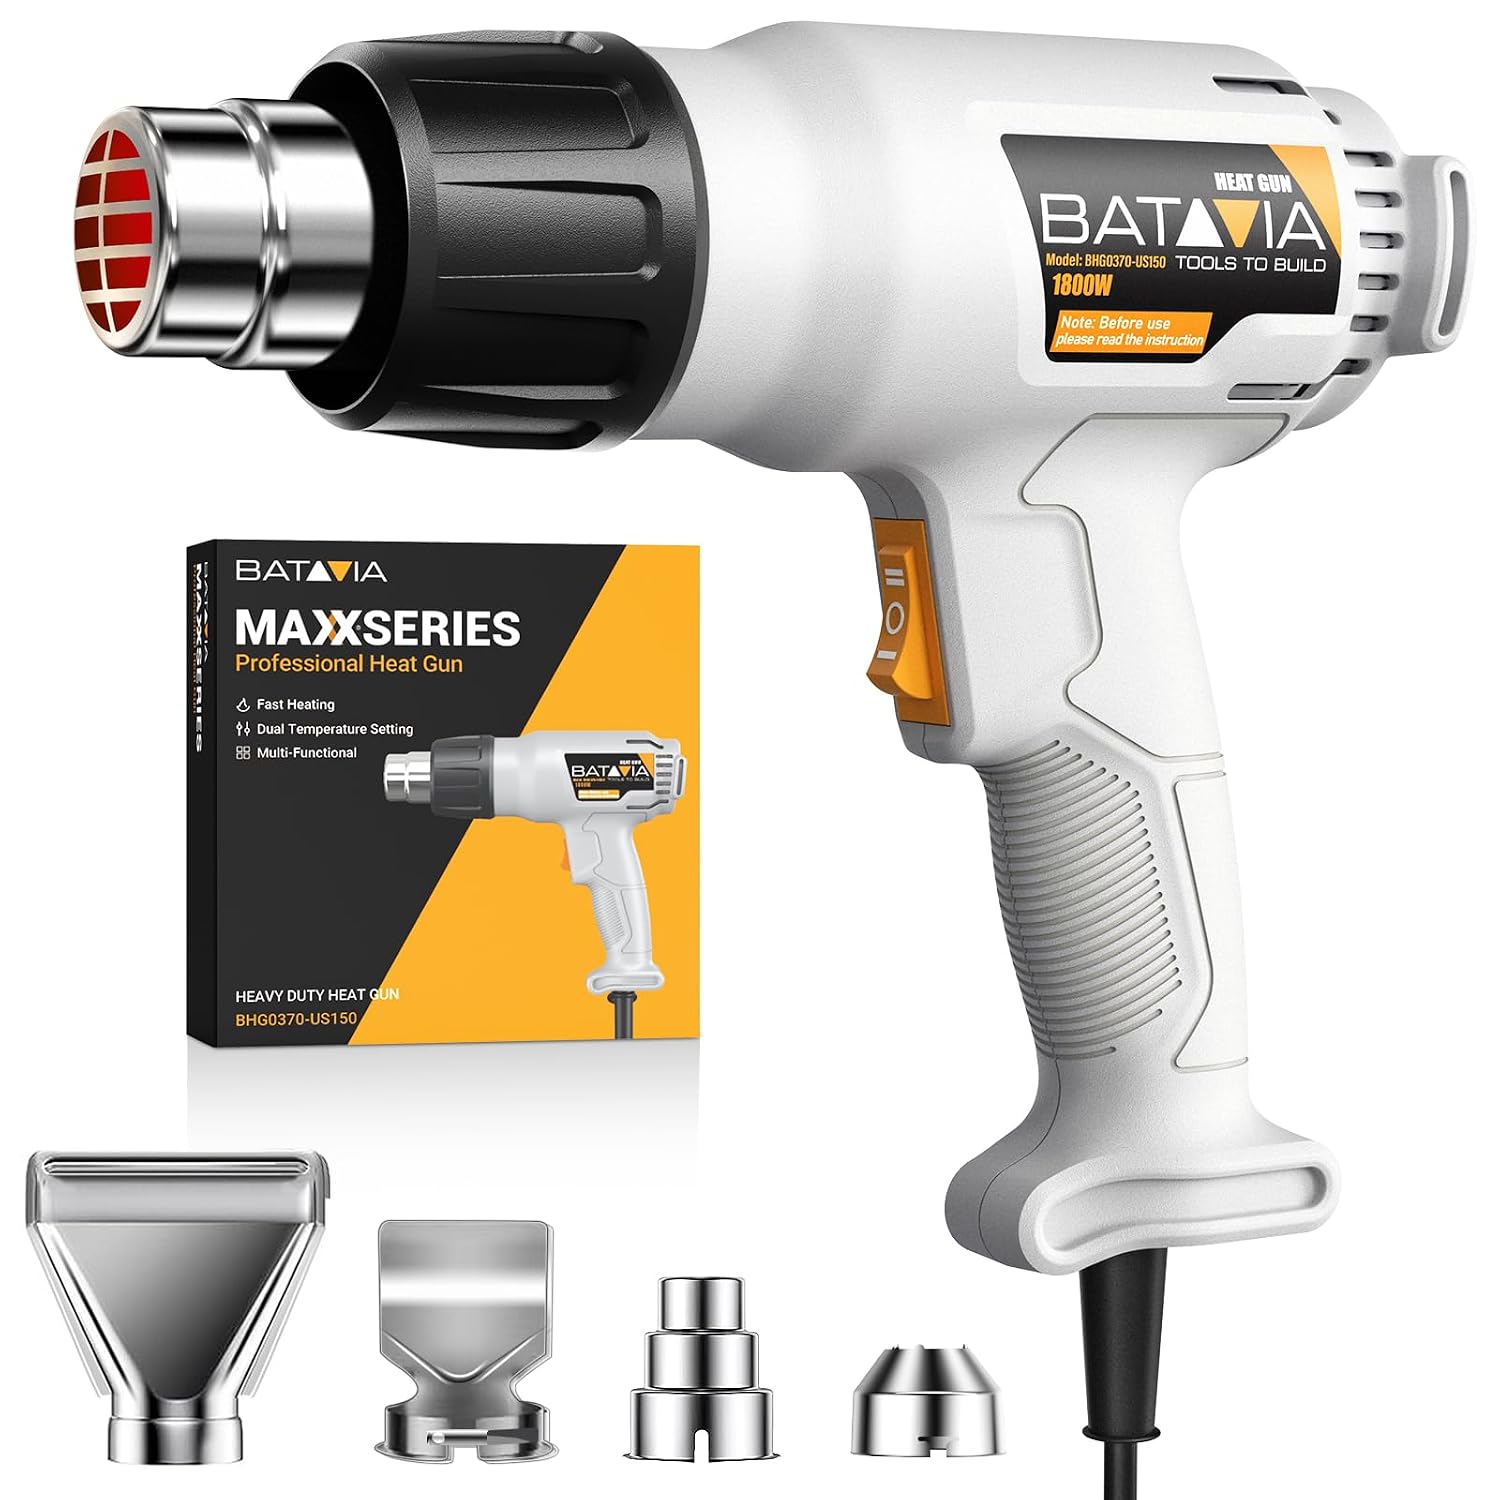
A heat gun is what you need. Most craft-quality heat guns operate between 250°F and 1000°F, which means you have real control over the temperature you're applying.
My personal go-to runs at around 300-350°F for standard 2mm-4mm EVA foam petals. For thicker 6mm-8mm foam used in structural flower bases, I bump it up slightly and move more slowly.
Embossing guns are another option some crafters use. They're gentler than heat guns and work beautifully for thin 1.5mm-2mm EVA foam where you want subtle curves rather than dramatic shaping.
But for the big, bold curves on giant flower petals? Stick with a proper heat gun. The embossing gun just doesn't have the power for thicker material.
| Heat Tool | Max Temp | Best For | Works for EVA Foam? |
|---|---|---|---|
| Hair Dryer | ~140°F (60°C) | Hair, minor paper shaping | ❌ Not hot enough |
| Embossing Gun | ~300°F (149°C) | Thin 1.5-2mm EVA foam | ✅ For light shaping only |
| Craft Heat Gun | 250-750°F (121-399°C) | 2mm-6mm EVA foam petals | ✅ Ideal choice |
| Industrial Heat Gun | Up to 1200°F (649°C) | Heavy industrial use | ⚠️ Too powerful — easy to melt |
| Oven (low temp) | 150-170°F (65-77°C) | Large flat sheets, uniform heating | ✅ Works for flat sheet forming |
Mistake #2: Holding the Heat Gun Too Close (or Too Far)

Distance is everything. This is one of those heat forming EVA foam common mistakes that sounds so simple but causes so much frustration.
If you hold the heat gun less than 2 inches from the foam surface, you're going to get hot spots, bubbling, and that dreaded shiny melted look that ruins the texture of your petal.
The sweet spot for most craft heat guns is 4-6 inches from the foam surface. At that distance, the heat disperses just enough to warm the foam evenly without scorching it.
On the flip side, if you're holding the gun 8-10 inches away, you're barely doing anything. The foam might feel slightly warm but won't reach that pliable, moldable state you need.
Never hold the heat gun still over one spot. Keep it moving in slow, sweeping passes — like you're painting with heat. I usually do 2-3 passes over a petal before testing the pliability with my fingertip.
The foam should feel warm and slightly soft to the touch. Not hot. Not stiff. Warm and giving. That's your cue to start shaping.
Mistake #3: Missing the Shaping Window

Ok, this is where it gets really fun — and also where a lot of people get tripped up. EVA foam has a shaping window of roughly 3-8 seconds after you remove the heat. That's it. That's your window.
If you heat the foam, set down the heat gun, walk across the room to find your mold, and come back — the foam has already started to cool and re-stiffen. Your curve will be weak or nonexistent.
This sounds obvious, but have everything ready before you apply heat. Whatever you're shaping over — a bowl, a ball, your hand, a custom mold — it should be right in front of you.
I literally hold the mold in one hand and the heat gun in the other when I'm doing smaller petals. Heat, shape, hold. Done in under 10 seconds.
For larger petals — say, 18-24 inch petals for a giant statement flower — I heat in sections. I'll warm the base of the petal, curve it, hold it, then move to the tip. Working in sections gives you more control and more time.
According to Instructables' EVA Foam guide, working in smaller heat zones is one of the most recommended techniques for achieving clean, consistent curves on large foam pieces.
What Shapes Work Best for Flower Petals?
I get asked this all the time. Here are my go-to shaping tools:
You shaped it perfectly. The curve looks gorgeous. And then you let go too soon and watch it slowly flatten back out. Heartbreaking. I know.
EVA foam needs to fully cool in the shaped position before you release it. For most petals, that means holding the shape for 15-30 seconds. For thicker foam pieces, up to 45-60 seconds.
Real talk? Most people let go at about 5-10 seconds. They think it's set. It's not. The outer surface cools first, but the interior of the foam is still warm and pliable for longer than you'd think.
I set a timer on my phone when I'm training new crafters. 30 seconds feels like forever when you're holding a curved petal — but it makes all the difference in whether the shape locks in permanently.
Yes — and this is a great trick. A quick blast of cool air from a fan or even just blowing on the foam while holding the shape can cut your cooling time significantly.
Some crafters dip shaped foam briefly in cool water to set the shape faster. This works well, but make sure you've fully shaped the piece before dipping — the water locks in whatever position the foam is in at that moment.
Mistake #5: Ignoring Foam Thickness and Density
Not all EVA foam is the same. This is one of the most overlooked heat forming EVA foam common mistakes, and it trips up even experienced crafters who switch between foam types without adjusting their technique.
The thickness, density, and EVA content percentage of your foam all affect how it responds to heat. A sheet of 2mm craft foam from a dollar store behaves completely differently from our professional-grade 4mm EVA sheets.
If you want to dive deeper into which foam types work best for different flower parts, I wrote a whole breakdown over in A Crafter's Guide to Every Type of Foam for Giant Flowers. It covers density ratings, EVA percentages, and exactly what I use for each part of a giant flower build.
This one makes me want to gently shake people by the shoulders. Always test on a scrap piece first. Always.
Every heat gun is different. Every brand of EVA foam is different. The temperature in your workspace affects how quickly the foam cools. Your specific heat gun might run hotter than the one your favorite YouTube tutorial used.
Before I start on any new batch of petals — especially if I'm using a new foam supplier or a different thickness — I cut a 3-4 inch test scrap and run through my entire process. Heat distance, timing, shaping, cooling. All of it.
It takes about 2 minutes and saves hours of frustration. This is non-negotiable in my studio.
What to Look For in Your Test
When you heat your test scrap, you're checking for a few things:
Here's the best news about EVA foam: almost every heat forming mistake is fixable. This material is incredibly forgiving if you know what to do.
If your petal cooled unevenly and has a weird twist or unintended warp, just reheat it. Apply even heat across the entire piece until it becomes pliable again, then lay it flat on a smooth surface and hold it there until it cools completely. It will reset to flat.
From flat, you can start the shaping process fresh. EVA foam can be reheated and reshaped multiple times without degrading the material — as long as you're not burning it.
This one is trickier. If the surface has bubbled or melted, you can't undo the texture damage. But you can paint over it with a few coats of acrylic paint, which actually fills in minor surface imperfections beautifully.
For severe melting, that piece is likely a loss for visible petals. But don't throw it away — use it for interior structural layers where it won't be seen. I use "failed" pieces as backing layers all the time.
If your petal keeps springing back flat no matter what you do, there are two likely culprits. Either the foam isn't reaching temperature (try moving the gun slightly closer and slowing your passes), or you're releasing it before it's fully cooled.
You can also try heating and shaping multiple times in succession — sometimes 2-3 heat-shape-cool cycles will "train" the foam into a curve more effectively than one single attempt.
For more on finishing your petals beautifully once they're shaped, check out my guide on Flawless Foam Board Paint Finishes — the same principles apply to EVA foam and the results are stunning.
I would be doing you a disservice if I didn't mention safety. Heat guns are real tools with real heat, and EVA foam — while generally considered safer than some craft materials — does release fumes when overheated.
According to the CDC's indoor environmental quality guidelines, working with heated synthetic materials in poorly ventilated spaces can cause respiratory irritation. Always work in a well-ventilated area.
After years of teaching workshops and watching hundreds of crafters work with EVA foam, I've noticed that the people who get consistently beautiful results share a few habits.
They're slow and deliberate. They don't rush the heat, they don't rush the shaping, and they absolutely don't rush the cooling. Giant flower making rewards patience more than almost any other craft skill.
They also practice the same petal shape repeatedly before moving on. If you're making a 5-foot peony with 40 petals, don't try to master your heat forming technique on petal #1 and then power through the rest. Make 5-10 test petals first. Get the process dialed in. Then do your final pieces.
The event planning industry is booming — IBISWorld reports the US event planning industry is worth over $5 billion — and giant foam flowers are one of the most in-demand décor elements right now. The crafters who produce consistent, professional-quality work are the ones building real businesses from this skill.
If you're thinking about taking your giant flower work to the next level — for weddings, brand activations, or retail displays — I'd love to help. Our pre-cut EVA foam kits come with video tutorials that walk you through the heat forming process step by step. You're not figuring this out alone.
And if you're working on a wedding project specifically, my guide on Giant Flower Wedding Arch: A Complete Guide for 2026 covers exactly how heat-formed EVA foam petals come together into something truly breathtaking.
Technically, a hair dryer can soften very thin 1.5mm EVA foam slightly, but it doesn't reach the 160-180°F needed to properly activate the thermoplastic properties for lasting shape retention. For real heat forming results, you need a proper heat gun that reaches at least 250-300°F.
A hair dryer will leave you frustrated with petals that spring back flat almost immediately. Save yourself the headache and invest in a basic craft heat gun — they start at around $20-30 and make an enormous difference.
EVA foam can be reheated and reshaped many times without significant degradation — as long as you're not burning or melting the surface. I've reshaped individual petals 5-6 times while dialing in a curve, and the foam held up perfectly.
The key is staying in the right temperature range. Consistent overheating will eventually break down the foam's structure, but normal heat forming temperatures won't cause any issues with repeated use.
Why does my EVA foam bubble when I heat it?
Bubbling almost always means too much heat, too fast, too close. When the surface of the foam heats faster than the interior, it can create gas pockets that bubble up through the surface. This is the most common sign of heat gun distance being too short — usually under 2-3 inches.
Move your heat gun to at least 4-6 inches from the surface and keep it moving in slow, even sweeps. If bubbling is still happening, reduce your heat gun's temperature setting if it has one, or move even further away.
3mm-4mm EVA foam is the sweet spot for most giant flower petals. It's thick enough to hold a dramatic curve without flopping, but thin enough to heat form quickly and easily. It's what I use for the majority of our kits at Amazing Giant Flowers.
For very large statement flowers — think 4-5 foot blooms — you might want to use 4mm-6mm foam for the outer petals to give them more structural presence. For delicate inner petals and ruffled details, drop down to 2mm.
If your petals are losing their curve after a few days or weeks, the issue was in the original heat forming process — specifically, the foam wasn't held in position long enough during cooling for the shape to fully lock in. The fix is to reheat and reshape, this time holding the curve for a full 30-45 seconds before releasing.
Storage also matters. Don't stack curved petals flat under heavy objects — that can gradually press them back toward flat. Store finished petals upright or in a curved position to help them maintain their shape long-term.
Is EVA foam safe to heat indoors?
At normal heat forming temperatures (under 300°F), EVA foam is considered relatively safe, but it does release some fumes when heated. The Occupational Safety and Health Administration (OSHA) recommends adequate ventilation whenever working with heated synthetic materials.
Always work near an open window or with a fan running. For extended crafting sessions, a basic respirator mask rated for organic vapors is a smart precaution. I work in my studio with the door open and a box fan running — simple and effective.
Heat forming EVA foam is one of those skills that feels a little intimidating at first and then suddenly clicks — and when it clicks, you'll wonder how you ever made flowers without it. The curves, the dimension, the way a petal just looks alive — that all comes from mastering this one technique.
You've got this. And if you want to start with pre-cut foam that's already sized perfectly for giant flowers, come check out what we have at Amazing Giant Flowers. We've done the cutting so you can focus on the fun part — the shaping, the building, and the moment someone walks into a room and says "wait, those are made of foam?!"
Ready to Create Something Amazing?
Browse our collection of giant flower kits and start your next project today.