How to Mount a Flower Wall So It Lasts for Years

If you've been Googling how to hang flower wall without destroying your apartment, you are in the right place. I've been making giant flowers for years, and the number one question I get from renters and DIYers is some version of: "Adriana, I love this but I cannot put holes in my walls." I hear you. I've been there. And honestly? There are so many good solutions that don't involve a single nail.
The thing is, hanging a flower wall isn't just about sticking something up and hoping for the best. It's about doing it once, doing it right, and having it look gorgeous for years — whether you move it to a new apartment, pull it out for every birthday party, or keep it up as a permanent feature in your home studio. That's the whole point of investing in quality foam flower kits instead of paper stuff that falls apart after one use.
Key Takeaways
Flower Wall Mounting Basics
So let me walk you through everything. We're talking mounting methods, wall surface types, sizing, arrangement tips — the whole thing. Grab your coffee. This is going to be good.
Ok, hear me out. I know being a renter feels like a limitation when it comes to decorating. But when it comes to flower walls specifically? You are actually set up to win.
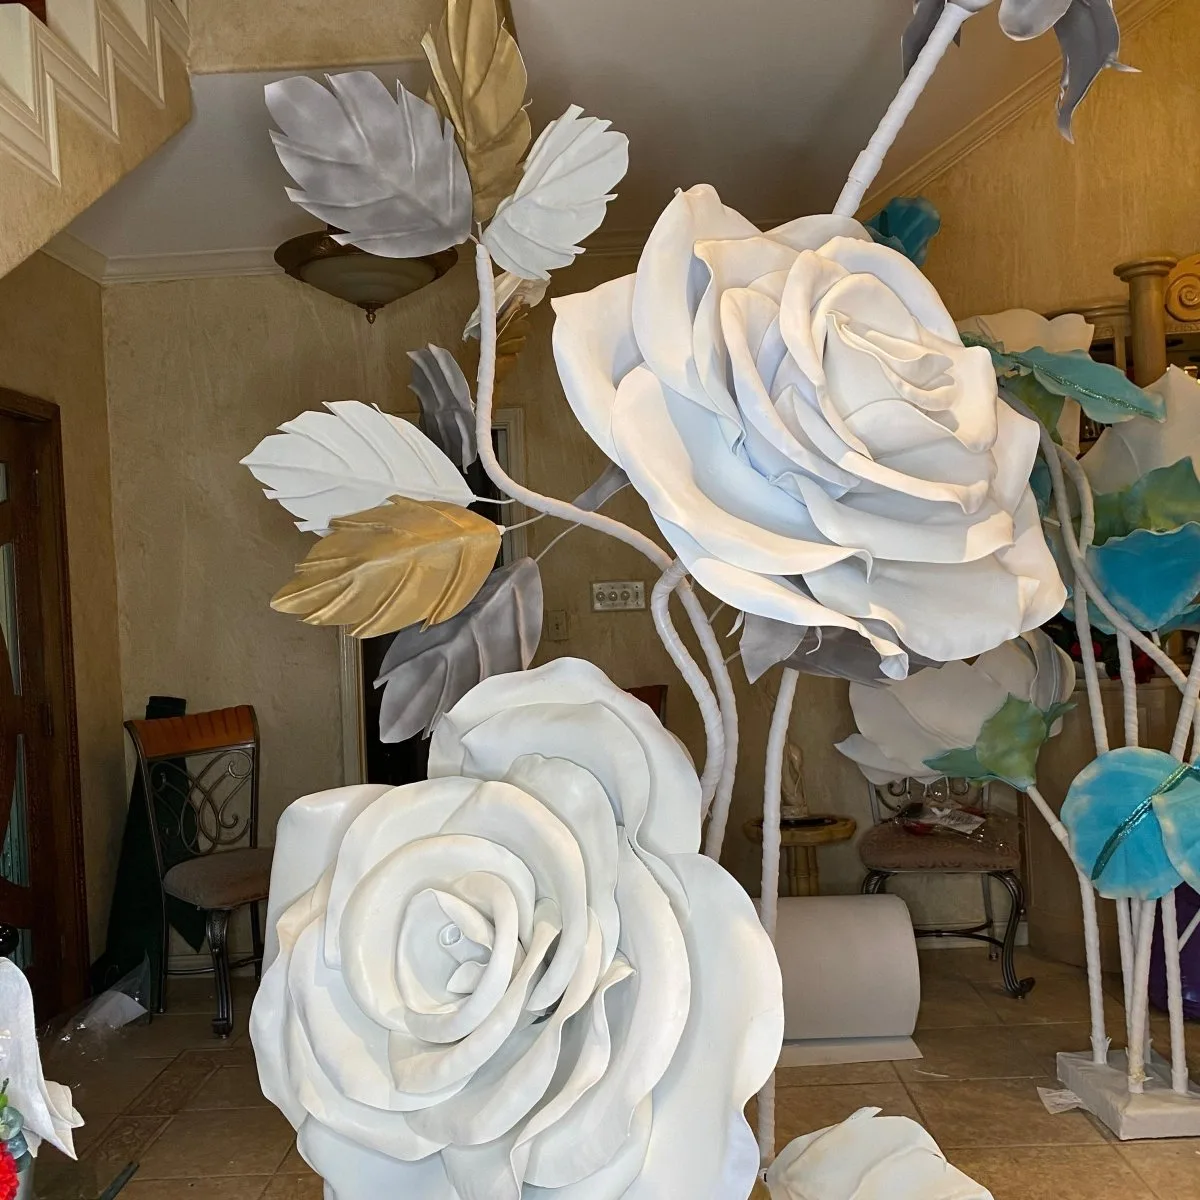
Because you can't just hammer nails in willy-nilly, you're forced to think about your installation more carefully. That means you end up with a setup that's modular, reusable, and easy to reconfigure. Meanwhile, homeowners who nail everything in permanently end up with a wall they can never change. You? You can rearrange your flower wall for a party, store it, and bring it back out looking just as stunning.
The secret is using the right mounting system from the start. And that starts with understanding your wall surface.
Know Your Wall Before You Hang Anything
Not all walls are created equal. Here's how I categorize them:
Here's my quick wall test: press a piece of painter's tape firmly onto your wall, leave it for an hour, then pull it off slowly. If the paint comes with it, your wall has adhesion issues and you'll want to use a freestanding approach instead. If the tape releases cleanly? You're golden for adhesive mounting.
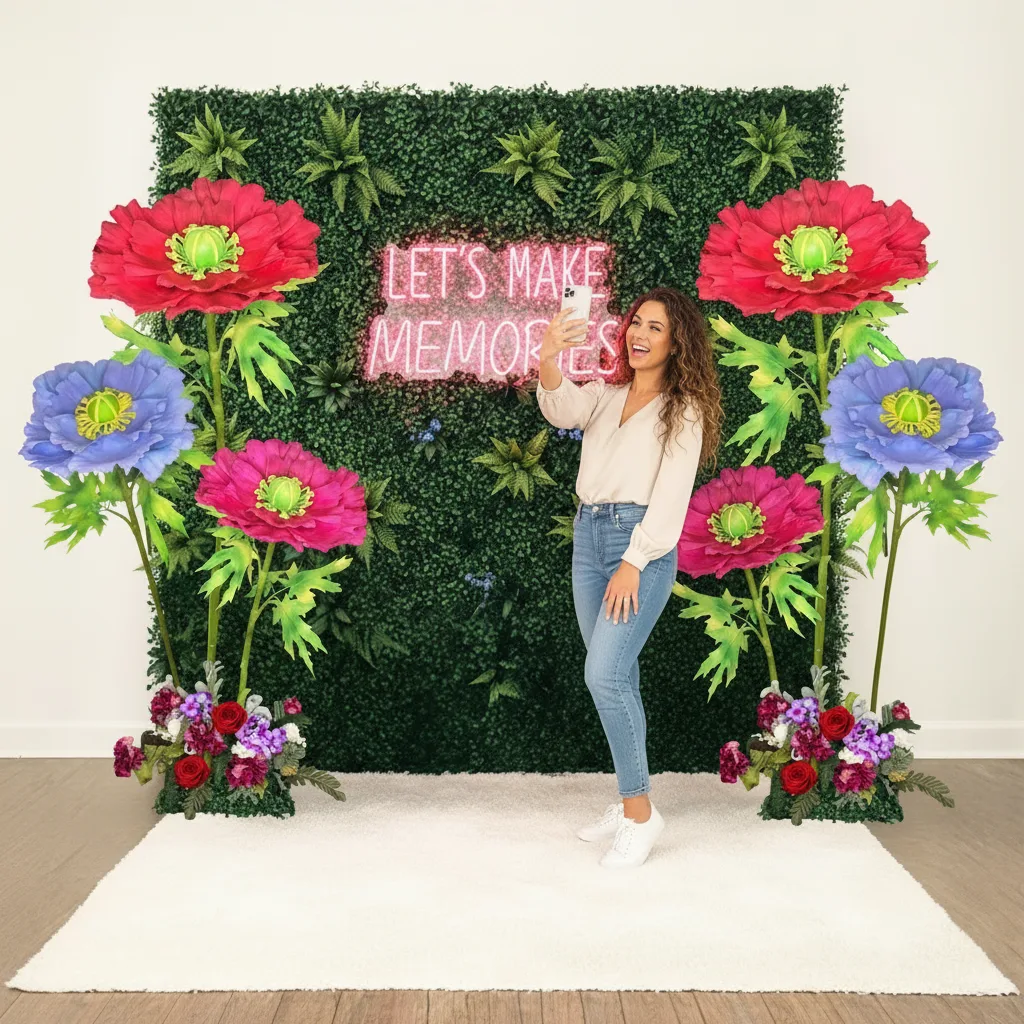
Let me break down the actual methods I use and recommend. Each one has a sweet spot depending on your situation — your wall type, how permanent you want the display to be, and how heavy your flowers are.
Best Ways To Hang Flower Walls
Command strips are genuinely incredible when used correctly. The key word is "correctly" — most people use too few strips or skip the prep steps, then wonder why their flowers drooped overnight.
Used this way, Command strips will hold your flowers securely for months — and remove without a trace when you're ready to change things up.
This is my personal favorite for larger installations. You attach a small adhesive hook to the wall (rated for 3–5 lbs), then use a thin loop of floral wire or fishing line attached to the back of the flower. This lets you level and adjust each flower individually, which is huge when you're arranging a full wall.
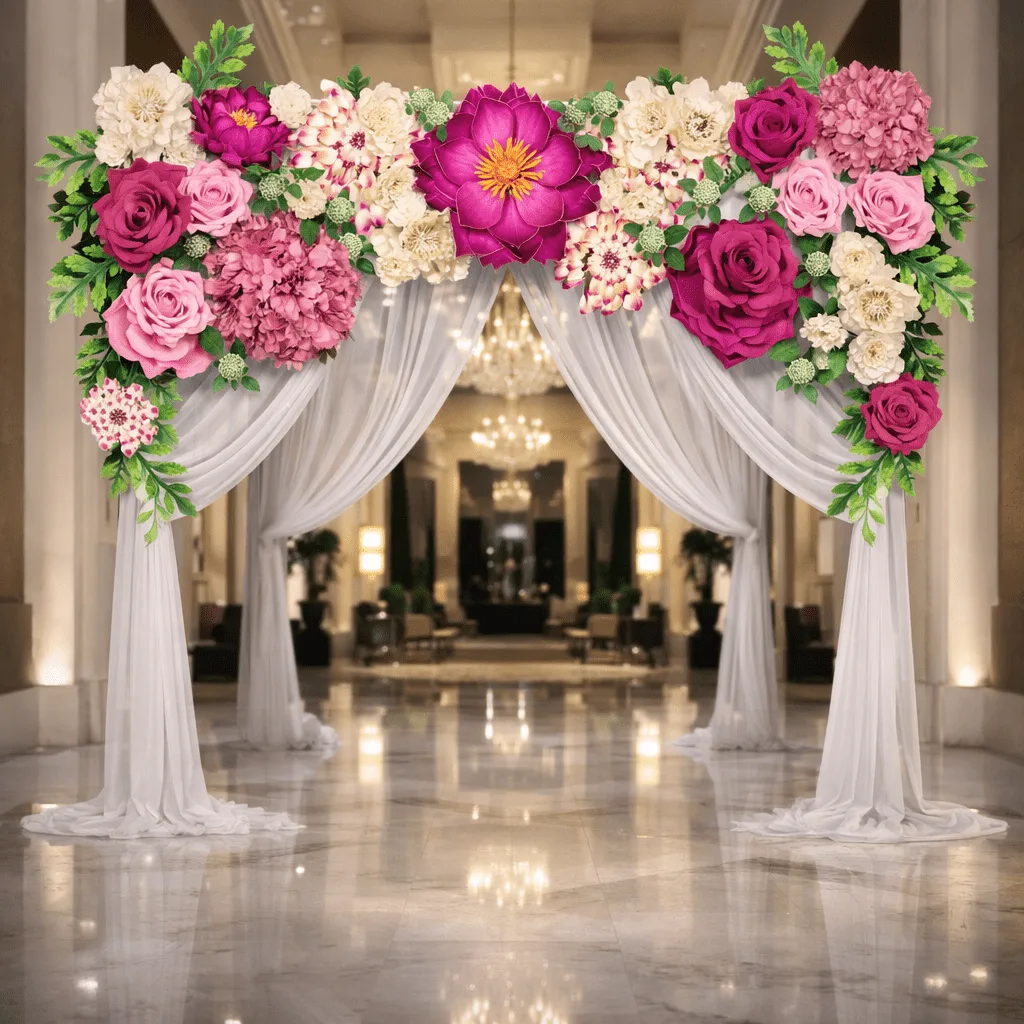
The other advantage? You can swap flowers in and out without disturbing the hooks. Want to change colors for a new season? Easy. Just unhook and rehang. I use this method in my own studio and I've had the same hooks up for two years — zero wall damage.
This one is genius for renters because the curtain rod brackets go into the wall (or use tension rods that need zero hardware), and then you hang your flowers from the rod using loops, S-hooks, or ribbon. It creates a beautiful layered look and is incredibly easy to take down and store.
I've seen customers use this method for nurseries, photo studio backdrops, and even retail displays. A tension rod wedged between two walls — like in a doorway or alcove — holds significant weight and leaves absolutely zero marks. It's versatile and it looks intentional, like you planned it that way all along. Which, now you will.
Freestanding Frames For Off-Limits Walls
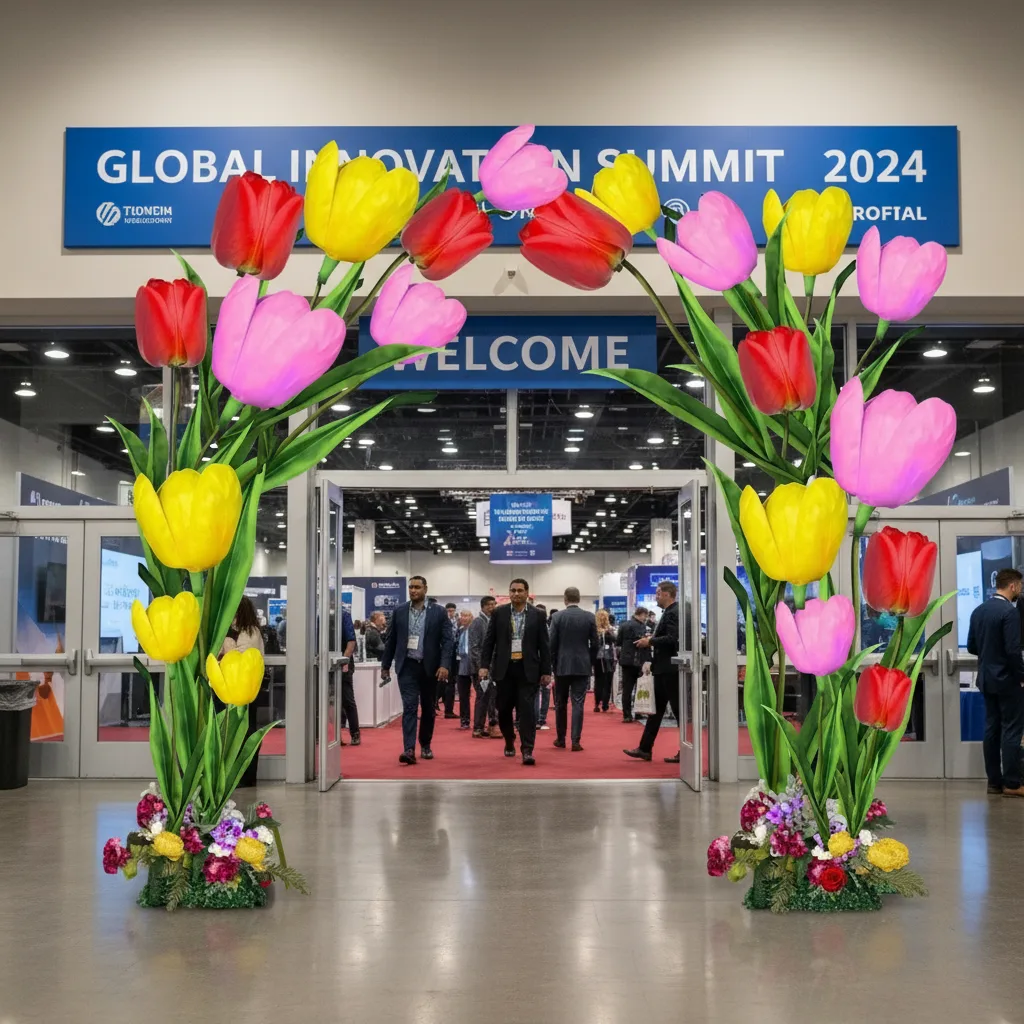
If your walls are truly off-limits — think wallpapered walls, historic buildings, or just extreme caution — a freestanding frame is the move. You build or buy a simple PVC or wooden frame, attach your flowers to it, and lean it against the wall. Our freestanding kits are designed exactly for this purpose.
A standard 4' x 6' PVC frame costs about $25–$40 in materials from any hardware store and assembles in under 20 minutes. Attach flowers using zip ties, floral wire, or hot glue directly to the frame. This setup is also perfect for events — it travels flat, sets up fast, and looks absolutely stunning as a photo backdrop.
💡 Pro Tip
For textured walls where adhesive strips won't bond well, try the curtain rod + tension rod method. A tension rod wedged between two walls (like in a doorway or nook) holds significant weight and leaves absolutely zero marks. Perfect for apartment entryways and photo corners.
I know it's a lot to take in, so here's a quick breakdown side by side. Use this to figure out which method fits your specific situation — wall type, budget, and how often you plan to move things around.
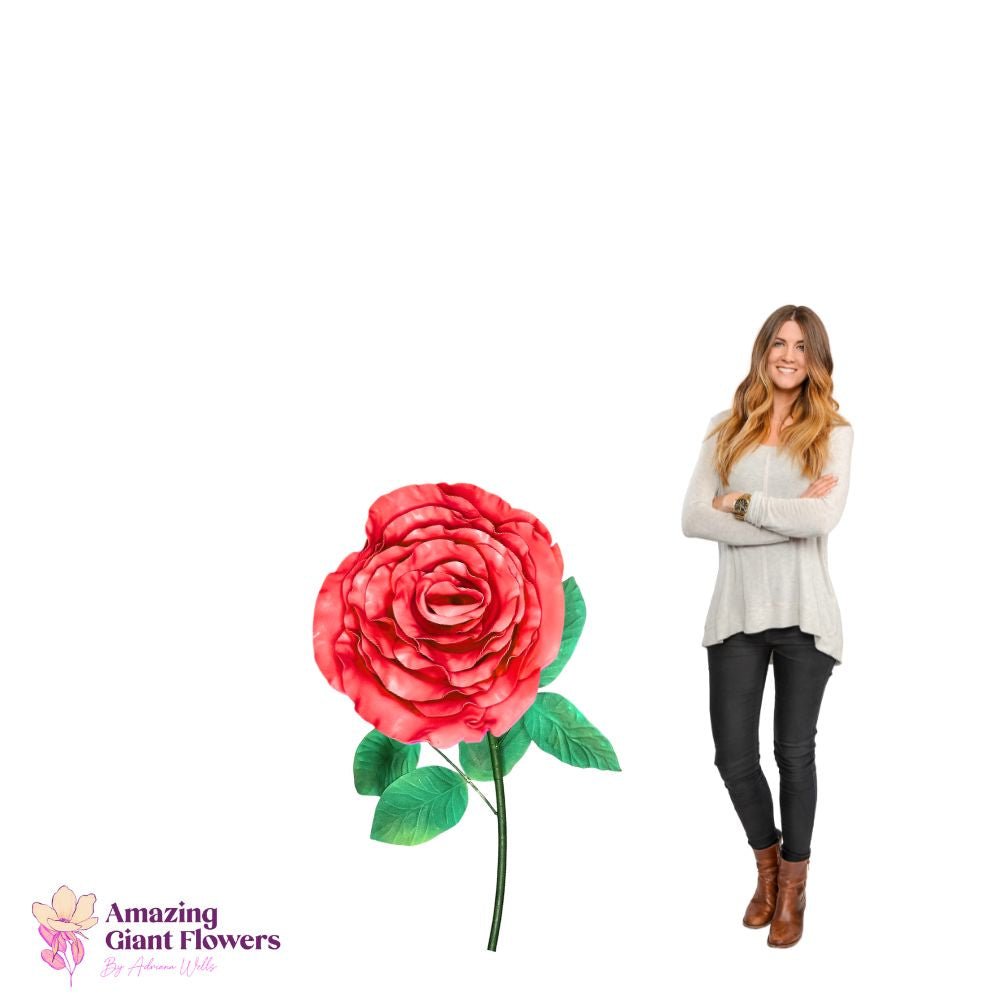
Ok, this is where it gets really fun. Size matters so much more than people realize when it comes to flower walls. I always say: go bigger than you think you need to. A single 18" flower looks beautiful. A mix of 18", 24", and 30" flowers together? That's a showstopper.
Our Wall Flower Kits start at 18" for $37.99 — that's the minimum size I recommend for any display that people will actually see and photograph. Anything smaller gets lost on a wall, especially from a distance.
For a standard 8' x 8' backdrop wall, I typically recommend a mix of 3–4 large (30") blooms, 4–6 medium (24") blooms, and 5–8 smaller (18") accent flowers. That gives you full, lush coverage without looking overcrowded.
Mounting is only half the equation. The arrangement is what takes it from "cute craft project" to "wait, did you hire someone for that?" Here's how I approach it every time.
Before a single flower goes on the wall, lay everything out on the floor in front of it. Seriously. This is the step most people skip and then regret. Arrange your flowers, step back, look at the spacing, adjust. It takes 10 minutes and saves so much frustration.
I like to photograph my floor layout so I have a reference once I start hanging. You'll thank yourself later when you're trying to remember where that 30" bloom was supposed to go.
The Rule of Odd Numbers
Design rule that never fails me: group flowers in odd numbers. Three large flowers, five medium ones, seven small accents. Odd groupings feel natural and organic; even numbers feel rigid and symmetrical (unless you're going for a very formal look, which is a whole different vibe).
Real flower arrangements have depth — some blooms are forward, some are tucked behind. You can recreate this on a flat wall by slightly overlapping your flowers at the edges. Mount one flower, then position the next one so its petals just barely overlap the first. It looks so much more dimensional and lush than flowers spaced out with visible gaps between them.
If you want to go deeper on backdrop design, my post on DIY Giant Flower Backdrop for Photos has a ton of layout inspiration. And if you're thinking about a full arch rather than a flat wall, check out Giant Flower Wedding Arch: A Complete Guide for 2026 — so many ideas in there.
🌸 Ready to build your wall?
Browse our full range of sizes and styles in our Wall Flower Kits collection — starting at just $37.99.
This is the part people don't think about until it's too late. You've done all this work — you want these flowers to look amazing not just today but for years. Here's how to protect your investment.
EVA foam flowers are incredibly durable, but they can warp if stored under pressure or in heat. When I take down a display, I store each flower flat in a large shallow bin — never stacked with heavy things on top. A plastic storage tote from any big box store works perfectly.
Keep them away from direct sunlight during storage. UV exposure over time can fade even the most vibrant colors. A closet shelf or under a bed works great. Avoid garages or attics where temperatures fluctuate dramatically — sustained heat above 100°F can cause EVA foam to soften and distort.
Cleaning Without Damage
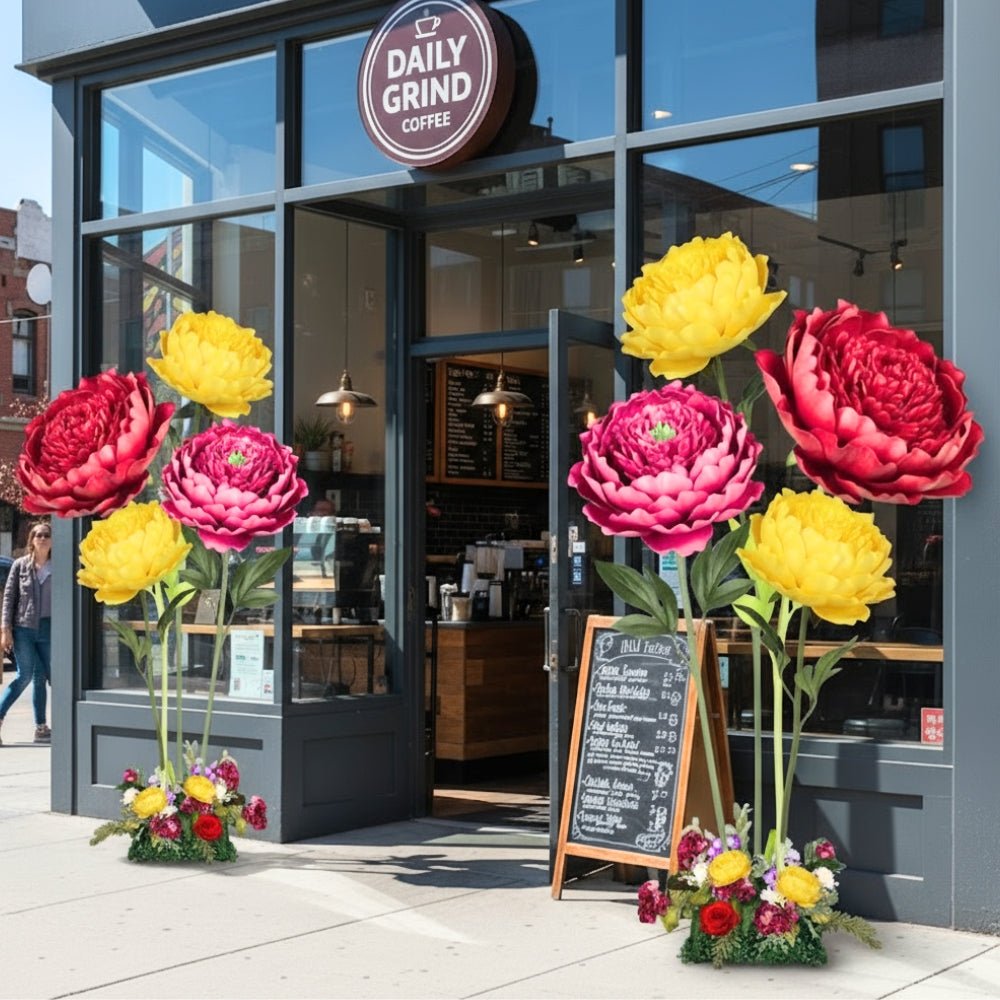
Dust happens. To clean EVA foam flowers, use a soft dry cloth or a soft brush to remove dust from the petals. For anything more stubborn, a barely damp cloth works fine — just don't soak the foam or scrub aggressively.
Avoid harsh chemical cleaners. They can break down the foam surface over time and dull the finish. Simple is always better here.
If after a couple of years your flowers start looking a little faded or you just want a new color palette, you can actually repaint EVA foam flowers. I have a full guide on flawless foam board paint finishes that walks through exactly how to do this without cracking or peeling. It's a game changer for extending the life of your pieces.
💡 Pro Tip
Label the back of each flower with its size and the color name using a permanent marker before you store it. When you pull everything out six months later for a party, you'll be so glad you did. Trust me on this one.
Yes — as long as you use the right strip weight rating and prep your wall properly. Our 30" EVA foam flowers are surprisingly lightweight. I recommend using large Command picture-hanging strips rated for at least 4 lbs, applying two pairs per flower, and letting the adhesive cure for a full hour before hanging. Clean the wall with rubbing alcohol first — this step is non-negotiable for getting a strong bond.
If you're at all nervous, the adhesive hook + floral wire method gives you even more peace of mind because you can visually confirm the hook is secure before you commit the flower to it.
How many flowers do I need to cover a wall?
It depends on your wall size and how full you want the look to be. For a lush, full-coverage backdrop on an 8' x 8' wall, I'd plan for 12–18 flowers in a mix of sizes (18", 24", and 30"). For a more airy, gallery-style arrangement with visible wall space between blooms, 7–10 flowers is plenty.
My best advice: buy slightly more than you think you need. It's much easier to not use a flower than to realize mid-install that your wall looks sparse. Extra flowers are never wasted — they become table centerpieces, door decorations, or props for photos.
It can, but adhesive strips and hooks are less reliable on heavily textured surfaces because there's less flat area for the adhesive to grip. For light orange-peel texture, use extra strips and press them down firmly for a full 60 seconds. For heavy knockdown or popcorn texture, I'd skip adhesive altogether and go straight to the tension rod or freestanding frame method.
Do my painter's tape test first (described above) — it takes five minutes and tells you everything you need to know before you invest time in a full installation.
EVA foam flowers are water-resistant and can absolutely be used outdoors for events — think garden parties, outdoor weddings, and patio photo backdrops. That said, I don't recommend leaving them permanently exposed to the elements. Extended UV exposure will fade the colors over time, and strong wind can stress the mounting points.
For outdoor events, use a freestanding frame weighted at the base (sandbags or filled water weights work great) rather than relying on adhesive to any surface. Bring everything inside when the event is over and store it properly, and your flowers will last for years of outdoor use.
How do I hang a flower wall in a rental apartment without losing my security deposit?
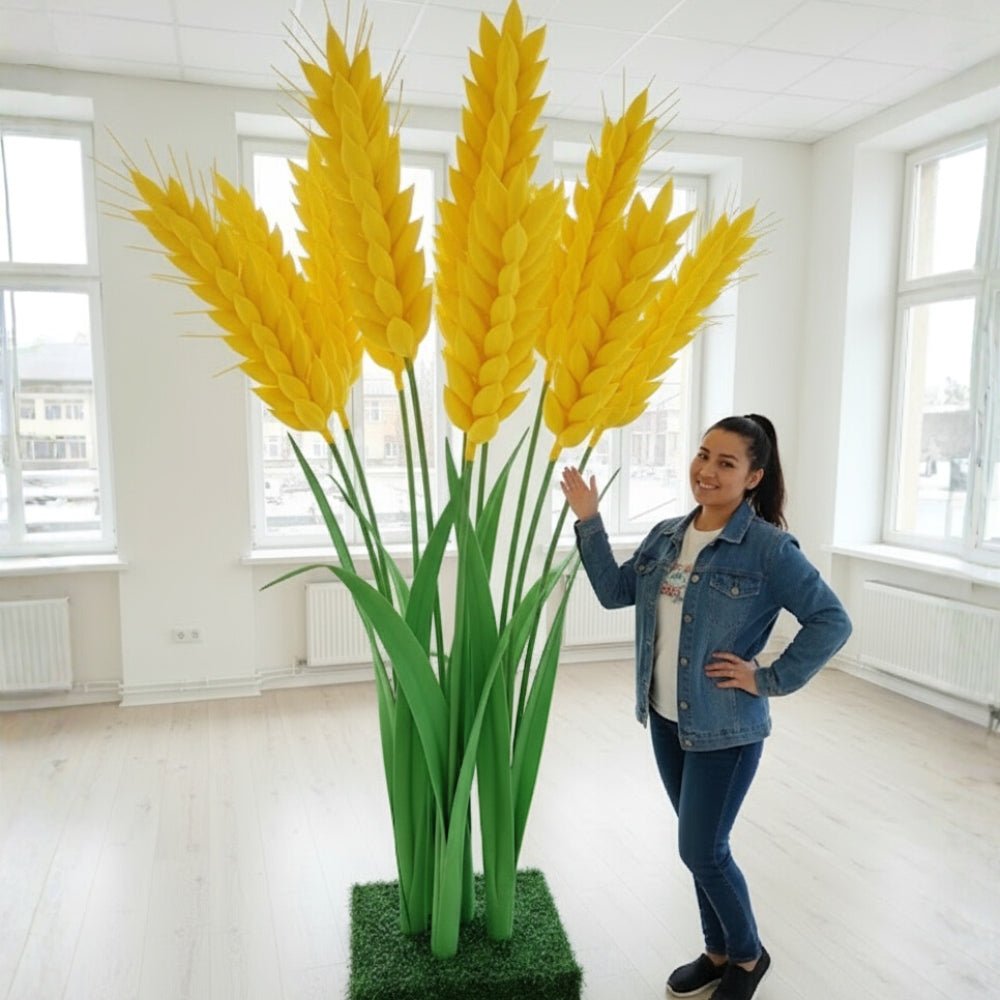
The tension rod and freestanding frame methods are your safest bets — both involve zero wall contact whatsoever. If you want to use adhesive hooks or Command strips, always follow the manufacturer's removal instructions exactly: pull the tab slowly and steadily at a low angle rather than yanking straight out from the wall. Rushing the removal is the number one cause of paint damage.
When in doubt, do your painter's tape test first to confirm your paint is well-adhered. If the tape pulls paint, your wall's finish is already compromised and any adhesive method carries risk — go freestanding and sleep easy.
How long does it take to hang a flower wall?
For a first-time installation of a full 8' x 8' backdrop, budget about 2–3 hours including your floor layout time. Once you've done it once and know your arrangement, the same wall goes back up in under an hour. The floor layout step (which most people want to skip) genuinely saves you time overall — don't skip it.
If you're installing for an event, I always recommend doing a full test hang at home a few days before so you can work out any issues without time pressure. Then on the day of, it's quick, confident, and stress-free.
What if I don't want to hang anything myself?
That is completely valid, and honestly, it's exactly why I offer a Done For You service here at Amazing Giant Flowers. If you're in the Houston area and you'd rather have a stunning flower wall show up ready to enjoy without lifting a finger, that's an option. I handle the design, the build, and the setup so you can focus on everything else that goes into making your event special.
For those outside Houston, our giant EVA foam flower kits, wall kits, freestanding kits, templates, molds, and all the supplies you need — EVA foam, pipes, stems, bases, 369 glue, and hot glue guns with silicone sticks — are available to ship to you so you can create your own show-stopping backdrop from home.
You've Got Everything You Need to Hang a Flower Wall That Lasts
Hanging a flower wall doesn't have to be stressful or complicated. Whether you go with adhesive strips for a rental apartment, a tension rod for a zero-damage setup, or a freestanding frame for an outdoor garden party, there is a method that fits your space, your surface, and your comfort level. The key is choosing the right approach before you start, doing your painter's tape test, and giving yourself the gift of a floor layout session before anything goes on the wall.
The flowers themselves — when they're made from quality EVA foam and stored properly between uses — will hold up beautifully for years. I've seen customers use the same set of blooms for birthday parties, baby showers, weddings, and holiday gatherings season after season. That kind of longevity is exactly what I had in mind when I built Amazing Giant Flowers, and it makes every kit worth every bit of effort.
I'm Adriana, and I genuinely love helping people create spaces that feel magical and personal. If you have questions about which kit is right for your project, which mounting method suits your wall, or anything else, please don't hesitate to reach out — I'd love to help you bring your vision to life. Now go build something beautiful! 🌸
Shop the supplies
Everything You Need for This Project
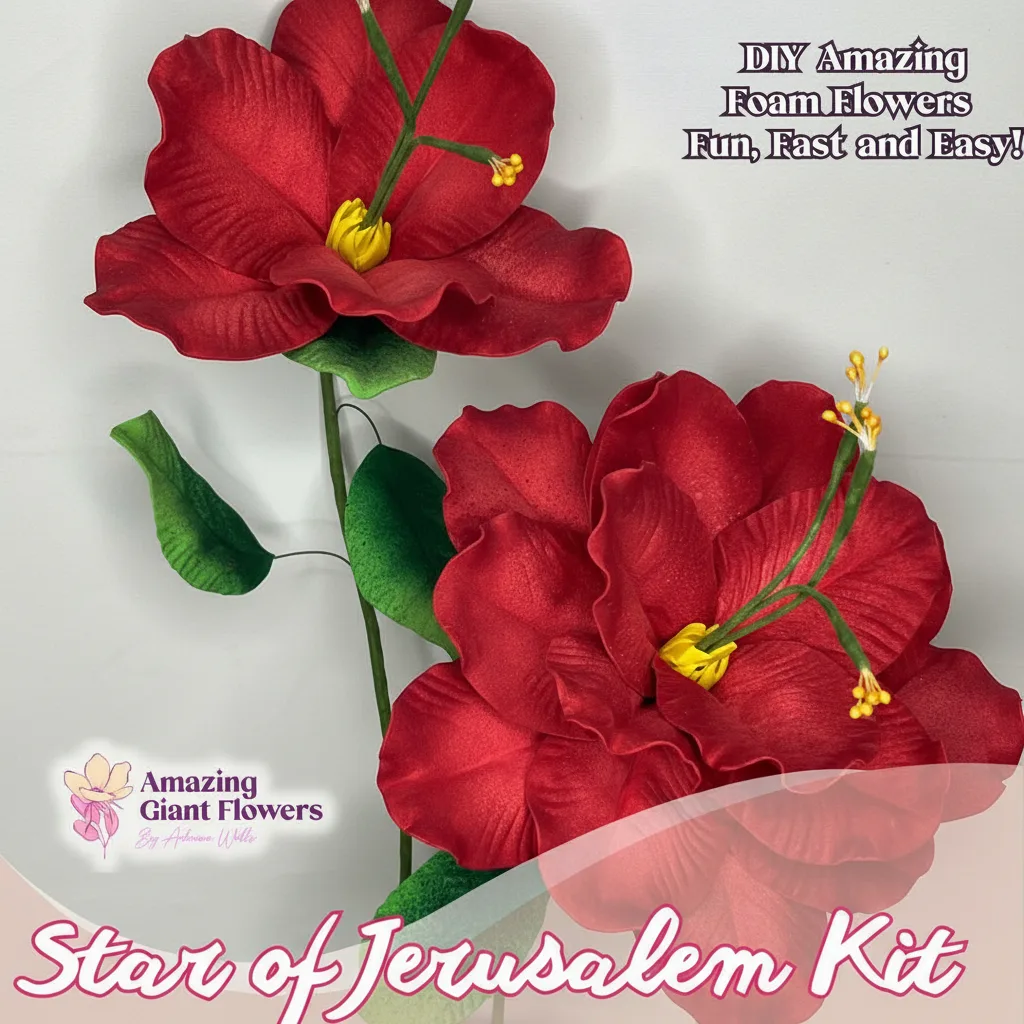
Real Touch Star of Bethlehem Foam Flower Kit — Large Tropical DIY Blooms (Star of Jerusalem) with Golden Pistils, Reusable Mold & Pre-Cut Petals
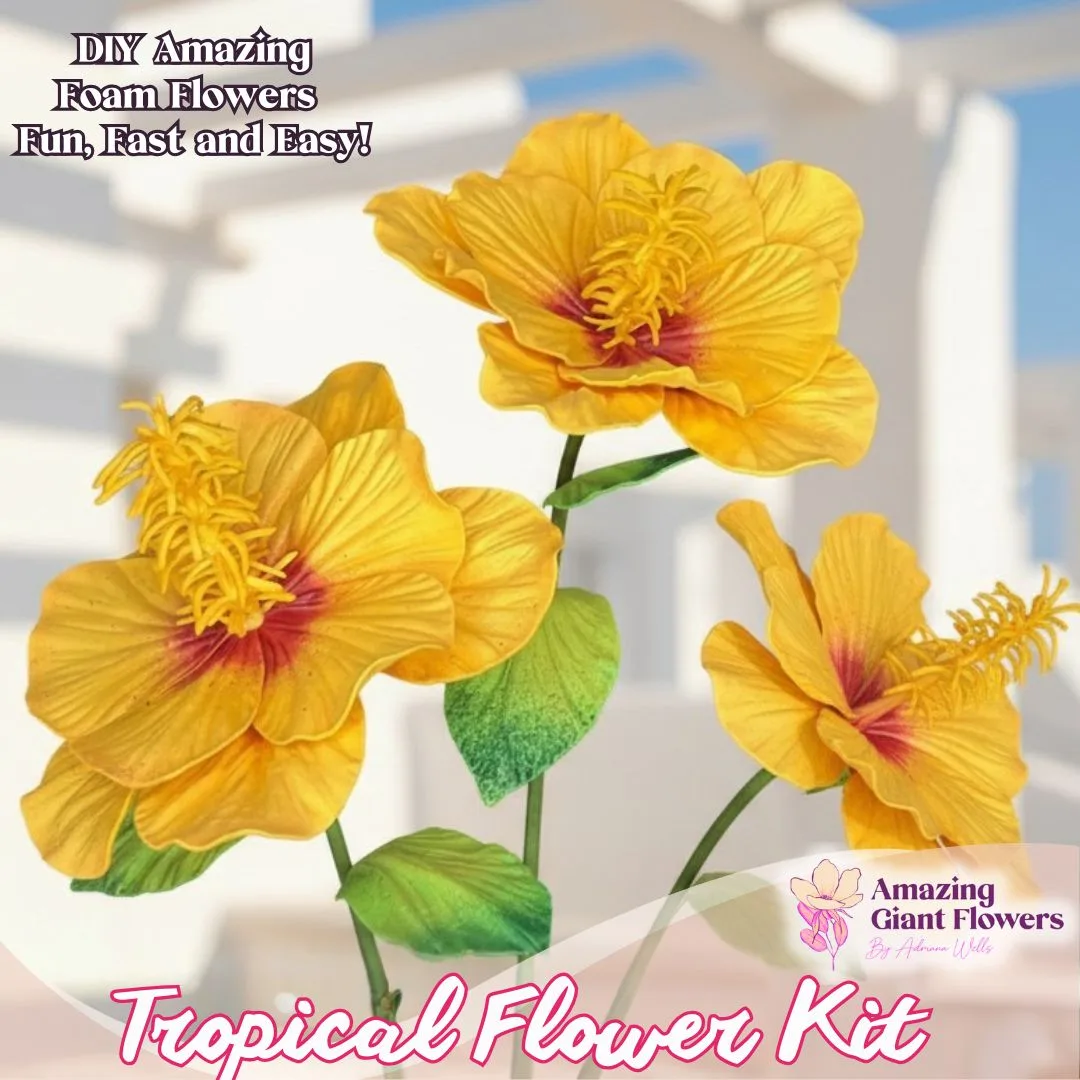
Real Touch Tropical Flower Foam Kit — Large DIY Hibiscus Blooms with Reusable Double-Sided Mold, Pre-Cut Petals, Bud & Leaves
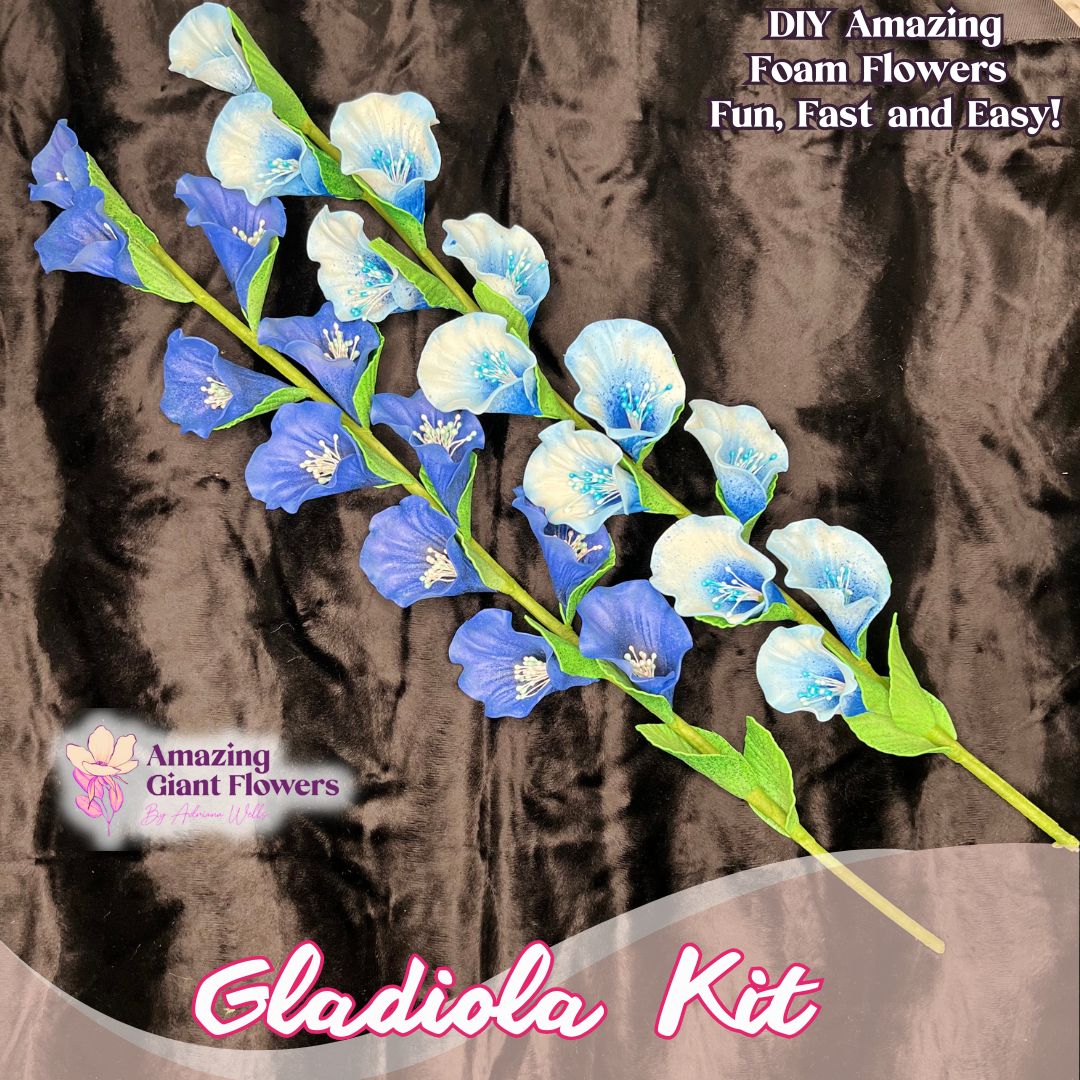
Real Touch Gladiolus Foam Flower Kit (Gladiola) — Two Tall 24" DIY Stems with Reusable Mold, Pre-Cut Petals & Leaves
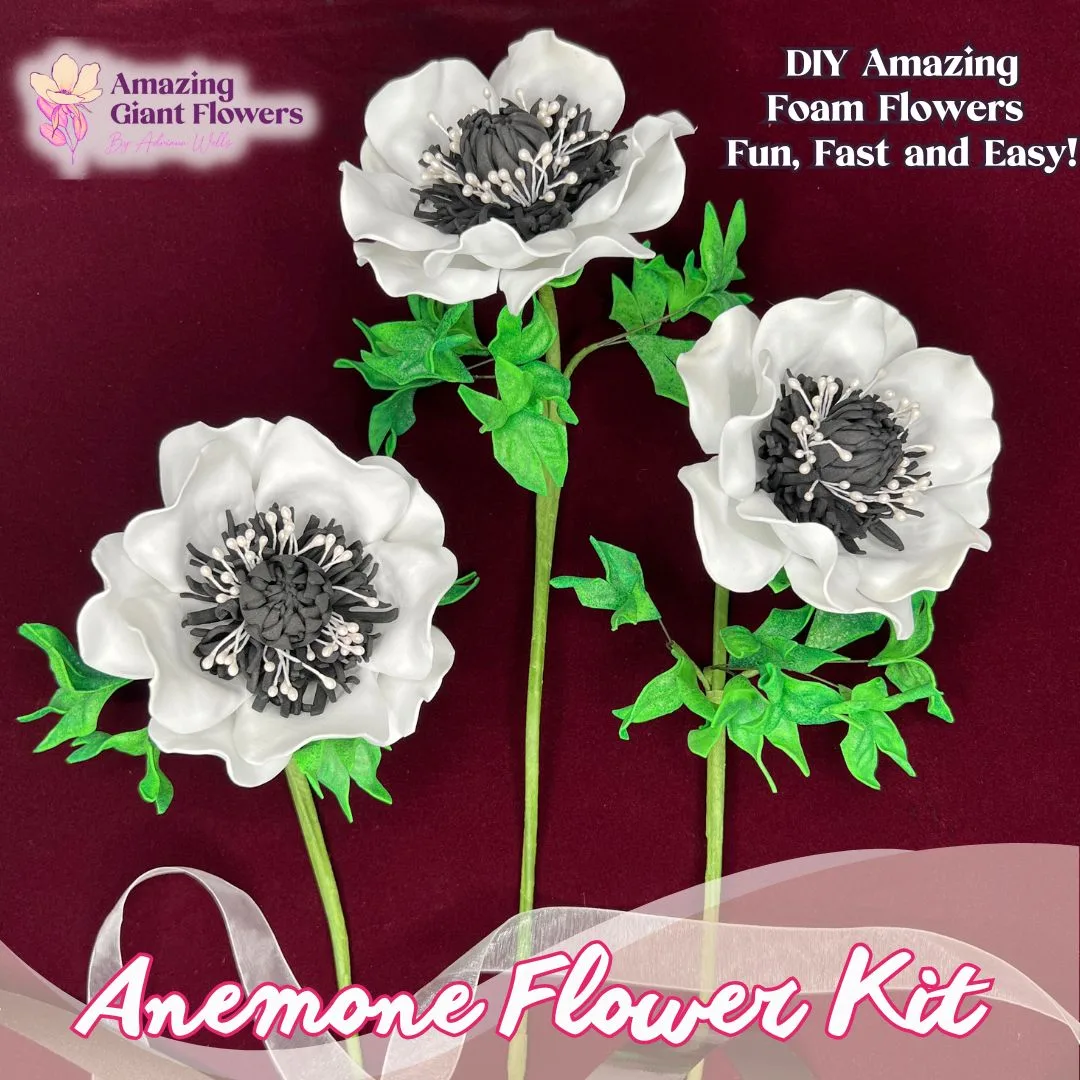
Real Touch Anemone Foam Flower Kit — Large DIY Blooms with Reusable Molds, Pre-Cut Petals, Pistils & Leaves

Written by
Adriana WellsFounder & CEO of Amazing Giant Flowers
Adriana Wells is the founder and creative force behind Amazing Giant Flowers, a Texas-based company specializing in handcrafted giant foam flowers, luxury floral installations, and DIY flower-making supplies.
More about Adriana →Ready to Create Something Amazing?
Browse our collection of giant flower kits and start your next project today.