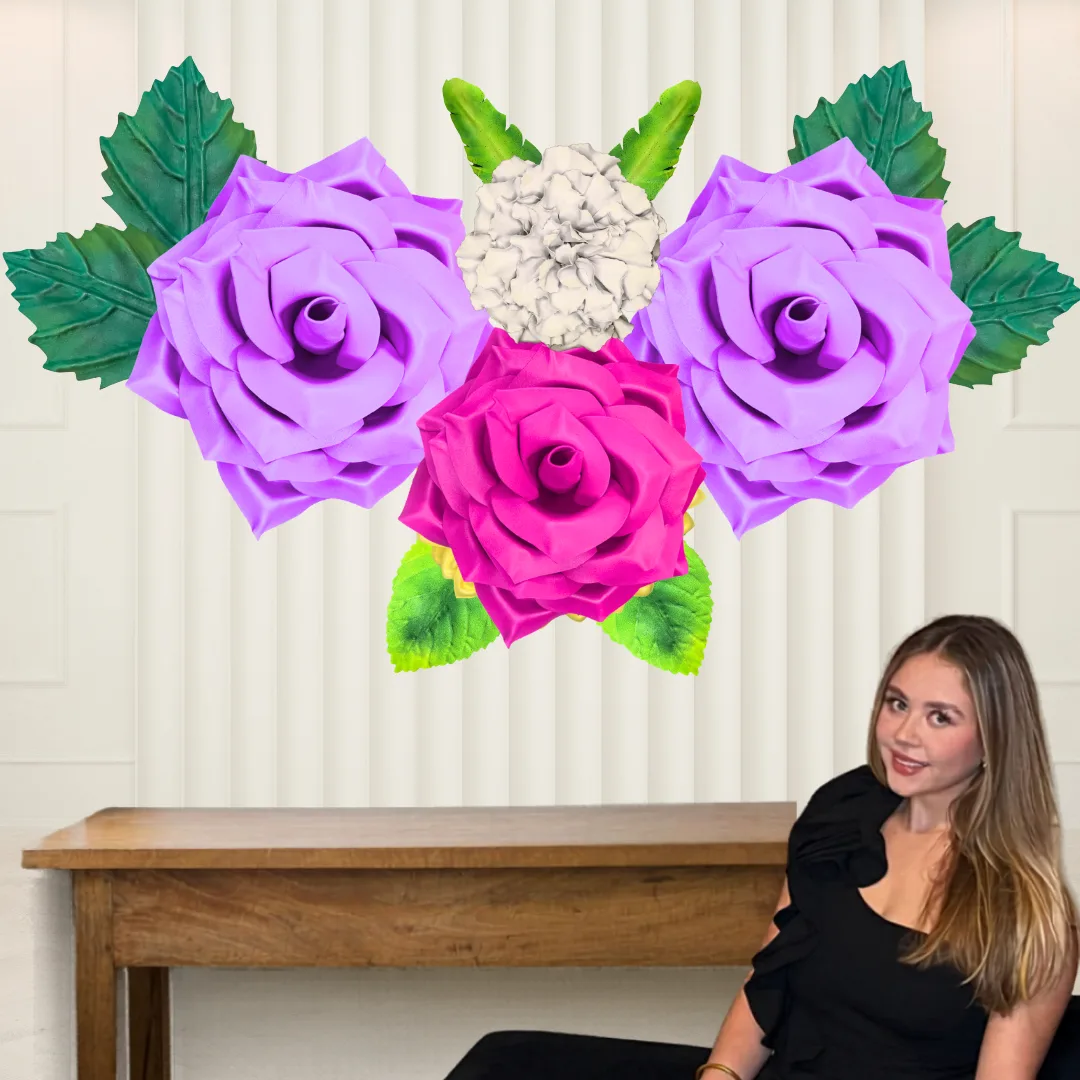
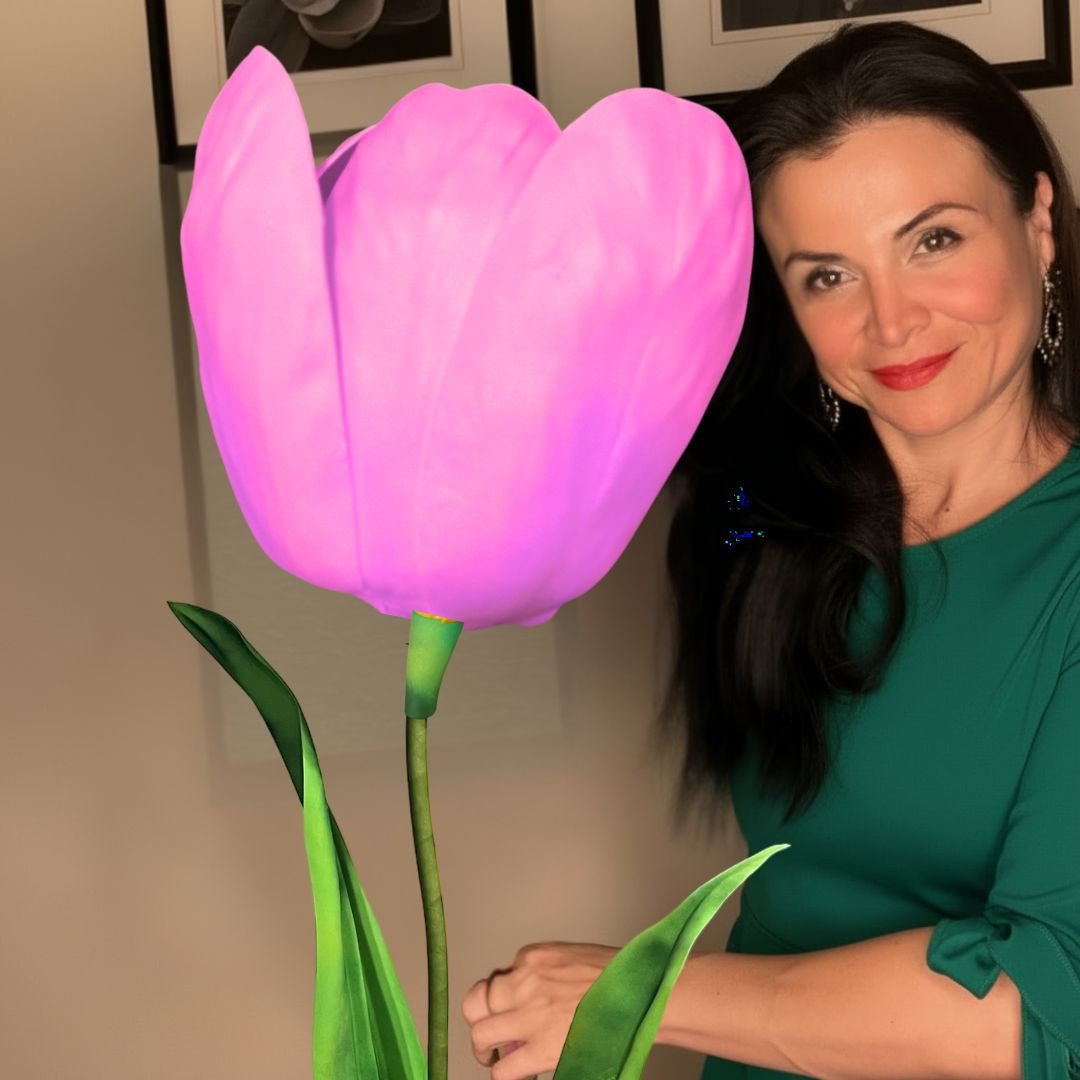
How to Use a Double-Sided Flower Mold (Step by Step)

If you've been staring at your new flower mold wondering where on earth to start — I get it. I remember the first time I held one of these in my hands and thought, "Okay, but... now what?" Learning how to use a flower mold feels intimidating for about five minutes, and then it just clicks. And once it clicks? You're going to wonder how you ever made petals without one.
These double-sided molds are genuinely one of my favorite tools in the whole shop. They work for foam flower crafting AND for sugar and gumpaste cake decorating — same mold, two completely different creative worlds. Whether you're building a flower wall for a quinceañera or pressing sugar petals for a wedding cake, the process is more similar than you'd think.
This guide is written specifically for beginners. No jargon, no assumptions. Just clear steps, real tips from years of making flowers, and the confidence boost you need to press your very first petal. Let's do this.
Key Takeaways
Let me just make sure we're on the same page before we dive in. A double-sided flower mold is a two-piece silicone or firm rubber tool — a top half and a bottom half that press together around your material.
When you sandwich your petal between the two sides and press, you get realistic vein detail on both surfaces simultaneously. That's the magic. One press. Full texture. Front AND back.
Why Double-Sided Beats Single-Sided Every Time
Single-sided molds only texture one face of your petal. That's fine for flat wall displays where you'll never see the back. But if your flowers are going on an arch, a centerpiece, or a cake — people will see the back. Double-sided gives you that professional, finished look without any extra steps.
Our flower molds are designed specifically with this in mind. Life-size petal shapes. Botanical-level vein detail. Ready for foam or sugar right out of the box.
Gather your supplies before you start. Nothing kills creative momentum like hunting for scissors mid-project.
💡 Pro Tip
For foam work, don't skip the heat gun step. Cold EVA foam is stiff and won't take mold impressions well. A quick 3–5 second pass with your heat gun makes the foam pliable and hungry for texture. I talk more about this technique in my post on heat gun techniques for shaping foam flower petals.
Okay, this is where it gets really fun. Walk through this once slowly, and I promise your second petal will feel completely natural.
You don't need to be precise here. Cut a petal shape from your EVA foam that's roughly the same size as your mold cavity — maybe just slightly larger. The mold will define the final shape, so this is just getting you in the ballpark.
If you're new to cutting foam, check out the best way to cut foam for flawless DIY crafts — it covers everything from scissors to craft knives to hot wire cutters.
Step 2: Warm the Foam
Hold your heat gun about 4–6 inches from the foam surface and move it in a slow, sweeping motion for 3–5 seconds. The foam will become soft and slightly flexible. Don't hold it in one spot — you'll melt it.
Touch it gently. It should feel warm and pliable, not stiff. That's your green light.
A very light spritz of water on the inside surfaces of both mold halves helps with release and can actually improve how cleanly the texture transfers. We're talking one quick mist — not soaking wet.
Lay your warm foam piece on the bottom half of the mold, centered as best you can. Place the top half over it. Then press firmly and evenly with both hands — apply pressure for about 10–15 seconds.
Don't wiggle or shift the mold while pressing. Hold it steady. That's what gives you crisp, clean lines instead of blurry texture.
Carefully peel back the top half of the mold. Then gently flex the bottom half to pop your petal free. Look at that texture. Both sides. Every vein. Just from one press.
If the edges need trimming to match the petal outline perfectly, use small sharp scissors while the foam is still slightly warm.
The first time you open that mold and see a perfect, veined petal staring back at you — that's the moment you become a flower maker.
How to Use a Flower Mold for Sugar and Gumpaste Petals
Cake decorators — this section is for you. The process is similar in spirit but has a few key differences that matter a lot for food-safe work.
Step 1: Roll Your Gumpaste
Roll your gumpaste or flower paste to about 1–2mm thickness on a non-stick surface. Thinner is usually better for delicate petals — you want translucency and a natural look. If it's too thick, the veins won't show as clearly.
Step 2: Dust the Mold with Cornstarch
Lightly dust both inner surfaces of the mold with cornstarch using a small puff or brush. Tap out any excess. This is your release agent — skip it and your petal will stick, guaranteed.
Step 3: Cut a Rough Petal Shape
Use a petal cutter or a small knife to cut a rough petal shape from your rolled paste. It should be slightly smaller than the mold cavity — gumpaste will spread a little under pressure.
Step 4: Press and Hold
Lay the paste on the bottom mold half. Close the top half and press firmly for 5–8 seconds. Even, steady pressure. No rocking.
Step 5: Release and Shape
Open the mold carefully and peel your petal free. Move it immediately to a foam pad and use a ball tool to thin the edges and add a natural curl. Work quickly — gumpaste firms up fast.
💡 Pro Tip
If your gumpaste is tearing when you open the mold, it's probably too dry or too thin. Add a tiny amount of shortening to your paste and re-knead. Also make sure you're not skimping on the cornstarch dusting — that's almost always the culprit.
Foam vs. Sugar: Comparing the Two Uses Side by Side
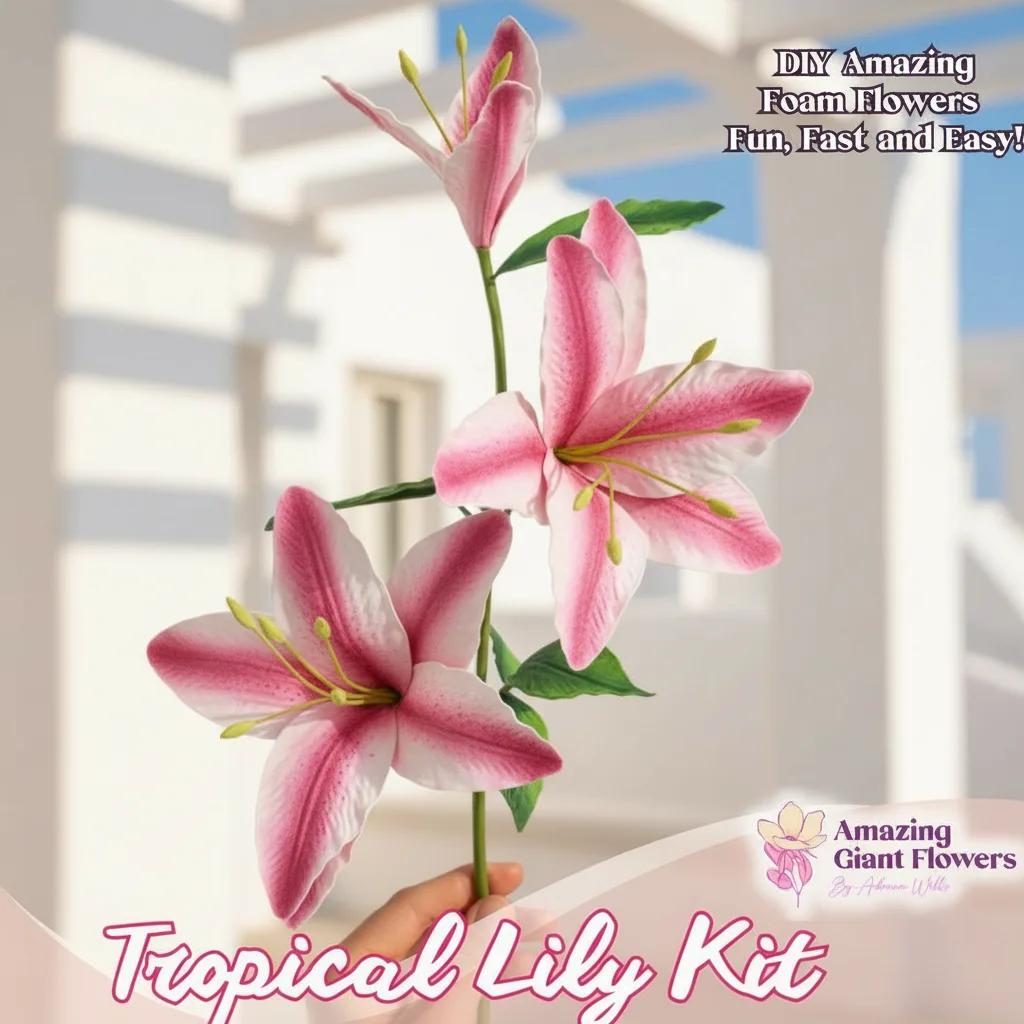
I get asked all the time — "Can I really use the same mold for both?" Yes. Absolutely yes. Here's how the two uses compare so you can see exactly what's different and what's the same.
| Feature | EVA Foam Petals | Sugar / Gumpaste Petals |
|---|---|---|
| Material prep | Warm with heat gun (3–5 sec) | Roll to 1–2mm, keep covered |
| Release agent | Light water mist | Cornstarch dusting |
| Press time | 10–15 seconds | 5–8 seconds |
| Post-press shaping | Heat gun curl while warm | Ball tool on foam pad, work fast |
| Drying / setting | Holds shape immediately | 24–48 hours to fully dry |
| Best for | Event decor, backdrops, arches | Wedding cakes, cupcake toppers |
| Food safe | Not applicable | Yes — molds are food-safe compatible |
| Reusability | Hundreds of uses | Hundreds of uses |
🌸 Ready to get started?
Browse our full flower mold collection and find the petal shape that's calling your name.
Common Beginner Mistakes (And How to Avoid Them)

Real talk? Everyone makes these mistakes the first time. I did too. Here's how to skip the frustration.
Mistake 1: Pressing Cold Foam
Cold EVA foam is too rigid to take a good impression. You'll get faint, mushy texture instead of crisp veins. Always warm it first. Always.
Mistake 2: Skipping the Release Agent
Whether it's water mist for foam or cornstarch for sugar — don't skip this step. Your material will stick to the mold and tear when you try to remove it. A ruined petal is a sad petal.
Mistake 3: Uneven Pressure
If you press harder on one side than the other, you'll get inconsistent texture — deep veins on one end, barely-there on the other. Use both hands. Press from the center outward.
Mistake 4: Rushing the Release
Yanking the mold open too fast can distort your petal. Peel slowly, especially with sugar work. Let the material tell you when it's ready to release.
Mistake 5: Using the Wrong Foam Thickness
Super thick foam (4mm+) doesn't compress well in a mold and can actually damage the tool over time. Stick to 2mm EVA foam for petals. It's the sweet spot for flexibility, texture transfer, and final look. You can explore all your foam options in our crafter's guide to every type of foam for flowers.
What to Do With Your Petals After Pressing
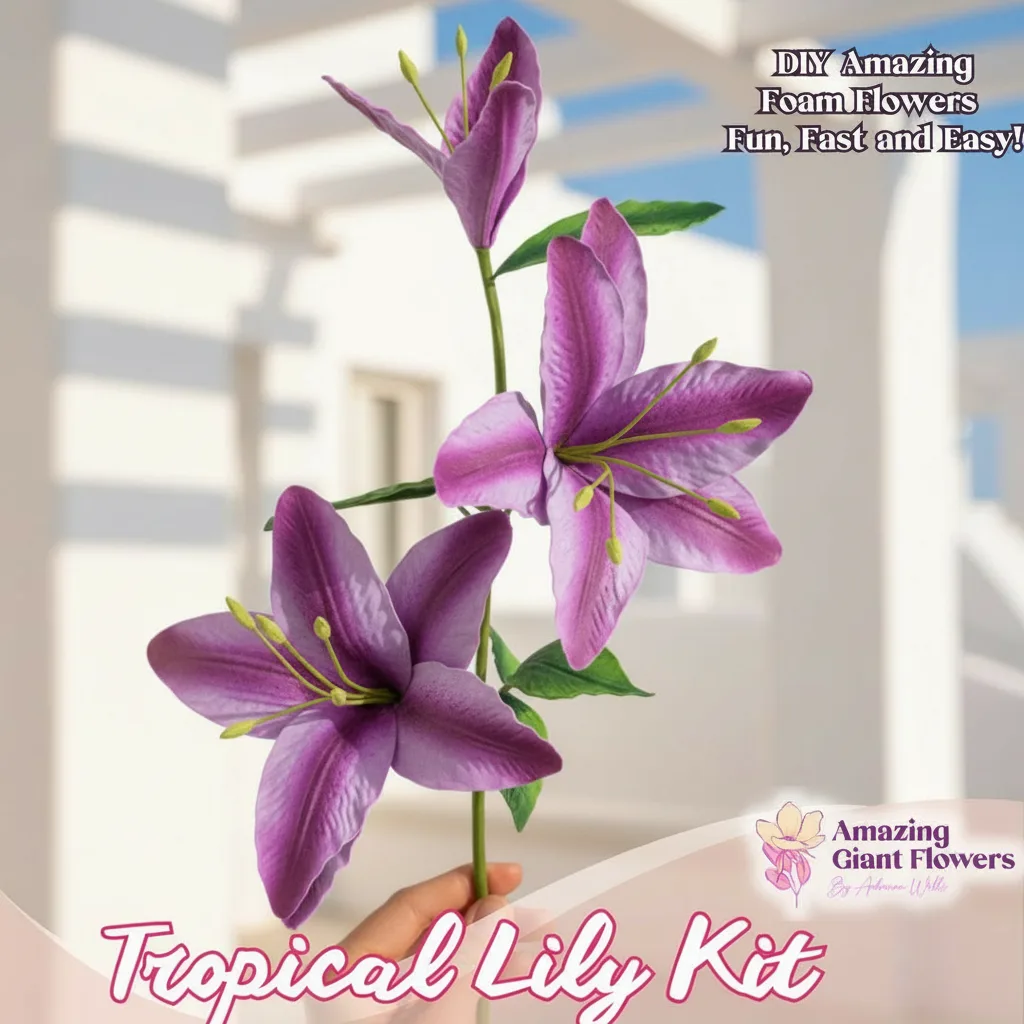
You've got a beautiful pressed petal in your hand. Now what? This is where your creative vision takes over.
For Foam Flower Projects
- Shape while warm: Use your heat gun to curl the edges inward or outward for a natural bloom shape.
- Paint or color: Acrylics work beautifully on EVA foam — check out our guide to flawless foam board paint finishes for technique tips.
- Assemble: Layer your petals around a center piece to build a full flower. Our life-size foam flower kits include everything you need to go from petals to finished bloom.
- Display: Mount on a backdrop, arch, or centerpiece. Need display inspiration? This DIY flower backdrop guide is a great place to start.
For Sugar and G
Ready to Create Something Amazing?
Browse our collection of giant flower kits and start your next project today.