Layering Molded Petals Into a Full Rose
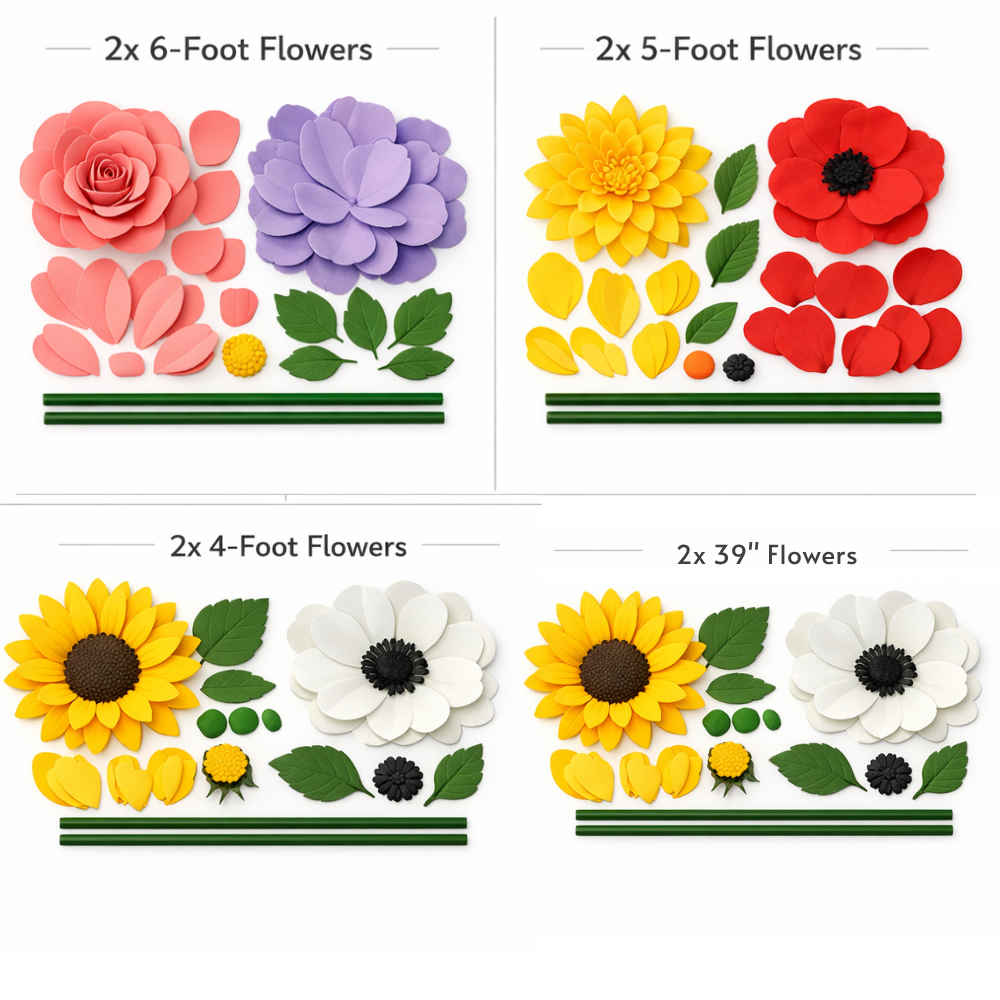
If you've ever searched how to make foam rose step by step and ended up with a pile of browser tabs and zero clarity, I get it. I've been there. When I first started making foam flowers, roses felt like the ultimate puzzle — so many petals, so many layers, and somehow they all had to come together into something that looked lush and real and intentional.
Here's what changed everything for me: using a proper petal mold. Not a template you trace by hand, not a freehand cut. An actual double-sided mold that gives every single petal the same veining, the same curve, the same life. Once I started working that way, assembling a full rose bloom went from frustrating guesswork to a genuinely satisfying process.
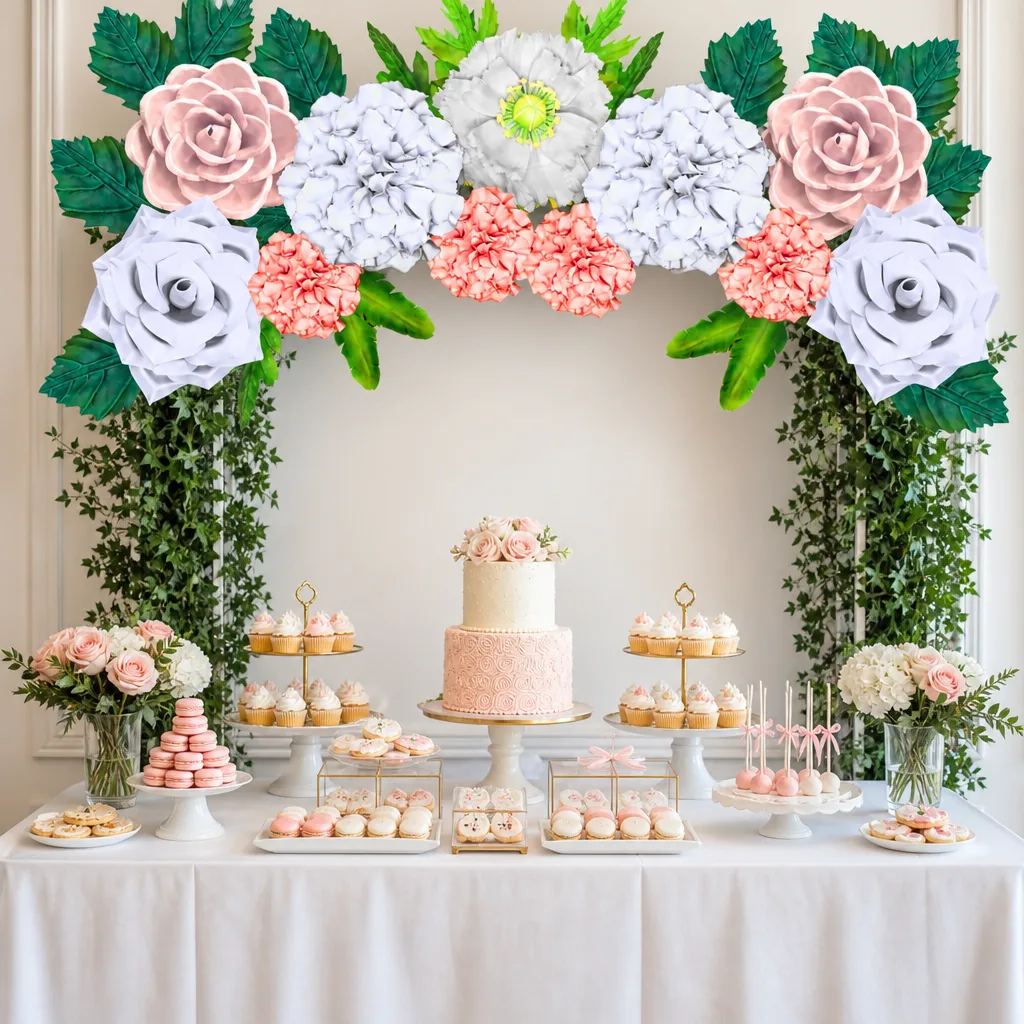
This post is for you if you're a decor crafter who wants to build something truly beautiful — whether that's a centerpiece, a backdrop panel, a wedding arch accent, or just a showstopper for your living room wall. Let me walk you through how to layer molded petals into a full, gorgeous rose from the very first cut to the final petal placement.
Key Takeaways
I'll be real with you. Before I discovered quality petal molds, my roses looked... fine. Flat. A little sad. The petals didn't have that natural mid-rib detail or the gentle ripple along the edges that makes a rose look like it just opened this morning.
A double-sided mold presses both the front and back of each petal simultaneously. That means you get realistic vein texture on the face of the petal AND a smooth, clean back — which matters when petals overlap and you can see the underside of the layer above.
What Our Flower Molds Are Made For
Our flower molds are designed specifically to work with both EVA foam AND sugar/gumpaste. So if you're a decor crafter who occasionally dabbles in cake decorating (or vice versa), one set of molds does double duty. That's the kind of investment I love.
They're also food-safe compatible and built to be reused hundreds of times. I have molds I've been using for years that still perform perfectly. No cracking, no warping, no drama.
Ok, before we get into the layering process, let's talk supplies. You don't need a ton of stuff, but you do need the right stuff.
💡 Pro Tip
Cut all your petals before you start assembling. Seriously — cut every single one first. Having 20+ petals ready to go before you touch the glue gun means you won't rush the layering process, and your bloom will be so much more balanced.
Here's where it gets really fun. A rose is built in tiers, and each tier has a specific job. Think of it like architecture — the inner spiral is your foundation, the mid-layer adds volume, and the outer petals give you that full, lush bloom you're after.
Start with 5-7 small petals, molded and heat-shaped into a tight curl. These form the center bud. Roll the first petal into a tight cone — this is your innermost point. Wrap the next petals around it, each one slightly offset from the last, overlapping by about one-third of the petal width.
The key here is keeping the tops of these inner petals at the same height. If one shoots up taller than the others, your rose center will look off. Take your time. Glue as you go, pressing each petal gently against the previous one before the glue sets.
Tier 2: The Mid-Layer Cups (Where the Magic Happens)
Now grab your medium-sized petal mold and press out 8-10 petals. These need more cup than the inner ones — use your heat gun to warm the foam and press your thumb into the center of each petal to create a natural bowl shape.
Place these around your inner spiral, again offsetting each petal so it sits between two petals of the previous layer, not directly behind one. This staggered placement is what creates that full, dimensional look. If you're ever confused about why your rose looks flat, this is usually why — petals lined up instead of staggered.
For the outermost layer, use your largest petal mold and cut 10-14 petals. These should be flatter and wider, with just a gentle backward curl at the tips (warm the tip with your heat gun and bend it back over a dowel or your finger).
Glue these at the base of your bloom, angling them slightly downward and outward — like a real rose that's fully open. This is the layer that makes people stop and say "wait, is that real?"
🌸 Ready to get started?
Browse our full flower molds collection and find the petal sizes that are perfect for your rose project.
Shaping Each Petal Before Assembly
This step is non-negotiable. Flat petals make flat roses. Every petal needs to be shaped individually before it goes on your bloom. Here's my shaping routine:
It sounds like a lot, but once you've done 5 or 6 petals, your hands just know what to do. It becomes meditative, honestly.
💡 Pro Tip
Work in small batches. Shape 5 petals, glue those 5, then shape the next 5. Foam that's been shaped and left sitting too long can start to relax back toward flat — especially in a warm room.
Not all roses are the same. A tight garden rose looks completely different from an open romantic rose. Here's a quick reference I use depending on the look I'm going for:
These are guidelines, not rules. Every crafter develops their own feel for how full they like their blooms. I tend to go generous on the outer layer — I love a rose that looks like it's about to burst open.
Assembly is done. Now let's talk about the details that separate a good foam rose from a stunning one.
Real roses aren't one flat color. The inner petals are usually deeper and more saturated, while the outer petals are lighter and softer. You can mimic this with a dry-brush technique — load a little acrylic paint on a brush, wipe most of it off on a paper towel, then lightly sweep it across the petal edges.
For blush roses, I love starting with a white or cream foam base and adding the faintest wash of dusty pink at the tips. It reads as incredibly natural from even a few feet away.
If your rose is going to live outdoors or in a high-traffic area, a light coat of matte sealant spray will protect the paint and give the petals a more realistic, non-shiny finish. I spray from about 12 inches away in a sweeping motion — never holding the can in one spot.
For everything else you need to know about painting foam surfaces beautifully, check out my guide on painting on foam core — a lot of the same principles apply.
Adding Leaves and Sepals
A rose without leaves can look a little naked, especially if it's freestanding. Cut simple leaf shapes from green 2mm EVA foam, run them through a leaf mold if you have one, shape with heat, and glue them at the base of the bloom. Three to five leaves is usually plenty.
The difference between a craft project and a showpiece is usually just one more layer of petals than you thought you needed.
Where to Use Your Finished Foam Roses
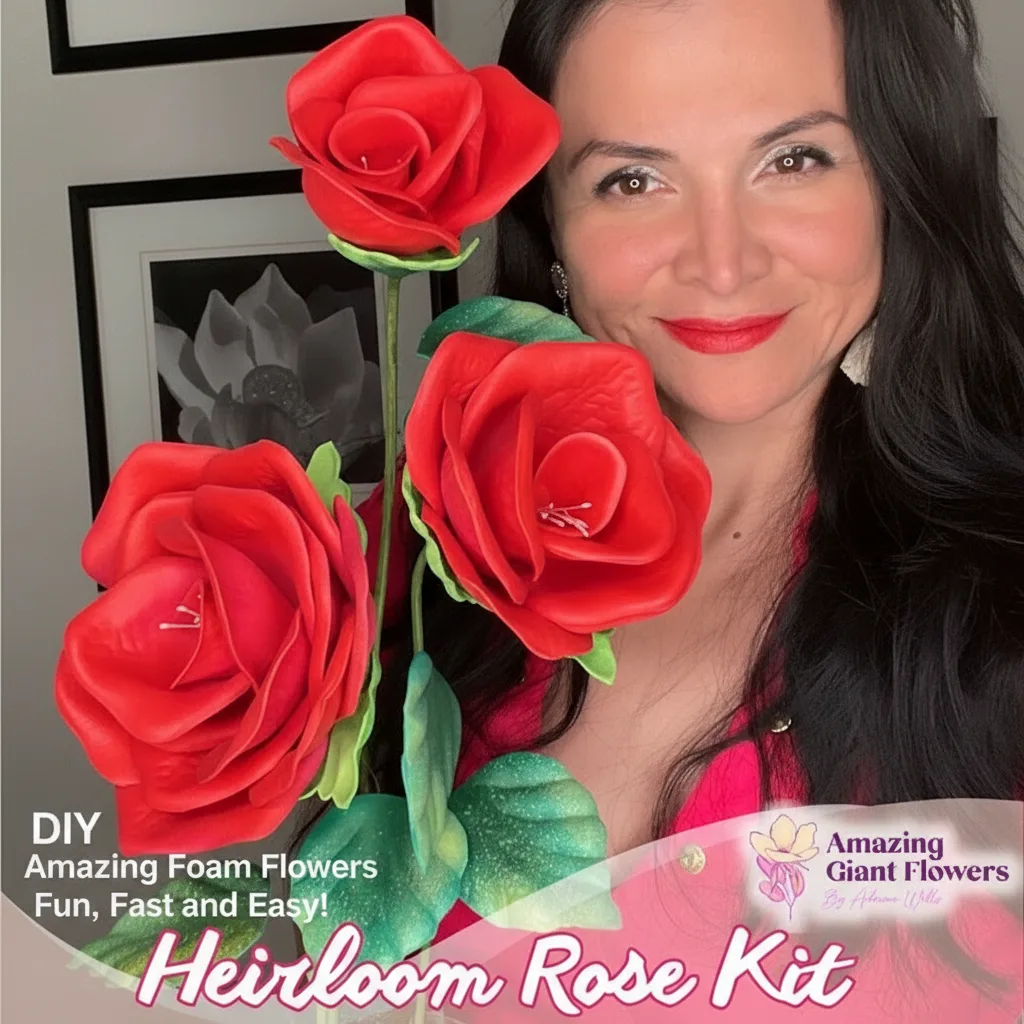
📺 Watch our step-by-step tutorial: How to Make a Giant Rose
Once you've made one, you're going to want to make twenty. Here are some of my favorite ways to use foam roses in decor projects:
- Backdrop panels: Cluster roses in varying sizes for a lush DIY flower backdrop that photographs beautifully.
- Wedding arches: Mix foam roses with other bloom styles for a dreamy foam flower wedding arch.
- Centerpieces: A cluster of three roses at different heights in a simple vase is genuinely stunning. More ideas in my post on giant flower centerpieces.
- Wall installations: Roses mounted directly on a wall or pegboard make incredible retail displays and event decor.
- Photo booth backdrops: Guests go absolutely wild for a rose wall at events.
If you want to explore starter kits that include pre-cut petals alongside the molds, our life-size foam flower kits are a great place to begin — especially if you want to practice before committing to cutting your own foam from scratch.
Frequently Asked Questions
What thickness of EVA foam is best for making a foam rose?
I recommend 2
Ready to Create Something Amazing?
Browse our collection of giant flower kits and start your next project today.