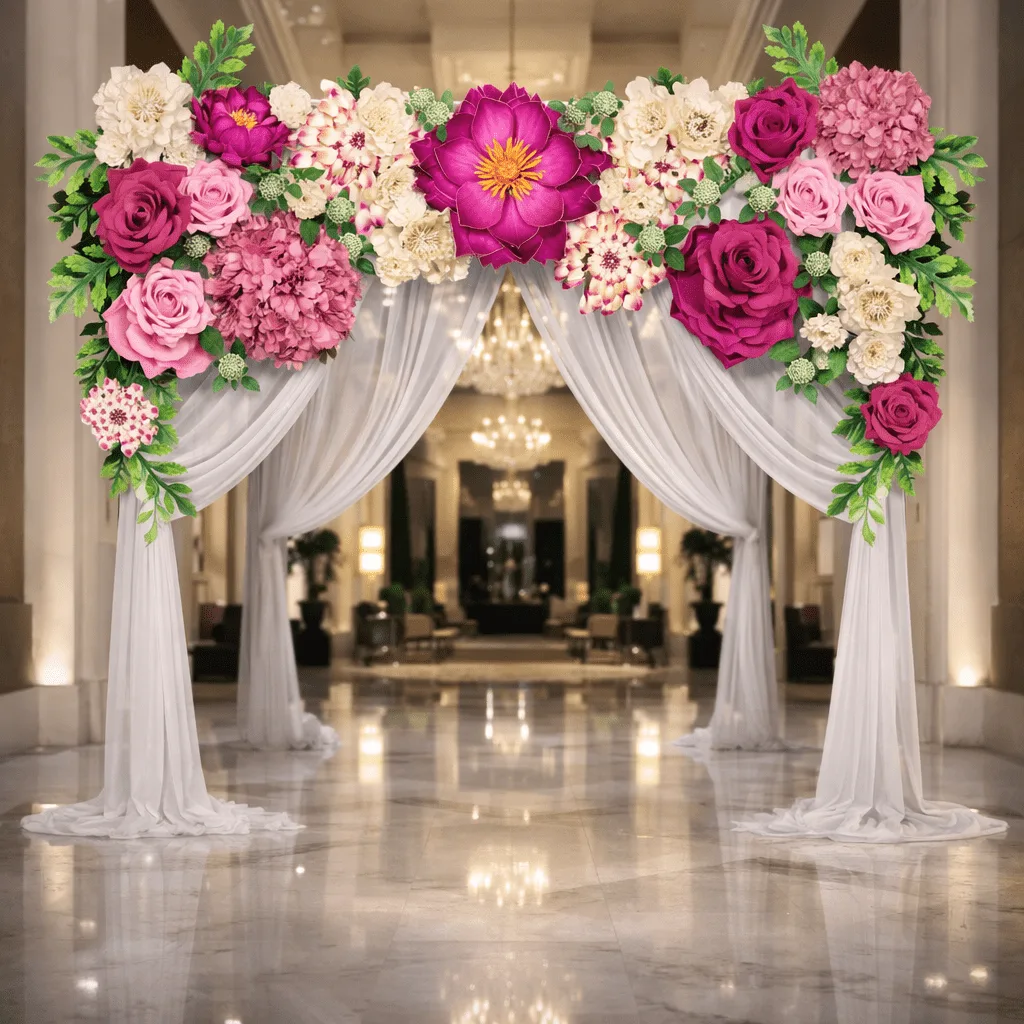
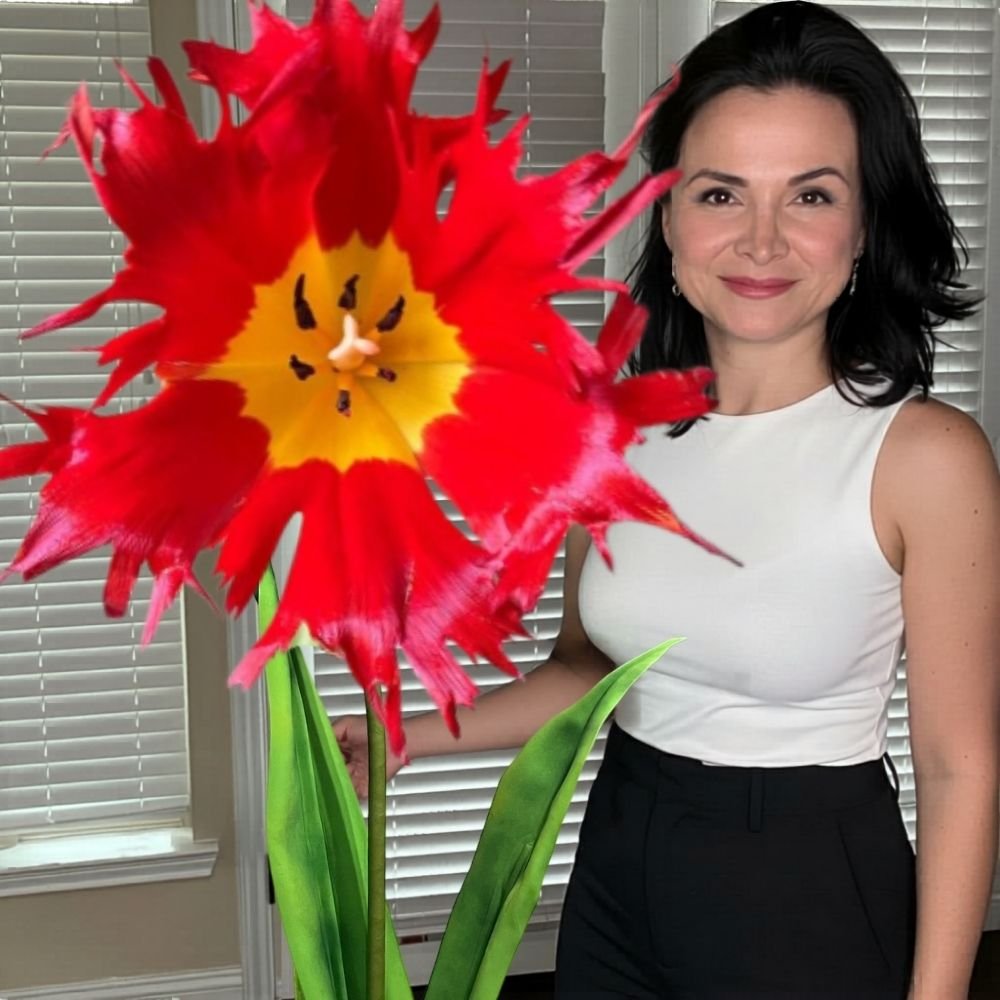
Matched-Set Molds for a Cohesive Bouquet

Key Takeaways
If you've ever spent hours making a bouquet only to hold it up and notice that every petal looks just slightly… off from the next one — you already know exactly why matched flower molds are a game changer. I've been there. Early on, I was cutting petals freehand, eyeballing shapes, and wondering why my finished bouquets looked homemade instead of high-end. The answer wasn't my skills. It was my tools.
When every single petal in a bouquet comes from the same mold — same curve, same vein pattern, same edge detail — the whole arrangement reads as intentional. Professional. Like something you'd see in a florist's window, not a craft table. That consistency is what makes people stop and ask, "Where did you get those flowers?"
Here's something I tell every new maker who comes through our community: the difference between a bouquet that looks "cute" and one that looks editorial is almost always consistency. Not color. Not flower choice. Consistency.
When petals vary even slightly in shape — one a little wider, one with a sharper tip — your eye picks it up immediately, even if your brain can't name what's wrong. It just feels… unfinished. And for bouquet makers who are selling their work, gifting it, or using it for weddings and events, that subconscious impression matters enormously.
A matched set isn't just about buying molds from the same brand. It means using molds that were designed together — where the petal curves, vein depths, and size progressions all relate to each other. Think of it like a font family. Individual letters look fine alone, but together, they create harmony.
Our flower molds are designed with exactly this in mind. Each set includes multiple petal sizes that work together, so your inner petals, mid-layer petals, and outer petals all feel like they belong to the same flower — and the same bouquet.
The Visual Impact on Finished Work
I've photographed hundreds of bouquets over the years, and the ones made with matched molds photograph completely differently. The light catches the veining uniformly. The petals layer with a rhythm that reads as natural. Clients notice — and so do photographers.
For anyone building a portfolio or selling their work online, that visual polish is not a nice-to-have. It is the product.
Let me walk you through exactly how these molds function, because I think once you see it, you'll wonder how you ever worked without them.
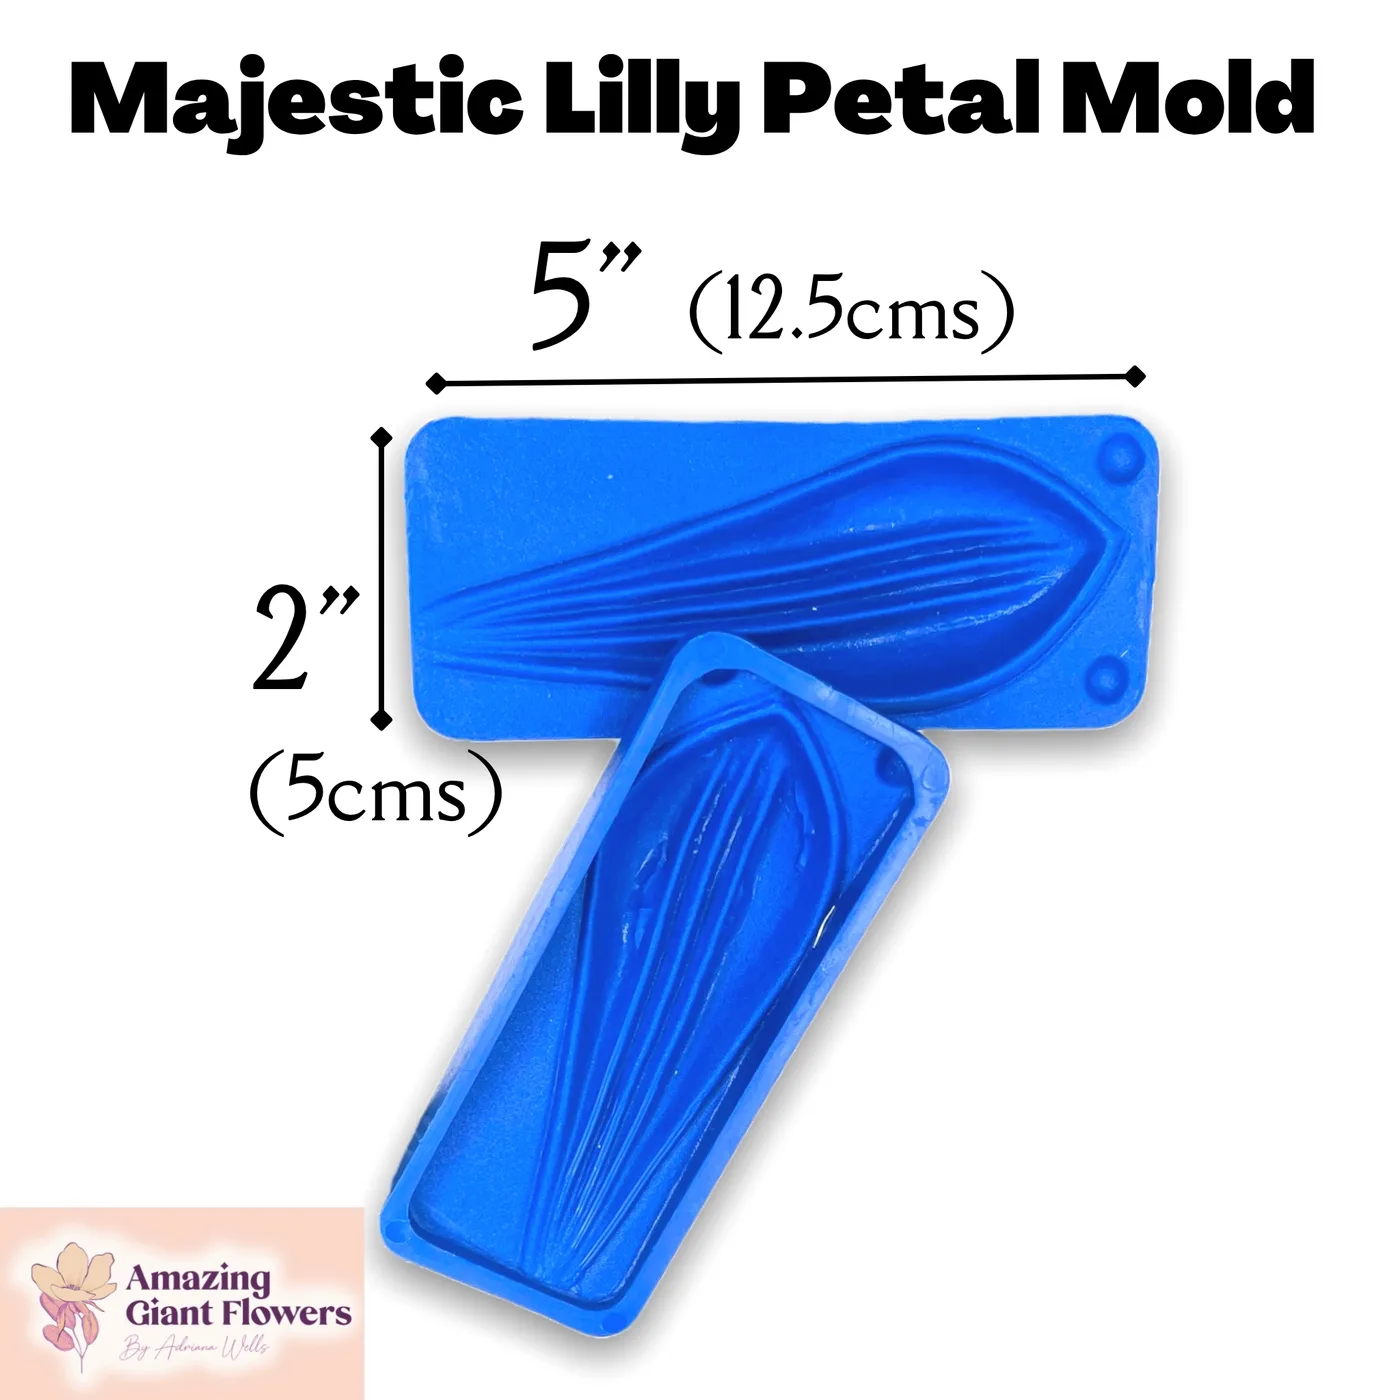
Our molds are double-sided. One side is designed for foam flower making — it gives you that pressed, shaped petal with realistic surface texture. Flip it over, and the other side is food-safe compatible, designed for sugar paste, gumpaste, or fondant work.
So if you're a bouquet maker who also does cake decorating — or if you want to offer matching cake toppers alongside your foam bouquets — you're working with one tool for both. That's not just convenient. That's a business advantage.
What the Mold Actually Does to Your Foam
What makes a foam flower look realistic isn't the shape alone. It's the surface texture. The veining. The subtle edge curl that makes a petal look like it grew rather than got cut. Our molds press all of that into every single petal, automatically, every time you use them.
No painting. No carving. No hand-texturing. Just press, release, and shape with your heat gun. If you haven't tried heat gun shaping yet, check out our guide on heat gun techniques for shaping foam flower petals — it's a total workflow upgrade.
Not all foam behaves the same way under a mold. Here's what I've found works best after years of testing:
Not sure which foam type is right for your flowers? Our guide to every type of foam for giant flowers breaks it all down — EVA, craft foam, foamiran — so you can make a confident choice. Browse our EVA foam collection to find the right thickness for your project.
Let me share how I actually approach a bouquet project when I want that high-end, cohesive look. This is the process I've refined over years of making flowers for weddings, events, and photo shoots.
Before you cut a single piece of foam, decide which flower types will be in your bouquet. A classic bridal bouquet might include roses, ranunculus, and a few accent blooms. The key is to select molds from a coordinated set so the overall petal aesthetic stays consistent — similar vein styles, similar edge profiles.
Mixing molds from completely different design sensibilities (one very realistic, one very stylized) is what creates that visual friction you want to avoid. When your molds share a design language, the finished bouquet reads as a single, intentional creation.
I usually paint my foam sheets before molding so the color is already sitting in the creases of the veins once I press. It looks incredibly realistic and saves you a separate painting step later. Decide on your color approach before you cut — and stay consistent across the entire bouquet.
For bouquet flowers, I almost always reach for 2mm EVA foam for inner petals and 3mm for outer layers. The thinner foam takes the mold impression more crisply and curls beautifully with heat.
Step 3 — Batch Press for Uniformity
This is the step most people skip, and it's the one that makes the biggest difference. Press all petals for all your flowers before you start assembling anything. When you do it this way, you'll immediately notice if one batch looks slightly different — and you can adjust before it's built into a finished bloom.
Lay your pressed petals out by size and flower type. It sounds like extra work. It saves you so much heartache later.
💡 Pro Tip
For bouquet work, I recommend pressing all your petals for an entire bouquet before you start assembling. Batch your mold work first, then batch your heat shaping, then assemble. It keeps your workflow fast and your results consistent across every bloom.
Once all your petals are pressed, work through your heat shaping in batches too. Cup all the small inner petals at once. Curl all the large outer petals at once. This keeps your hand pressure and heat distance consistent — which means every petal in the bouquet will have the same degree of curl and dimension.
A few seconds with a heat gun before pressing the mold also gives you a crisper impression and cleaner vein detail. Warm the foam slightly, press firmly and evenly, then release. That's the whole technique.
Matched Molds vs. Freehand Cutting: An Honest Comparison
I know some makers swear by freehand cutting. And honestly? For certain artistic styles, it works beautifully. But for bouquet work where uniformity is the goal, let's look at this side by side.
Real talk? Freehand cutting has its place in loose, organic, artistic work. But if you're making a wedding bouquet, a bridal party set, or any order where multiple matching pieces are expected — matched molds are the only way to guarantee that professional result.
Here's where matched flower molds become an absolute necessity: when you need to make multiple bouquets that look like a set. Bridesmaids' bouquets. Flower girl baskets. Boutonnieres. If even one of those looks slightly different from the others, it shows in every photo.
With molds, you can make 50 identical roses and know — without checking each one — that they all match. That's the kind of confidence that lets you take on bigger orders and charge appropriately for them.
One of my brides told me — after her wedding — that her guests kept asking if her bouquet was real. She had a full foam rose and ranunculus bouquet, made entirely with our molds, in the most perfect blush and ivory. She said she almost didn't want to put it down at the reception because it looked so good in photos. That story never gets old to me.
If you're planning a full floral wedding setup, you might also love our post on giant foam flowers for wedding arches — because coordinating your bouquets with your arch décor creates a truly cohesive event aesthetic.
Styled shoots, brand activations, photo booths, quinceañeras — these are all events where the bouquet is part of a larger visual story. When your flowers are made with matched flower molds, every element in the frame looks intentional and designed. That's the difference between a beautiful photo and a portfolio-worthy one.
For brand activations especially, clients are paying for a look that photographs consistently across dozens of images. Matched molds make that repeatable without extra effort on your part.
Cake Topper and Sugar Flower Coordination
Because our molds are double-sided with a food-safe compatible reverse, you can create foam bouquets and matching sugar flower cake toppers using the exact same mold. The flowers share the same vein pattern and petal profile — which means a wedding cake and a bridal bouquet can look like they were made by the same hand. Because they were, with the same tool.
🌸 Ready to build your matched set?
Browse our full flower molds collection and find the perfect combination for your next bouquet project.
I've used these molds hundreds — probably thousands — of times at this point. Here's what I've learned that doesn't always make it into the instruction sheet.
💡 Pro Tip
When making a bouquet with multiple flower types, use a single mold family's vein style as your anchor. If your roses have a fine, delicate vein pattern, choose ranunculus and peony molds with a similar delicacy. Mixing bold veining with fine veining in the same bouquet creates visual noise — even if you can't quite pinpoint why it feels off.
Yes! Our molds are double-sided — one side optimized for foam, the other food-safe compatible for sugar paste, gumpaste, and fondant. So if you're a bouquet maker who also creates sugar flower arrangements or cake toppers, you can use the same mold set for both.
Just make sure you're using the correct side and cleaning properly between uses. It's a genuinely useful crossover for makers who work in both mediums.
How many times can I use a single mold before it wears out?
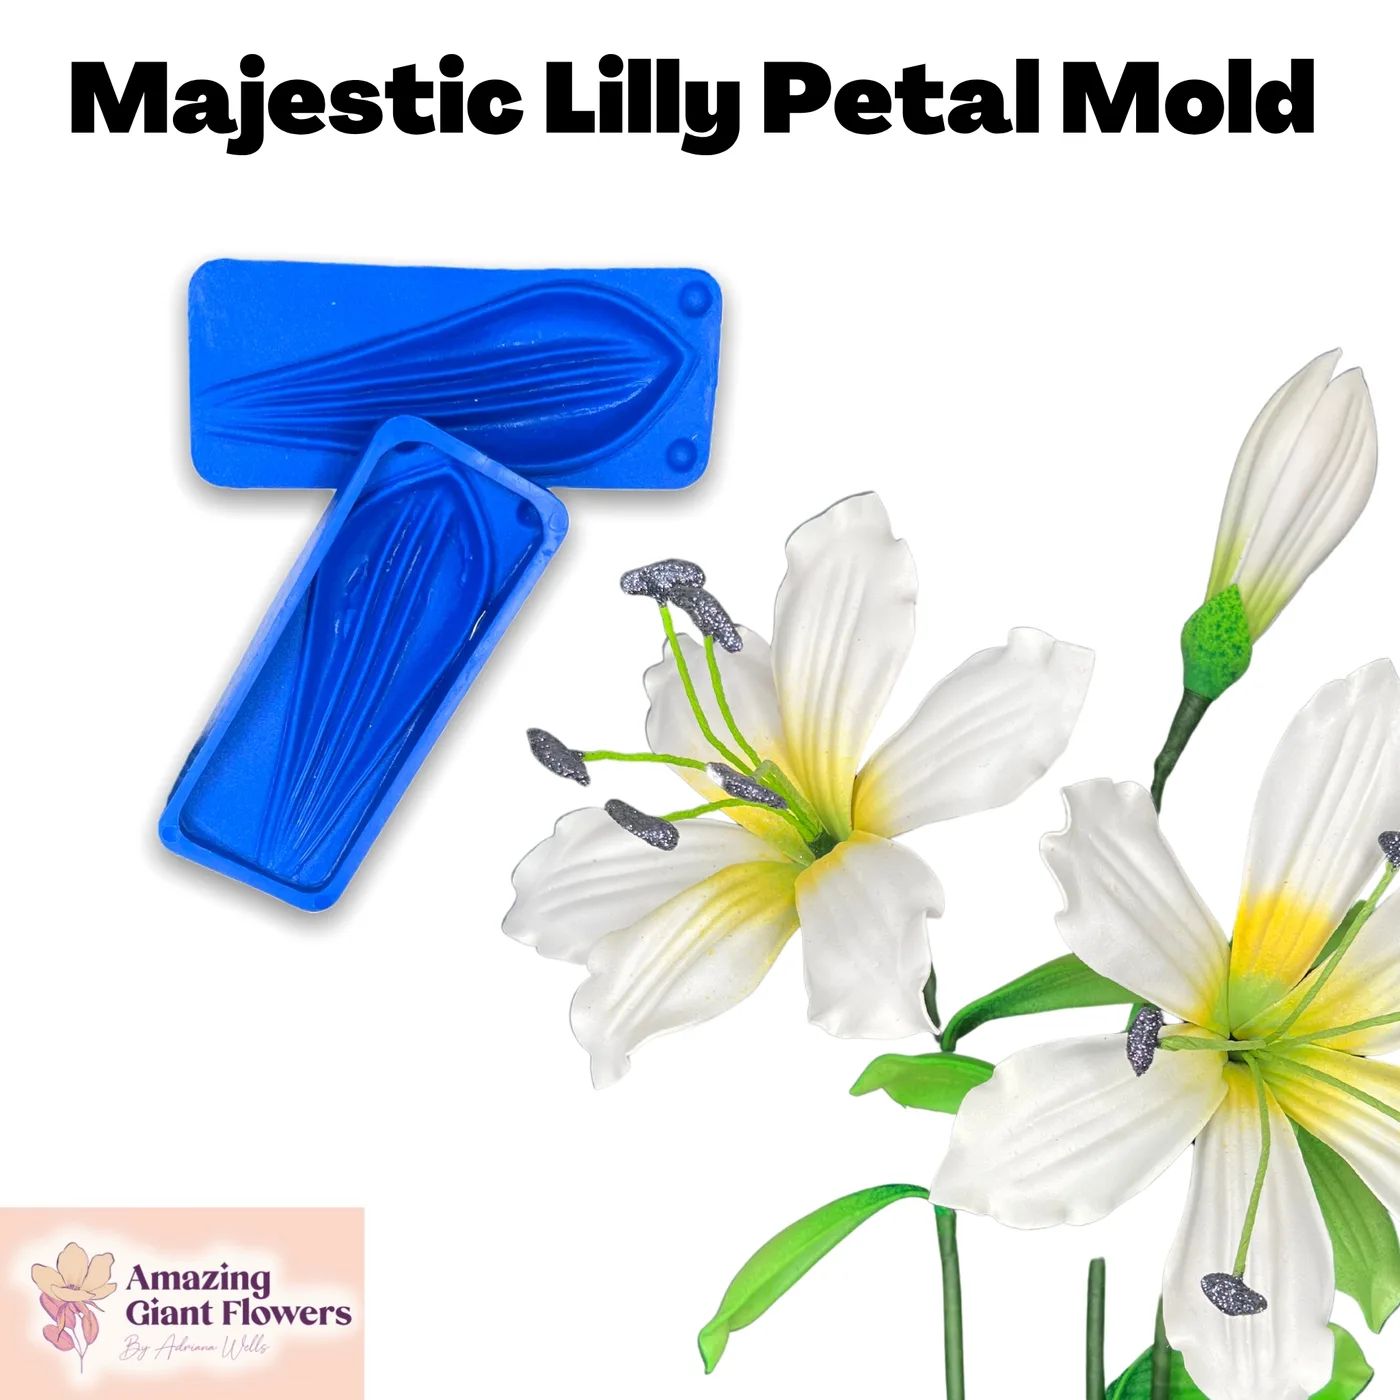
Honestly? Hundreds of times with normal use. The key is treating them right — storing them flat, not exposing them to extreme heat when not in use, and cleaning them gently between sessions.
I have molds that I've been using for years and they still produce crisp, clean impressions every single time. Think of them as a long-term tool investment, not a consumable.
2mm EVA foam is my go-to for inner petals and smaller accent flowers — it takes the mold impression beautifully and curls easily with heat. For larger outer petals and statement blooms, 3mm EVA foam gives you a little more structure and body.
Check out our EVA foam collection for options in both thicknesses, and our full foam guide if you want to explore foamiran and craft foam options too.
Absolutely — that's actually one of the biggest benefits. Because the mold does the shaping and texturing work for you, beginners get professional-looking results much faster than with freehand methods. The learning curve is minimal.
If you can press down firmly and evenly, you can use these molds. I genuinely believe matched flower molds are one of the best starting points for any new foam flower maker, because they build confidence quickly and produce results you're actually proud of.
Do I need special equipment beyond the molds?
For foam flower bouquets, the main tools you'll want are a heat gun (for shaping petals after molding), a cutting mat, and a good pair of scissors or a craft knife. That's really it. No special presses, no expensive machines.
The mold does the heavy lifting, and the heat gun gives you the final natural curl and dimension. It's a genuinely accessible setup — you don't need a dedicated studio or a big equipment budget to get started.
How do I choose which mold set to start with?
Start with the flower you love most or the one you get asked for most often. For most bouquet makers, that's roses — and our rose mold sets are a great anchor because roses pair beautifully with almost every other bloom. Once you have a rose set you love, build outward from there.
Browse our full flower molds collection and look for sets within the same design family. If you're not sure, reach out — I'm always happy to help you build a mold collection that makes sense for the bouquets you want to create.
If there's one investment I'd recommend to every bouquet maker who wants to level up their work — it's a quality set of matched flower molds. Not because it makes the process easier (though it does). But because it guarantees that the vision you have in your head actually shows up in the finished bouquet. Every petal. Every bloom. Every time.
Ready to Create Something Amazing?
Browse our collection of giant flower kits and start your next project today.