Molds for Foam Flower Petals: How to Choose the Right Shape
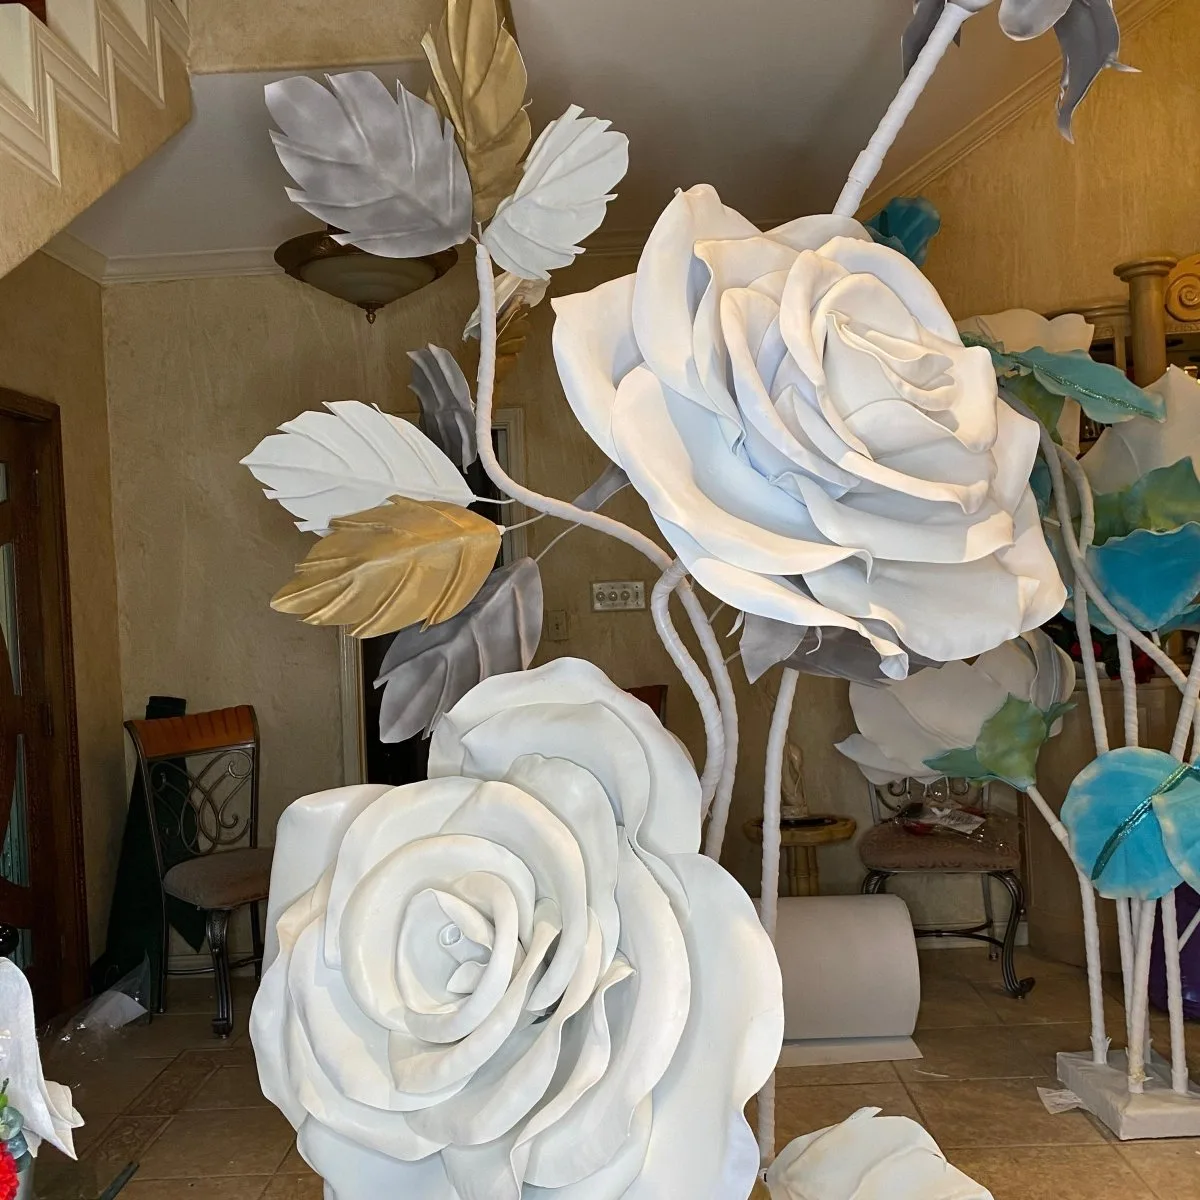
If you've ever tried to make a foam flower that actually looks real — like, pick-it-up-and-do-a-double-take real — you already know that the secret isn't just the foam or the paint. It's the texture. And that's exactly where molds for foam flower petals come in. The right mold transforms a flat, smooth piece of EVA foam into something that has veins, curves, depth, and that unmistakable organic feel of a living petal.

I started Amazing Giant Flowers here in Houston, TX, and I'll be honest — when I first began experimenting with foam flowers, I underestimated how much the mold mattered. I thought shaping was everything. Nope. Texture is the thing that makes someone reach out and touch your flower to check if it's real. That moment? That's what we're going for.
So whether you're just getting started or you've got a whole craft room full of supplies and you're ready to level up, this guide is going to walk you through exactly how to choose the right mold shape for your petals and leaves — and why it makes all the difference.
Key Takeaways
Ok, so first things first. When I say "flower mold," I am not talking about silicone molds. Our molds are a completely different tool. They're double-sided, which means they press texture into both the front and back of your petal or leaf simultaneously — just like a real flower petal has texture on both sides.
Silicone molds are great for casting resin or chocolate. But for foam? You need something that works with the heat-shaping process. These molds are designed to be used with your hair styler or heat gun, so the foam softens, takes the impression, and then holds that shape as it cools. The result is a petal with real veining, real depth, and real dimension.
Dual-purpose magic: foam AND sugar art
Here's something that surprises a lot of people. These same molds work for sugar and gumpaste flowers too. So if you're a cake decorator, you're not buying a separate tool — you're getting one mold that does double duty. I love that. It's just smart design.
Here's the thing most people don't realize when they start making foam flowers: not all petals are shaped the same. A rose petal has soft, rounded veins that radiate outward. A lily petal has strong, parallel lines running from base to tip. An orchid? Totally different — it has this almost waxy, smooth center with delicate veining near the edges.
When you use a mold that's designed for the specific flower you're making, your brain registers it as real even before you consciously notice the detail. That's the power of matching your mold to your flower.
I cannot stress this enough — leaves make or break a foam flower arrangement. A gorgeous rose surrounded by flat, smooth foam leaves looks fake. The same rose with deeply veined, textured leaves? Suddenly it looks like it came from a garden. Don't skip the leaf molds. They are worth every penny.
Before you buy any mold, do this one thing: Google the actual flower and zoom in on the petal. Look at the veins. Are they branching out from a central midrib like a leaf? Are they parallel? Are they subtle or bold? That tells you exactly what kind of mold impression you need.
For example, our Real Touch Lily Kit comes with a mold that captures those long, sweeping parallel veins that oriental lilies are known for. Use that mold on a rose petal and it'll look off. Use it on a lily petal and it looks like you cut it straight from a stem.
Mold size matters too. If your petal is larger than the mold's impression area, you'll end up with textured sections and smooth sections — and that patchwork look gives it away immediately. You want the mold to cover the full working surface of the petal.
For larger petals, you may need to work in sections, overlapping slightly and blending the impressions. It takes a little practice, but once you get the feel for it, it goes fast.
💡 Pro Tip
Always test your mold on a scrap piece of EVA foam first. Different foam thicknesses take the impression differently — thinner foam shows more detail, thicker foam gives you more structure. Find your sweet spot before you press your cut petals.
Here's where a lot of beginners go wrong. They try to press the mold into cold foam. It doesn't work — you'll get a faint impression at best, and you might crack or crease the foam at worst. The foam needs to be warm and pliable before it goes into the mold.
Use a hair styler or heat gun to warm the foam petal for just a few seconds. You'll feel it go soft and flexible in your hands. Then press it firmly into the mold, hold for a few seconds, and release. As the foam cools, it locks in that texture permanently. It's genuinely satisfying — like pressing a leaf into clay, but better because it actually holds.
Once your petal has the mold impression, you can go back in with your hair styler to add cup, curl, or ruffled edges. The mold gives you the surface texture; the heat shaping gives you the three-dimensional form. Together, they're what creates that "real touch" quality that makes people do a double take.
If you want to see this process in action, check out our post on Heat Gun Techniques: Shaping Foam Flower Petals Like a Pro — it walks through the whole thing step by step.
Which Flower Molds Are Right for Which Projects?
Roses, anemones, orchids — matching mold to bloom
Let me walk you through some of my favorite kits and the molds that come with them, because I think it's easier to understand mold selection when you see it in context of a real flower.
🌸 Ready to find your perfect mold?
Browse our full flower molds collection — starting from $12.49 — and find the shape that matches your next project.
If you're curious about how foam compares to paper flowers more broadly, I wrote a whole breakdown over here: Foam Flowers vs Paper Flowers: Which Is Better for Events?
You don't need to buy every mold at once. Start with the flower you love most or the project you're working on right now. As you grow your skills, add molds that expand your range. A rose mold, a leaf mold, and one tropical flower mold will take you incredibly far as a starting collection.
These molds are reusable — that's one of the things I love most about them. Store them flat, away from direct heat when not in use. Don't leave them sitting on your work surface while you have your heat gun going nearby. A little common sense goes a long way and they'll last you through project after project.
💡 Pro Tip
After pressing your mold, try dusting the petal with chalk pastels or petal dust before the foam fully cools. The texture from the mold gives the color something to grip, and you'll get a beautifully natural-looking gradient — especially gorgeous on roses and lilies.
Did you know that the US florist industry is worth about $7.9 billion (2026) but has been declining about 1% a year since 2021 — largely because DIY floral trends are growing? People are making their own flowers. And they're doing it better than ever.
And consider this: the national average cost of wedding flowers is $2,800 for couples married in 2025, with upper-quartile spenders hitting $4,800. That's a significant investment for something that wilts in a week. Foam flowers with proper mold texturing? They last forever — and honestly, they photograph beautifully.

It also helps that crafting is genuinely popular: 63% of US households took part in at least one creative or craft activity in a year, and the creative products industry was valued at $43 billion. This isn't a niche hobby. This is a massive, thriving community — and foam flower making with quality molds is one of the most rewarding corners of it.
If you're thinking about using your foam flowers for events or wedding decor, you might love this post: Giant Flower Wedding Arch: A Complete Guide for 2026.
Frequently Asked Questions
Can I use these molds on any thickness of EVA foam?
Yes, but the results will vary. Thinner EVA foam (around 1–2mm) picks up the most detail and is great for delicate petals like anemones or bougainvillea. Thicker foam (2–4mm) gives you more structure and is better for larger, sturdier petals like roses or lilies. I always recommend testing on a scrap piece first so you know what to expect before pressing your cut petals. You can browse our EVA foam options starting from $9.99.
Why can't I use a hair dryer or straightener to heat my foam?
A hair dryer doesn't get hot enough to properly soften EVA foam — you'll end up frustrated and your foam won't take the mold impression well. A straightener (flat iron) applies direct plate heat in a flat, linear way that can scorch or crease your foam rather than warming it evenly. A hair styler or heat gun gives you controlled, even heat that warms the foam all the way through so it's pliable and ready to press. It's a game changer once you use the right tool.
Do the molds work for cake decorating and sugar flowers too?
They do! Our molds are double-sided and designed to work with both foam and sugar/gumpaste. If you're a cake decorator, you press your softened gumpaste into the mold the same way — it picks up all that beautiful vein detail and sets as it dries. It's one of the reasons I love these molds so much: they truly serve two completely different creative communities with one tool.
How do I know which mold to buy if I'm a complete beginner?
Start with a kit that already includes the mold — like our Bougainvillea Kit at $34.99 or the Hibiscus Kit at $39.99. Kits give you the pre-cut petals, the mold, and the leaves all together, so you're learning the mold technique without having to figure out cutting and sizing at the same time. Once you've got the feel for it, buying individual molds from our flower molds collection makes a lot more sense.
Can I use one mold for multiple flower types?
Sometimes, yes — especially leaf molds, which can work across many flower types since leaf vein structures are often similar. Petal molds are more specific though. A rose petal mold on a lily petal will look off because the vein pattern doesn't match the natural structure of a lily. For the most realistic results, match your mold to your flower. That said, experimenting is half the fun — sometimes a "wrong" mold combination creates something beautifully unexpected.
If there's one thing I want you to take away from all of this, it's that the right mold is the difference between a foam flower that looks handmade and one that looks real. It's not a complicated tool. It's not expensive. But the impact it has on your finished flower is enormous — and once you feel that warm foam release from the mold with perfect veining pressed into every millimeter of it, you'll wonder how you ever made flowers without one.
Head over to our flower molds collection and take a look at what's there. They start from $12.49, they're reusable, and they work for both foam and sugar art. Whether you're making one bouquet or stocking a whole craft room, there's a mold in there with your name on it. I can't wait to see what you create.
Shop the supplies
Everything You Need for This Project
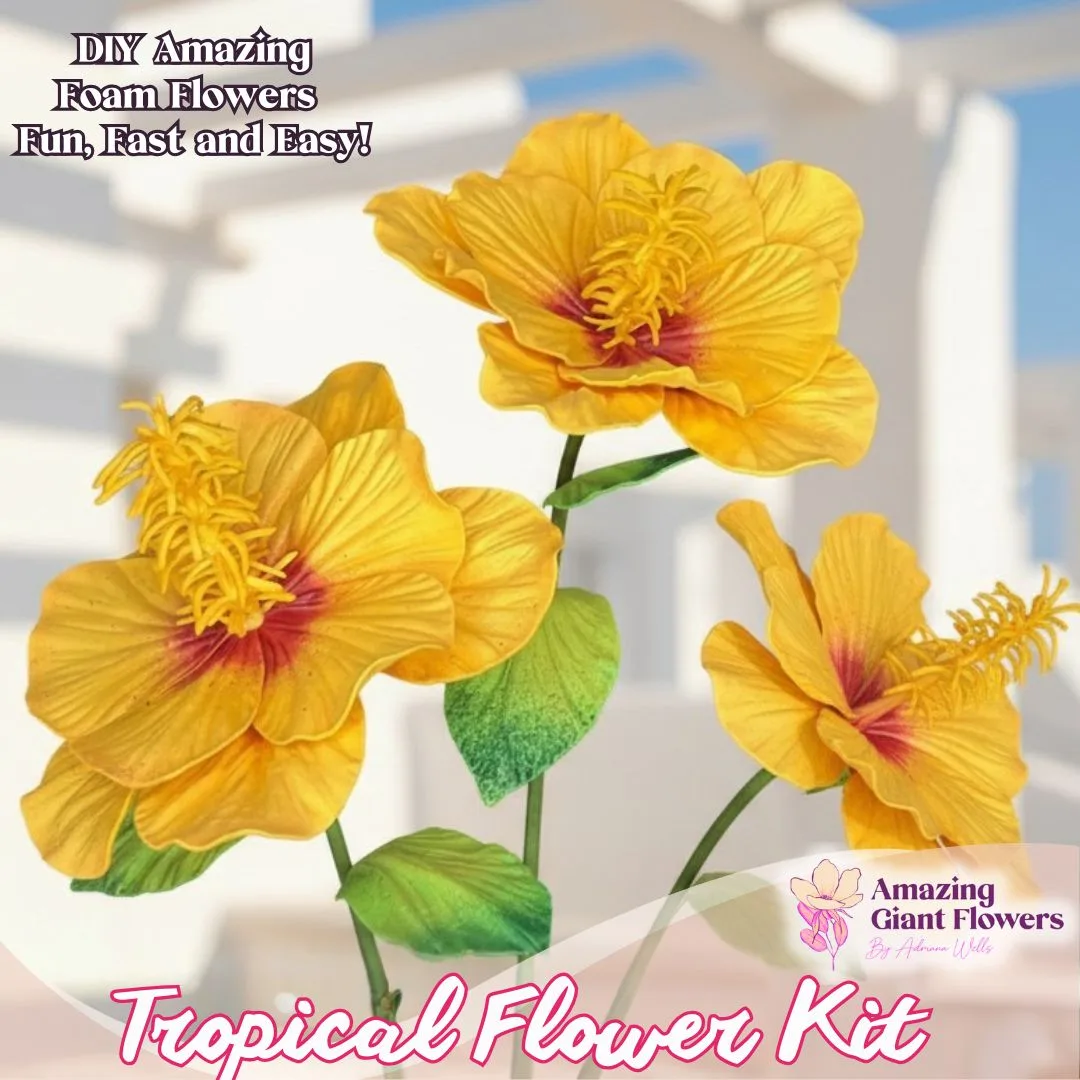
Real Touch Tropical Flower Foam Kit — Large DIY Hibiscus Blooms with Reusable Double-Sided Mold, Pre-Cut Petals, Bud & Leaves
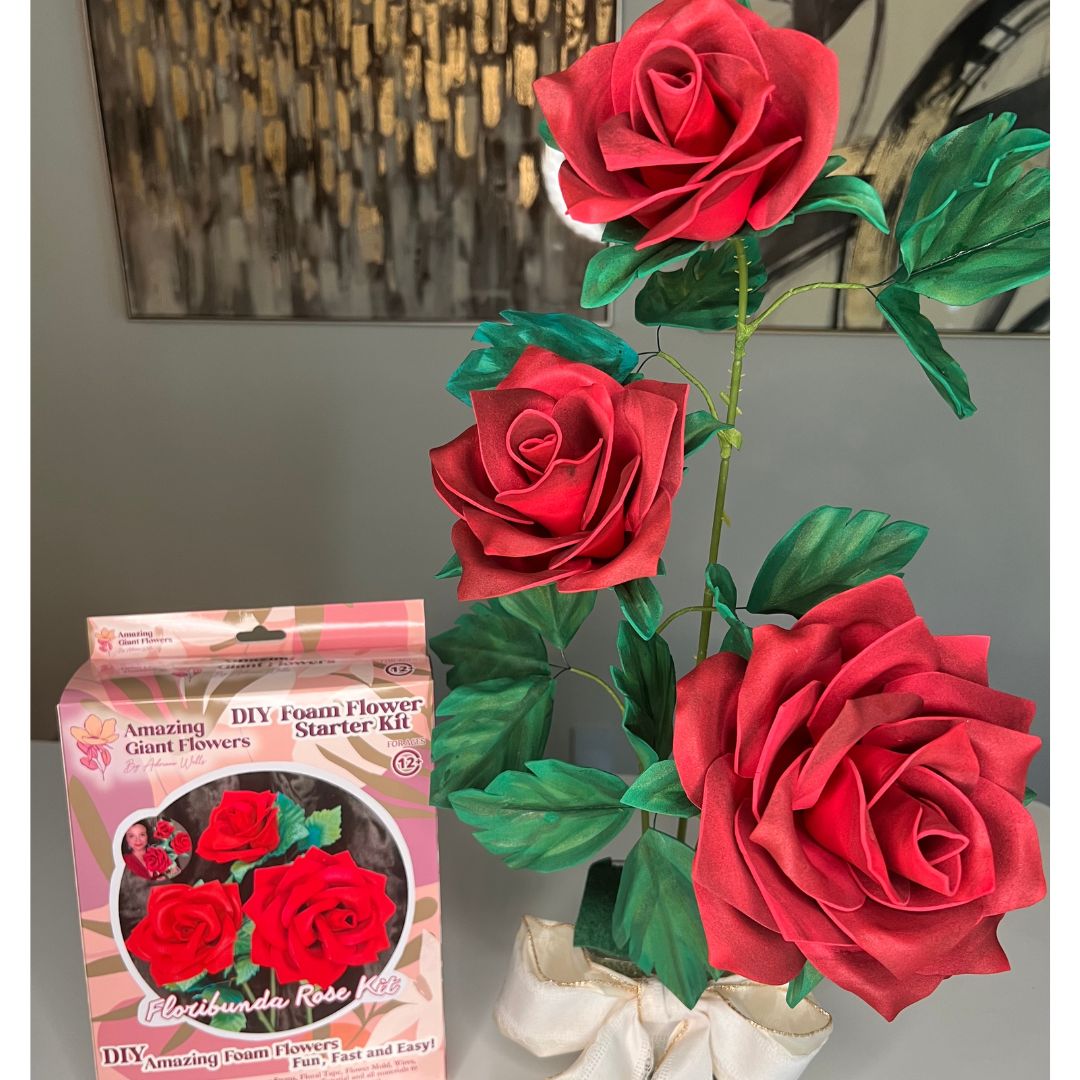
Real Touch Rose Foam Flower Kit — Realistic DIY Roses with 6" Double-Sided Mold & Pre-Cut Petals
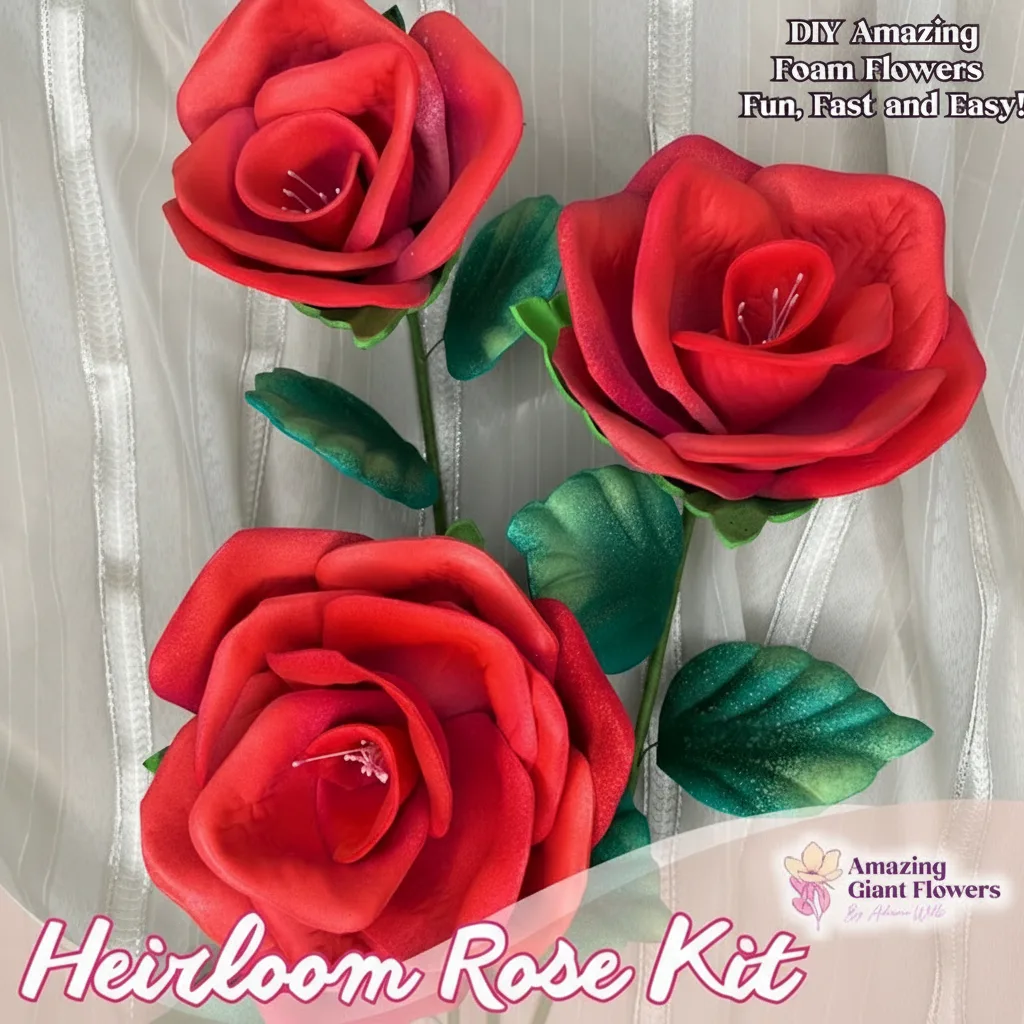
Real Touch Heirloom Rose Foam Flower Kit — 3 DIY Roses (6", 5" & 4") with 2 Reusable Molds, Pre-Cut Petals & Leaves
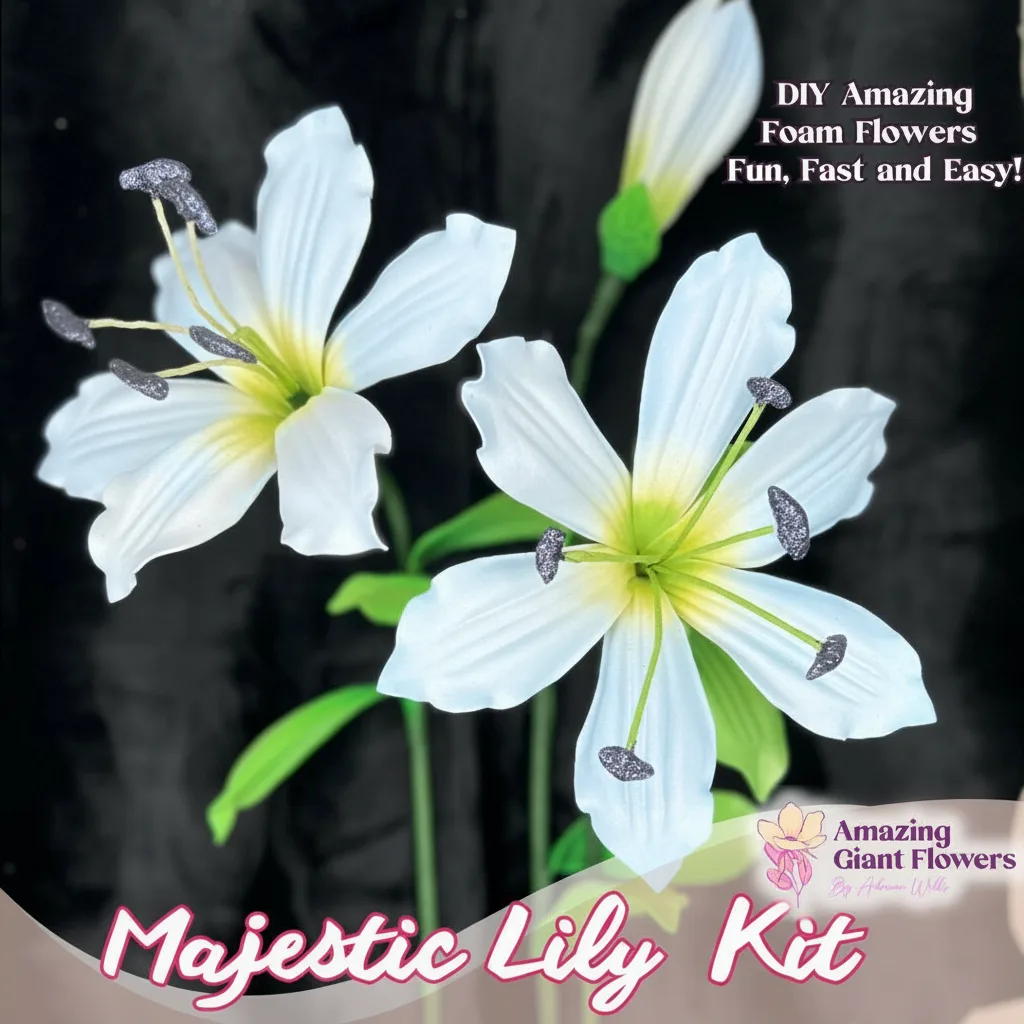
Real Touch Lily Foam Flower Kit — Realistic DIY Oriental Lilies with Reusable Mold & Pre-Cut Petals

Written by
Adriana WellsFounder & CEO of Amazing Giant Flowers
Adriana Wells is the founder and creative force behind Amazing Giant Flowers, a Texas-based company specializing in handcrafted giant foam flowers, luxury floral installations, and DIY flower-making supplies.
More about Adriana →Ready to Create Something Amazing?
Browse our collection of giant flower kits and start your next project today.