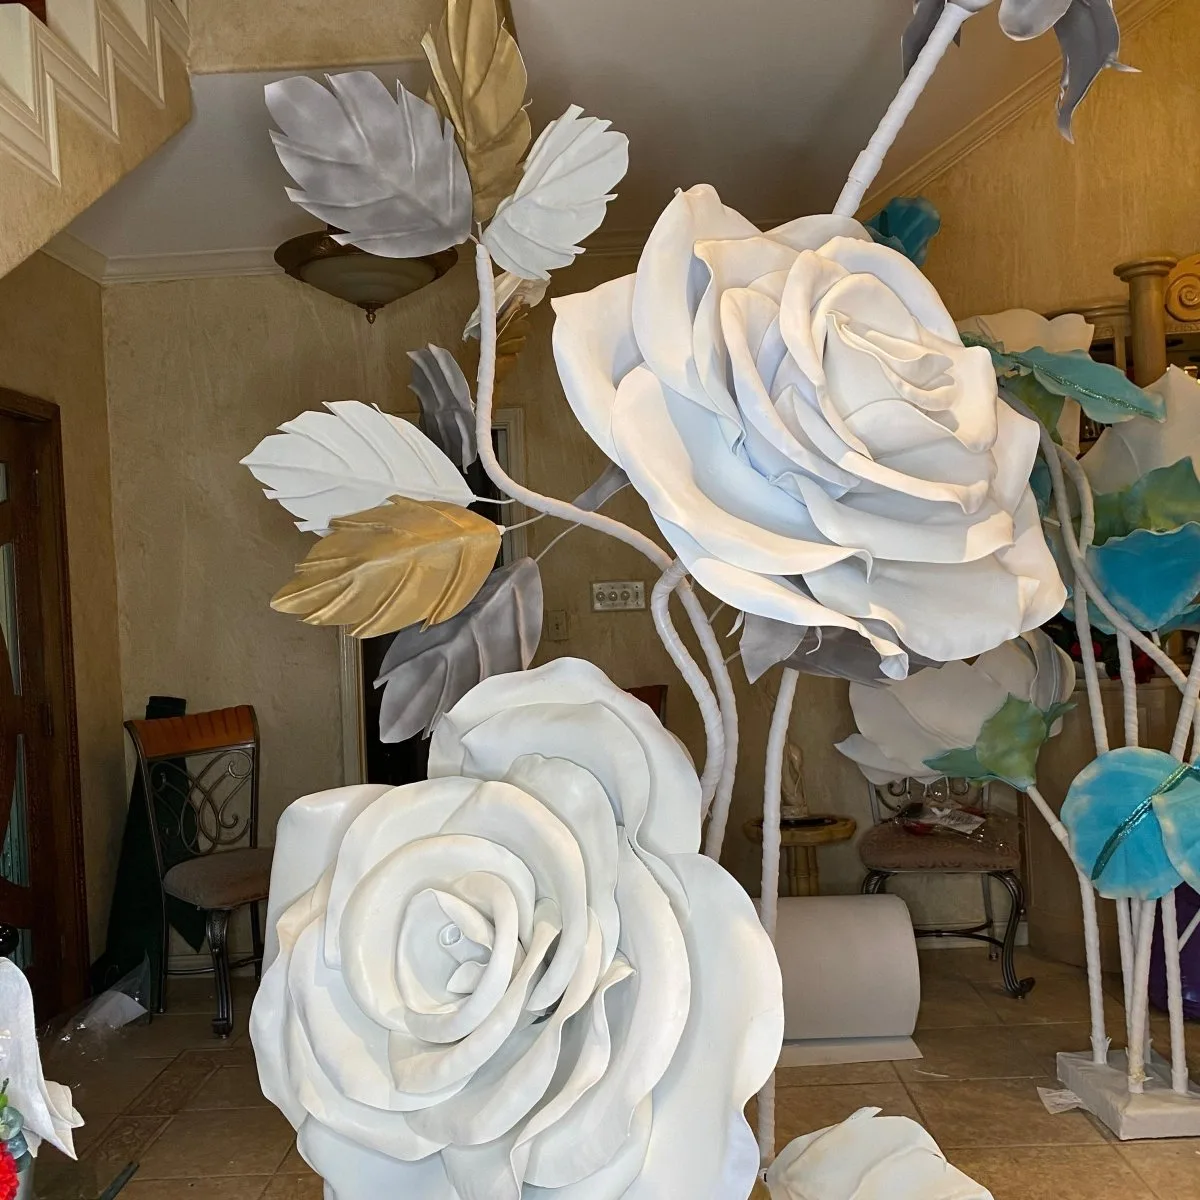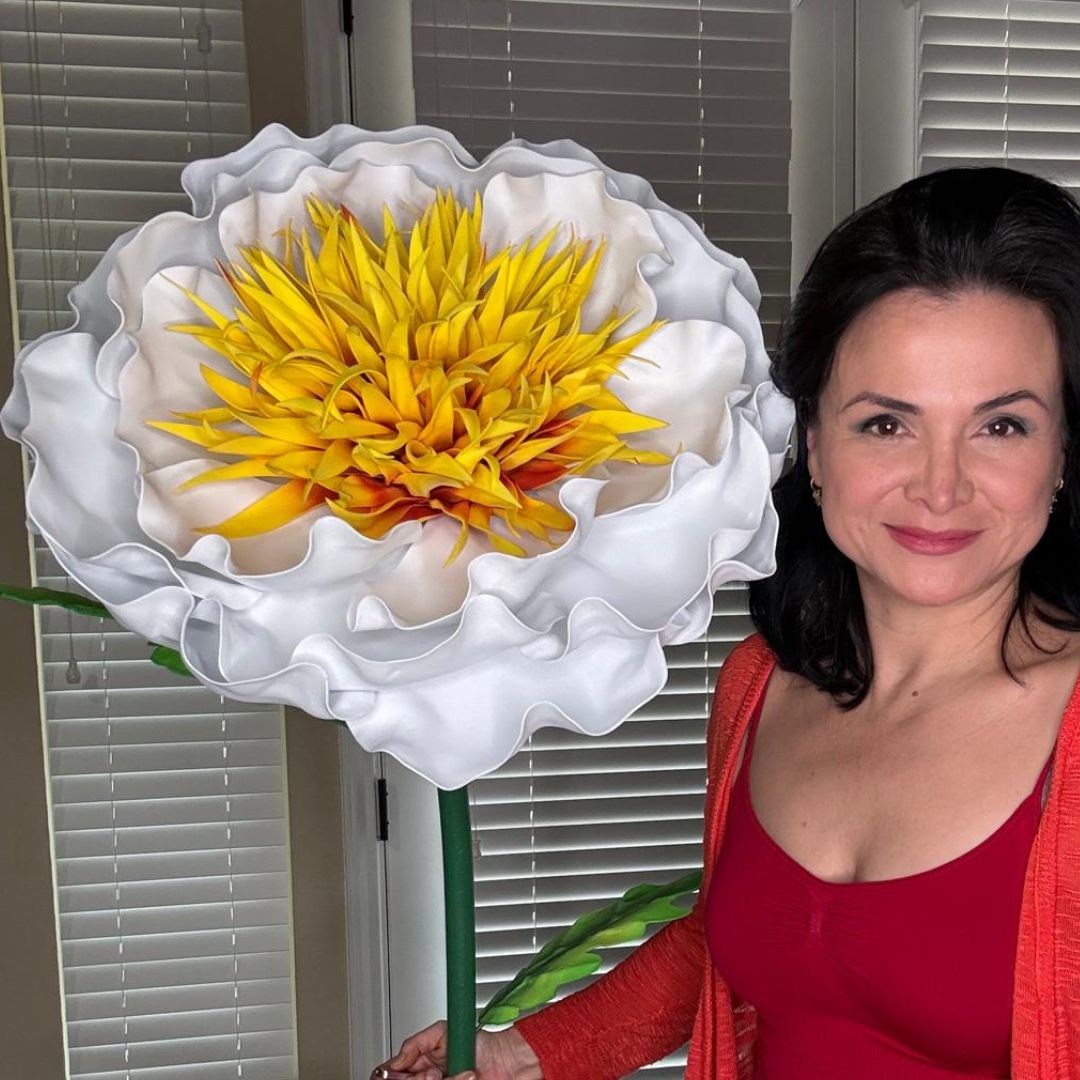
How to Make Real-Touch Foam Flower Centerpieces for Everyday Home Decor
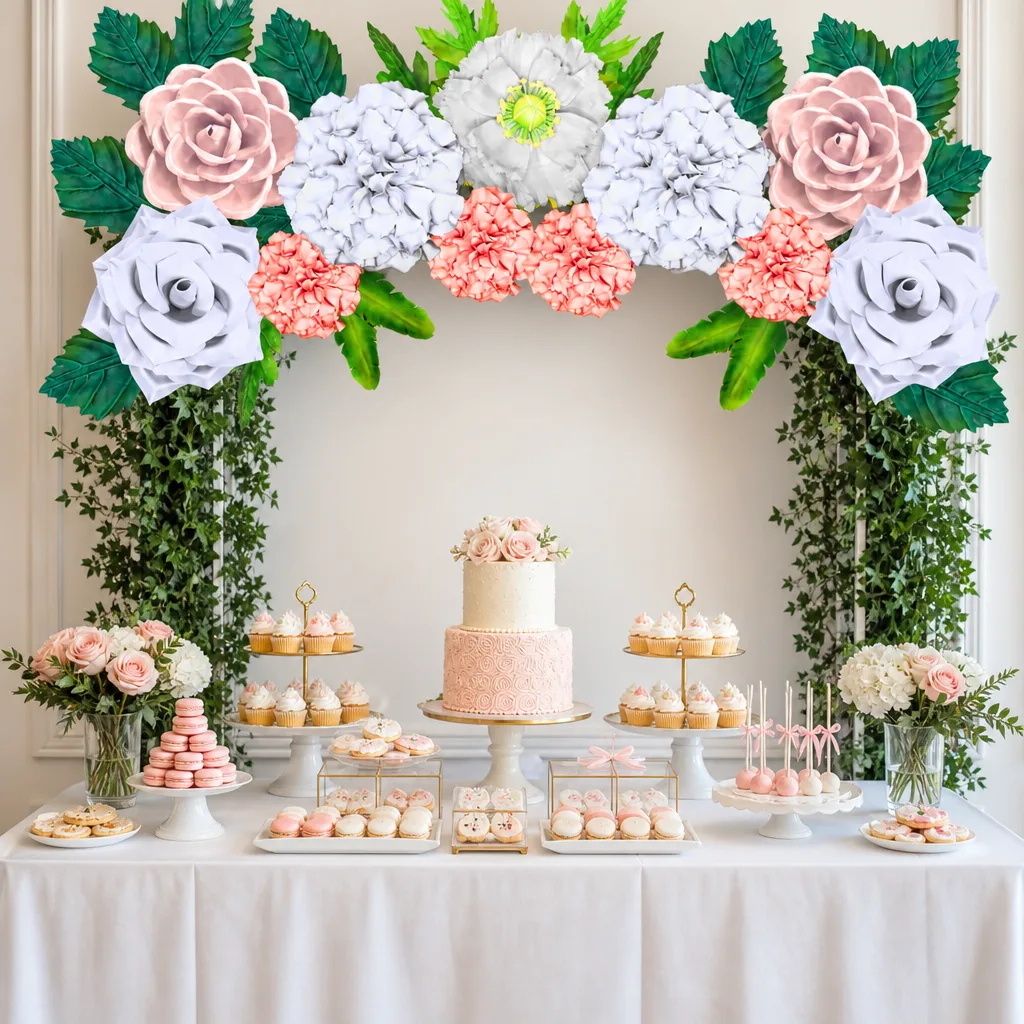
Key Takeaways
- EVA foam is the secret to achieving a real-touch texture that mimics fresh petals — it's flexible, paintable, and incredibly durable.
- The right heat-shaping technique is what separates a flat, fake-looking flower from one that looks freshly picked.
- A single centerpiece using 3-5 foam flowers costs roughly $30-$60 in materials and lasts for years — compared to $80-$150 for fresh arrangements every few weeks.
- Layering paint colors and adding subtle vein details is the #1 trick for achieving that lifelike, real-touch quality.
- You don't need a Cricut or any fancy equipment — a heat gun, foam sheets, and a little patience are all it takes.
Why EVA Foam Is the Best Material for Real-Touch Centerpieces
Here's what makes EVA foam so special for home decor centerpieces:
- Heat Responsiveness: When you apply a heat gun, EVA foam softens and curves beautifully — just like a real petal curling at the edges. It holds that shape permanently once it cools.
- Paint Adhesion: Unlike regular craft foam, EVA accepts acrylic paint with no cracking or peeling, especially when you use a flexible medium.
- Texture Variety: You can score, stamp, or press EVA foam to add vein details that make petals look genuinely botanical.
- Durability: A finished EVA foam flower will last 5-10 years with basic care — no wilting, no browning, no mess.
- Lightweight: Even a large centerpiece arrangement stays light enough to move around your home without fuss.
I go deep into all the different foam types and their uses in my post A Crafter's Guide to Every Type of Foam for Giant Flowers — definitely worth a read before you shop for materials. According to Statista, the global artificial flower market is projected to reach $3.3 billion by 2027, driven largely by consumers wanting permanent, low-maintenance decor. People are catching on to what crafters have known for years.
Materials You'll Need for Your Real Touch Foam Flower Centerpiece DIY
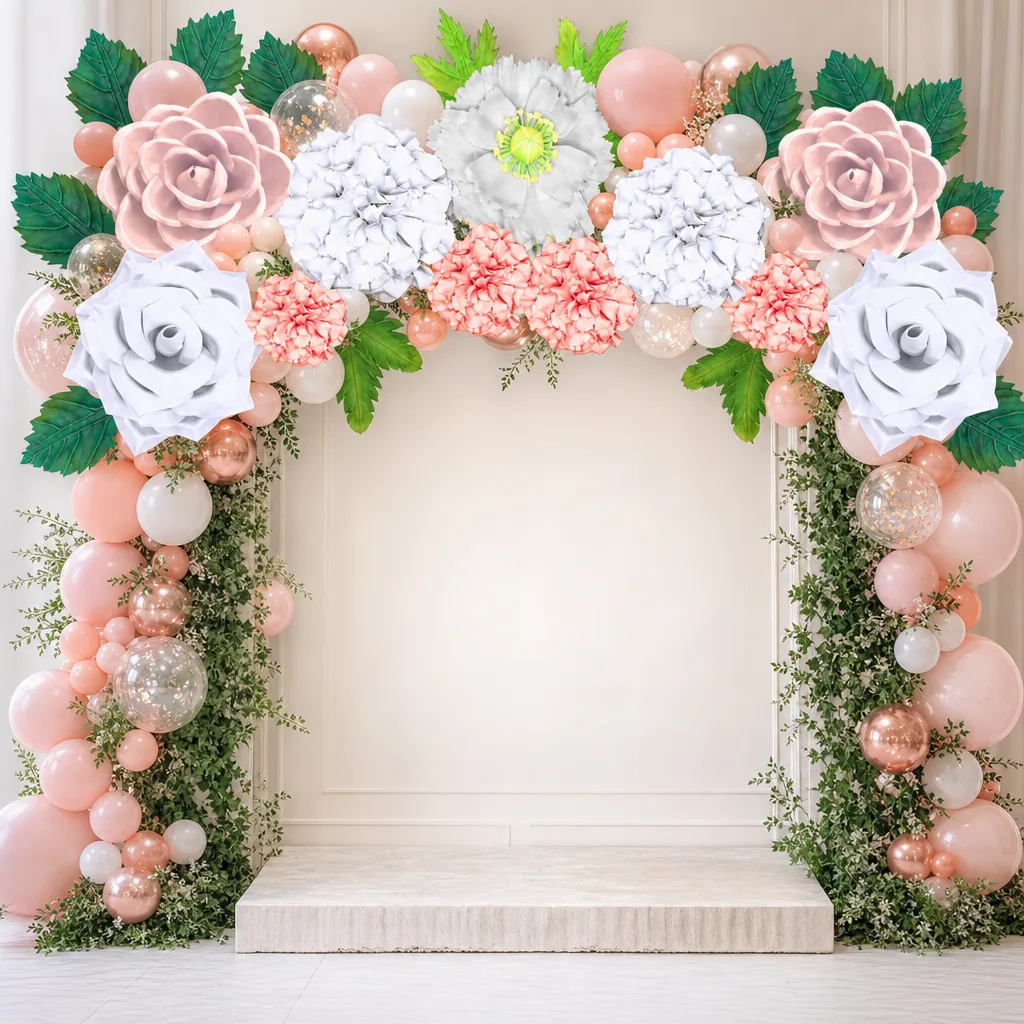
Essential Foam and Structural Supplies
- EVA Foam Sheets (2mm thickness): Perfect for delicate petals on roses, peonies, and ranunculus. Gives that thin, translucent petal look.
- EVA Foam Sheets (5-6mm thickness): Use these for sturdier flowers like dahlias and sunflowers, or for the base layer of multi-petal blooms.
- Bendable Pipe Stems: These give your flowers height and allow you to arrange them at different angles in your centerpiece. We carry these in our shop — they're specifically designed for foam flowers.
- Floral Foam Block or Decorative Vase: Your centerpiece base. A low ceramic bowl, a clear glass vase, or a wooden box all work beautifully.
- Hot Glue Gun and Clear Glue Sticks: The workhorse of foam flower construction. Get a high-temp gun for the best bond.
Painting and Finishing Supplies
- Acrylic Craft Paint (multiple shades): You'll want at least 3 tones of your chosen color — light, medium, and deep — for realistic shading.
- Flexible Painting Medium: Mix this into your paint so it won't crack when the foam flexes. Golden's GAC 900 is my personal favorite.
- Soft Flat Brushes and a Fan Brush: The fan brush is magic for blending petal gradients.
- Matte Sealant Spray: Finishes the look and protects your paint. Avoid glossy sealants — they look plasticky, not real.
- Fine-Tip Permanent Marker or Stylus: For adding vein details to petals.
Tools
- Heat Gun: Non-negotiable. A hair dryer won't get hot enough to properly shape EVA foam.
- Sharp Craft Scissors or Craft Knife: Clean cuts matter. Dull scissors drag and tear.
- Cutting Mat: Protects your table and gives you a stable surface.
- Petal Templates (printed or hand-drawn): You'll trace these onto your foam. I'll walk you through basic shapes below.
Choosing Your Flower Types for a Lifelike Centerpiece
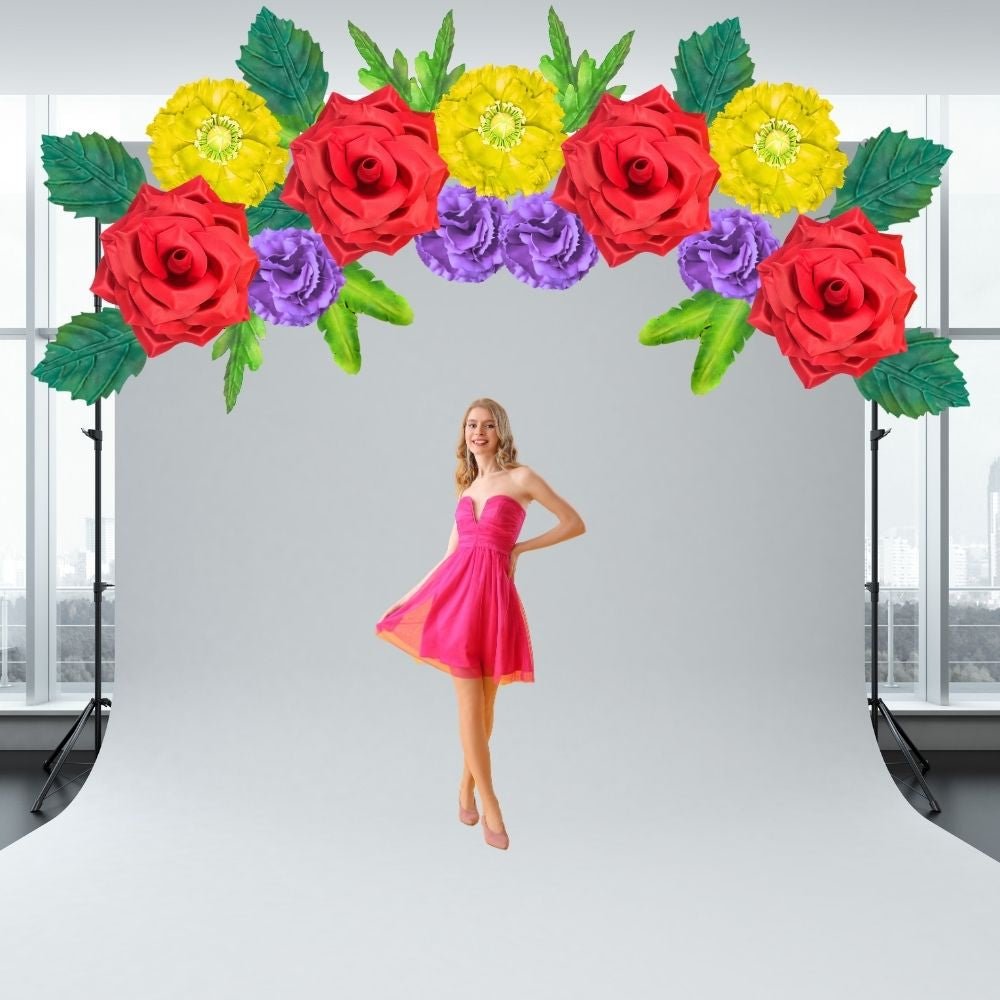
Here's a simple guide to which foam flowers look most realistic and work best for everyday home decor:
| Flower Type | Difficulty | Foam Thickness | Best Role in Arrangement | Real-Touch Rating |
|---|---|---|---|---|
| Peony | Beginner-Friendly | 2mm | Hero Bloom | ★★★★★ |
| Rose | Intermediate | 2mm | Hero or Secondary | ★★★★★ |
| Ranunculus | Intermediate | 1-2mm | Secondary Bloom | ★★★★☆ |
| Dahlia | Advanced | 2-5mm | Hero Bloom | ★★★★☆ |
| Anemone | Beginner-Friendly | 2mm | Accent Flower | ★★★★☆ |
| Eucalyptus Leaf | Beginner-Friendly | 2mm | Filler / Greenery | ★★★★☆ |
My personal recommendation for a first centerpiece? Start with peonies. Their fluffy, layered structure is incredibly forgiving — even slightly imperfect petals look intentional when they're all stacked together.
Step-by-Step: Making Your Real Touch Foam Flower Centerpiece DIY
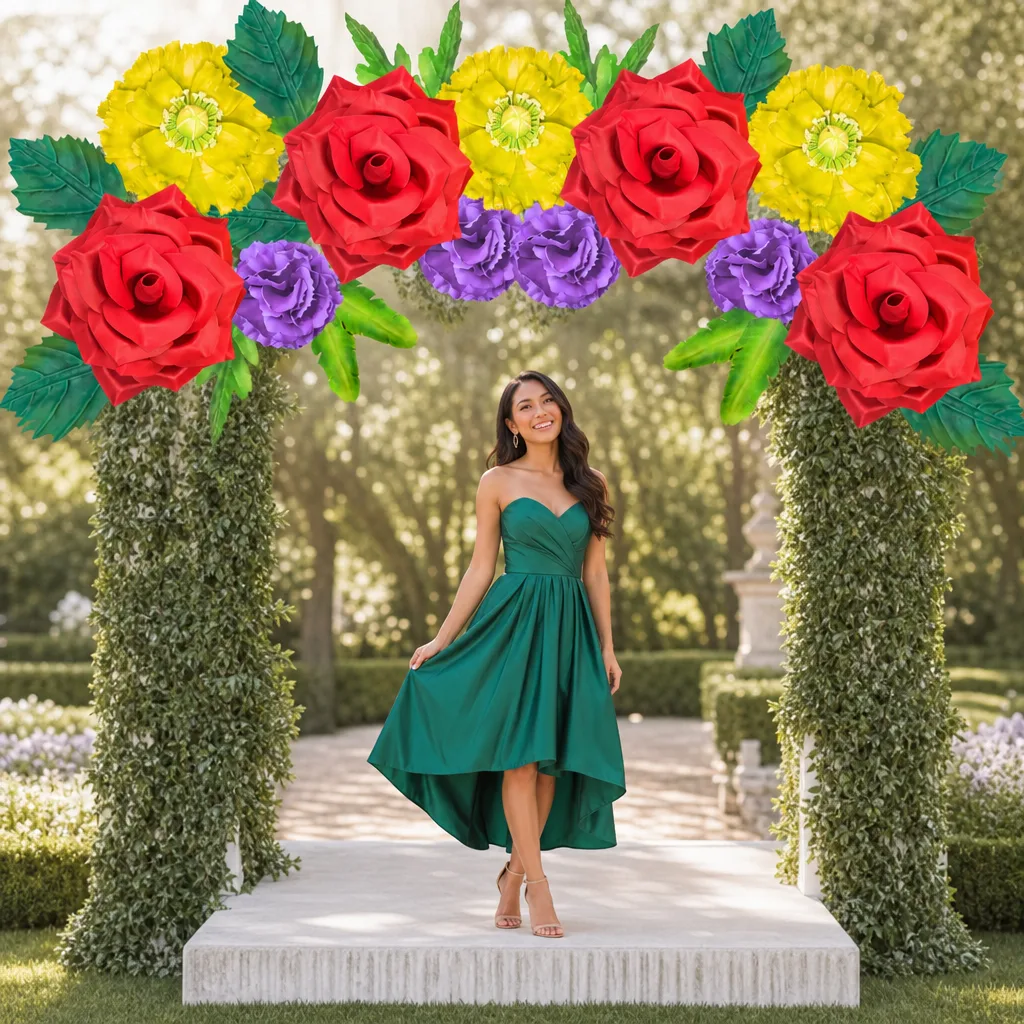
Step 1 — Cut Your Petal Templates and Foam Pieces
Draw or print petal templates in three sizes: small (about 2 inches), medium (about 3.5 inches), and large (about 5 inches). A peony is all about layering, so you'll need roughly: Per peony: 8-10 small petals, 8-10 medium petals, and 6-8 large petals. That sounds like a lot, but each one cuts in about 30 seconds.Trace your templates onto your 2mm EVA foam sheets with a ballpoint pen — the impression is light and won't show once painted. Cut cleanly along the lines with sharp scissors. Don't stress about perfection here. Real petals aren't perfect either.
Step 2 — Shape Your Petals with Heat
This is the step that transforms flat foam into something that genuinely looks alive. This is the real-touch magic moment. Hold a petal about 3-4 inches from your heat gun on medium heat. Within 3-5 seconds, you'll see the foam start to curl and cup. Use your fingers (carefully — it's warm!) to shape it into a natural petal curve.For outer petals, curl the edges slightly outward and backward — like a petal that's fully open. For inner petals, cup them more deeply inward, like a bloom that's still partially closed. Work quickly. EVA foam sets its shape in about 10-15 seconds once you remove the heat. If you don't love the shape, just reheat and try again.
Step 3 — Paint for Real-Touch Realism
This is where most tutorials fall short. They say "paint your petals" and leave it at that. But the painting technique is everything.Here's my layering method:
- Base Coat: Mix your medium-tone color with a few drops of flexible medium. Apply a thin, even coat over the entire petal. Let dry for 10-15 minutes.
- Shadow Layer: Using your darkest tone, dry-brush into the base and center of the petal. This mimics where real petals are shaded by other petals above them.
- Highlight Layer: With your lightest tone and a fan brush, lightly stroke outward from the center toward the edges. This catches light exactly like a real petal does.
- Vein Details: Once dry, use a fine-tip marker or stylus to draw 3-5 subtle veins radiating from the base of each petal. Keep them light — you want them to read as texture, not lines.
I cover paint techniques in much more detail in my post Your Guide to Flawless Foam Board Paint Finishes — it's one of my most popular guides and it directly applies here.
Step 4 — Assemble Your Peony
Start with a small circle of foam (about 1.5 inches diameter) as your base. This is what you'll glue petals onto.Begin with your smallest petals in the center, gluing them upright in a tight cluster. Then layer medium petals around them, slightly lower and more open. Finally, add your large outer petals, curving outward and downward. As you build each layer, rotate the flower slightly so petals don't line up in rows. Stagger them like a real bloom.
Attach your bendable pipe stem to the back of the flower base with a generous bead of hot glue. Hold for 30 seconds. Done.
Step 5 — Seal and Protect
Once your flowers are fully assembled, give them a light mist of matte sealant spray from about 12 inches away. Two thin coats, letting each dry completely. This protects the paint, adds a subtle surface texture, and takes away any remaining "craft foam" shine. The difference is remarkable.Assembling Your Centerpiece Arrangement
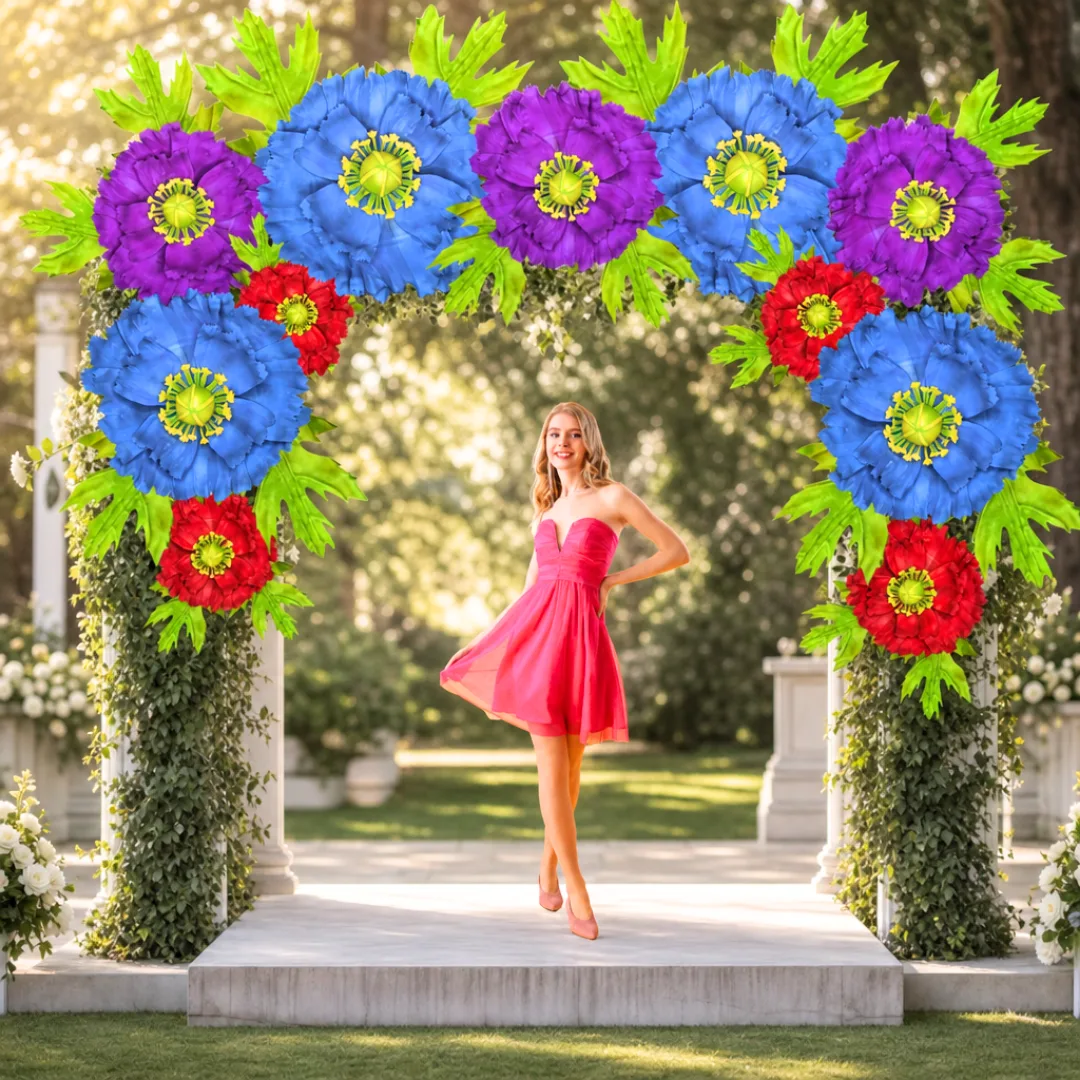
Choosing Your Vessel
The container sets the whole mood. Here are my favorite options for everyday home decor:- Low Ceramic Bowl (4-6 inches tall): Perfect for a dining table centerpiece. Flowers can be cut short and arranged densely for a lush, garden-picked look.
- Clear Glass Cylinder Vase: Classic and versatile. Fill the bottom with decorative stones, moss, or dried botanicals to anchor your stems.
- Wooden Box or Crate: Gorgeous for a farmhouse or rustic aesthetic. Line it with floral foam and go wild.
- Marble or Concrete Pot: Adds a modern, editorial feel. Works beautifully with white and blush flowers.
The Arrangement Formula
Cut a piece of floral foam to fit snugly inside your vessel. If using a glass vase, wrap the foam in moss or burlap so it's hidden.Insert your tallest flower first — this sets your height. For a dining table centerpiece, aim for no taller than 12-14 inches so people can see each other across the table. Add your secondary flowers at slightly lower heights on either side. Then tuck in accent flowers and greenery to fill any gaps. Step back often and check the silhouette from multiple angles.
The goal is a full, lush shape with no visible foam or bare stems. Think of it like a bouquet that's been laid into a vessel rather than dropped in.
Cost Comparison: Real Touch Foam vs. Fresh Flowers
| Category | Fresh Flowers | Real Touch Foam Flowers (DIY) | Pre-Made Kit (Amazing Giant Flowers) |
|---|---|---|---|
| Upfront Cost | $40-$80 | $30-$60 in materials | $80-$180 |
| Lifespan | 7-14 days | 5-10 years | 5-10 years |
| Annual Cost | $1,040-$2,080 | $30-$60 (one time) | $80-$180 (one time) |
| Maintenance | Daily water changes | Occasional dusting | Occasional dusting |
| Customization | Limited to what's in season | Any color, any flower, any time | Any color, any flower, any time |
| Allergen-Free | No | Yes | Yes |
The math is honestly kind of wild when you lay it out like that. A single DIY foam flower centerpiece pays for itself in about two weeks compared to buying fresh flowers regularly.
Styling Your Centerpiece for Different Rooms
Dining Table
Keep it low and lush. A 10-12 inch tall arrangement in a wide, low vessel is ideal. Stick to 3-5 flowers so it doesn't overwhelm the table. Soft blush, white, and sage green is a combination that works with almost any dining room aesthetic.Entryway Console
Here you can go taller and more dramatic. A 16-20 inch arrangement in a tall vase makes a stunning first impression. This is also where you can experiment with bolder colors — deep burgundy, rich coral, or even a moody black-centered anemone arrangement.Bedroom Dresser or Nightstand
Think small and sweet. Two or three flowers in a little bud vase or ceramic pot. This is also where I love using ranunculus — their tight, layered petals look incredibly real at close range.Bathroom Shelf or Windowsill
Foam flowers are completely moisture-resistant, which makes them perfect for bathrooms where fresh flowers would struggle. A small arrangement of white peonies or blush roses on a bathroom shelf feels incredibly luxurious.If you're looking for more large-scale arrangement inspiration, my post on Large Floral Arrangement Ideas for Stunning Displays has some gorgeous ideas you can scale down for home use.
Common Mistakes to Avoid
- Skipping the flexible painting medium: Regular acrylic paint alone will crack when the foam flexes. Always mix in a flexible medium. Always.
- Using a hair dryer instead of a heat gun: Hair dryers don't get hot enough to properly shape EVA foam. You'll end up with flat, lifeless petals. A basic heat gun costs about $20-$30 and is worth every penny.
- Making all petals the same shape: Real petals vary. Some are wider, some narrower, some slightly torn at the edge. Embrace the variation — it reads as realism.
- Using glossy sealant: Glossy finishes scream "fake." Always use matte. Always.
- Gluing petals in perfect rows: Stagger them. Overlap them. Let them be a little chaotic. That's what real flowers look like.
- Making everything the same height in the arrangement: Vary your stem heights by at least 1-2 inches between flowers. This creates depth and visual interest.
According to HGTV's floral design experts, the most common mistake in DIY arrangements is using too few stems — they recommend a minimum of 12-15 individual stems (including greenery) for a full, professional-looking result. Keep that in mind as you plan.
Want to Skip the Cutting? Try a Pre-Cut Kit
Every kit comes with pre-cut EVA foam pieces, step-by-step video tutorials, and all the supplies you need to build stunning flowers at home. You still get the full satisfaction of making them yourself — but without the template tracing and cutting time. Our kits start at around $80 for individual flowers and go up to $350-$600 for bundle kits with 8-12 flowers. For a centerpiece project, a single kit or a small bundle is usually plenty.
Browse everything we have in the Amazing Giant Flowers shop — and if you're not sure which kit to start with, I'm always happy to help you figure out the right fit for your space.
Frequently Asked Questions
How long does it take to make a real touch foam flower centerpiece DIY?
For a beginner, plan on about 4-6 hours for a complete centerpiece with 3-5 flowers. That includes cutting, shaping, painting (with drying time), assembling, and arranging. Once you've made a few flowers and gotten comfortable with the technique, you can build a single peony in about 45-60 minutes.
I always recommend spreading the project over two sessions — one for cutting and shaping, one for painting and assembly. It's more enjoyable and the paint has proper time to dry.
What's the best EVA foam thickness for realistic-looking petals?
2mm EVA foam is the sweet spot for most flowers intended for home decor centerpieces. It's thin enough to curl beautifully and translucent enough at the edges to mimic a real petal, but sturdy enough to hold its shape permanently. For very delicate flowers like ranunculus, you can go down to 1mm. For sturdier blooms like dahlias, 4-5mm gives great structure.
Can I make foam flower centerpieces without a heat gun?
Technically, you can try using boiling water to shape EVA foam — briefly dipping the petal and then molding it. But honestly? The results are much less controlled and the shapes don't hold as reliably. A heat gun gives you precision and speed that's really hard to replicate any other way. It's a small investment that makes a huge difference in the quality of your finished flowers.
How do I clean foam flower centerpieces?
This is one of the best things about foam flowers for home decor.
Ready to Create Something Amazing?
Browse our collection of giant flower kits and start your next project today.