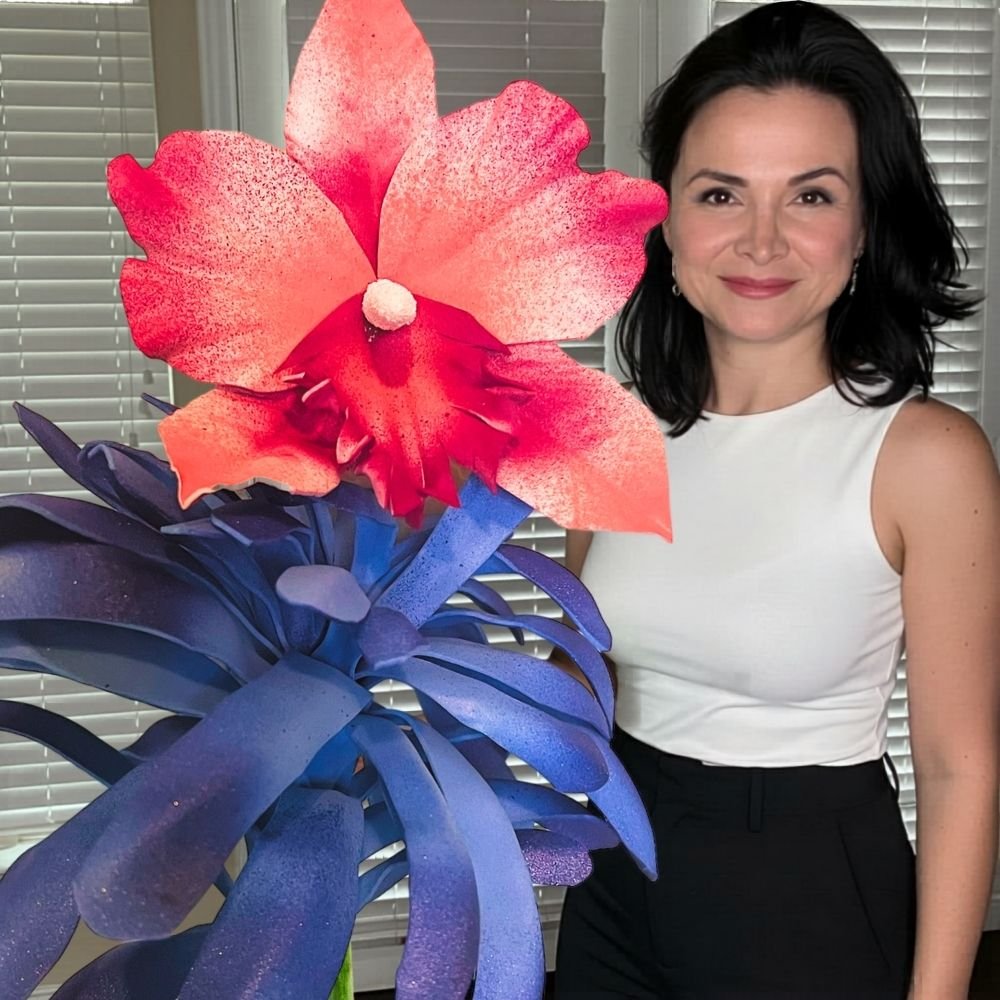
Real-Touch Foam Orchid Tutorial for Elegant Home Projects

Key Takeaways
- EVA foam (2mm for petals, 4mm for structure) is the best material for realistic, real-touch orchid blooms that hold their shape beautifully.
- Heat shaping with a heat gun is the single most important step for achieving natural, curved, lifelike petals — don't skip it.
- Layered acrylic painting with a dry-brush technique creates the subtle color gradients that make foam orchids look real-touch quality.
- A finished giant foam orchid costs a fraction of fresh flowers — and lasts for years without wilting or water.
- You can scale this tutorial up or down — from 6-inch accent blooms to 3-foot statement flowers for backdrops and arches.
Why EVA Foam Is the Perfect Material for Real-Touch Orchids
For orchids specifically, the material properties matter so much because orchid petals are naturally soft and slightly waxy. EVA foam mimics that texture better than any paper product. According to Statista, the US floral decoration market generates over **$4 billion annually** — and a growing share of that is driven by artificial and foam florals for events and home décor. People want the look without the cost or the wilting.
Here's what makes EVA foam stand out for this real touch foam orchid tutorial:
- Heat Responsiveness: EVA foam softens at around 150°F, allowing you to curl, cup, and shape petals with a heat gun in seconds.
- Paintability: Acrylic paint adheres directly to EVA foam without primer (though a light sanding helps). You can layer colors for realistic gradients.
- Durability: Unlike fresh orchids that last 2-3 weeks, foam orchids last years. No watering, no wilting, no drama.
- Lightweight: Even a 24-inch foam orchid spray weighs almost nothing, making it easy to mount, hang, or arrange in a vase.
- Scalability: You can cut petals at any size — from delicate 3-inch accent blooms to statement 4-foot installations.
If you want to go deeper on foam types and which works best for different projects, I wrote a full breakdown in A Crafter's Guide to Every Type of Foam for Giant Flowers. It's worth a read before you shop.
Materials You'll Need for This Real Touch Foam Orchid Tutorial
**For the petals and structure:**
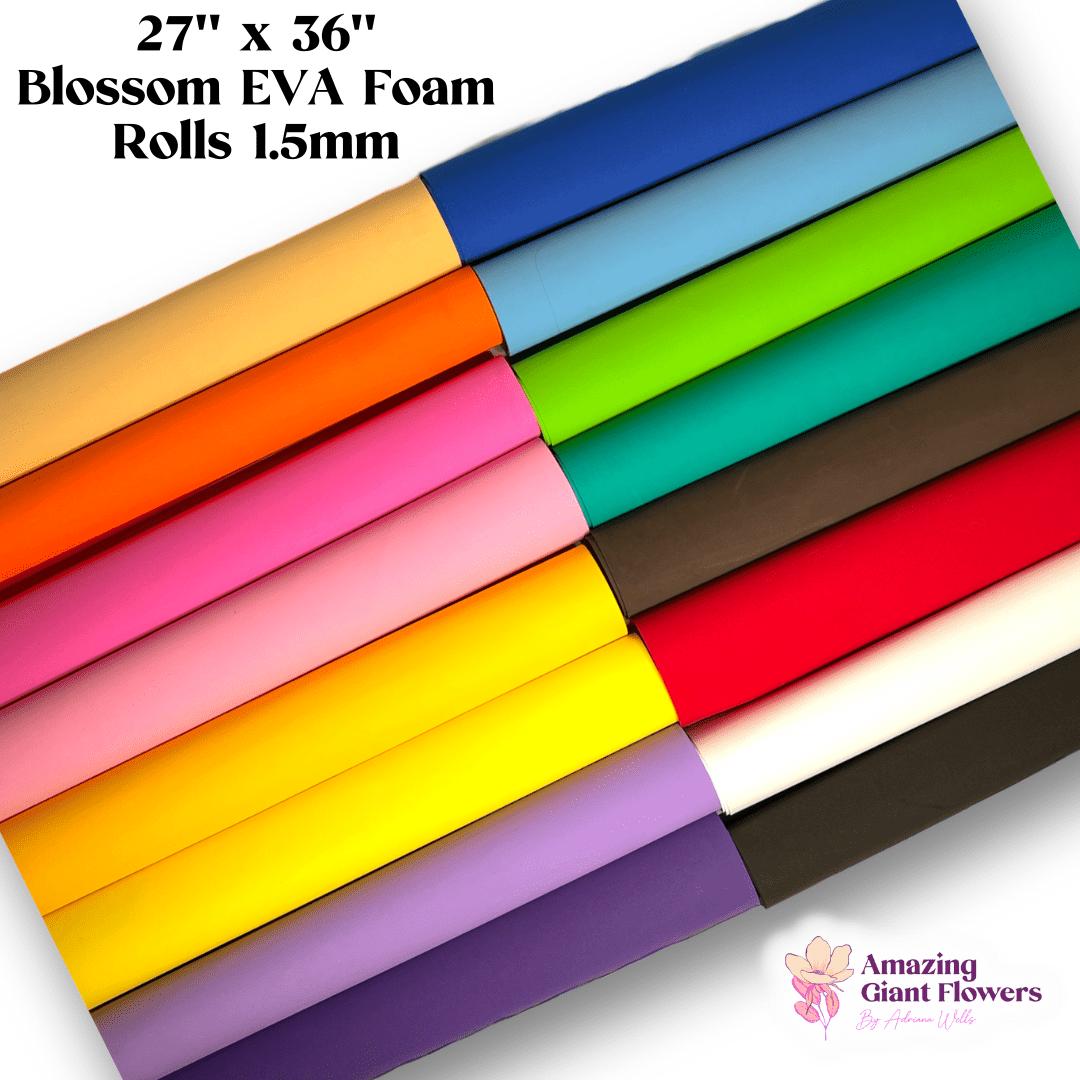
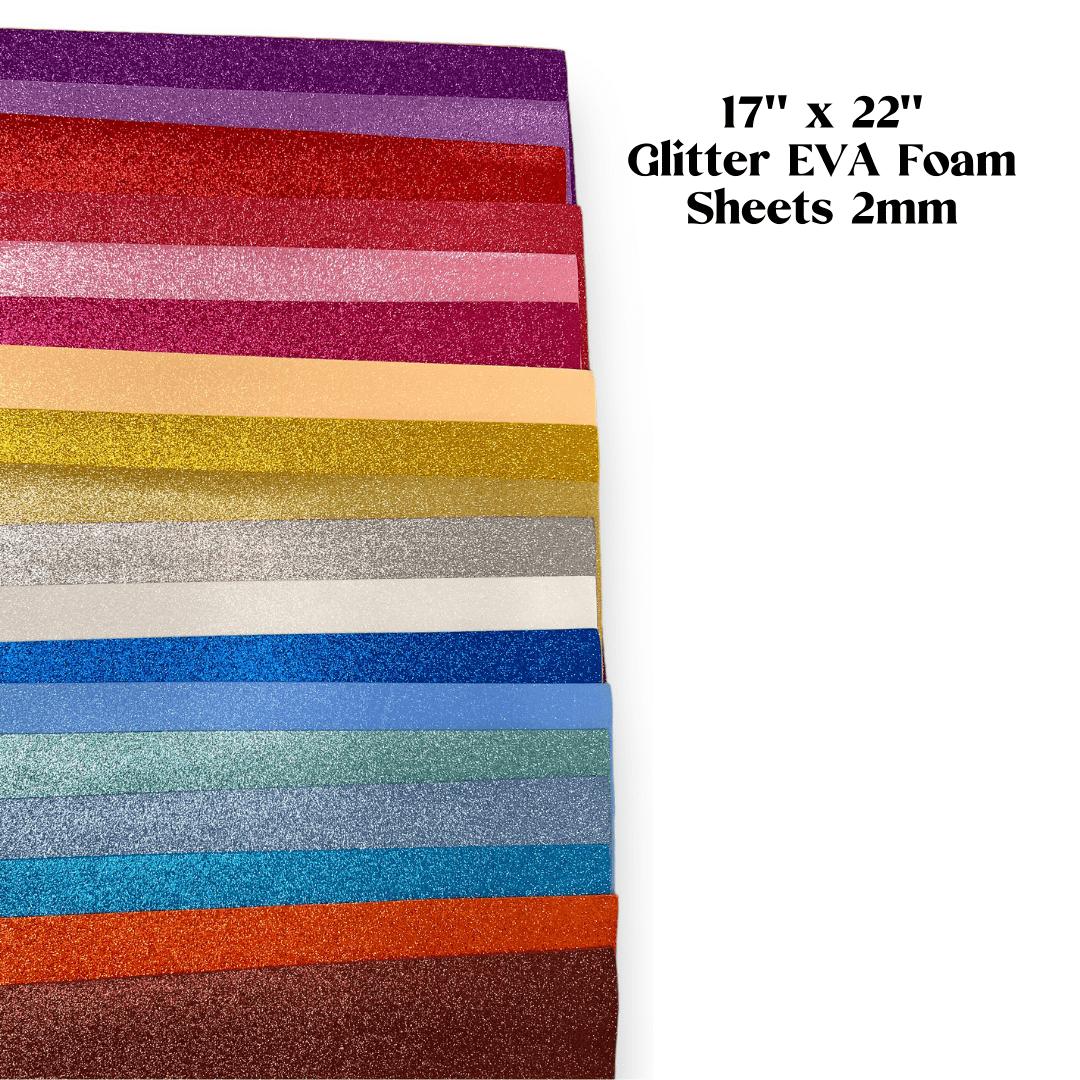
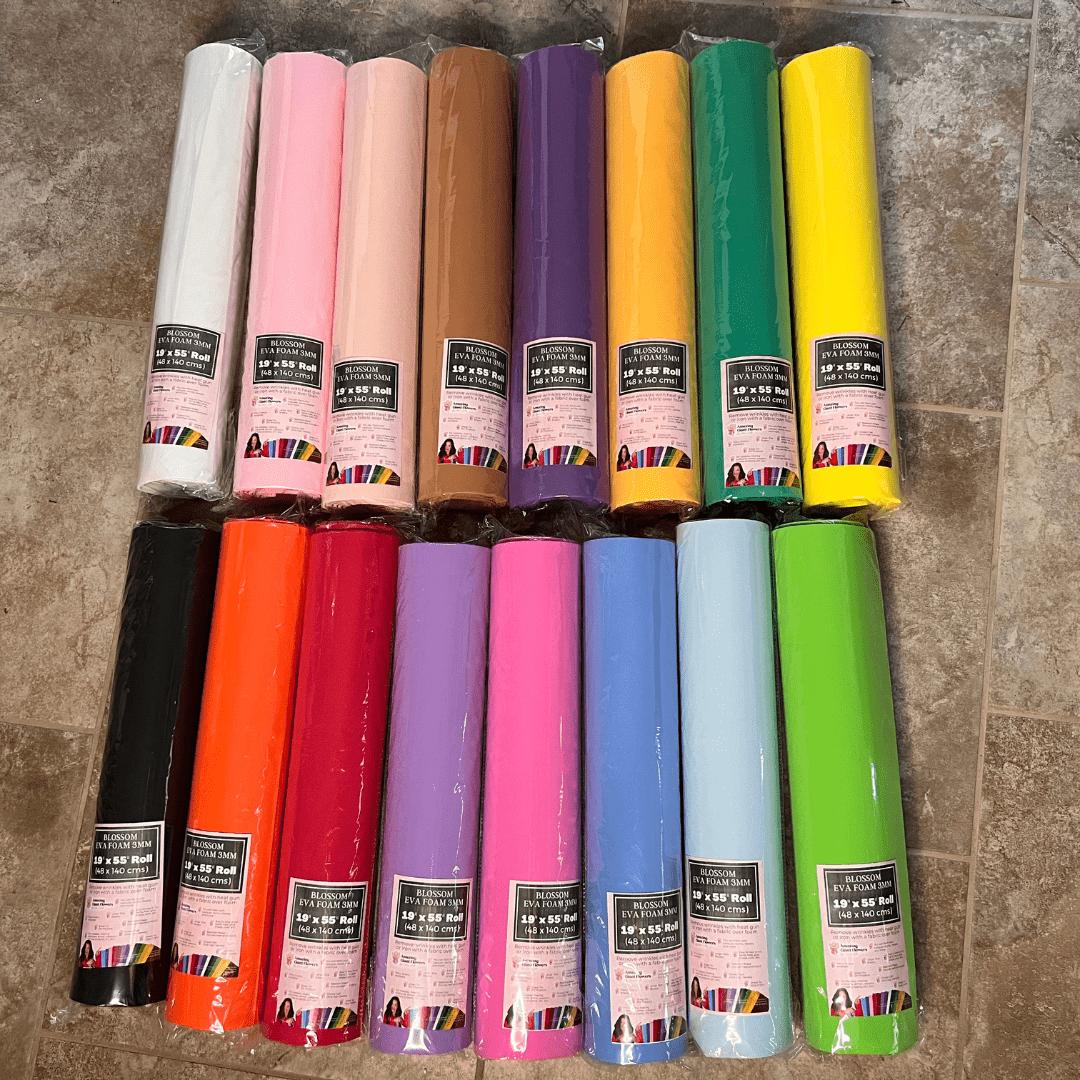
- 2mm EVA Foam Sheets (white or ivory): This is your primary petal material. The thinner gauge gives that delicate, real-touch flex. You'll need at least 4-6 sheets for a full orchid spray.
- 4mm EVA Foam Sheets: Used for the center column, lip petal (labellum), and any structural base elements.
- Orchid Petal Templates: Print these at the correct scale or trace from a real orchid photo. You'll need 3 sizes: dorsal sepal, lateral petals, and the lip.
- Sharp Craft Scissors or a Craft Knife: Clean cuts matter. Dull scissors drag and leave ragged edges that are hard to fix.
- Cutting Mat: Protect your surfaces and keep your cuts precise.
**For shaping:**
- Heat Gun (300-500°F range): This is non-negotiable for the real-touch finish. A regular hair dryer won't get hot enough to fully shape the foam.
- Ball Stylus or Spoon: Press into the foam while it's warm to create natural cupping and veining.
- Foam Pad or Mouse Pad: Work surface for shaping. The give in the pad lets you push the stylus in without cracking the foam.
**For painting:**
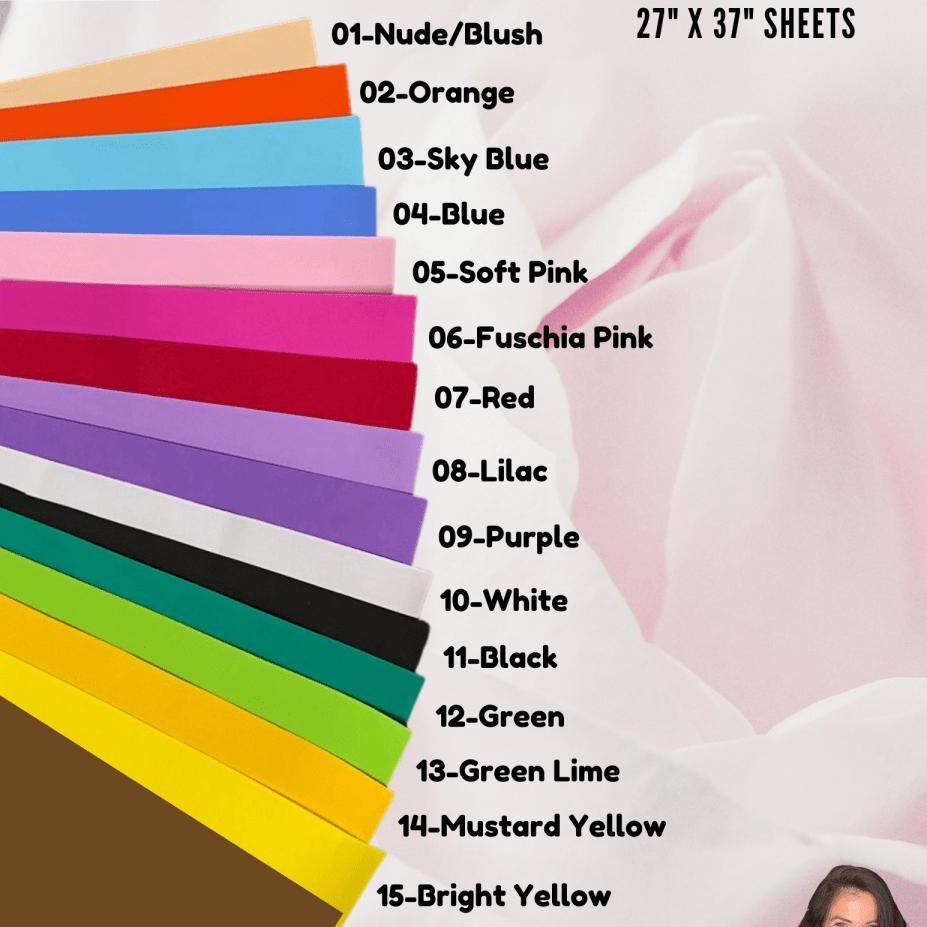
- Acrylic Craft Paints: White, yellow, magenta, purple, and a touch of green. Orchids have complex coloring — we'll talk about mixing below.
- Fine Detail Brushes (sizes 0 and 2): For veining and spotting.
- Flat Brush (size 10-12): For base coats and washes.
- Matte Sealer Spray: Locks in your paint and gives that soft, non-shiny finish that reads as real-touch.
**For assembly:**
- Hot Glue Gun and Clear Glue Sticks: Works fast and holds strong on EVA foam.
- Bendable Floral Wire (18-gauge): For the main stem and branch structure.
- Floral Tape (green): Wraps stems for a finished, natural look.
- Wire Cutters: For trimming stems to length.
You can find EVA foam sheets, bendable stems, and supplies in our shop at Amazing Giant Flowers. We pre-cut kits that take a lot of the guesswork out of sizing.
Understanding Orchid Anatomy Before You Cut
A Phalaenopsis orchid (the most popular variety, also called a moth orchid) has **five outer petals/sepals** and one very distinctive **lip petal**, called the labellum. The labellum is what makes an orchid look like an orchid. Here's the basic breakdown:
- Dorsal Sepal: The single petal at the top. Slightly narrower, stands upright. Cut this from 2mm foam at about 3.5 inches long for a standard bloom.
- Lateral Sepals: Two petals at the bottom, spreading outward and slightly downward. These are wider and rounder than the dorsal sepal.
- Lateral Petals: Two large, rounded petals on either side of the bloom. These are the biggest, most dramatic petals — cut them at about 4 inches wide.
- Lip (Labellum): The most complex piece. It's ruffled, three-lobed, and often a different color than the rest of the flower. This is what you spend the most time on.
- Column: The small central structure where the lip attaches. Cut this from 4mm foam, about 1 inch long and slightly tubular when shaped.
Study a few reference photos before you start cutting. I keep a printed orchid photo pinned to my work table when I'm making these. It sounds obvious, but it genuinely makes a difference.
Step-by-Step: Cutting and Shaping Your Foam Orchid Petals
Step 1: Print and Trace Your Templates
Print your petal templates at the correct scale. For a **standard 6-inch bloom** (a realistic single orchid flower), your lateral petals should be approximately **4 inches wide by 3.5 inches tall**. Scale up proportionally for larger blooms. Trace each template shape onto your 2mm EVA foam with a ballpoint pen. The pen lines will disappear under paint, so don't stress about them.Step 2: Cut Clean, Smooth Edges
Use sharp scissors and cut in one smooth motion rather than short snips. Jagged edges are the number one thing that makes foam flowers look fake. For the lip petal, use small scissors to cut the ruffled edge. Make tiny, shallow scallops along the front edge — about **1/4 inch deep and 1/4 inch wide**. This creates the natural frilled texture of an orchid lip.Step 3: Score Veins with a Ballpoint Pen
Before heating, lightly score vein lines onto each petal with a dried-out ballpoint pen or a stylus. Press firmly enough to leave an impression but not cut through the foam. On the lateral petals, veins radiate from the base outward. On the lip, veins run lengthwise. These impressions will deepen beautifully when you apply heat.Step 4: Heat and Shape Each Petal
This is the step that creates the **real-touch quality**. Work one petal at a time. Hold the heat gun about **4-6 inches from the foam surface**. Move it in slow circles. The foam will begin to soften in about 10-15 seconds — you'll see it become slightly glossy and flexible.Immediately (while it's still warm) place the petal face-down on your foam pad. Press the ball stylus into the center to create a natural cup shape. Hold for 10 seconds while it cools. For the lateral petals, cup them gently — orchid petals have a subtle, not dramatic, curve. For the lip, add more dimension: curl the side lobes upward and pinch the front frills slightly.
Step 5: Shape the Column
Cut a small piece of 4mm foam, about **1 inch by 0.75 inches**. Heat it and roll it into a slight arch, like a tiny bridge. This sits at the center of the bloom where all petals attach. Let all shaped pieces cool completely before painting. EVA foam holds its shape once cooled — it's surprisingly stable.For more detail on painting techniques for foam surfaces, check out my post on Your Guide to Flawless Foam Board Paint Finishes — a lot of those principles apply directly here.
Painting Your Foam Orchid for a Realistic Real-Touch Finish
Base Coat: Build Your Foundation Color
Start with a thin white base coat on all petals. Use a flat brush and let it dry completely. This seals the foam surface and gives subsequent colors something to grip. For a classic **Phalaenopsis white orchid**, your base coat is your final petal color. For pink or purple varieties, mix a small amount of magenta or violet into your white base and apply a second coat.Gradient Wash: Adding Depth
Mix your accent color (pink, purple, or yellow) with water at about a **1:4 paint-to-water ratio**. This creates a transparent wash. Apply this wash at the base of each petal and blend outward toward the tip with a damp brush. The color should be deepest at the base and fade toward the edges. This gradient is what gives foam orchids that real-touch, dimensional quality.Veining: The Detail That Changes Everything
Load a size 0 brush with a slightly darker version of your accent color. Following the impressed vein lines you scored earlier, paint thin, flowing lines from the base outward. Don't make them perfectly straight. Real orchid veins have slight curves and branches. **Imperfection is realism here.**Spotting and Lip Detailing
Many orchids have spots or freckles, especially on the lip. Use a fine brush or even a toothpick dipped in magenta or dark purple to dot small spots near the center of the bloom. The lip typically gets the most color. For a classic Phalaenopsis, paint the lip **deep magenta to purple**, with a yellow streak running down the center. This yellow "guide" is actually a real feature that directs pollinators — and it's what makes your foam orchid look botanically accurate.Sealing for Real-Touch Finish
Once all paint is fully dry (wait at least 30 minutes), apply a **matte sealer spray** in light, even coats from about 12 inches away. Two thin coats are better than one heavy one. The matte finish is what creates that soft, real-touch quality. Glossy sealers make foam look plastic. Matte sealers make it look like a petal.For more on painting foam surfaces, my post A Crafter's Guide To Painting On Foam Core has great tips on layering and brush technique that translate directly.
Assembling Your Foam Orchid Spray
Assembling a Single Bloom
Start with the column piece. Hot glue it to the center of your assembled petal group. Then glue the lip petal directly below the column, angled slightly forward. Next, glue the two lateral petals on either side, slightly overlapping the base of the lip. Finally, add the dorsal sepal at the top and the two lateral sepals at the bottom.Work quickly with hot glue — it sets in about 30 seconds on EVA foam. If you need to reposition, a quick pass of the heat gun will soften the glue enough to adjust.
Building the Stem Structure
Cut an 18-gauge floral wire to your desired stem length. For a tabletop arrangement, **18-24 inches** is ideal. For a floor installation or arch, you might go up to 36 inches. Wrap the wire with green floral tape, stretching the tape as you wrap to activate its self-adhesive properties. Add small bud shapes (tiny rolled pieces of 2mm foam) at the tip of the stem for a realistic orchid spike look.Attaching Blooms to the Stem
Orchid blooms attach alternately along the stem, not all on the same side. Space them **3-4 inches apart** for a natural look. Cut a short piece of wire (about 2 inches) for each bloom. Hot glue it to the back of the bloom, then wrap it around the main stem and secure with floral tape. Angle each bloom slightly differently — some facing forward, some tilting left or right.Real orchid sprays have buds at the top that haven't opened yet. Make 3-4 small bud shapes from 2mm foam, paint them green with a blush of color, and attach them at the top of the stem. This detail alone elevates the whole piece.
Sizing Guide and Project Ideas for Foam Orchid Displays
| Bloom Size | Best Use | Lateral Petal Width | Stem Length |
|---|---|---|---|
| 4-6 inches | Realistic tabletop arrangements, wreaths, wall art | 3-4 inches | 18-24 inches |
| 8-12 inches | Statement vase arrangements, backdrop accents, shelf displays | 6-8 inches | 24-36 inches |
| 18-24 inches | Photo booth backdrops, wedding arches, event installations | 12-16 inches | 36-48 inches |
| 36-48 inches | Giant statement pieces, retail displays, experiential marketing | 24-30 inches | 48-60 inches |
For home projects, I especially love a cluster of **three 8-inch blooms** in a tall white ceramic vase. It reads as completely real from across the room, and guests always ask where I bought fresh orchids.
For events, foam orchids are incredible for photo backdrops. A DIY giant flower backdrop using oversized orchid sprays creates a stunning, cohesive look. And if you're planning a wedding, check out our guide on Giant Flower Wedding Arch: A Complete Guide for 2026 — orchids work beautifully as the anchor blooms.
According to The Knot, couples spend an average of **$2,000-$3,000 on wedding flowers** alone. A set of large foam orchid sprays for a wedding arch can be made for under **$150 in materials** — and you keep them forever.
Common Mistakes to Avoid in This Real Touch Foam Orchid Tutorial
- Using foam that's too thick for petals: Anything over 2mm for the main petals will look stiff and chunky. Save the 4mm for structural pieces only.
- Overheating the foam: If you hold the heat gun too close or too long, the foam bubbles and warps permanently. Keep it moving and stay 4-6 inches away.
- Skipping the base coat: Paint applied directly to unsealed foam can look uneven and streaky. That white base coat is doing real work.
- Using glossy sealer: I cannot stress this enough. Glossy sealer = plastic flower. Matte sealer = real-touch orchid. This one choice makes or breaks the whole effect.
- Attaching all blooms at the same angle: Real orchid sprays have blooms that twist and face different directions. Vary your angles intentionally.
- Forgetting buds: A stem with only open blooms looks artificial. Add 3-4 green buds at the tip. It's a 10-minute detail that makes the whole spray look botanically correct.
According to HGTV, the biggest giveaway that flowers are artificial is **uniform perfection** — real flowers have slight variations in color, angle, and size. Embrace imperfection in your foam orchids. It's what makes them look real.
Foam Orchids vs. Fresh Orchids: The Real Comparison
| Factor | Fresh Orchids | Foam Orchids (DIY) |
|---|---|---|
| Cost per stem | $8-$25 per stem | $3-$8 per stem (materials) |
| Lifespan | 2-4 weeks | Years with proper storage |
| Maintenance | Daily water, humidity, light | Dust occasionally |
| Scale options | Limited to natural size | 4 inches to 4 feet |
| Allergy risk | Yes (pollen) | None |
| Reusability | Single use | Reuse for multiple events |
| Customization | Limited to available varieties | Any color, any size |
According to Brides.com, the average couple spends **$2,000-$2,500 on wedding flowers** — with orchid arrangements among the most expensive options. Foam orchids let you get that same elegant, tropical look for a fraction of the cost.
For large-scale event budgeting, I break down the full cost comparison in my post on Giant Flower Event Budget: How Much Does It Really Cost? — it's one of the most useful planning resources I've put together.
Frequently Asked Questions
What type of EVA foam is best for a real touch foam orchid tutorial?
For petals, use 2mm EVA foam — it's thin enough to flex and curl realistically when heated, which is essential for that real-touch quality. For the center column and structural pieces, step up to 4mm foam for rigidity. Avoid foam thicker than 4mm for orchids; it won't shape naturally and the petals will look stiff.
Can I make foam orchids without a heat gun?
Technically yes, but the results won't be the same. A heat gun is what allows you to cup, curl, and shape petals into natural, three-dimensional forms. Without it, your petals stay flat and look obviously artificial. If you're serious about the real-touch finish, a basic heat gun (available for $20-$30 at any hardware store) is worth every penny.
How long does it take to make one foam orchid spray?
For a beginner, expect 3-5 hours for a full 7-bloom spray including cutting, shaping, painting, and assembly. Once you've made a few and your muscle memory kicks in, you can get that down to 1.5-2 hours. I always recommend making multiple blooms in batches — cut all petals at once, heat-shape all petals at once, then paint in stages. Assembly goes much faster when all your pieces are ready.
What paint colors do I need for realistic foam orchids?
The essential palette is: white, titanium white, cadmium yellow, magenta, dioxazine purple, and sap green. From these six colors you can mix virtually any orchid variety. For a classic white Phalaenopsis, you'll mostly use white with magenta and yellow on the lip. For a purple Dendrobium, lean on your purple mixed with a touch of magenta. Always buy matte or satin finish acrylics — avoid gloss formulas.
Can foam orchids be used outdoors?
EVA foam handles light outdoor use well, but prolonged UV exposure will fade paint colors over time. If you're using foam orchids for an outdoor event, apply a UV-resistant matte sealer (available at craft stores) as your final coat. For permanent outdoor installations, I'd recommend refreshing the paint every season. For short-term events like outdoor weddings, standard sealer is perfectly fine.
How do I store foam orchids between uses?
Store them in a cool, dry place away from direct sunlight. Wrap each spray loosely in tissue paper and lay flat in a large box — don't stack heavy items on top, as the petals can get crushed. Stored properly, foam orchids genuinely last for years. I have pieces I made five years ago that still look fresh. That's the real magic of EVA foam over paper or fabric flowers.
Making your first foam orchid spray is one of those crafting experiences that genuinely surprises you. You start with
Ready to Create Something Amazing?
Browse our collection of giant flower kits and start your next project today.