Real-Touch Hydrangeas: Full, Lush, Forever
If you've ever fallen hard for hydrangeas — that impossibly full, romantic cluster of blooms — you already know the heartbreak. You buy a fresh bouquet, it's stunning for maybe five days, and then you're watching it droop and brown on your kitchen table. I've been there so many times. That's exactly why I became obsessed with creating the perfect real touch hydrangea that actually holds its shape, its color, and its presence... forever.
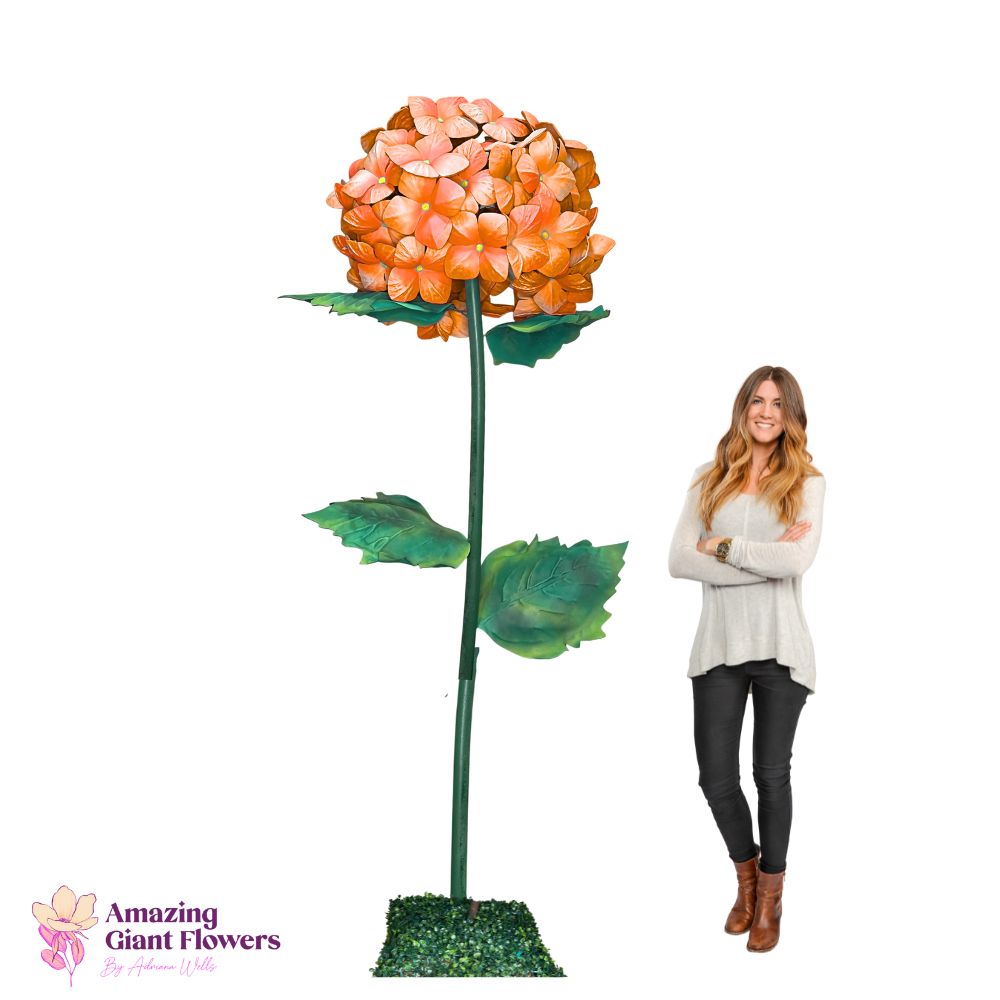
And I'm not talking about those sad silk flowers from the craft store that scream "fake" from across the room. I mean life-size foam hydrangeas that make people stop mid-conversation and lean in to look closer. Decor lovers, this one is for you — because your space deserves blooms that look as intentional and beautiful on day 365 as they did on day one.
So let me walk you through everything I know about making these gorgeous, lush hydrangeas at home — from the foam that makes them so realistic, to the kits that take all the guesswork out of it. Grab your coffee. This is going to be good.
Key Takeaways
Hydrangeas have this magical quality — they're full and lush without being fussy. One bloom fills a vase the way a dozen roses can't. They're the flower equivalent of a statement piece.
I've used them in everything from large floral arrangement ideas to intimate bedroom corner displays. They work in farmhouse, modern, romantic, coastal — honestly every aesthetic. That versatility is why decor lovers keep coming back to them.
The Problem with Fresh Hydrangeas
Fresh hydrangeas are notoriously dramatic. They wilt if you even look at them wrong. They need their stems re-cut, the water changed constantly, and even then — a week, maybe two if you're lucky.
For everyday home decor? That's exhausting and expensive. A single fresh stem at a florist can run $8–$15. Multiply that by a full arrangement and you're spending real money on something that's dead by the weekend.
Silk flowers have come a long way, but they still have that telltale sheen. And paper? I love paper flowers — I really do — but for hydrangeas specifically, paper can't capture that soft, velvety, dimensional texture of the petals. Each little floret in a hydrangea cluster has this subtle curve and thickness that paper just flattens out.
Foam is different. That's where the magic happens.
Ok, this is where it gets really fun. Let me tell you why EVA foam is the absolute best material for replicating hydrangeas specifically.
EVA foam has a natural softness and slight give that mimics the feel of a real petal. When you shape it with heat, it curves and cups in exactly the way a hydrangea floret does. You can check out our full EVA foam collection to see the different weights and finishes we carry.
Paper can't do that. Paper creases. Foam curves. Big difference when you're going for that lush, rounded hydrangea look.
Durability That Actually Matters
Real talk? I live in Houston. It's humid here basically nine months of the year. Paper flowers in my entryway would be a disaster. Foam doesn't care about humidity. It doesn't warp, it doesn't absorb moisture, and it doesn't fade from sunlight the way silk does.
If you want to go deeper on material comparisons, I wrote a whole breakdown in Foam Flowers vs Paper Flowers: Which Is Better for Events? — but spoiler: for longevity and realism, foam wins every time.
This is the secret weapon. When you apply gentle heat to EVA foam — using a heat gun or even a foam shaping tool — the petals curl, cup, and take on organic shapes that look genuinely natural. I've got a full tutorial on Heat Gun Techniques: Shaping Foam Flower Petals Like a Pro if you want to go deep on technique.
💡 Pro Tip
For hydrangeas, you want each individual floret to have a slight inward cup shape. Hold the foam piece about 4–6 inches from your heat gun and use a circular motion — don't hold it in one spot or you'll over-curl. The goal is a gentle, natural curve, not a tight roll.
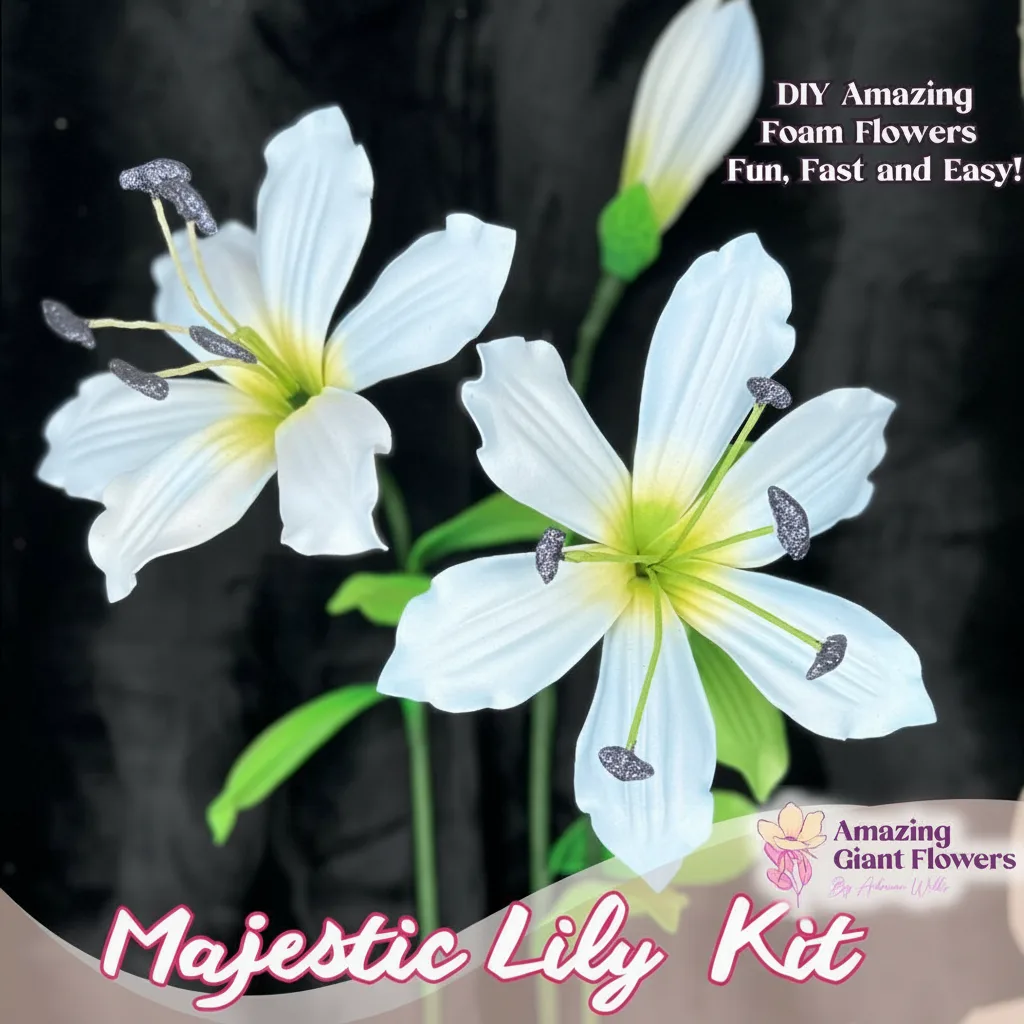
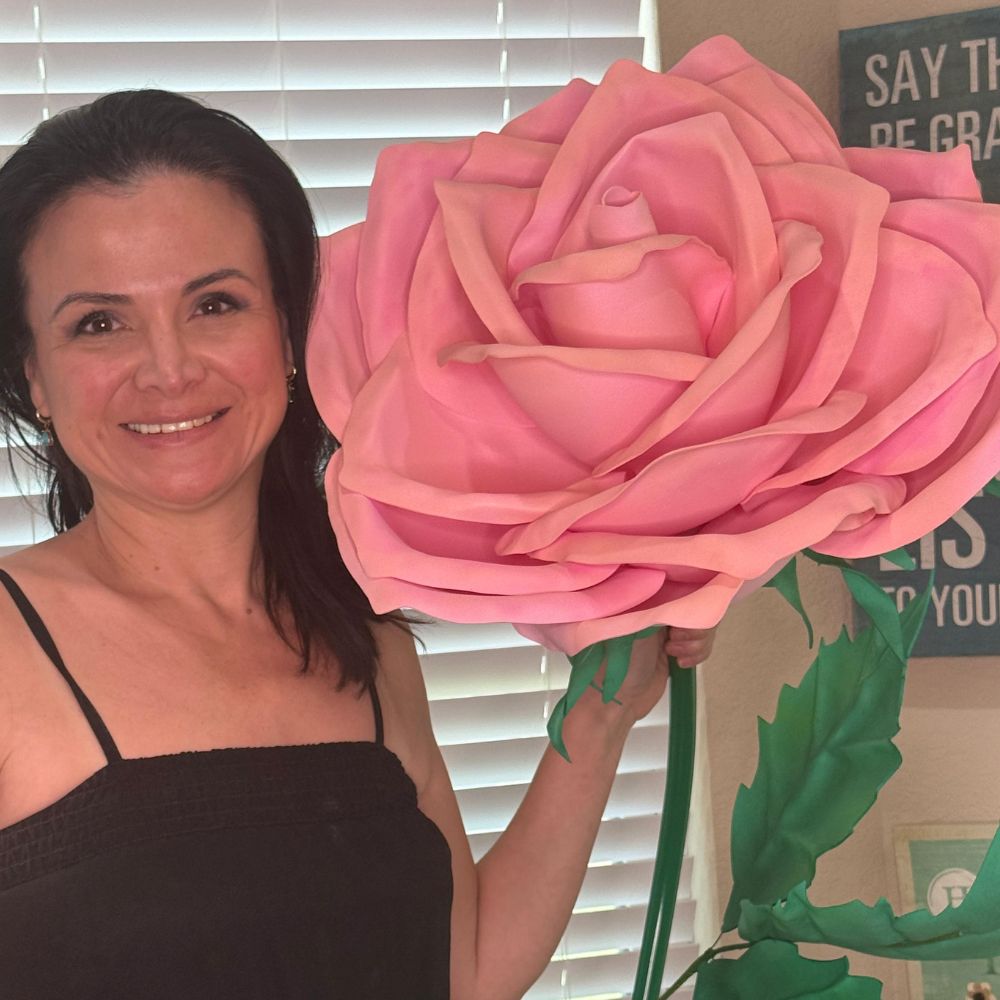
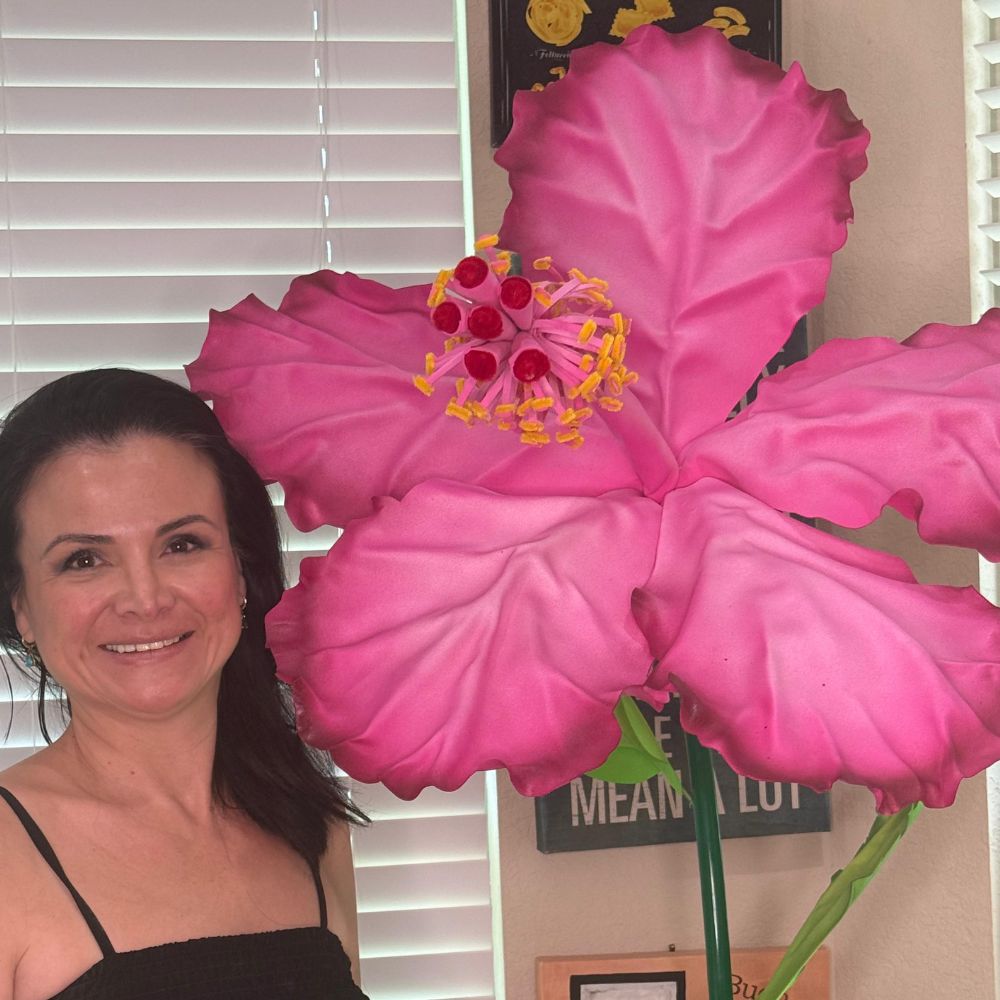
I designed our Life-Size Foam Flower Kits specifically for people who want beautiful results without a steep learning curve. You don't need to be a professional crafter. You just need to follow the steps and trust the process.
Kits run from $34.99 to $49.99. When you break that down per bloom, you're looking at roughly $6–$17 per life-size hydrangea. Compare that to a fresh stem at the florist — and yours lasts forever. The math is honestly embarrassing in the best way.
Our foam has what I call a real-touch finish — it's a slightly matte, soft surface that doesn't reflect light the way cheap craft foam does. When people touch our flowers (and they always do), the first thing they say is "wait, is this real?" That reaction never gets old.
🌸 Ready to get started?
Browse our Life-Size Foam Flower Kits and find your perfect match. Lush, forever blooms are just one kit away.
How to Style Real Touch Hydrangeas in Your Home
Making the flowers is only half the fun. Styling them is where your personality comes in. Here are my favorite ways to use life-size foam hydrangeas in home decor.
Three to five blooms in a wide-mouth ceramic vase is timeless. Go monochromatic — all white, all blush, all lavender — for that editorial, intentional look. Add some foam greenery or preserved eucalyptus for depth.
Place it on your dining table, your entryway console, or your bathroom vanity. Honestly? Anywhere you'd put fresh flowers, these work better — because they're always perfect.
This is where foam hydrangeas really shine. A cluster of blooms mounted on a wall creates this lush, textural focal point that photography absolutely loves. I've seen brides use them for ceremony backdrops, and homeowners use them as permanent wall art in living rooms and nurseries.
If you're thinking bigger, check out my guide on White Flowers on Wall: A Pro's How-To Guide — it covers mounting techniques, spacing, and how to create that full, layered look.
Here's something I love about foam flowers for decor: you can store them and rotate them seasonally. Make a set of soft lavender and white hydrangeas for spring. Deep burgundy and mauve for fall. Store them in a box between seasons and they come out looking exactly the same as when you put them away.
No wilting. No waste. No guilt.
Real Touch Hydrangea vs. Other Faux Flower Options: A Comparison
I know you might be weighing your options. So let me just lay it all out honestly.
| Feature | Foam (Real-Touch) | Paper (Lia Griffith Style) | Silk/Fabric | Fresh Flowers |
|---|---|---|---|---|
| Lifespan | Years (indefinite with care) | Months (humidity sensitive) | 1–3 years (fades) | 5–14 days |
| Waterproof | ✅ Yes | ❌ No | ⚠️ Partially | ✅ Yes (briefly) |
| Realistic texture | ✅ Very high | ⚠️ Medium | ⚠️ Medium | ✅ Real |
| DIY-friendly | ✅ Yes (kit included) | ✅ Yes | ❌ Usually pre-made | ❌ No |
| Cost per bloom | $6–$17 | $3–$10 | $5–$20 | $8–$15 |
| Humidity resistant | ✅ Yes | ❌ No | ⚠️ Partially | ❌ Wilts |
| Shapeable with heat | ✅ Yes | ⚠️ Limited | ⚠️ Limited | ❌ No |
Tips for Getting the Most Realistic Results
I want your first kit to be a success. So here are the things I wish someone had told me when I was starting out.
Color Layering Is Everything
Real hydrangeas aren't one flat color. They have depth — lighter at the center of each floret, slightly deeper at the edges. Don't skip the painting step. Even a light wash of diluted acrylic in a slightly deeper shade along the petal edges makes a huge difference. If you're new to painting foam, my guide on A Crafter's Guide To Painting On Foam Core has everything you need to know.
Build Your Bloom from the Outside In
When assembling your hydrangea cluster, start with the outer florets and work your way toward the center. This creates that natural, domed shape that's so characteristic of the flower. The center should sit slightly higher than the edges.
Don't Rush the Assembly
Let your glue set fully before moving to the next layer. I know it's tempting to rush — the flower looks so good and you just want to see the finished result. But shifting florets before the glue cures leads to gaps and a less full look. Give it time. It's worth it.
- Use a low-temp glue gun — high temp can warp the foam before you get it positioned
- Work in a well-ventilated space — especially when using a heat gun for shaping
- Keep a damp cloth nearby — for wiping glue strings off your petals as you go
- Natural light is your friend — check your color work in natural light, not just under indoor bulbs
Ready to Create Something Amazing?
Browse our collection of giant flower kits and start your next project today.