How to Refresh Old Giant Flowers for a New Event
If you've been in the events game for more than a season, you already know the deal: giant flowers are a serious investment, and the smartest thing you can do is make them work harder for you. That's exactly why knowing how to refresh and reuse giant flowers for a new event is basically a superpower in this industry. I've watched event pros double and triple their ROI just by giving their florals a second (and third!) life instead of starting from scratch every time.
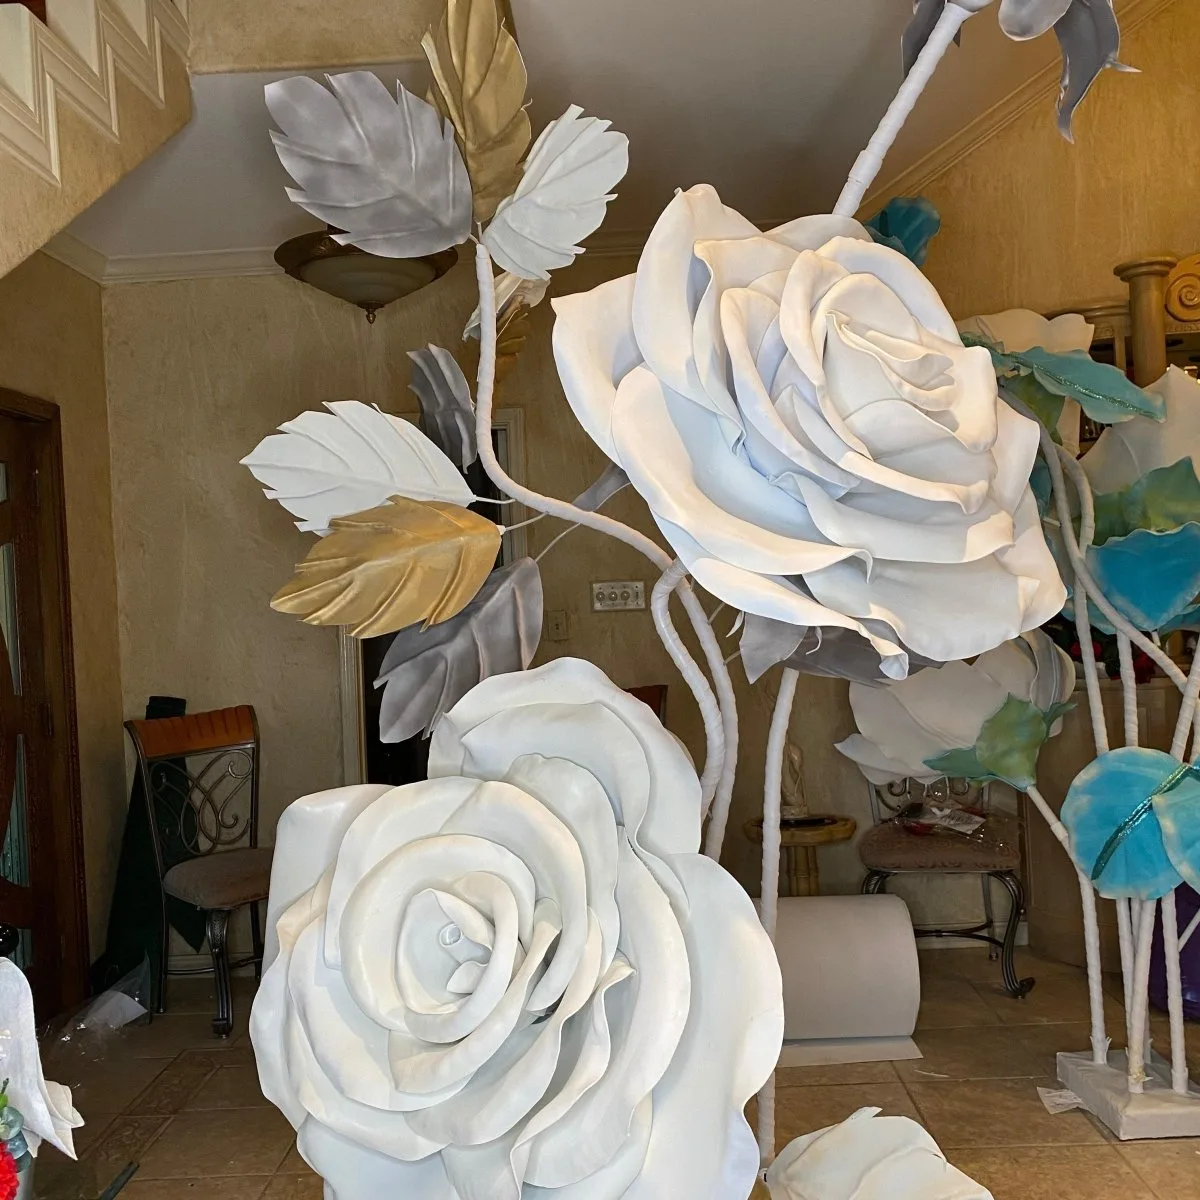
When I first started Amazing Giant Flowers, I honestly thought every client would want brand-new pieces for every event. And some do! But the pros who really thrive? They build a rotating inventory of freestanding giant flowers that they refresh between bookings. A little paint here, a petal swap there, and suddenly last month's baby shower centerpiece becomes this weekend's bridal shower showstopper.
So let me walk you through exactly how I do it — and how you can too. Whether you're working with pieces from our Freestanding Giant Flower Kits or refreshing older inventory, this guide is going to save you serious time, money, and storage headaches.
Key Takeaways
Real talk? The event pros I admire most aren't the ones buying new decor for every single booking. They're the ones who treat their giant flowers like assets, not consumables.
Think about it this way. A single freestanding giant flower kit runs between $80 and $180. If you refresh and reuse it across just five events, you're looking at a per-event cost of $16–$36. Compared to fresh florals? That's not even close.
The Math That Makes This a No-Brainer
Let's say you charge a client $300 to include three giant freestanding flowers in their event setup. You spent $150 on the kits initially. After the first event, those flowers are essentially pure profit every time you refresh and redeploy them.
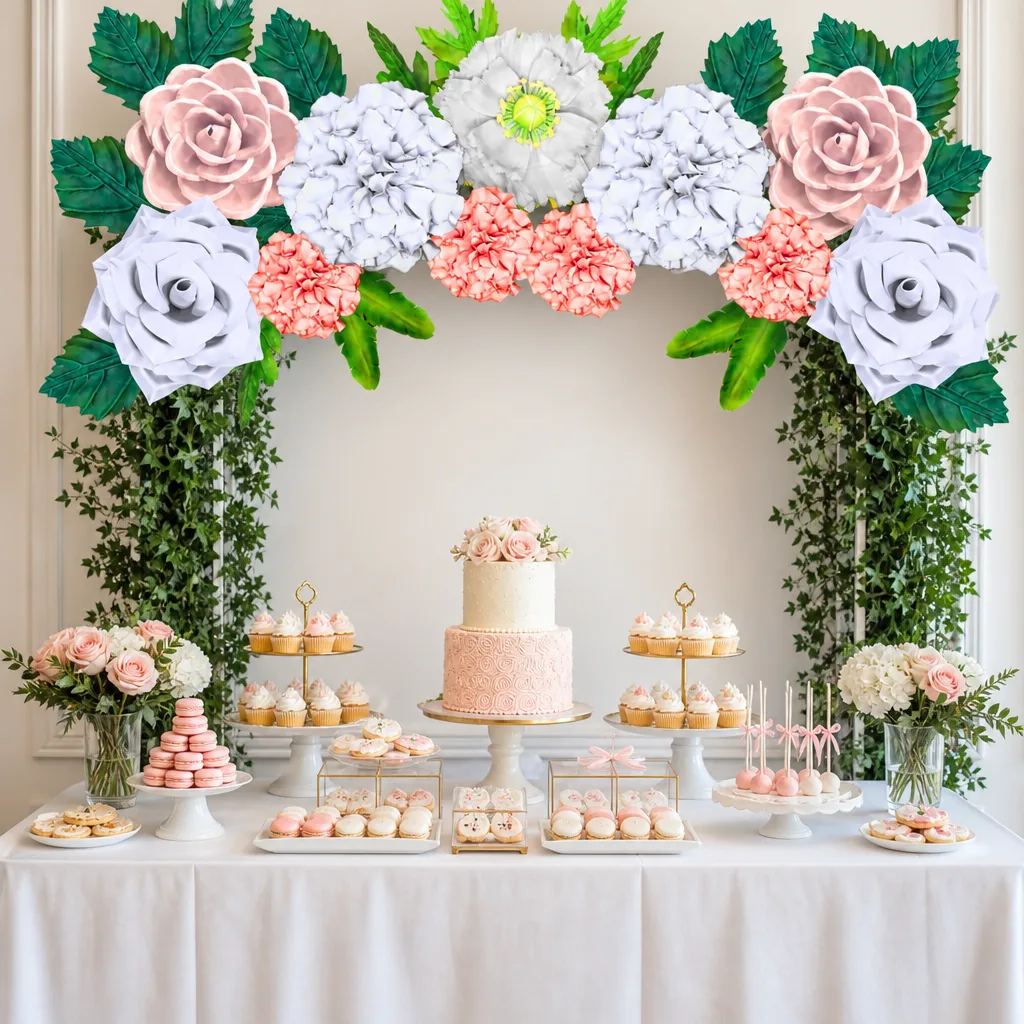
I've had flowers in my inventory that have been to over a dozen events. A quinceañera in blush pink, then a corporate activation in white, then a bridal shower in lavender — same flowers, completely different vibe each time. If you want to see how other pros are building out full event looks, check out our post on Freestanding Giant Flower Arrangements for Events.
Before you grab a paintbrush or a heat gun, you need to do a quick damage assessment. Not every flower needs the same level of TLC, and knowing what you're working with saves you time.
I always do this assessment the day after an event, not the day before the next one. That way I have plenty of time to order any supplies I need and I'm not scrambling.
💡 Pro Tip
Keep a simple condition log for each flower in your inventory — even a note in your phone works. Track what events it's been to, what color it was painted, and what repairs were made. When you're juggling 20+ pieces, this saves your sanity.
Ok, this is where it gets really fun. Let me walk you through my actual refresh process, step by step. This is what I do in my own studio, and it works beautifully on our EVA foam pieces.
Start with a clean slate. Wipe down every petal with a slightly damp cloth to remove dust, fingerprints, and any sticky residue from tape or decor attachments. Let it dry completely before moving on — moisture under paint is the enemy.
EVA foam has this magical quality: heat makes it pliable again. A heat gun (or even a hair dryer on high) applied for 10–15 seconds will soften a bent petal enough to reshape it by hand. Hold it in position for another 30 seconds while it cools and it'll stay put. I go deep on this technique in our post on Heat Gun Techniques: Shaping Foam Flower Petals Like a Pro — definitely worth a read.
Hot glue is your best friend here. Torn edges, loose petals, detached centers — most repairs take under five minutes with a good hot glue gun. For larger petal replacements, our EVA foam sheets let you cut a new petal using the original as a template.
This is the big transformation moment. Acrylic paint works beautifully on EVA foam — it's flexible, dries fast, and covers existing colors in two coats. I like to use a wide foam brush or a sponge brush for even coverage without brush marks.
Going from a dark color to a light one? Prime with white first. Going light to dark? You can usually skip the primer. Our guides on Flawless Foam Board Paint Finishes and Painting on Foam Core have tons of detail on getting a professional finish.
Step 5 — Add New Details
Sometimes a color change isn't enough — you want a genuinely different look. This is where you can get creative:
- Swap the center: Replace a simple button center with a glittered foam ball, a cluster of small blooms, or a pearl accent.
- Add texture: Dry-brush a second color over the petals for a dimensional, ombre effect.
- Change petal tips: Paint just the edges in a contrasting color for a totally different feel.
- Add greenery: Attach foam leaves or ribbon streamers to the stem for a lush, garden-style look.
Step 6 — Seal It
Once your paint is fully dry, seal it. A clear acrylic sealer protects your work and makes the surface easier to clean after the next event. I use a matte finish for most florals — it looks more natural and hides any minor imperfections. Check out our full breakdown in A Crafter's Guide to Mod Podge Clear Acrylic Sealer.
🌸 Ready to build your reusable inventory?
Browse our Freestanding Giant Flower Kits — designed from the ground up for multi-event use, with video tutorials included so your whole team can refresh like pros.
Refresh Reuse Giant Flowers Event Strategy: Planning Your Color Rotations
Here's something most event pros don't think about until they're knee-deep in inventory: plan your color rotations before you buy. The flowers that give you the most flexibility are the ones you can paint light or dark, warm or cool.
Build Around Neutral Base Colors
I always recommend starting your inventory in white or cream. Why? Because white is the easiest base to paint over in any direction. You can go blush, lavender, coral, sage — anything. And if a client wants white, you're already there.
Think in Event Categories
Map out the types of events you book most and the color palettes that come up again and again. For most event pros, it looks something like this:
- Weddings and bridal showers: White, blush, dusty rose, sage, lavender
- Quinceañeras and sweet 16s: Hot pink, fuchsia, gold, royal purple
- Corporate events and brand activations: Brand colors — plan to repaint specifically for these
- Baby showers: Soft pink, baby blue, mint, yellow, neutral ivory
- Graduations: School colors — usually bold, high-contrast combos
If you're doing a lot of corporate work, check out our post on 10 Corporate Event Engagement Ideas for 2026 — there are some great ways giant flowers fit into brand experiences.
Comparing Refresh Methods: What's Worth Your Time
Not every refresh situation calls for the same approach. Here's how I think about it:
| Refresh Method | Time Required | Cost | Best For | Difficulty |
|---|---|---|---|---|
| Full repaint | 2–4 hours (including dry time) | $5–$15 | Complete color change between events | Easy |
| Petal replacement | 30–60 min per flower | $10–$25 | Damaged petals or dramatic style change | Moderate |
| Center swap | 10–20 min | $2–$8 | Quick style update without full repaint | Easy |
| Petal reshaping (heat gun) | 15–30 min | $0 (tool already owned) | Warped or bent petals from transport | Easy |
| Detail painting (ombre, tips) | 1–2 hours | $5–$10 | Elevated look for premium clients | Moderate |
| Clean and seal only | 20–30 min | $0–$5 | Flowers in great condition, same color | Very Easy |
Storage Tips That Make Your Next Refresh Easier
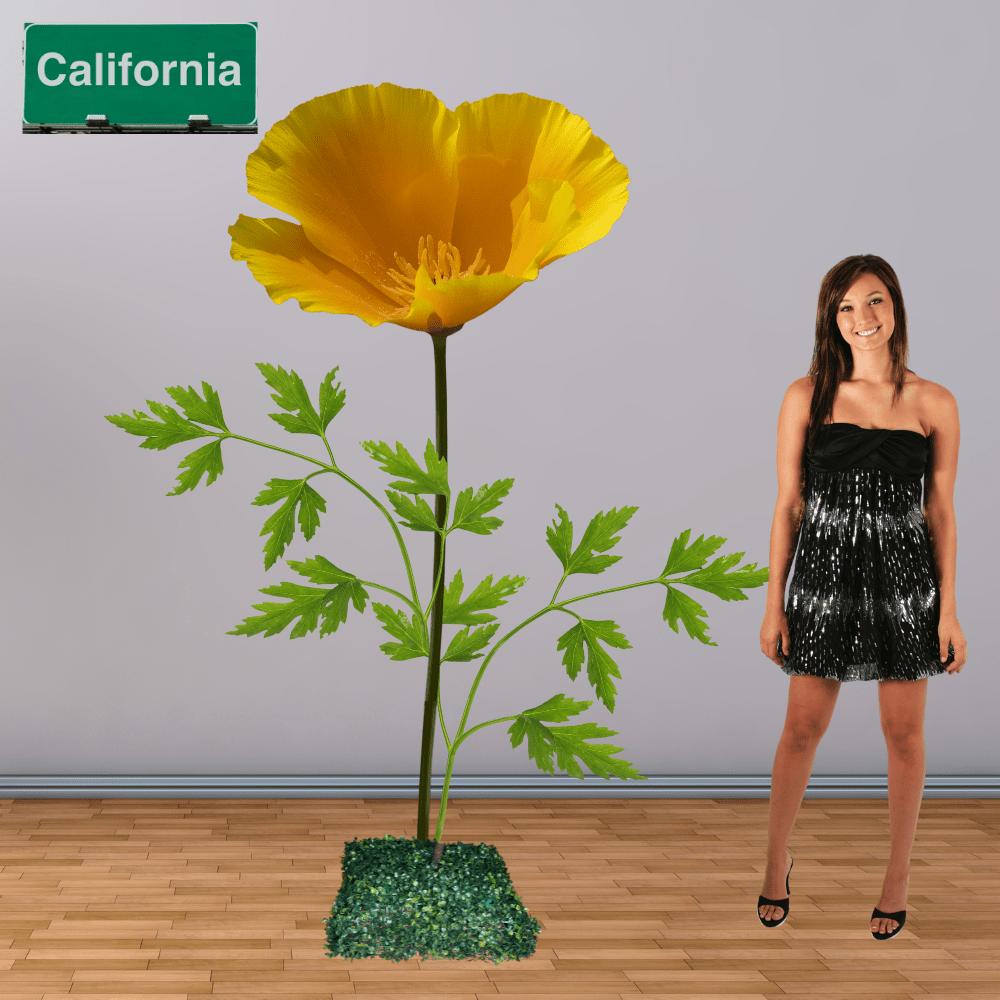
Honestly? How you store your flowers is just as important as how you refresh them. Bad storage means more damage, more repair time, and more materials cost before your next event.
My Actual Storage System
- Separate petals from stems: Store flower heads and stems separately to prevent bending and pressure damage during stacking.
- Use large flat bins or wardrobe boxes: Lay petals flat rather than stacking flower heads directly on top of each other.
- Label everything: I use masking tape labels on each bin — flower style, current color, last event date. Saves so much time.
- Keep away from heat: EVA foam can warp in a hot storage unit. A climate-controlled space is ideal, especially in Texas summers (trust me on this one).
- Wrap delicate details: If a flower has glitter, pearls, or other embellishments, wrap it loosely in tissue paper before storing.
💡 Pro Tip
Take photos of each flower after every event — front and back. This gives you a visual record of its condition and current color, so you can plan your next refresh without digging through storage bins first.
Frequently Asked
Ready to Create Something Amazing?
Browse our collection of giant flower kits and start your next project today.