Teaching Craft Classes With Reusable Flower Molds
If you teach craft classes, you already know the math is always working against you. Craft class supplies eat into your margins fast — especially when you're buying consumables that get used once and tossed. I've been there. Stacks of single-use templates, piles of wasted foam scraps, and a supply budget that somehow never stretches far enough.
That's exactly why I started rethinking what I put in my students' hands. When I introduced reusable flower molds into my own workshops, something clicked. Not just for me — for every instructor I've talked to since. The cost-per-class drops dramatically. Students get a more professional result. And you spend less time prepping, more time actually teaching.
So let me walk you through how our flower molds work as a class kit staple — for foam crafters, cake decorators, and everyone in between. This one's for the instructors who are tired of spending more than they earn.
Key Takeaways
Let me be real with you for a second. Most craft instructors I know are running their classes on tight margins. You're pricing per seat, buying supplies in bulk, and hoping the numbers work out by the end of the month. The biggest drain? Supplies that only work once.
Single-use templates, printed cutouts, pre-cut foam pieces — they're convenient until you realize you're reprinting and re-cutting for every single class. That's your time AND your money walking out the door.
The Real Cost Breakdown
Here's how I think about it. Say you buy a set of our flower molds for your class kit. Each mold can be used hundreds of times before it shows any wear. If you run a class of 10 students every weekend, that mold is paying for itself within the first two sessions — and then it's essentially free infrastructure from that point on.
Compare that to paper templates you're cutting fresh every week. Or foam cutters that dull. Or stencils that warp. The reusable mold is just... smarter economics.
Our flower molds are double-sided. That's not a small detail — it's the whole game. One side gives you the texture and vein detail for foam petals. Flip it over and you've got the structure for sugar flowers and gumpaste work. One tool. Two completely different class formats.
And they're food-safe compatible, which means you're not scrambling to source separate equipment when a local bakery asks you to teach a sugar flower workshop. You already have everything you need.
Ok, this is where it gets really fun. When I started building class kits around the molds, I realized how few additional materials students actually need. The mold does the heavy lifting — students just need the medium to press into it.
The core kit is simple. You'll want:
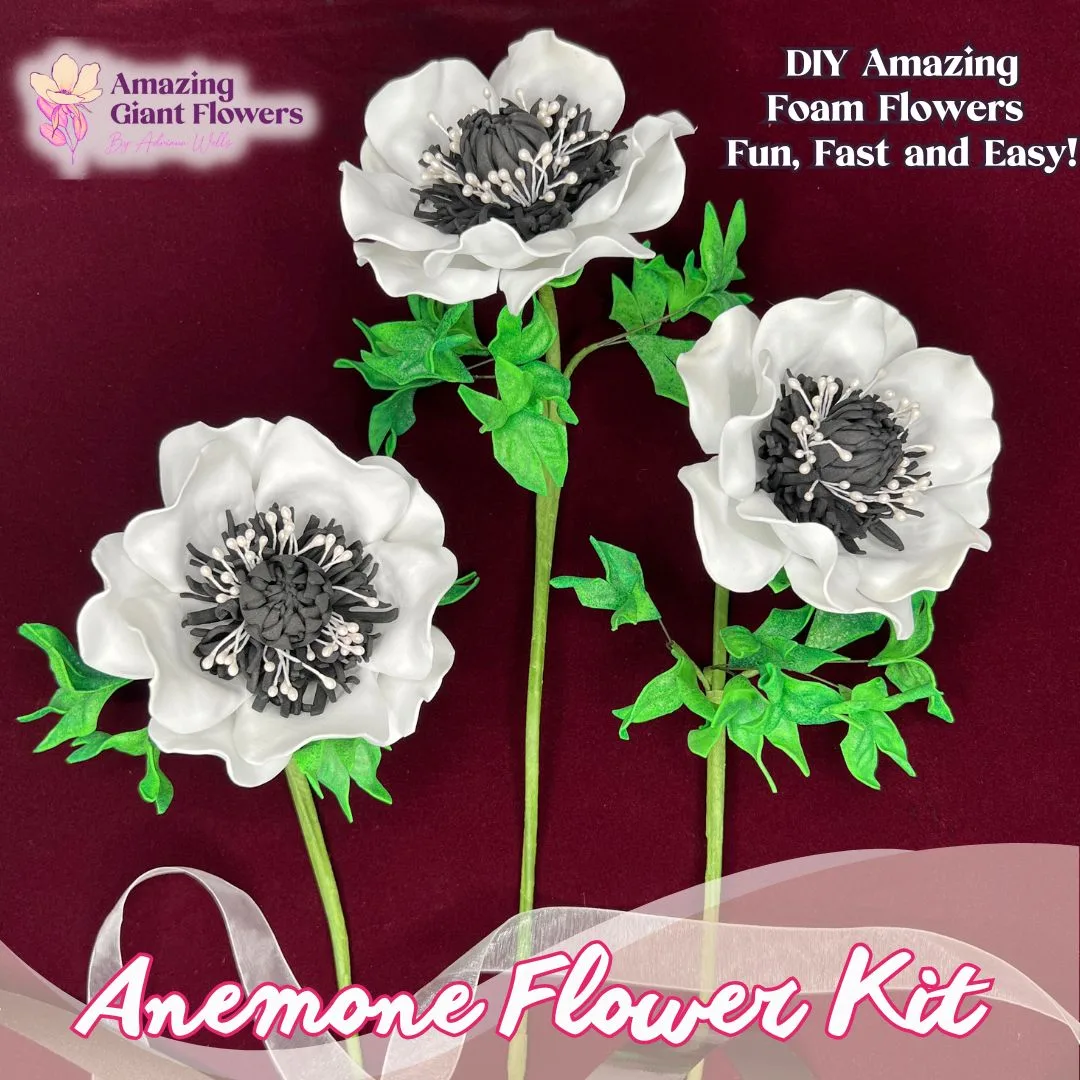
That's genuinely it. No fancy machines. No expensive cutters. Students walk in, press foam into a mold, shape it with heat, and walk out with a stunning life-size flower. If you want to go deeper on shaping technique, I wrote a whole breakdown on heat gun techniques for shaping foam flower petals — it's worth bookmarking for class prep.
💡 Pro Tip
For beginner classes, pre-cut your EVA foam sheets into rough petal shapes before students arrive. It saves 15–20 minutes of class time and keeps the focus on the molding and shaping technique — which is the satisfying part students actually came for.
For Sugar Flower and Gumpaste Classes
The same molds work beautifully here. Your kit shifts slightly:
Because our molds are food-safe compatible, you can use them directly with edible mediums without any concern. That's a question I get asked constantly — yes, they're safe. Yes, you can use them for both in the same class kit without cross-contamination issues if you clean them properly between uses.
One of my favorite things about these molds is how many different class formats they support. You're not locked into one style or skill level. Here are formats that instructors in our community are actually running:
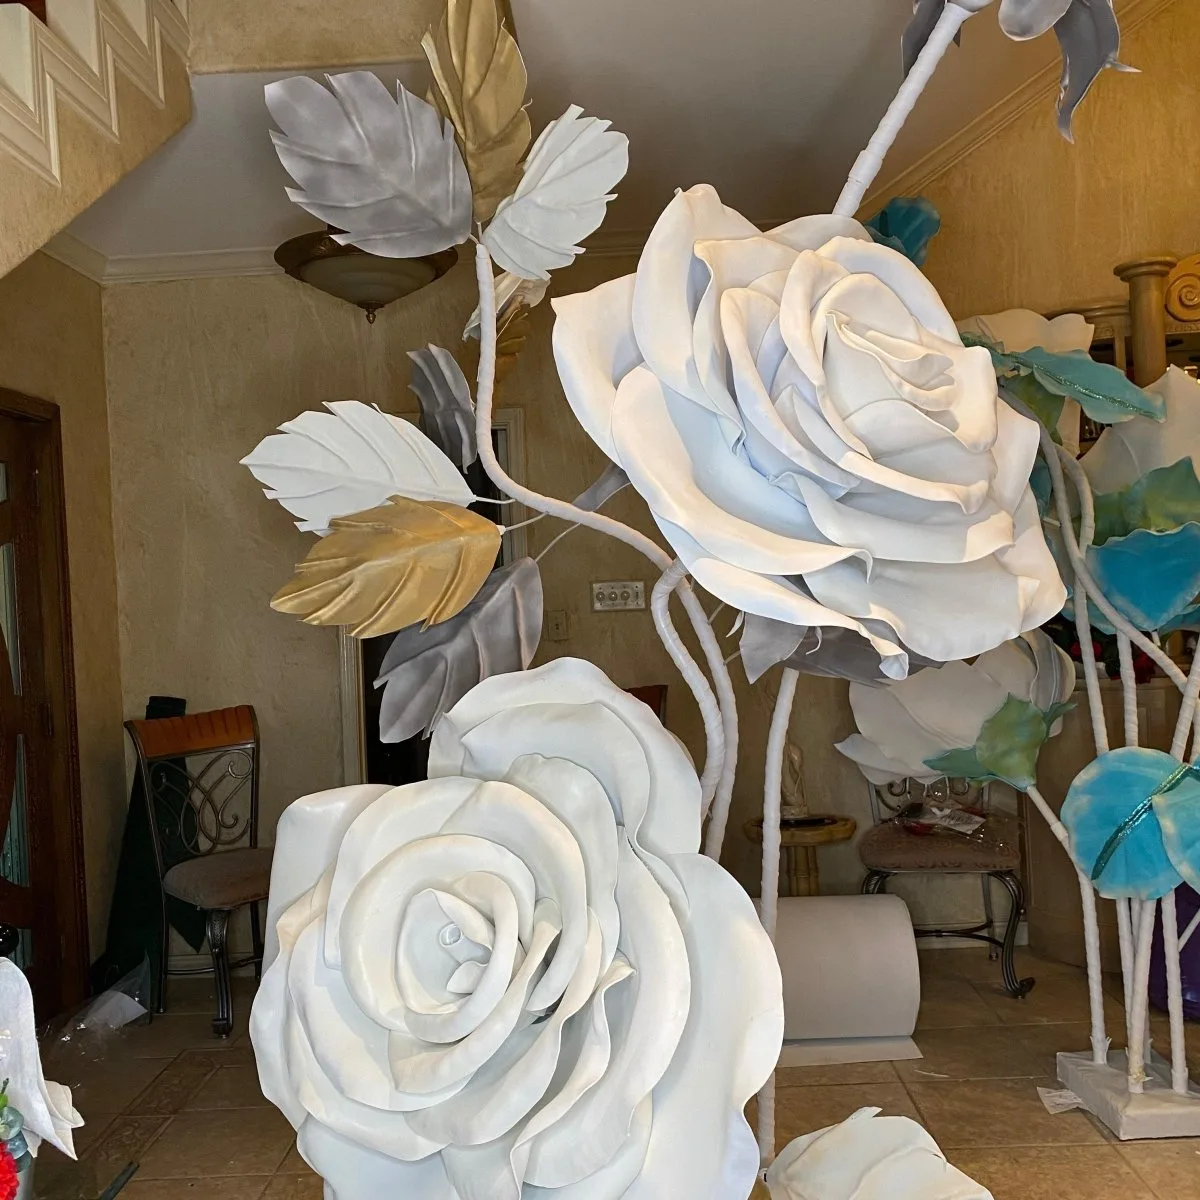
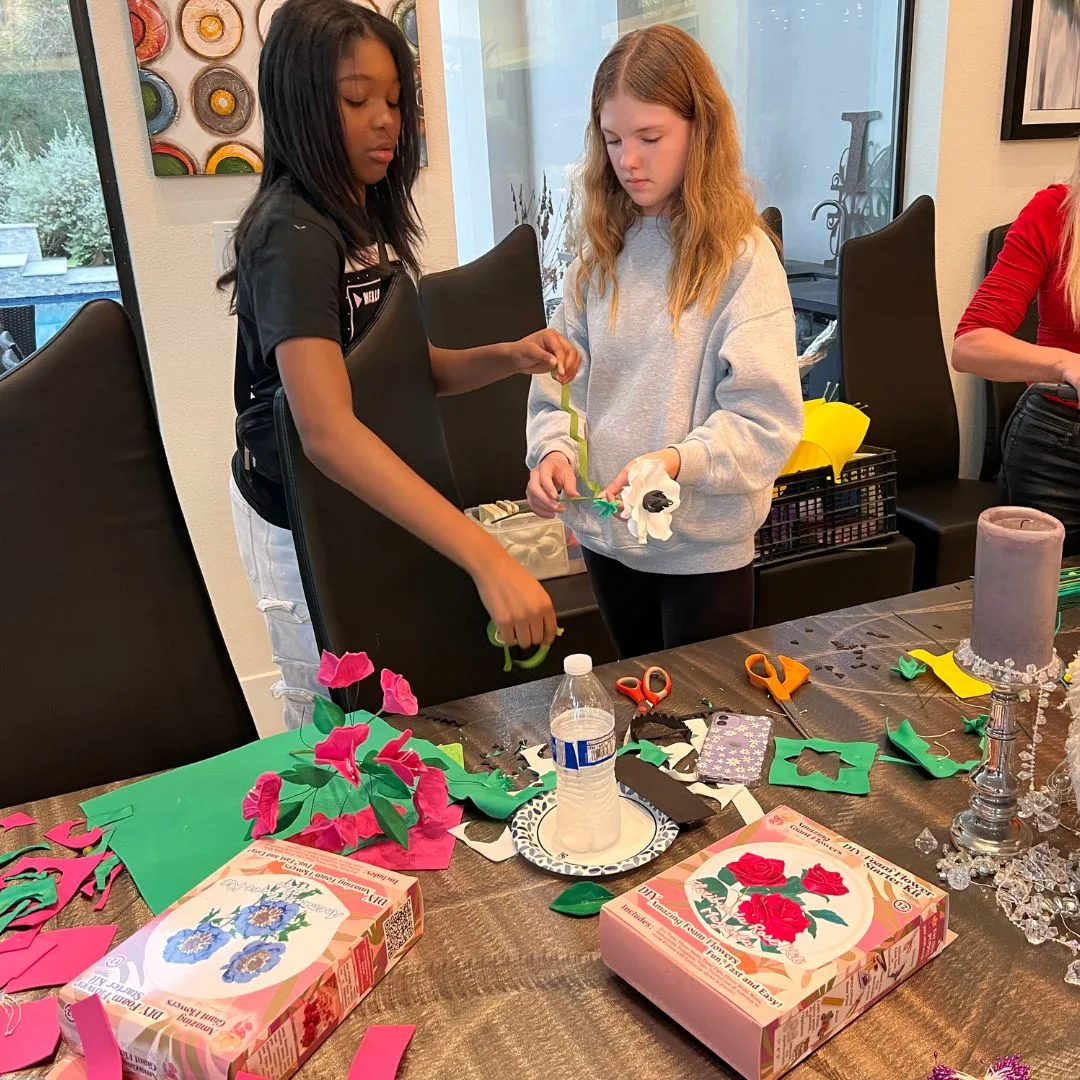
90 minutes. One flower. Maximum satisfaction. This is your gateway class. Students make a single life-size foam rose or peony using one mold. They're blown away by how professional it looks. You've just earned a repeat customer.
Keep the kit minimal. Mold, foam, heat gun, glue. Price the class to cover materials plus your time, and because the molds are reusable, your materials cost per student is basically just the foam — which is pennies per petal.
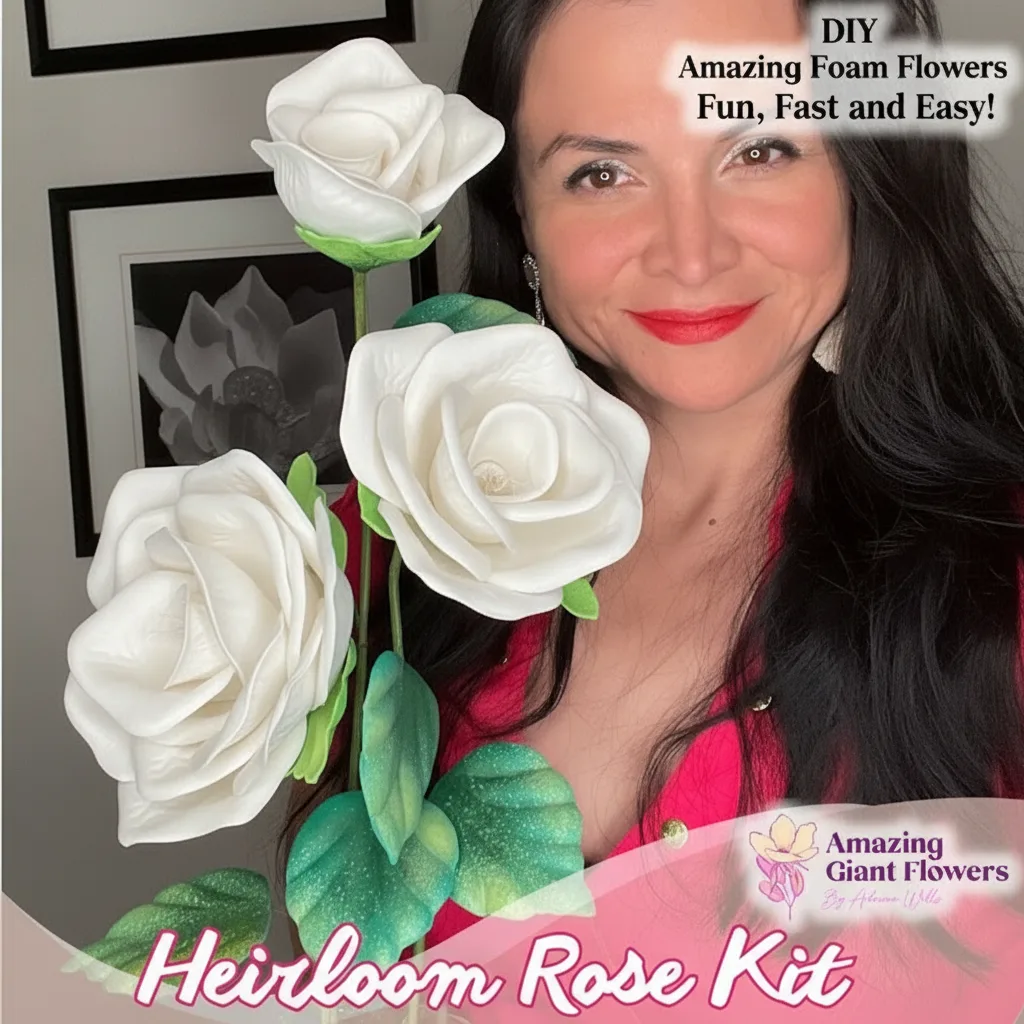
This is where you build real revenue. A 4–6 week series where students progress from a single bloom to a full floral arrangement or backdrop panel. Each week introduces a new flower variety using a different mold. Students can check out our life-size foam flower kits to continue practicing at home between sessions.
Think bridal showers, bachelorette parties, corporate team-building, birthday events. These are high-ticket, one-time bookings where you bring the supplies and facilitate the fun. Molds are perfect here because they guarantee a consistent, beautiful result even for total beginners. Nobody leaves disappointed.
If you're pitching corporate clients, I'd point you to this piece on corporate event engagement ideas — it'll give you language for selling the experience, not just the craft.
I want to give you a real, honest comparison here. Because I know instructors are looking at lots of options — and not everything that looks affordable upfront actually is.
Honestly? The table tells the story. Reusable molds win on every metric that matters for a class setting — consistency, long-term cost, and the quality of what your students walk away with.
Here's something instructors don't talk about enough: your supplies are part of your brand. When a student posts their finished flower on Instagram and tags you, that's free marketing. But only if the flower looks amazing.
A wobbly, uneven petal made from a warped paper template? Nobody's posting that. A perfectly veined, life-size foam rose that looks like it came from a professional floral studio? That's going everywhere.
The "Wow Factor" Is Your Best Marketing Tool
I've seen it happen in my own workshops. Someone finishes their first flower, holds it up, and their jaw drops a little. That moment — that genuine surprise at what they just made — is what fills your next class. Word of mouth from a student who's proud of what they created is worth more than any ad you could run.
And the molds make that moment reliable. Every student, every time, gets a result they're proud of. That's not luck — that's good supplies doing their job.
Because these molds bridge foam crafting AND cake decorating, you can market to two completely different audiences. Run a foam flower workshop on Saturday. Run a sugar flower class for bakers on Sunday. Same molds. Different students. Double the revenue potential.
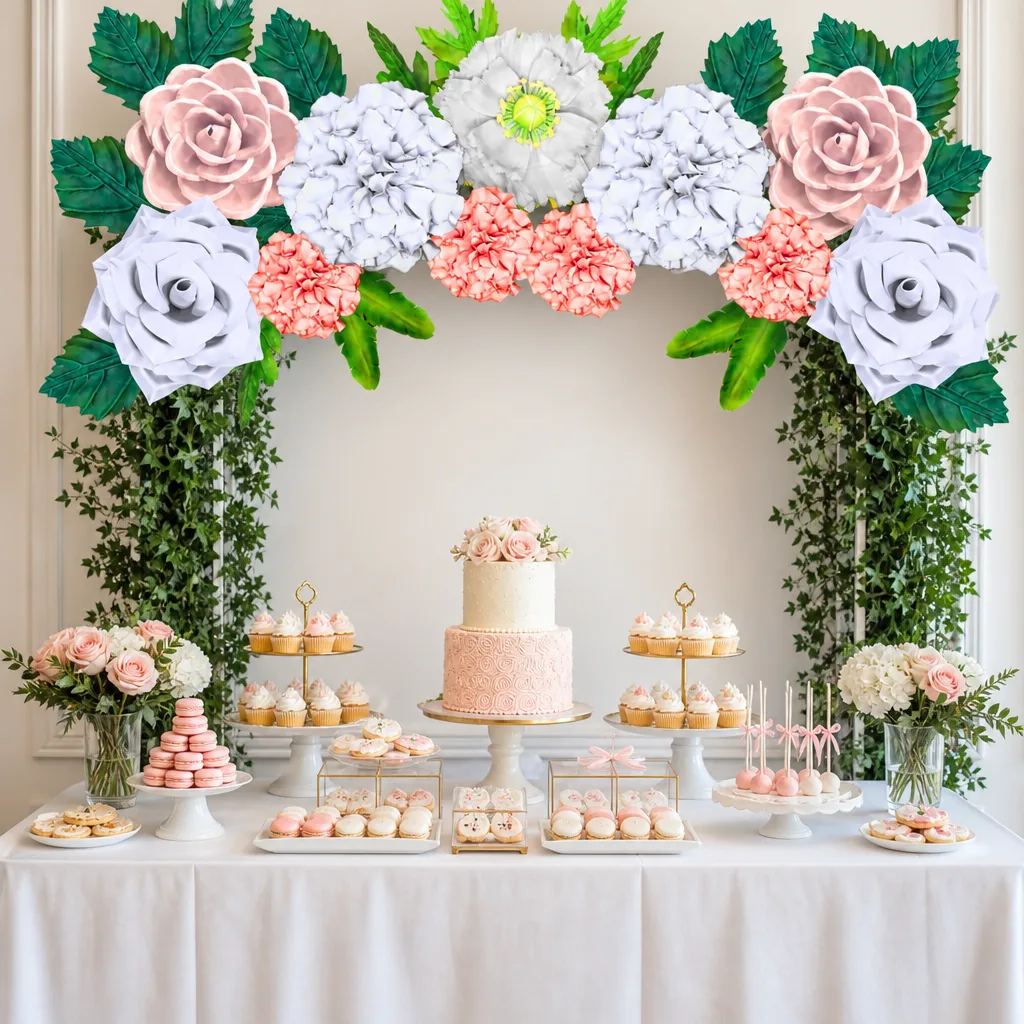
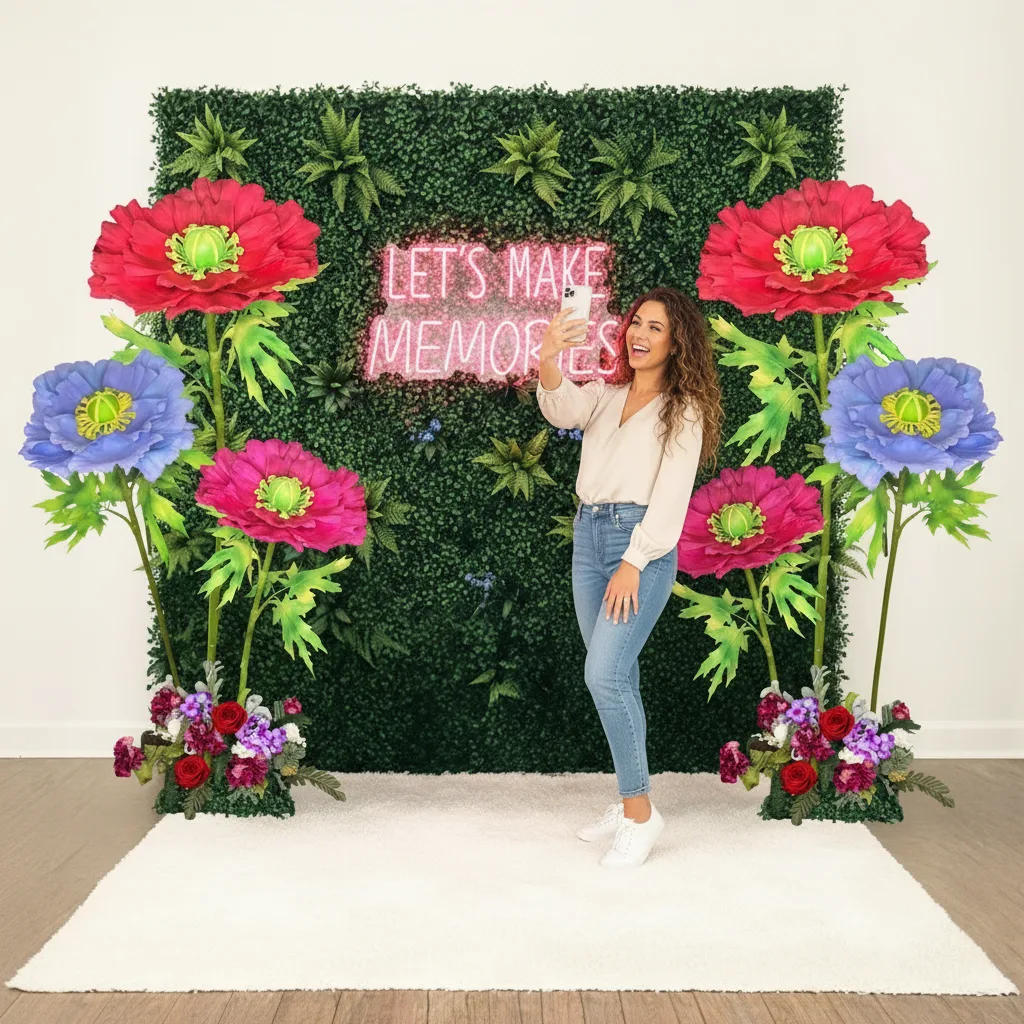
If you're building out event-focused classes, there's a goldmine of inspiration in thinking about what people actually want to make — backdrops for baby showers, bridal showers, graduation parties. Teach people to make the flowers for those events and you've got a class concept that sells itself.
🌸 Ready to build your class kit?
Browse our full flower molds collection and find the right molds for your next workshop.
Practical Tips for Managing Molds in a Class Setting
A few things I've learned from running workshops — and from talking to instructors who use our molds in their studios:
- Label your molds by number or flower type — when you have 10 students all working at once, organization saves your sanity.
- Have a simple cleaning station — warm water and a soft cloth is all it takes. No harsh chemicals needed, which also protects the mold surface for longevity.
- Buy one set per 2 students for budget classes — sharing works fine for slower-paced workshops where students alternate between molding and shaping steps.
- Store flat or hanging — don't stack heavy things on top. They hold their shape beautifully when stored properly.
- Photograph your molds — keep a reference photo of each mold next to the finished flower it produces. Makes it easy to pick the right one mid-class without hunting through your collection.
💡 Pro Tip
For sugar flower classes specifically, dust your molds with cornstarch before each use — not just the first one. It keeps release clean and consistent, which is especially important when students are working quickly and don't have the muscle memory yet.
Frequently Asked Questions
Can I use the same flower molds for both foam and sugar flower classes?
Yes — and that's genuinely one of the best things about them. Our molds are double-sided and food-safe compatible, so they work beautifully for both EVA foam petals and gumpaste or fondant sugar flowers. Just clean them thoroughly between uses if you're switching between mediums.
How many uses can I realistically get out of one mold?
Hundreds. Seriously. With proper care — gentle cleaning, flat storage, no harsh solvents — these molds hold up through class after class. I've had instructors tell me they
Ready to Create Something Amazing?
Browse our collection of giant flower kits and start your next project today.