Your First Freestanding Giant Flower: A Beginner Build Walkthrough
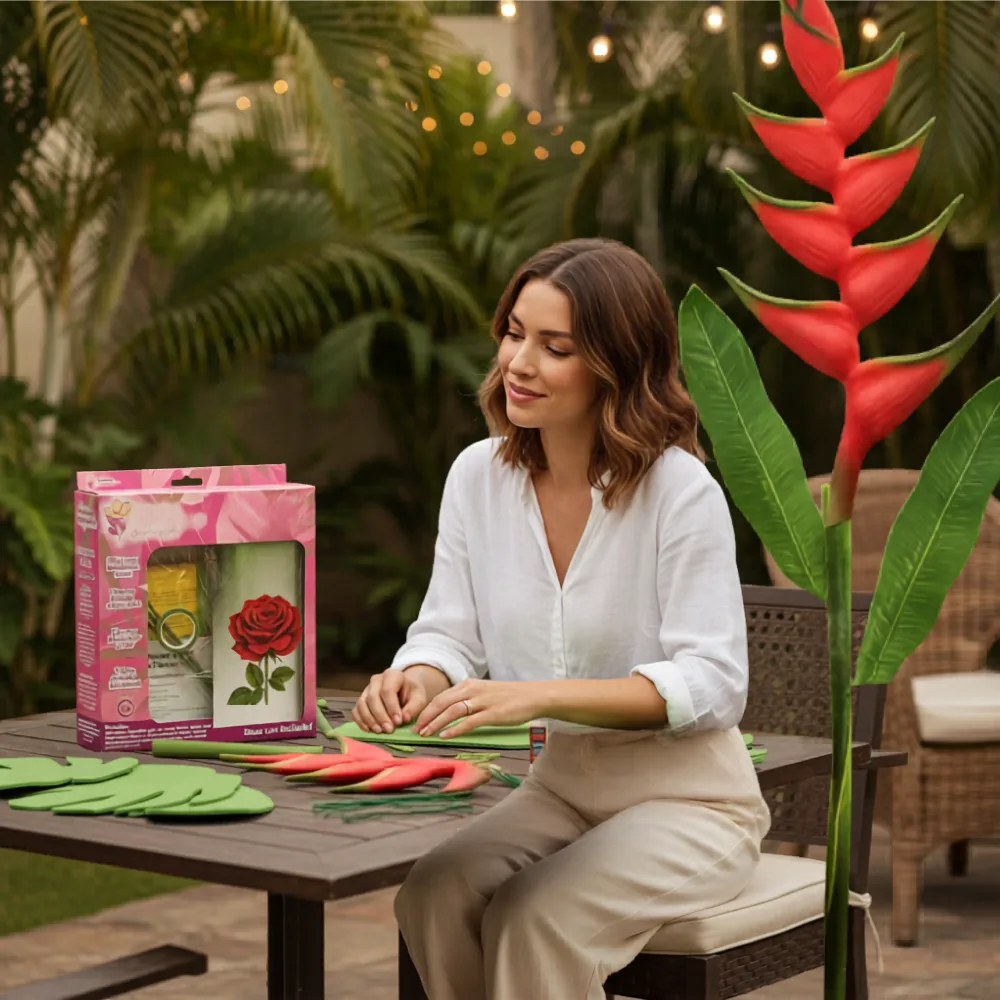
So you've been scrolling Instagram, pinning gorgeous event photos, and thinking — I could totally make that. And here's the thing: you absolutely can. Learning how to make a giant flower is way less intimidating than it looks, and I promise you don't need any special art degree or fancy equipment to pull it off.
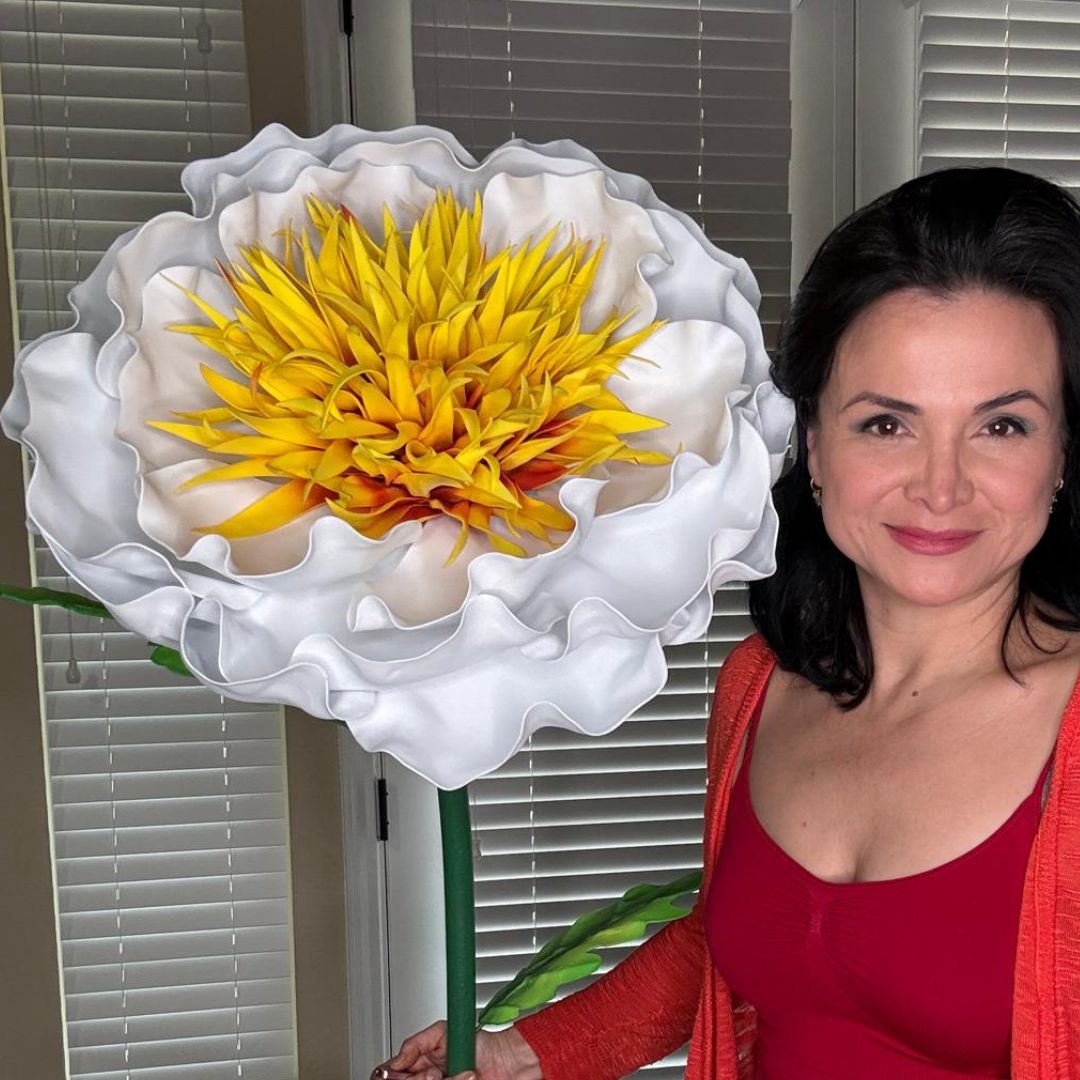
I'm Adriana, and I built my first giant flower on my kitchen table with zero experience and a whole lot of YouTube rabbit holes. It wasn't perfect. But it was mine, and I was hooked from that very first petal. Now I help thousands of crafters — event planners, moms, small business owners, total beginners — build their very first one too.
This walkthrough is specifically for you if you've never done this before and you want to feel genuinely confident before you start. We're going step by step, no skipping, no assuming you already know things. Let's do this.
Key Takeaways
Here's something I wish someone had told me early on: not all giant flower projects are created equal. Wall installations look stunning, but they require you to think about mounting, weight distribution, wall anchors — a whole extra layer of problem-solving on top of actually building the flower.
Freestanding flowers? They stand on their own. You build them, you set them down, done. That simplicity is a gift when you're just starting out.
The Confidence Factor
When I teach workshops, I always start people on freestanding builds. Why? Because you get to see the whole flower come together — stem, base, petals, center — and that complete visual payoff is what hooks people. You finish it, you step back, and you think I made that.
That moment is everything. It's what turns a "maybe this is my thing" into "this is absolutely my thing."
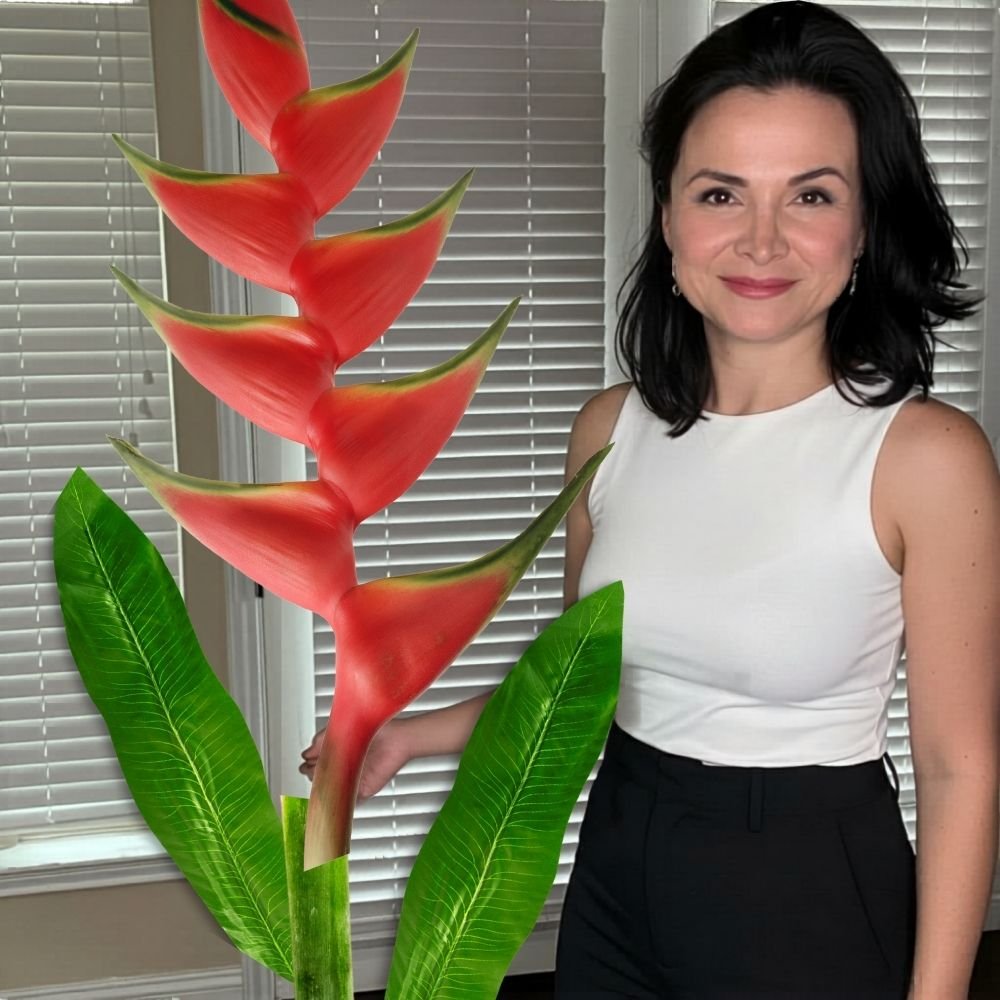
Our freestanding giant flower kits build up to 5 feet tall, but you can trim them shorter for any venue — a baby shower with low ceilings, a boutique display, a photo booth corner. One kit, endless uses. That flexibility means your very first build has real-world value from day one.
Let me break this down into the absolute essentials. I'm not going to give you a 47-item supply list — that's overwhelming and honestly unnecessary for your first build.
Start with one of our freestanding giant flower kits, priced between $80–$180 depending on the style and size. The foam is pre-cut EVA, which means your petals are already shaped. You're not cutting from scratch. You're assembling, shaping, and finishing. Huge difference for a beginner.
Honestly? Skip the cheap stuff. I've seen people try to save $20 buying random foam from a craft store and spend three times as long fighting with it. The pre-cut kit pays for itself in time and sanity alone.
💡 Pro Tip
Set up your workspace BEFORE you start. Lay out all your foam pieces, plug in both guns, and have a silicone mat or parchment paper down to catch glue drips. A prepared workspace makes the whole process feel calm instead of chaotic.
How to Make a Giant Flower: Step-by-Step Build Walkthrough
Ok, this is where it gets really fun. I'm walking you through the full build process as if we're sitting at the table together. Every kit comes with video tutorials that show you exactly this — but having it in writing helps too.
Open your kit and lay everything out. You'll typically have outer petals, inner petals, a center piece, and base components. Take a minute — seriously, just one minute — to look at all the pieces and match them to the tutorial diagram or video. Don't skip this. It saves so much confusion later.
This is the step that transforms flat foam into something that looks alive. Hold your heat gun about 3–4 inches from the foam surface and move it in slow, sweeping motions. The foam will soften in seconds. Then use your hands (carefully — it's warm!) to curl the edges inward or outward depending on your petal style.
Outer petals usually curl slightly backward for a natural, open-bloom look. Inner petals curl inward to create depth. The video tutorial in your kit shows this beautifully — watch that section twice before you start.
This is the rule that changed everything for me when I first learned it. Always start with your outermost layer of petals and work toward the center. Glue your largest petals to the base first, evenly spaced in a circle. Then layer the medium petals on top, slightly offset so they fill the gaps. Then the inner petals. Then the center.
Each layer overlaps the one before it, and that's what creates that gorgeous, full, dimensional look. It's like building a real flower — nature figured this out for a reason.
Your bendable pipe goes through the center of the flower base. Apply hot glue generously around the connection point and hold it firmly for about 30 seconds. The pipe is what gives your flower that beautiful, natural-looking curve — you can bend it to any angle you want.
Your kit includes a base that the pipe slots into. Some people add a little extra weight inside (a small bag of sand or gravel works great) if they're placing the flower in a high-traffic area or outdoors. For indoor events, the base as-is is totally stable.
Step back and look at your flower. Seriously — step all the way back. You'll immediately see if any petals need a little more curl, if the center needs to be pressed down more firmly, or if one side looks heavier than the other. These tiny adjustments take two minutes and make a massive difference in the final look.
🌸 Ready to get started?
Browse our freestanding giant flower kit collection and find the perfect style for your first build. Kits start at just $80 and include step-by-step video tutorials.
Choosing the Right Kit for Your First Build
Not all kits are the same, and choosing the right one for your first project makes a huge difference in how that first experience feels. Here's my honest breakdown:
| Kit Style | Petal Count | Difficulty | Best For | Price Range |
|---|---|---|---|---|
| Simple Rose | 12–18 petals | ⭐ Beginner | First build, gifts, home decor | ~$80 |
| Open Dahlia | 25–35 petals | ⭐⭐ Easy-Intermediate | Events, photo booths, weddings | ~$120 |
| Full Peony | 40+ petals | ⭐⭐⭐ Intermediate | Statement pieces, arches, retail | ~$150–180 |
| Simple Sunflower | 16–20 petals | ⭐ Beginner | Outdoor events, kids parties, markets | ~$85 |
My honest recommendation for your very first build? Go with the Simple Rose or Simple Sunflower. Fewer petals means less time, less glue, and less room for overwhelm. You'll finish it in an afternoon and feel incredible. Then you can tackle the dahlia next time with actual experience under your belt.
Common Beginner Mistakes (And How to Avoid Them)
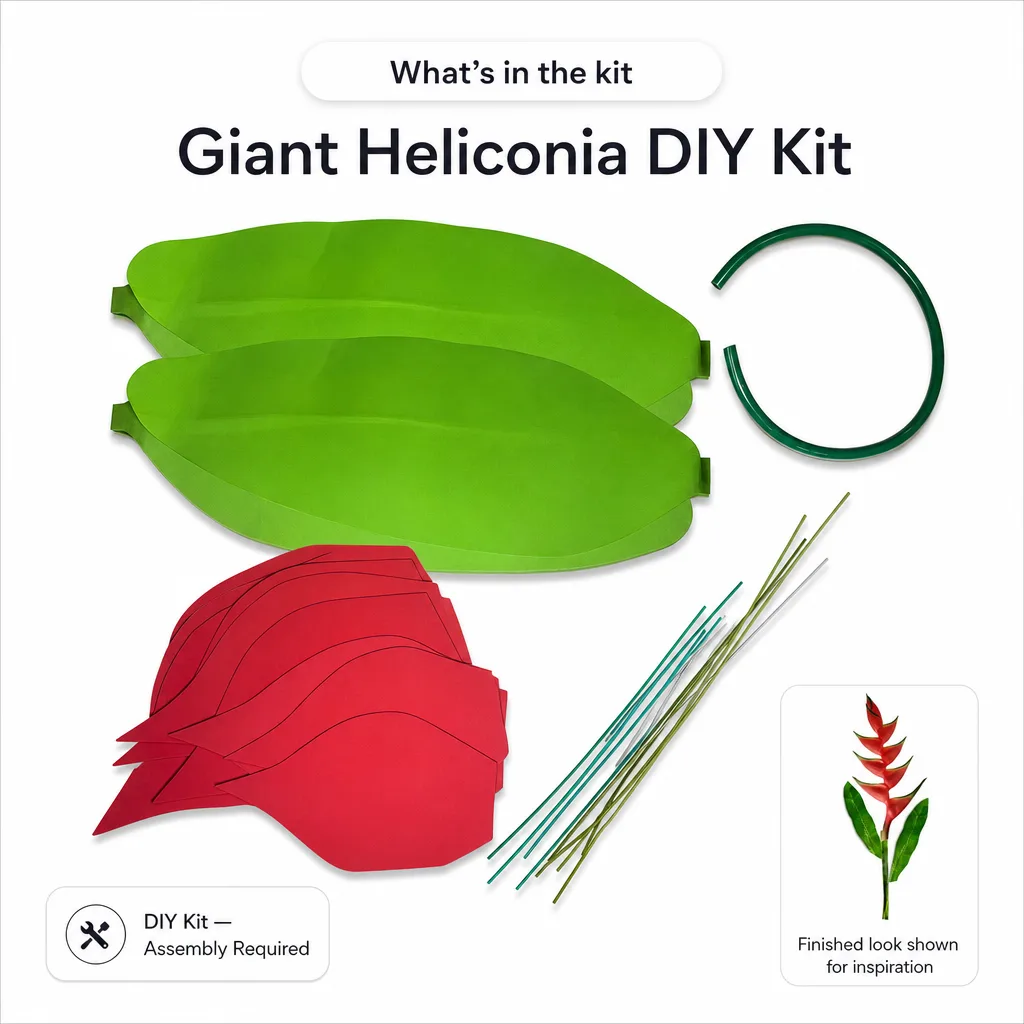
Real talk? I've seen the same mistakes happen over and over in my workshops. None of them are catastrophic, but knowing about them ahead of time saves you a headache.
- Using too much hot glue: A little goes a long way with EVA foam. Excess glue creates lumpy seams that show through the finished flower. Use thin, even beads of glue.
- Rushing the heat shaping: If you move the heat gun too fast, the foam doesn't get warm enough to hold its shape. Slow and steady, letting the foam soften fully before you curve it.
- Skipping the video tutorial: I know, I know — you want to just dive in. But watch the tutorial first, even just the petal-shaping section. It takes 10 minutes and saves you an hour of backtracking.
- Not offsetting the petal layers: If your petals line up in neat rows, the flower looks flat and artificial. Offset each layer by half a petal width so they stagger naturally.
- Building on an unstable surface: Your base needs to be fully assembled and stable before you start adding height. Build from the ground up, always.
💡 Pro Tip
Keep a cup of water nearby when you're using the heat gun. If you over-soften a petal and it starts to warp in a direction you don't want, a quick press with a damp fingertip cools it fast and holds the shape. Little trick that saves so many petals.
Where to Use Your First Giant Flower
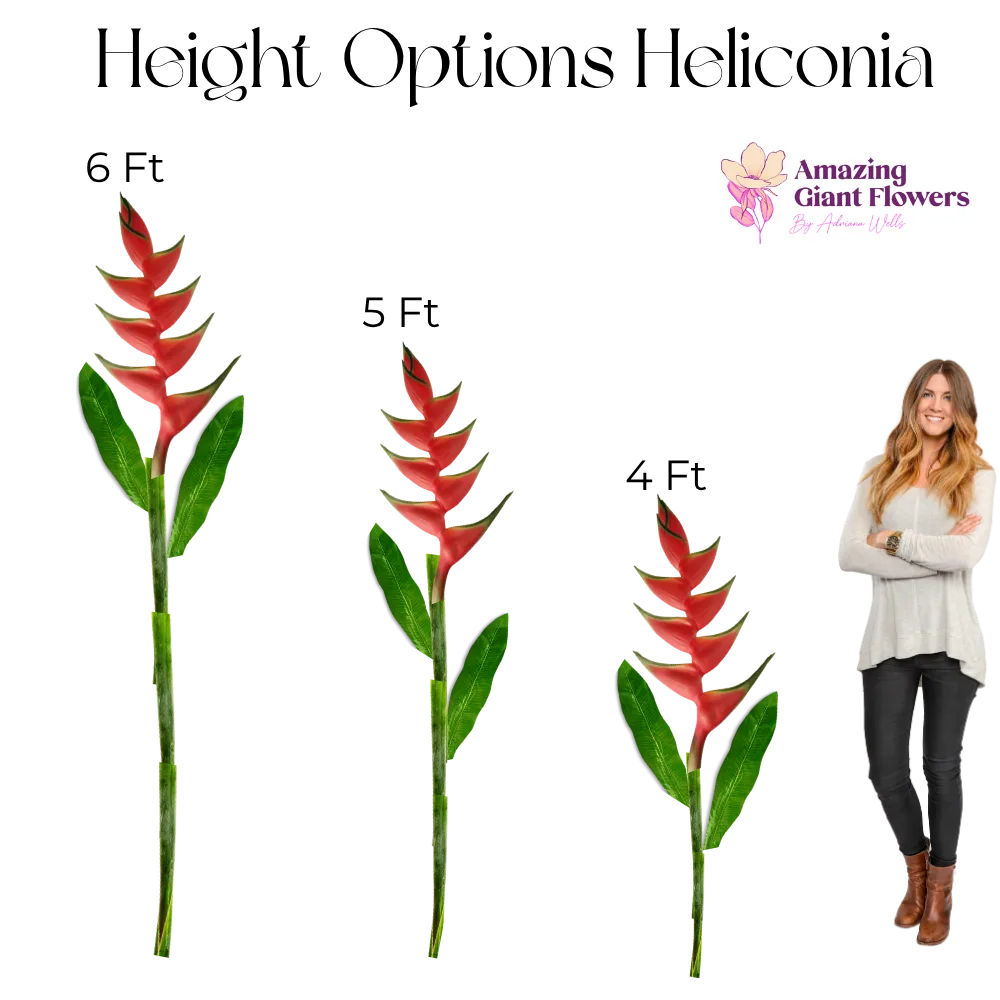
One of the most exciting parts of finishing your first build is realizing how many places it can go. Freestanding giant flowers are genuinely one of the most versatile event decor items out there.
Events and Celebrations
A single 5-foot flower next to a welcome sign at a baby shower or bridal shower is an instant focal point. People photograph it, they comment on it, they ask where you got it. And you get to say you made it.
Photo Booths and Backdrops
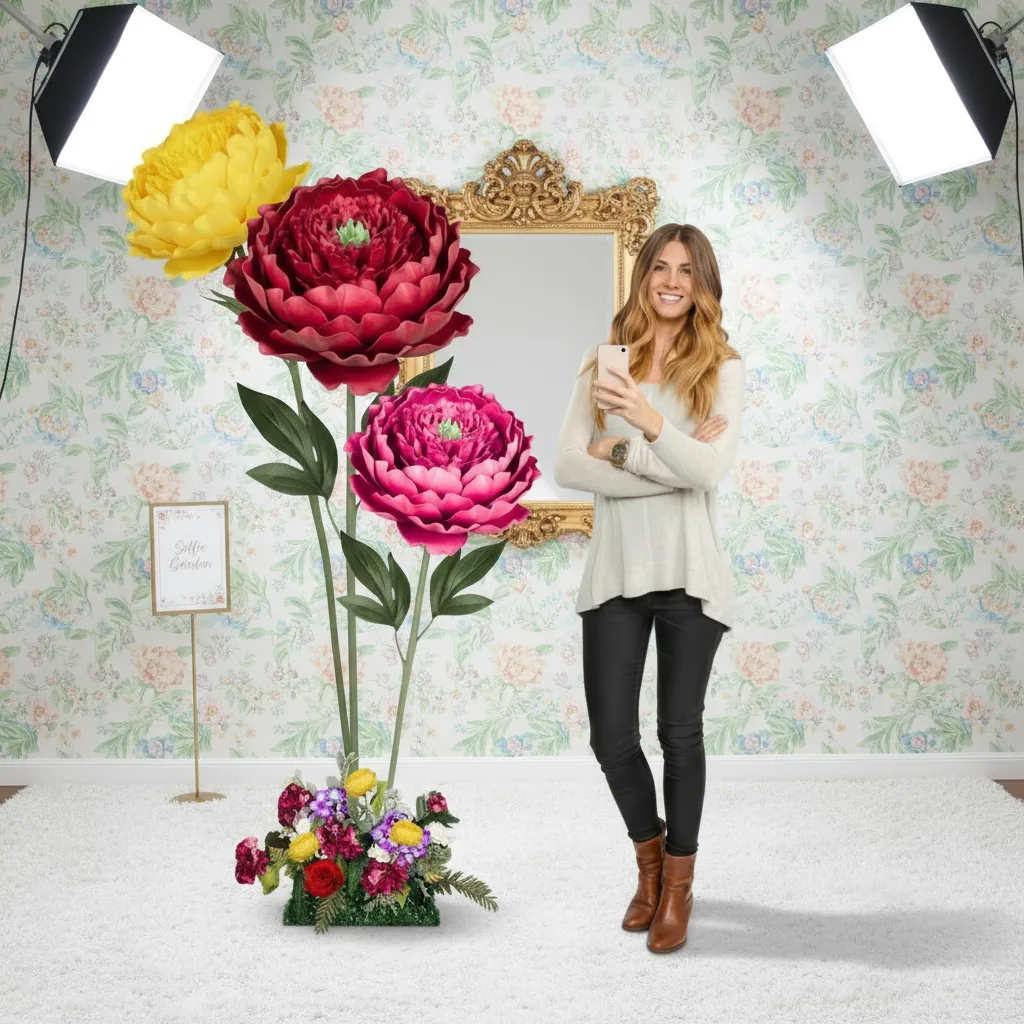
Pair two or three freestanding flowers together and you've got a gorgeous DIY giant flower backdrop for photos. Add a few wall flower kit pieces behind them and you've got something truly show-stopping.
Retail and Business Displays
Boutique owners love these. A giant flower in a storefront window or near a fitting room drives foot traffic and social media shares. Check out these visual merchandising ideas for boutiques for more inspiration on how to style them in a retail space.
One of my brides told me her freestanding flowers got more compliments than the floral centerpieces that cost five times as much. That's the power of scale.
Frequently Asked Questions
How long does it take to make a giant flower for the first time?
For a beginner working on a simple style like a rose or sunflower, plan for 3–5 hours for your first build. That includes watching the tutorial, sorting pieces, shaping petals, and assembling. By your second flower, you'll likely cut that time nearly in half. Don't rush your first one — the learning is the point.
Do I need any prior crafting experience?
Absolutely not. I designed these kits specifically so that someone with zero crafting background can follow along and succeed. If you can use a hot glue gun and follow a video tutorial, you have everything you need. The pre-cut foam means there's no cutting, no templates, no measuring — just shaping and assembling.
Can I paint my giant flower after I build it?
Ready to Create Something Amazing?
Browse our collection of giant flower kits and start your next project today.