What Goes Into a Custom Flower Build for Event Sets

Key Takeaways
- A professional event set flower build has five distinct stages — from concept to installation — and skipping any one of them causes problems on event day.
- Material choice (EVA foam vs. crepe paper vs. fabric) dramatically affects your build time, cost, and final look.
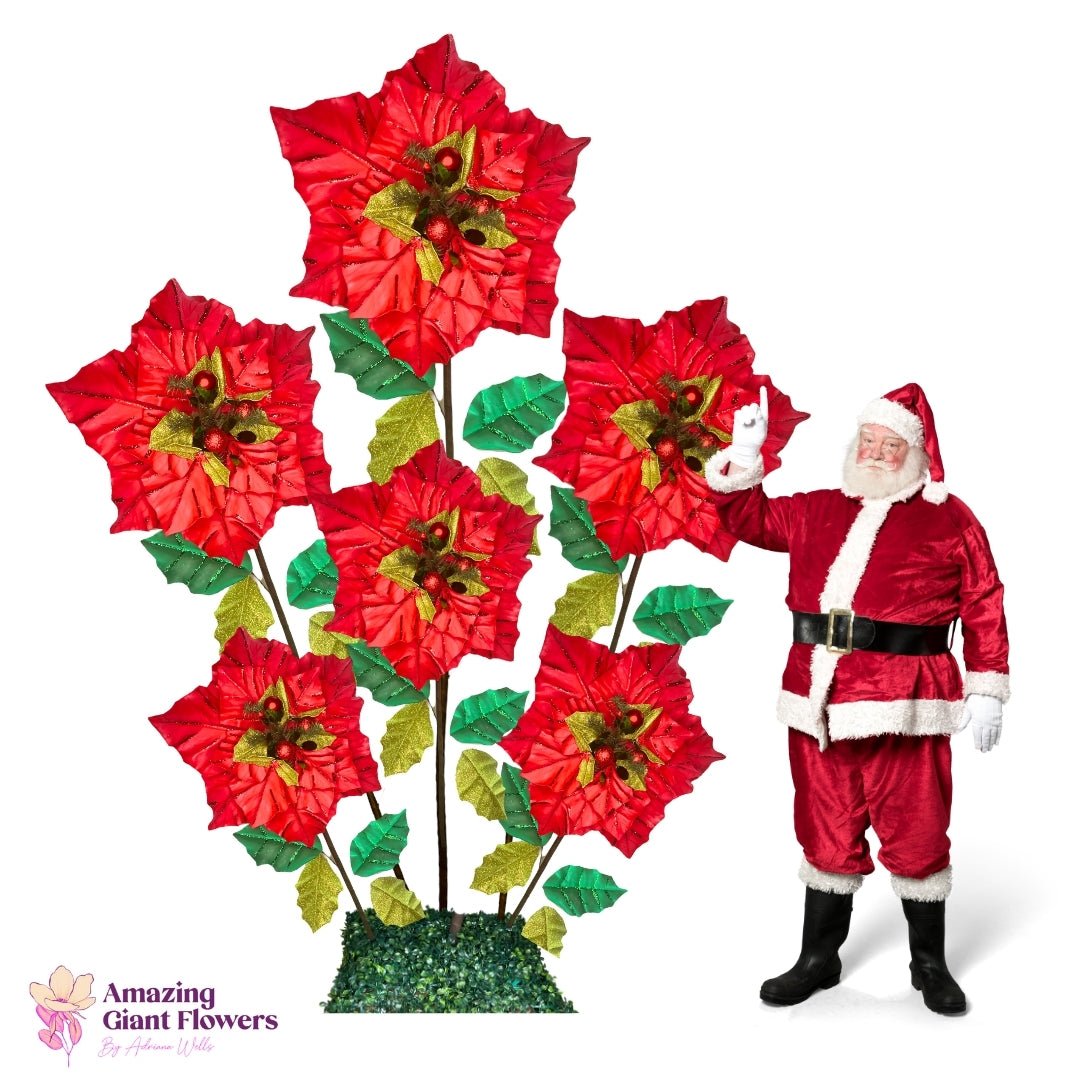
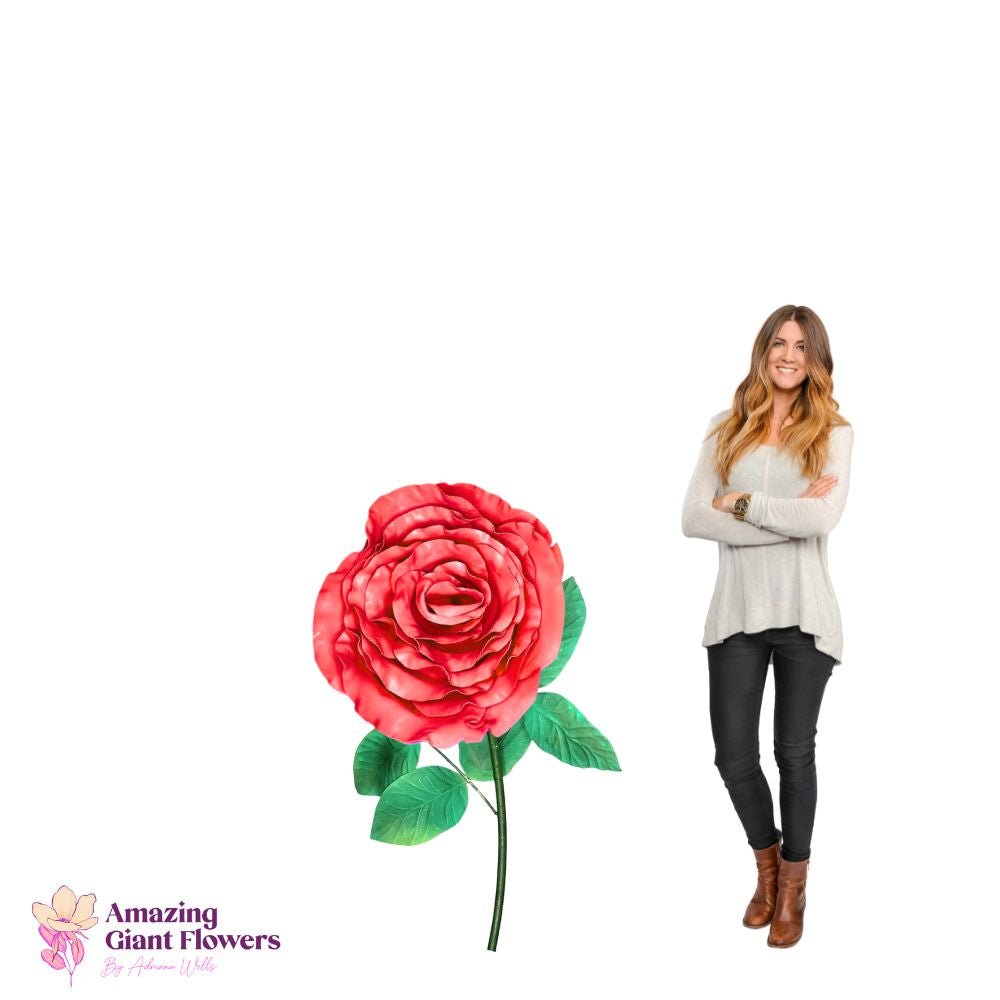
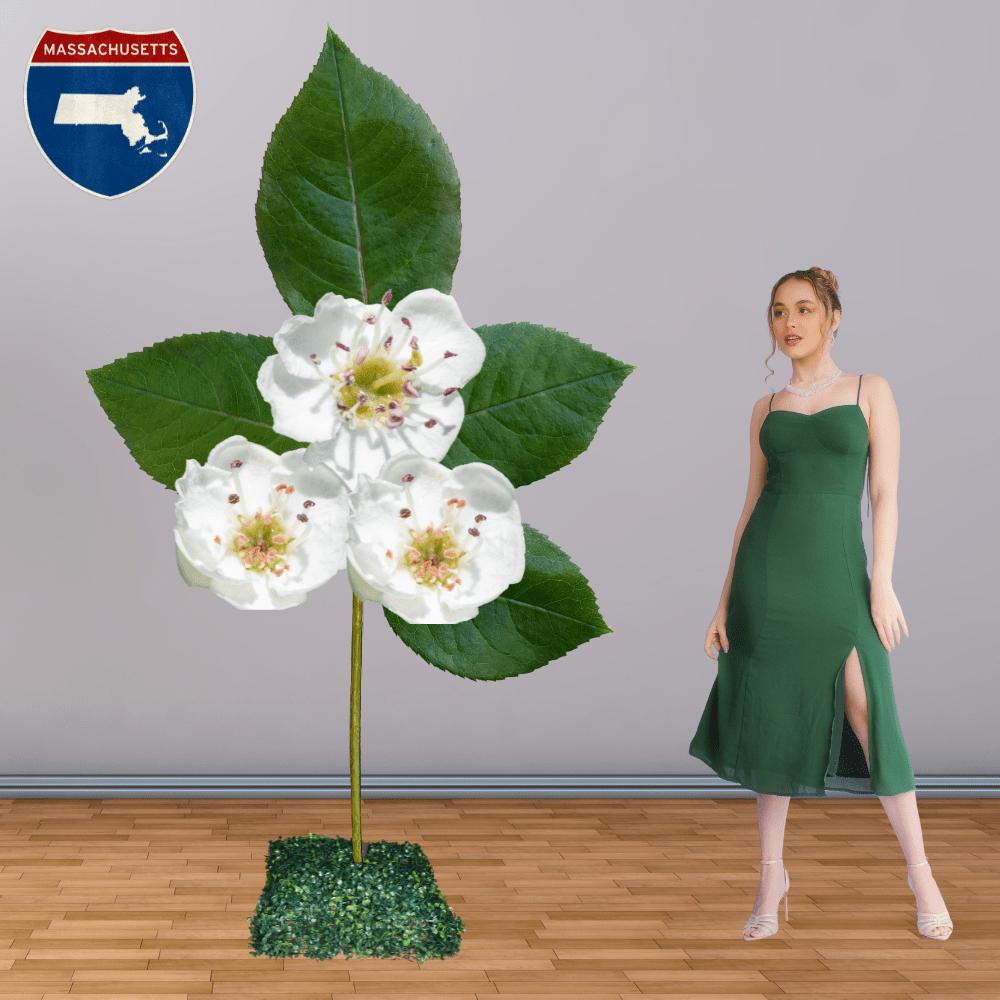
- Giant flowers range from 2 to 5 feet tall, and the size you choose should be driven by ceiling height, venue footprint, and viewing distance.
- A full custom flower set for a mid-size event typically takes 15–40 hours of build time depending on complexity and flower count.
- Pre-cut kits can cut your build time by 30–50% without sacrificing the custom look.
Stage One: The Concept and Design Brief
Here's what I ask every client (or ask myself, when I'm building for my own events):
- What's the venue? Ceiling height, wall material, floor surface — all of it affects the build. A 5-foot freestanding flower looks incredible in a ballroom. In a low-ceilinged restaurant, it's a fire hazard and a headache.
- What's the color palette? I need hex codes or Pantone references if we're going custom-painted. "Blush pink" means seventeen different things to seventeen different people.
- How many flowers? A single statement flower is a completely different project than a 12-piece backdrop installation. Build time and material costs scale fast.
- What's the mood? Whimsical and maximalist? Sleek and editorial? Romantic and soft? The flower variety and petal shape should match the event's overall aesthetic.
- What happens to the flowers after? If the client wants to keep them, I build differently than if they're being discarded after one use.
According to Brides.com, couples spend an average of $2,000–$2,500 on fresh wedding flowers — and that budget often disappears in a single day. A well-designed giant flower set can hit the same visual impact for a fraction of that cost, and the flowers can be repurposed or sold afterward. That's a conversation I have with almost every bride I work with.
Sketching the Layout
Once the brief is locked, I sketch the layout. I'm not a trained illustrator — I use graph paper and colored pencils like it's 1994, and it works perfectly. I'm mapping out where each flower lives in the space. Which ones are freestanding? Which are wall-mounted? Are there any arch elements? Is there a focal point (like a welcome sign or a sweetheart table) that the flowers need to frame? This sketch becomes the blueprint for everything that follows.Stage Two: Choosing Your Materials
| Material | Best For | Durability | Build Difficulty | Typical Cost per Flower |
|---|---|---|---|---|
| EVA Foam | Events, commercial installs, reusable sets | Excellent (years of use) | Moderate | $25–$80 |
| Crepe Paper (160gsm) | Weddings, photo ops, single-use displays | Low (1–2 uses) | Low–Moderate | $8–$20 |
| Fabric (felt/silk) | Upscale events, permanent installations | Very High | High | $40–$120 |
| Cardstock/Paper | Budget builds, kids' parties, indoor-only | Very Low | Low | $3–$10 |
For the event set flower build process I use at Amazing Giant Flowers, EVA foam is almost always my first choice. It's lightweight, it curves beautifully when heat-shaped, it holds paint like a dream, and it survives transport, setup, and teardown without falling apart. If you want to go deeper on foam types, I wrote a whole breakdown in A Crafter's Guide to Every Type of Foam for Giant Flowers — it covers thickness, density, and which foam works for which flower style.
Foam Thickness: The Detail Nobody Talks About
This is one of those things I wish someone had told me when I started. Foam thickness changes everything about how your petals behave. For giant flowers, I typically work with:- 2mm EVA foam: Best for delicate, layered petals on flowers like peonies or ranunculus. It curves easily and creates that soft, organic look.
- 4–5mm EVA foam: My go-to for medium-sized petals that need to hold their shape under their own weight. Great for dahlias and sunflowers.
- 6–8mm EVA foam: For structural base pieces, large statement petals on 4–5 foot flowers, and anything that needs to be rigid and freestanding.
Stage Three: Cutting and Shaping the Petals
When I first started making giant flowers, I was cutting everything by hand with scissors and a box cutter. It worked, but my hands were wrecked by the end of a big order. Now I use a combination of pre-cut foam templates and a heat knife for clean edges on thicker foam. If you're using a Cricut or similar cutting machine for thinner foam sheets, that can speed things up significantly for smaller petals. I covered some of this in my post on flawless foam board paint finishes — the prep work really does determine the final look.
Heat Shaping: Where Flat Foam Becomes a Real Flower
This is the step that makes people's jaws drop when they see it for the first time. EVA foam is thermoplastic — meaning it becomes pliable when heated and holds its new shape when it cools. I use a heat gun (a basic embossing heat gun works perfectly) to curve, cup, and roll petals into realistic shapes. A flat petal becomes a curved, dimensional piece that looks like it was grown, not manufactured.The technique varies by flower type:
- Roses and peonies: Roll the petal edges inward using a dowel or your fingers while the foam is warm. This creates that tight, layered look.
- Dahlias: Cup each petal by pressing the center against a rounded surface (I use the back of a spoon) while heating the edges.
- Tropical flowers (heliconias, anthuriums): Create a center spine by folding the petal lengthwise while warm, then letting it cool slightly open.
- Sunflowers: Slight backward curl on the petal tips gives that cheerful, open-face look. Don't over-curve these — they should look relaxed.
Stage Four: Assembly and Finishing
Building from the Center Out
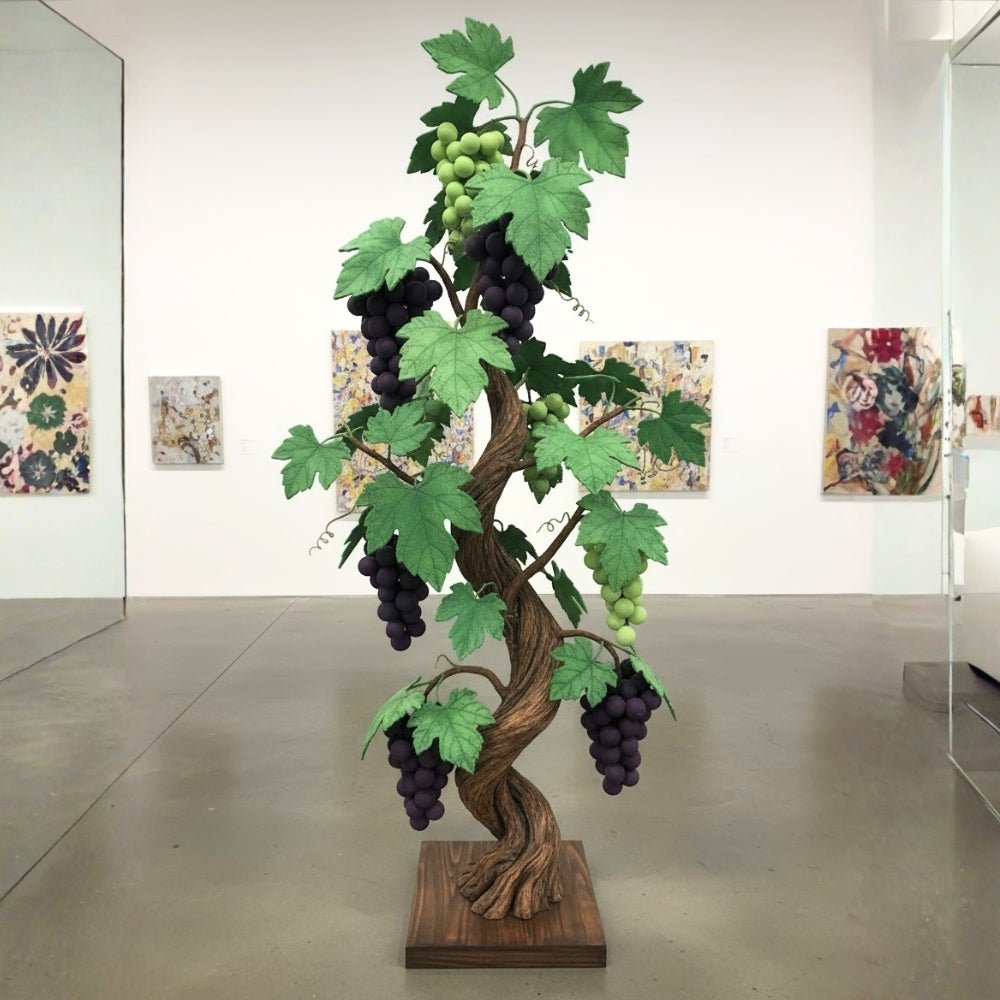
Always, always build from the center outward. This is the rule I never break. Start with your innermost petals — the tightest, smallest ones that form the flower's heart. Glue them to your center disc (a circle of thick foam or cardboard, usually 4–6 inches in diameter for a 3-foot flower). Then layer outward, slightly overlapping each row, with petals getting progressively larger and more open.For a freestanding flower, the base disc gets attached to a bendable pipe stem — one of my absolute favorite supplies because it lets you adjust the angle of the flower head after assembly. You can tilt it slightly forward so it's facing your guests instead of pointing straight up at the ceiling.
Painting and Color Finishing
Some of my foam flowers are left in their natural foam color (especially white and cream shades — the foam itself is gorgeous). But for custom colors, I paint after assembly. Acrylic paint works beautifully on EVA foam when applied correctly. The key is thin layers — I typically do two to three coats, letting each dry completely before adding the next. Rushing this step leads to cracking and peeling, which is heartbreaking after all the build work.For ombre effects, I blend while the paint is still wet using a dry brush technique. For metallic finishes, I use a light dry-brush of gold or rose gold over a base color — it catches the light beautifully in photos. If you want to go deep on painting techniques, my post on painting on foam core covers everything from primer choices to sealing your finished piece.
Stage Five: Installation and Staging
Freestanding vs. Wall-Mounted: Different Challenges
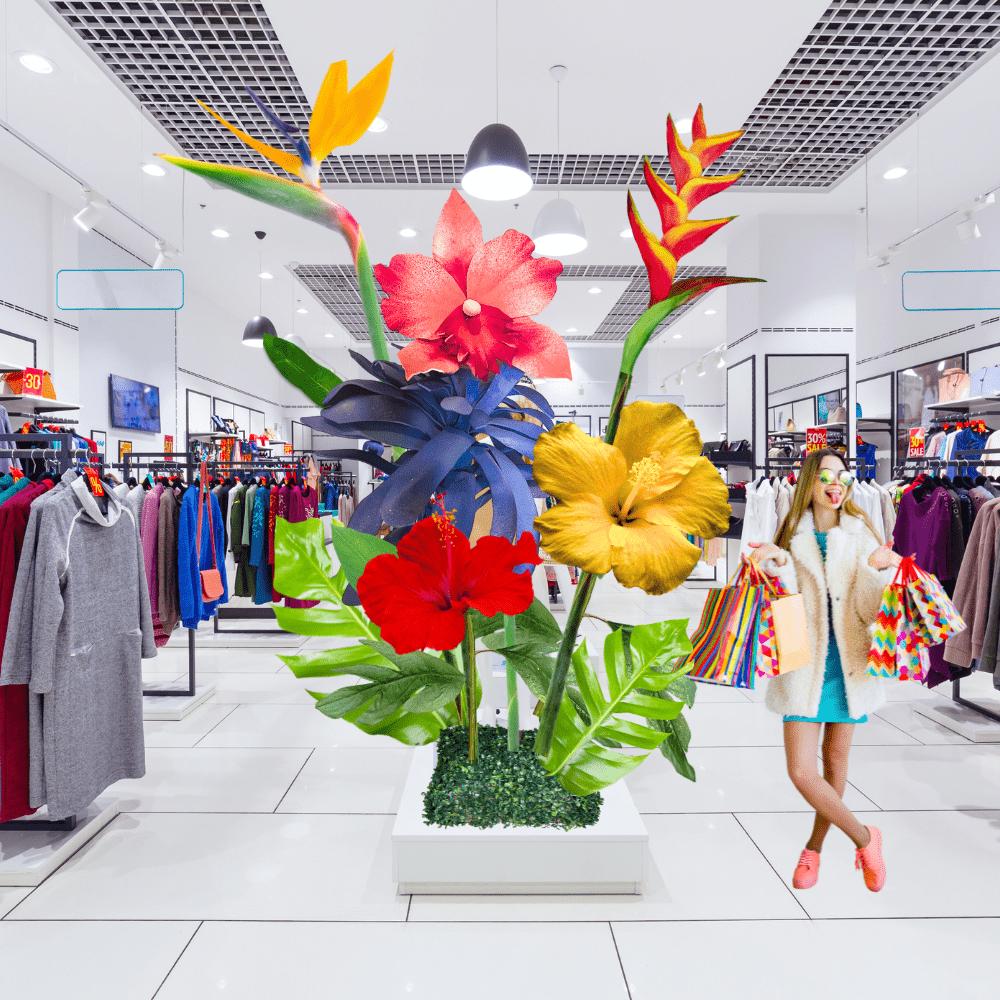
These two installation types require completely different approaches. Freestanding flowers need weighted bases. I use PVC pipe bases filled with sand or gravel — they're invisible once the flowers are styled around them, but they keep a 5-foot flower from tipping over when someone walks by too fast (and someone always does). Wall-mounted flowers need the right hardware for the wall surface. Command strips work for lighter flowers on drywall. For heavier pieces or commercial installs, I use picture-hanging hardware rated for the flower's weight. Always, always know your wall material before you show up on event day.According to Event Marketer, experiential installations have a 65% higher engagement rate than standard signage at brand activations — which is exactly why giant flower sets have become such a staple in commercial event design. If you're building for a brand event, check out my post on 10 Best Experiential Marketing Activations to Wow Crowds in 2026 for more context on why these builds matter so much.
Transport and Protection
Giant flowers are surprisingly durable, but they're not indestructible. I transport mine in large plastic bins lined with packing paper, with each flower loosely wrapped so petals don't get crushed. Never stack flowers directly on top of each other without padding. The weight can flatten petals that took you an hour to shape. Ask me how I know.How Long Does a Full Event Set Build Actually Take?
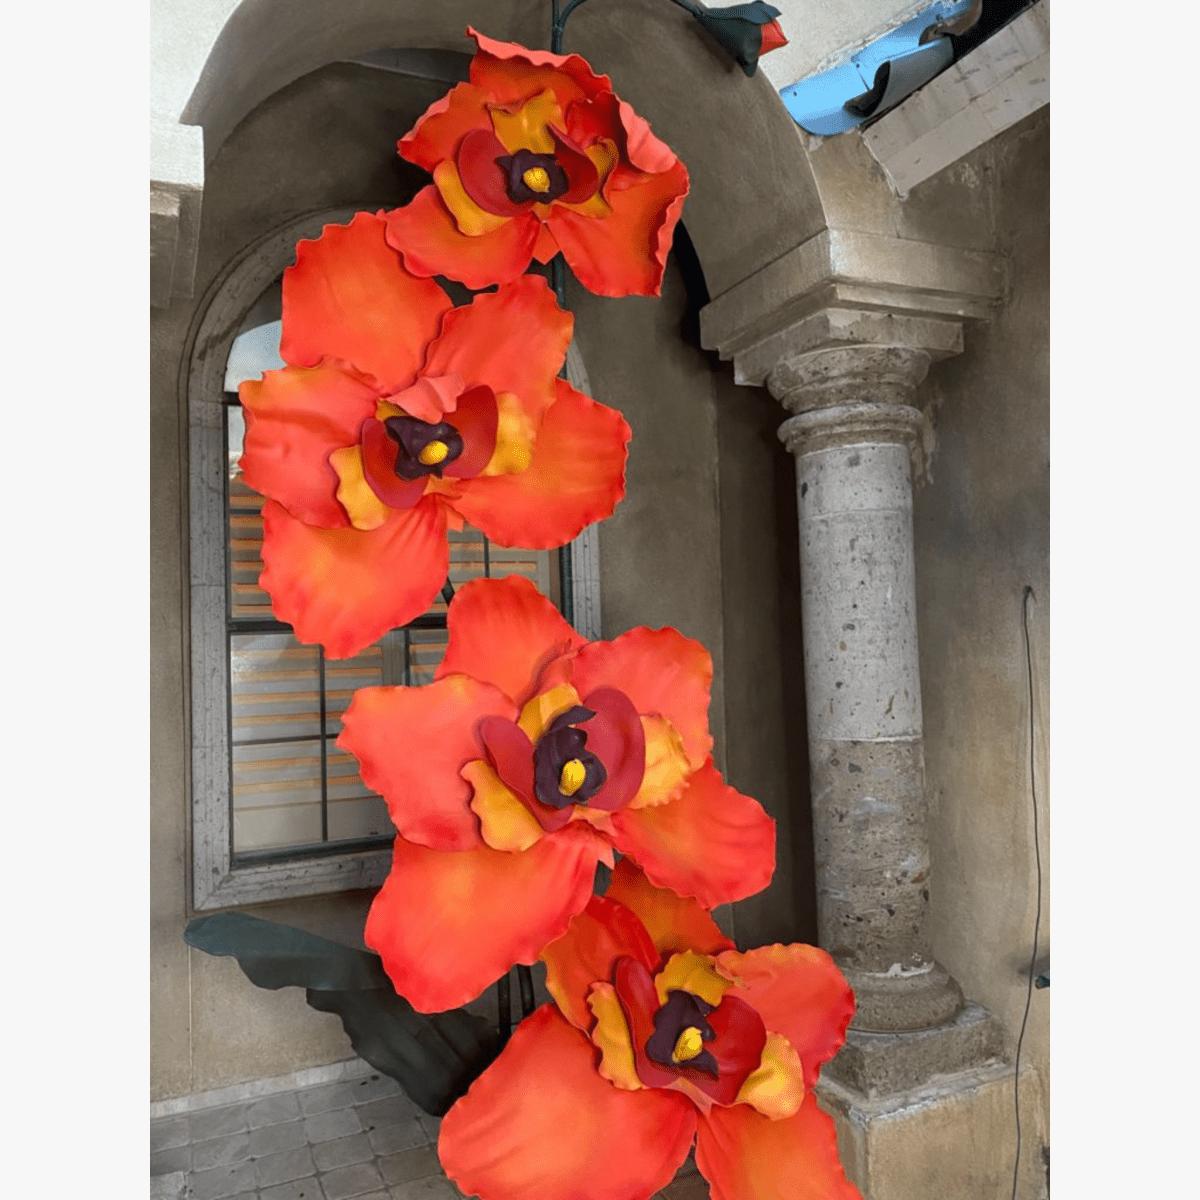
- Single statement flower (3–4 feet): 3–6 hours for an experienced builder, 6–10 hours for a first-timer.
- Small set (4–6 flowers): 12–20 hours total, including drying and finishing time.
- Medium backdrop (8–12 flowers): 25–40 hours. This is where pre-cut kits make a massive difference.
- Full arch installation (15+ flowers): 40–60+ hours. Plan for this to be a multi-week project.
Using a pre-cut kit from our shop at Amazing Giant Flowers cuts the cutting and template work out entirely — which is often the most tedious 30–50% of build time. The kits come with video tutorials so you're not guessing at any step. For a full cost breakdown on what giant flower events actually run, I put together a detailed guide at Giant Flower Event Budget: How Much Does It Really Cost? — it covers materials, labor, and how to price your builds if you're doing this professionally.
Common Mistakes in the Event Set Flower Build Process
- Skipping the dry run: Setting up for the first time on-site, under time pressure, with a client watching — that's a nightmare scenario. Always do a full practice install first.
- Underestimating build time: Every single build takes longer than you think it will. Add 30% to your estimate. Always.
- Using the wrong glue: High-temp glue on thin foam melts the surface and creates visible damage. Match your glue temperature to your foam thickness.
- Ignoring the venue's color temperature: A flower that looks perfect blush-pink in your studio can look almost white under cool LED lighting. Always ask about the venue's lighting setup.
- Building flowers too uniform: Real flowers aren't identical. Vary your petal sizes slightly, vary the curl, vary the tightness. It's the imperfections that make giant flowers look organic instead of manufactured.
Frequently Asked Questions
How long does the event set flower build process take for a beginner?
For a first-time builder working on a single 3-foot flower, expect to spend 6–10 hours from cutting to finished product. That includes learning time, mistakes, and redos — which are completely normal. By your third or fourth flower, you'll be moving significantly faster.
Using a pre-cut kit removes the most time-consuming part of the process and can get a beginner to a finished flower in 3–5 hours. Check out our shop for kits with step-by-step video tutorials included.
What's the best material for a giant flower event set?
EVA foam is my top recommendation for event sets that need to survive transport, installation, and the chaos of an actual event day. It's lightweight, durable, and takes paint beautifully. Crepe paper is lovely for controlled environments but doesn't hold up to humidity or rough handling.
Can I reuse giant foam flowers after an event?
Absolutely — and this is one of the biggest advantages of EVA foam over paper or fresh flowers. A well-built foam flower can be used for multiple events over several years if stored properly. Keep them in padded bins away from direct sunlight (UV can fade painted finishes over time), and they'll last beautifully.
How do I attach giant flowers to a wall without damaging it?
For lighter flowers (under 2 lbs), heavy-duty Command strips rated for the weight work well on painted drywall. For heavier pieces, use proper picture-hanging hardware anchored into studs. Always know your wall material — brick, concrete, and drywall all need different hardware. And always get permission from the venue before making any wall penetrations.
How many flowers do I need for a backdrop?
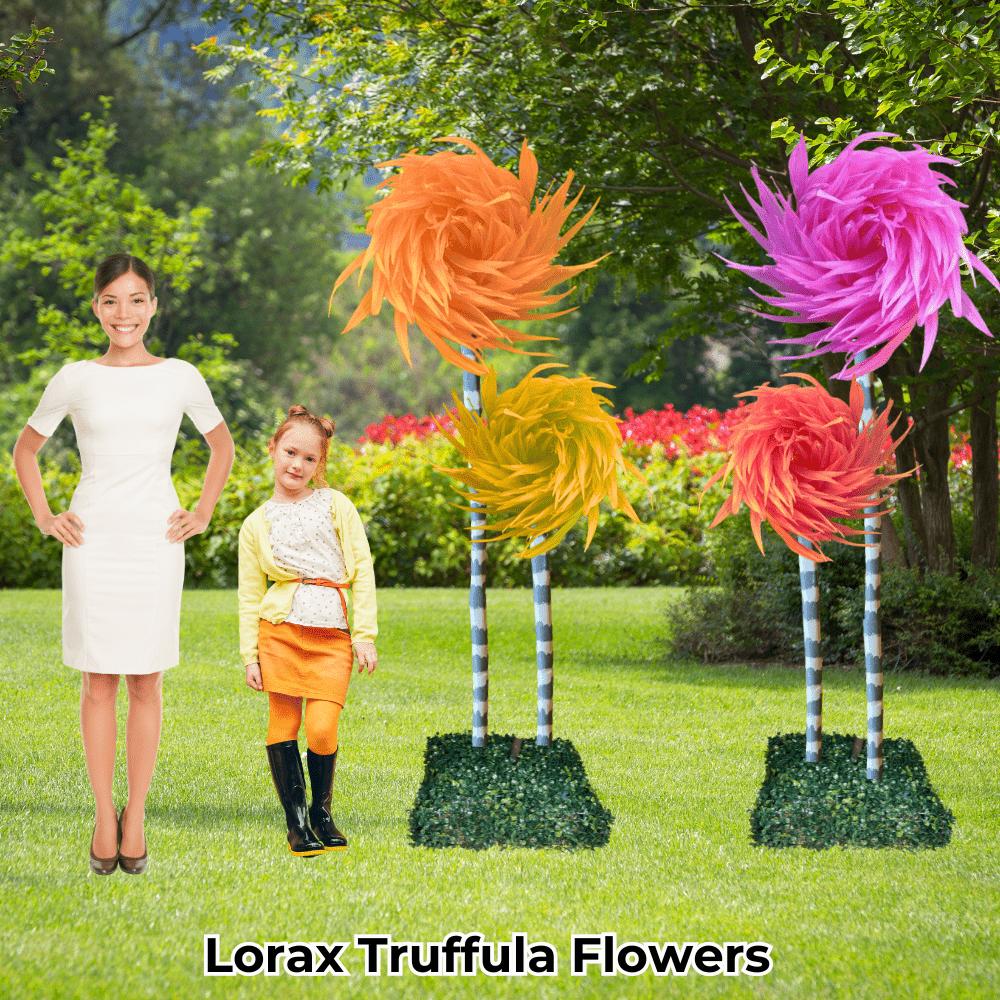
For a standard 8×8 foot backdrop, I typically use 10–15 flowers in a mix of sizes (2-foot, 3-foot, and a few statement 4-foot pieces) to fill the space with visual interest without looking overcrowded. You want some negative space — it makes the flowers read better in photos. Check out my post on DIY Giant Flower Backdrop for Photos for a full layout guide.
Do I need special tools to build giant flowers?
The core toolkit is pretty simple: a heat gun, a low-temp glue gun with plenty of sticks, sharp scissors or a craft knife, and your foam or paper. For more advanced builds, a Cricut or cutting machine speeds up petal cutting significantly. You don't need expensive equipment to make beautiful flowers — you need patience and good materials.
The event set flower build process is one of those things that looks intimidating from the outside but becomes completely manageable once you understand the stages. Concept, materials, cutting, assembly, installation — each step flows into the next, and every build you do makes the next one faster and better. If you're ready to start your first build (or your fiftieth), head over to Amazing Giant Flowers and explore our pre-cut kits. Everything you need to create a stunning event set is there, with video tutorials to walk you through every step. I can't wait to see what you make.
Ready to Create Something Amazing?
Browse our collection of giant flower kits and start your next project today.