How to Style a Wall-Mounted Giant Flower Kit for Your Next Event
Key Takeaways
- Wall-mounted giant flower kits work for almost every event type — weddings, showers, corporate events, birthdays, and more.
- Proper planning (layout, color palette, wall surface) makes installation dramatically easier and safer.
- EVA foam flowers are lightweight, reusable, and far more affordable than fresh floral walls.
- Layering sizes, depths, and textures is the secret to a display that looks professionally designed.
- You don't need special tools — most installations require only basic supplies you probably already own.
Why Wall-Mounted Giant Flowers Are Having a Major Moment
The event industry has also caught on in a big way. According to IBISWorld, the US event planning industry is worth over **$6 billion**, and visual impact is one of the biggest differentiators planners compete on. Giant flowers deliver that visual impact — at scale, in color, and with a personality that photographs beautifully.
Choosing the Right Wall-Mounted Giant Flower Kit
Kit Size Options
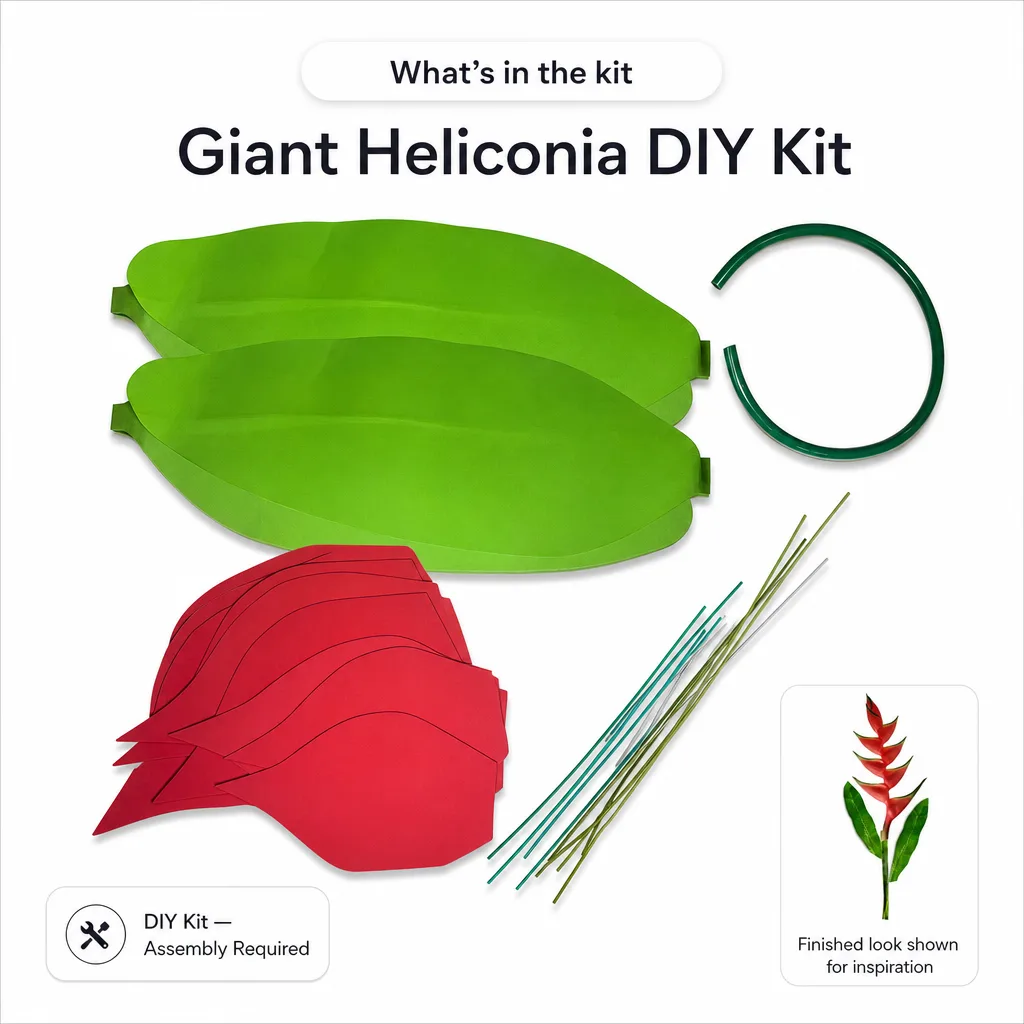
Our wall-mounted kits range from **$50 to $120** for individual flowers, and they come in sizes ranging from **2 feet to 5 feet in diameter**. Here's how I generally recommend thinking about sizing:- 2–3 foot flowers: Perfect for accent pieces, smaller walls, or when you're layering many flowers together in a tight arrangement.
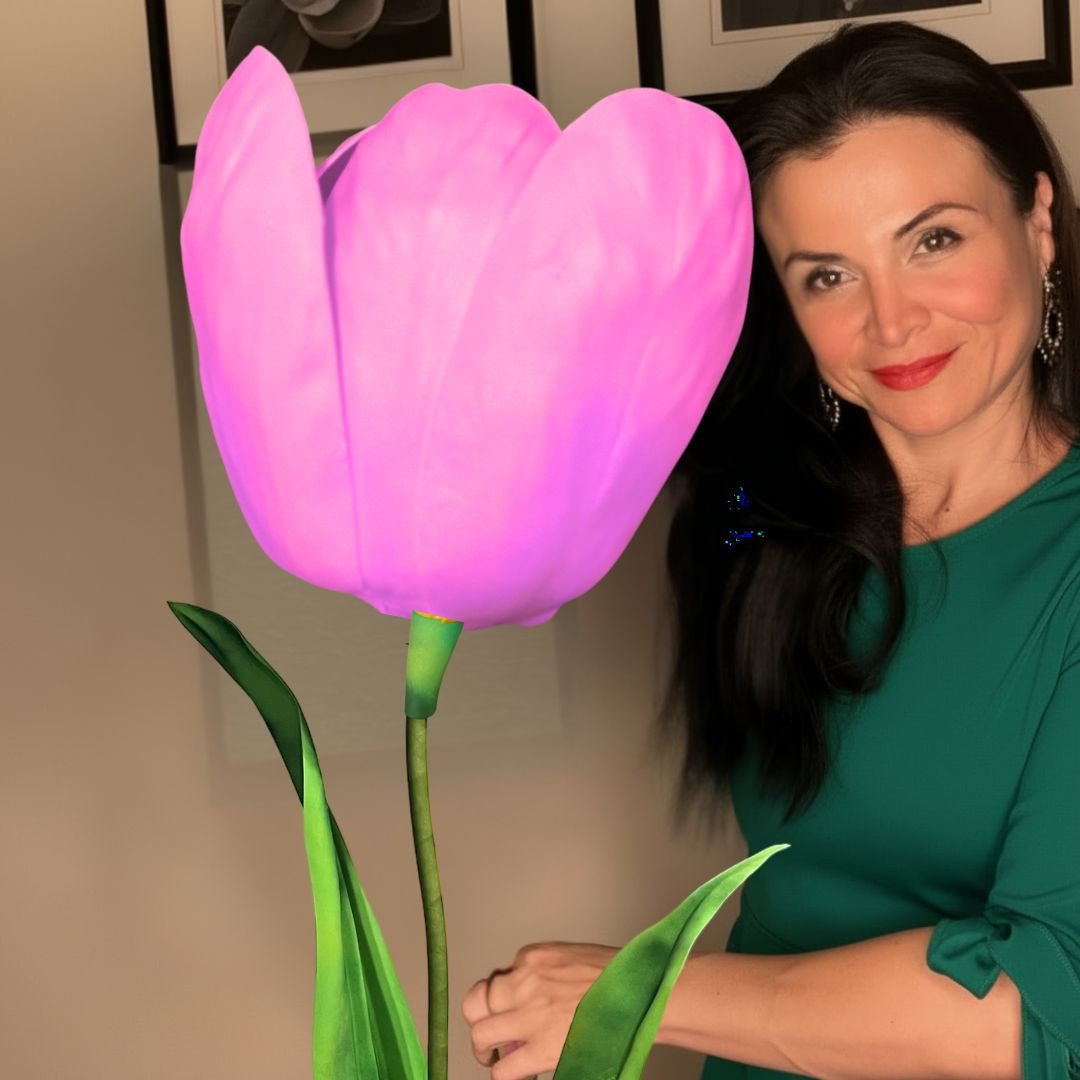
- 3–4 foot flowers: The sweet spot for most events. Big enough to make a statement, manageable enough for one person to install.
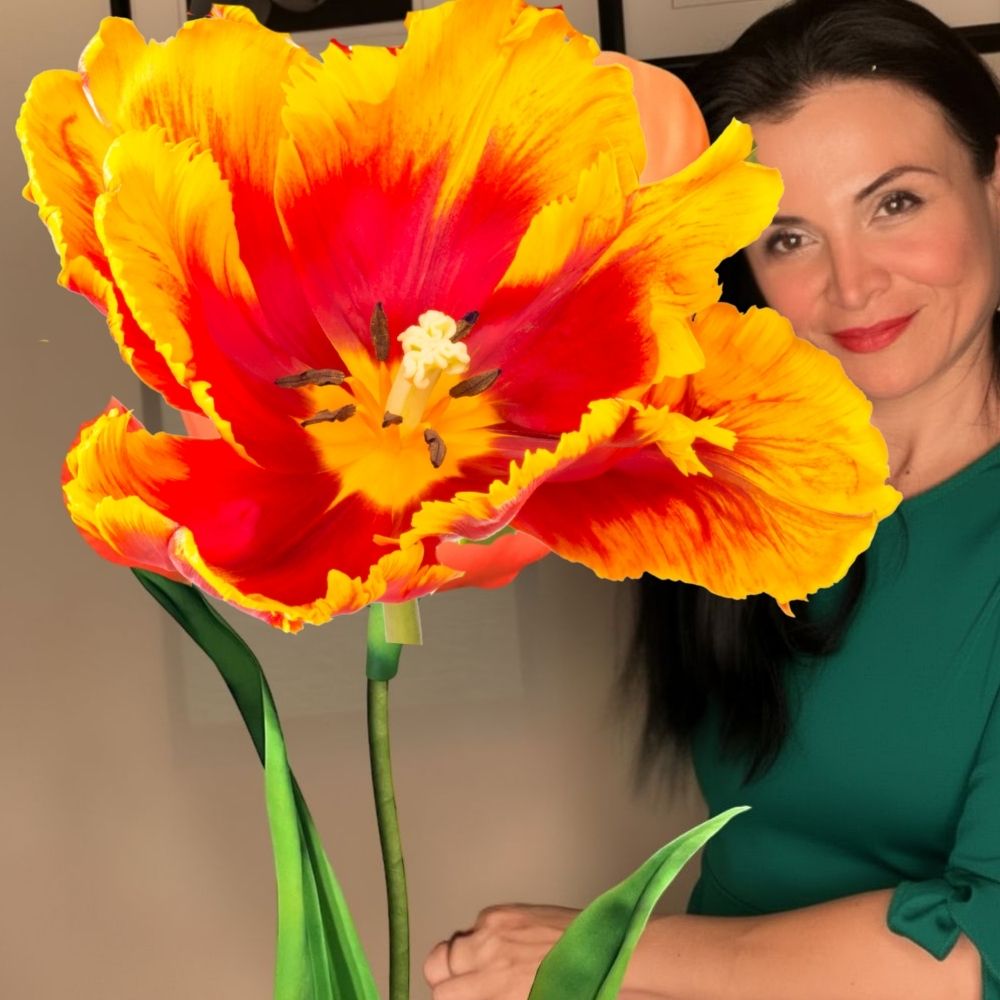
- 4–5 foot flowers: These are showstoppers. Use them as centerpiece flowers in your arrangement with smaller blooms surrounding them.
Single Kits vs. Bundle Kits
If you're covering a full wall — say **8 feet wide by 8 feet tall** — I'd strongly recommend looking at our Bundle Kits. They include **8–12 flowers** priced between **$350–$600**, and they're designed to work together visually. Buying individual kits and trying to mix and match can work, but it takes more planning. Bundles take the guesswork out of color coordination and sizing ratios.EVA Foam: Why It's the Best Material for Wall Mounting
Every kit I make uses EVA foam, and there's a reason for that. EVA foam is lightweight (critical when you're hanging things on a wall), flexible, durable, and holds paint beautifully if you want to customize colors. If you want to go deeper on material choices, I wrote a whole breakdown over at A Crafter's Guide to Every Type of Foam for Giant Flowers. Spoiler: EVA wins almost every time for wall installations.Planning Your Layout Before You Touch the Wall
Layout Styles to Consider
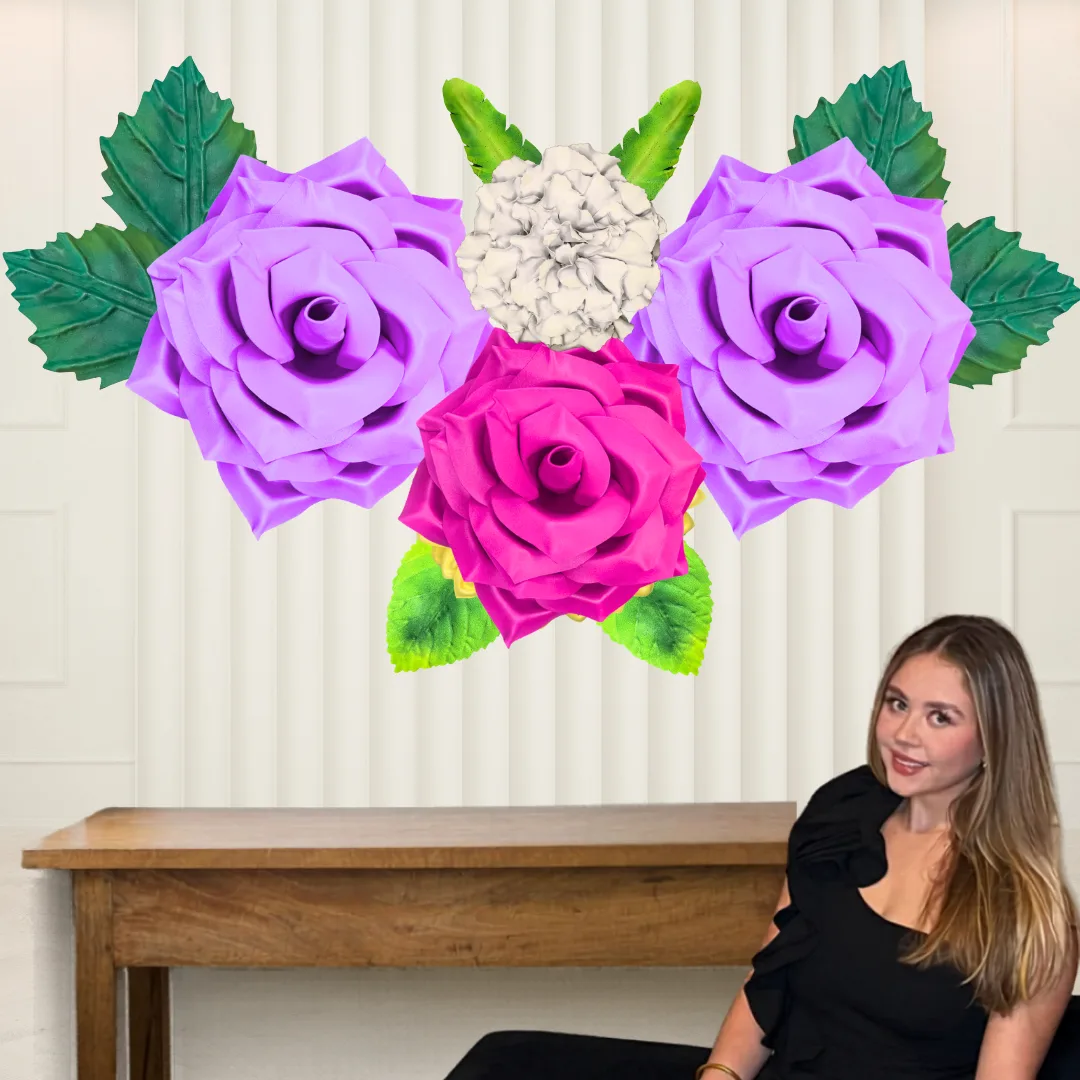
- Clustered Organic: Flowers overlapping and layered at different depths, mimicking how flowers grow naturally. This is the most popular look and photographs beautifully.
- Grid Pattern: Evenly spaced flowers in rows. Cleaner, more modern, great for corporate events or minimalist aesthetics.
- Asymmetrical Cascade: Flowers concentrated in one corner or along one edge, trailing off toward open space. Dramatic and editorial.
- Full Coverage: Flowers covering the entire wall surface with minimal gaps. Maximum impact, requires the most flowers (bundle kits are your friend here).
Measuring Your Wall Space
Grab a tape measure and write down your wall dimensions before you order anything. A few things to note: Account for obstacles. Outlets, light switches, sconces — mark these on a simple sketch so you know where you can and can't place flowers. Consider the viewing distance. If guests will be standing **10+ feet away**, you can get away with fewer, larger flowers. If it's a close-up photo backdrop, you'll want more density and detail.Color Palette Magic: How to Style Your Wall Mounted Giant Flower Kit Like a Designer
The 60-30-10 Rule
This is a classic interior design principle that works just as well for floral walls. 60% dominant color, 30% secondary color, 10% accent color. For example: **60% blush pink, 30% ivory/cream, 10% deep burgundy.** That accent color is what gives the arrangement its personality.Matching Your Event's Color Story
For weddings, pull directly from the bride's color palette. For baby showers, consider soft pastels — but don't be afraid of something unexpected like terracotta and sage instead of the predictable pink and blue. For corporate events, brand colors are your guide. I've done installations in exact Pantone matches for major brands — our EVA foam takes paint and dye beautifully, so custom color matching is very achievable.Using Contrast and Depth
A flat wall of all-same-color flowers looks pretty but flat. The magic happens when you vary the tones. Mix **deep plum with soft lavender**. Pair **burnt orange with peach and cream**. Use darker shades toward the edges and lighter shades toward the center to create a natural focal point. For more color and painting inspiration, check out my guide on Flawless Foam Board Paint Finishes — it covers techniques that work just as well on EVA foam petals.How to Mount Your Giant Flowers: Step-by-Step
What You'll Need
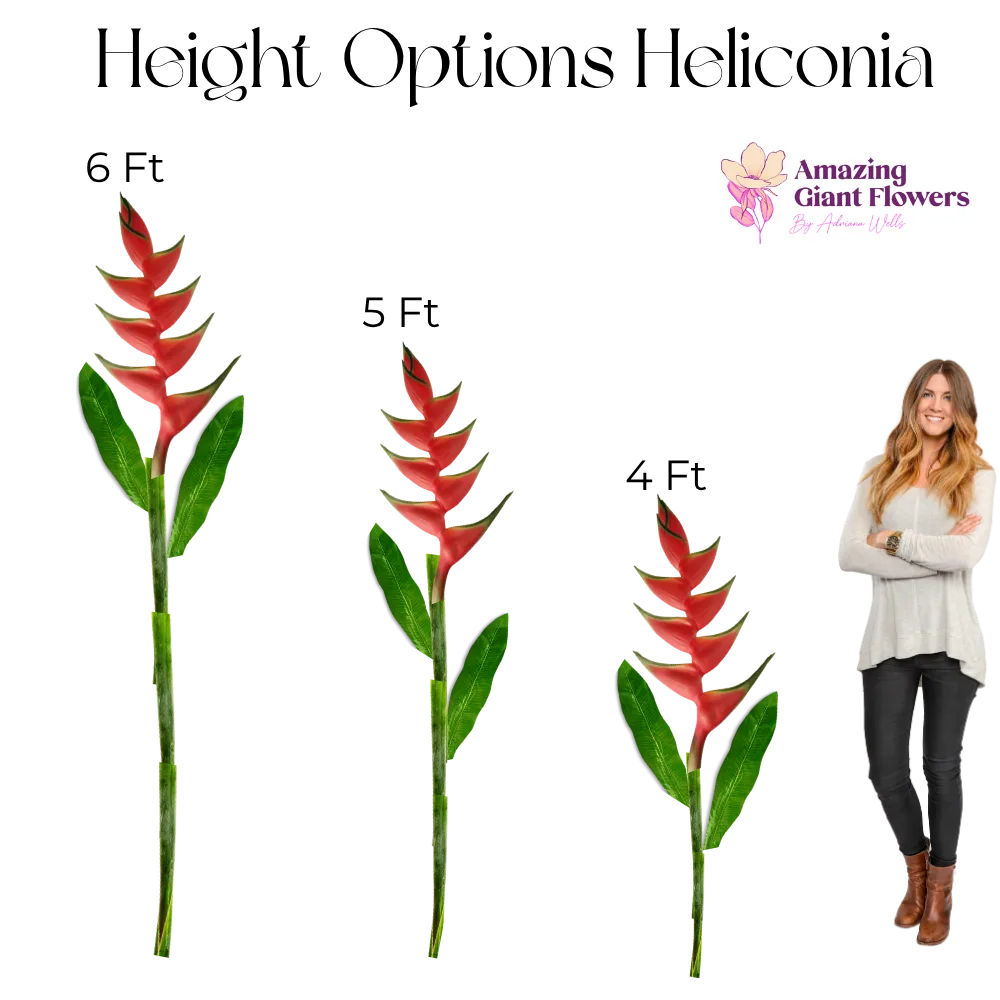
- Command Strips (heavy-duty): For lightweight flowers on painted drywall — no holes, no damage. Use the **5-pound capacity strips** minimum.
- Adhesive Velcro strips: Great for repositioning during setup. You can adjust placement without leaving marks.
- Fishing line or clear thread: For hanging flowers from a ceiling or curtain rod — creates a floating effect that's absolutely gorgeous.
- Small nails or picture hooks: For permanent or semi-permanent installations where you don't mind a small hole.
- Hot glue gun: For securing foam elements to a foam board backing, which you then mount as one piece.
Step 1: Assemble Your Flowers First
Every kit ships with pre-cut foam pieces and video tutorials. Assemble all your flowers completely before you touch the wall. Trust me — trying to adjust a half-assembled flower while it's already mounted is a nightmare. Our video tutorials walk you through each flower style specifically, so you're never guessing. Most flowers take **20–45 minutes** to assemble, depending on complexity.Step 2: Mark Your Wall Layout
Use **painter's tape** to mark where each flower center will go. This is your map. Step back and look at it from across the room before you commit to anything. Adjust the tape until you love it. This costs you zero time and saves you from remounting flowers three times.Step 3: Mount from the Center Out
Always start with your largest, most prominent flower — usually the center or focal point of your arrangement. Mount that one first, then build outward. This prevents the common mistake of getting to the end and realizing your arrangement is lopsided or running off the edge of the wall.Step 4: Layer for Depth
Here's the pro secret: not every flower should sit flat against the wall. Use small foam spacers or folded cardboard behind some flowers to push them **2–3 inches forward**. This creates shadow and dimension that makes your installation look like it was done by a professional florist.Step 5: Fill the Gaps
Once your main flowers are up, step back and look for gaps. Small accent flowers, individual petals, or even greenery elements can fill those spaces. Think of it like arranging a bouquet — the filler pieces are what make it look lush and full.Wall Surface Guide: What Works and What Doesn't

| Wall Surface | Best Mounting Method | Notes |
|---|---|---|
| Painted Drywall | Command Strips or Velcro | Most common; works great. Test adhesion first. |
| Brick or Concrete | Masonry hooks or wire rigging | Adhesives often fail. Use physical anchors. |
| Fabric Backdrop (pipe & drape) | Safety pins or Velcro | Very easy. Great for rental setups. |
| Wood Paneling | Small nails or Command Strips | Nails work well; be mindful of wood grain. |
| Glass or Mirror | Suction cup hooks or leaning display | Adhesives can damage mirror backing. Lean against instead. |
| Foam Board Backing | Hot glue, then mount the board | Best for portable, reusable installations. |
Styling Tips for Specific Event Types
Weddings
For weddings, the flower wall is usually the ceremony backdrop or the sweetheart table feature. Go lush and layered. Mix at least **3–4 flower varieties** if you can — roses, dahlias, peonies — in coordinating colors. Add trailing greenery or ribbon for softness. If you want more wedding-specific inspo, my post on Giant Flower Wedding Arch: A Complete Guide for 2026 goes really deep on this.Baby Showers
Baby shower walls are where you can have the most fun with color and whimsy. Think oversized blooms in **soft mauve, sage green, and cream** for a modern look. Or go bold with **coral and gold** for something more festive. I've seen some gorgeous setups using our kits as a welcome wall backdrop — check out my post on 10 Welcome Board Backdrop Ideas for a Baby Shower Entrance for layout ideas that really work.Corporate Events and Brand Activations
This is where precision matters. Brand colors need to be exact, and the installation needs to look polished from every angle because there will be cameras everywhere. For corporate installs, I recommend building on a **foam board backing panel** that you can move as one piece. It's more controlled, easier to transport, and looks incredibly professional. According to Event Marketer, experiential installations that double as photo opportunities generate **3–5x more social media impressions** than passive signage.Birthday Parties and Quinceañeras
Go big. Go dramatic. This is not the event for restraint. Layer **5-foot blooms** as anchors with smaller flowers cascading around them. Add metallic accents — gold, rose gold, silver — by painting the petal tips or centers. For quinceañera-specific ideas, I have a whole post on Quinceañera Backdrop Ideas: Giant Flowers for 2026 that's full of real inspiration.Common Mistakes to Avoid
- Skipping the floor layout: Mounting directly without planning first is the number one cause of lopsided, awkward-looking installations. Always plan on the floor first.
- Using the wrong adhesive for your wall type: Not all Command Strips are equal. Check the weight rating. EVA foam flowers are light, but a 5-foot flower can still weigh **1–2 pounds** — multiply that across 10 flowers and you need serious adhesive strength.
- All flowers at the same depth: Flat installations look flat in photos. Use spacers to create dimension.
- Ignoring the background wall color: A white flower arrangement on a white wall disappears. Make sure there's enough contrast between your flowers and your wall. If not, hang a fabric backdrop behind your arrangement.
- Rushing the assembly: I get it — event day is chaotic. But a petal that's not fully secured will droop or fall. Take the time to assemble properly, ideally the day before.
Frequently Asked Questions
How long does it take to install a wall-mounted giant flower kit?
Assembly time depends on how many flowers you're working with. A single flower takes 20–45 minutes to assemble. For a full wall installation of 8–12 flowers, plan for 4–6 hours total including layout planning, assembly, and mounting. I always recommend setting up the day before your event so you're not rushing.
Will the flowers damage my wall?
With the right mounting method, no. Command Strips and adhesive Velcro are designed to remove cleanly from painted drywall when you follow the removal instructions. For venue walls where you're not sure, always test a small strip in an inconspicuous spot first. When in doubt, use a fabric pipe-and-drape backdrop behind your installation — then you're not touching the wall at all.
Can I reuse my wall-mounted giant flower kit?
Absolutely — this is one of the biggest advantages of EVA foam over fresh flowers. With proper storage (flat or in a padded box, away from heat), your flowers can last for years. Many of our customers use their kits for multiple events, rent them out to other planners, or repurpose them as permanent home decor. That reusability is a huge part of what makes the cost so worthwhile.
How many flowers do I need to cover a standard backdrop wall?
A standard 8-foot by 8-foot backdrop typically needs 10–15 flowers for a full-coverage look, or 6–8 flowers for a clustered, organic arrangement with some wall showing. Our Bundle Kits (8–12 flowers) are designed with this in mind. If you're unsure, browse our shop and I'm always happy to help you figure out the right quantity for your space.
Can I customize the colors in my kit?
Yes! EVA foam takes acrylic paint, spray paint, and fabric dye beautifully. You can paint petals before or after assembly. For detailed techniques, my post on Flawless Foam Board Paint Finishes covers everything you need to know about getting smooth, professional-looking color on foam surfaces.
Are wall-mounted kits better than freestanding flowers for events?
It really depends on your space and event type. Wall-mounted kits are ideal when you want a backdrop, a photo moment, or a feature wall — they keep your floor space open and look intentional. Freestanding flowers are better for open spaces, outdoor events, or when you can't put anything on the walls. Many of our customers use both together for maximum impact. According to Statista, photo-worthy moments are now one of the top three priorities for event attendees — so having a dedicated backdrop wall is almost never a bad call.
You've got everything you need to create something truly stunning. A **wall mounted giant flower kit** isn't just decor — it's the moment your guests walk in and immediately reach for their phones. It's the backdrop in a hundred Instagram photos. It's the thing people talk about when they describe your event to someone who wasn't there. That's the power of going big and going beautiful. And you can absolutely do this. Head over to our shop to find the kit that's right for your next event, and if you have questions — reach out. I love helping people bring their vision to life.
Ready to Create Something Amazing?
Browse our collection of giant flower kits and start your next project today.