Kids Craft Real-Touch Flowers: Simple Projects for Home Makers
Key Takeaways
- EVA foam is the best material for kids' real-touch flower crafts — soft, safe, and incredibly realistic-looking.
- Projects can be scaled for ages 4 through 14, with simple swaps in tools and complexity.
- Real-touch flower crafts develop fine motor skills, color theory awareness, and patience in children.
- Finished flowers make beautiful home décor, gifts, and keepsakes that last for years.
- You can source pre-cut kits to skip the hardest prep step and get straight to the fun part.
Why Real-Touch Flowers Are the Best Kids Craft Material Right Now
According to a National Association for the Education of Young Children (NAEYC) report, hands-on creative activities like crafting directly support fine motor development, spatial reasoning, and emotional regulation in children ages 3–12. This isn't just a fun afternoon — it's genuinely good for them.
And from a purely practical standpoint? EVA foam doesn't make a huge mess. There's no paint required (unless you want it), no water, no paste. For parents and home makers, that alone is worth celebrating.
What Makes It "Real Touch"?
The term "real touch" refers to the texture and flexibility of the material. High-quality EVA foam sheets — especially those in the 2mm range — have a slight give and a surface that catches light the way a real petal does. When you curve a petal over a rounded surface (like a spoon handle or your thumb), it holds that curve permanently. That's what gives these flowers their lifelike quality.Real Touch vs. Other Materials
| Material | Kid-Friendly? | Realistic Look? | Durability | Mess Level |
|---|---|---|---|---|
| EVA Foam (Real Touch) | ✅ Yes | ⭐⭐⭐⭐⭐ | Years | Very Low |
| Crepe Paper | ⚠️ Tears easily | ⭐⭐⭐ | Months | Low |
| Tissue Paper | ⚠️ Fragile | ⭐⭐ | Weeks | Medium |
| Felt | ✅ Yes | ⭐⭐ | Years | Low |
| Silk Fabric | ❌ Needs sewing | ⭐⭐⭐⭐ | Years | Medium |
Gathering Your Supplies: What You Actually Need
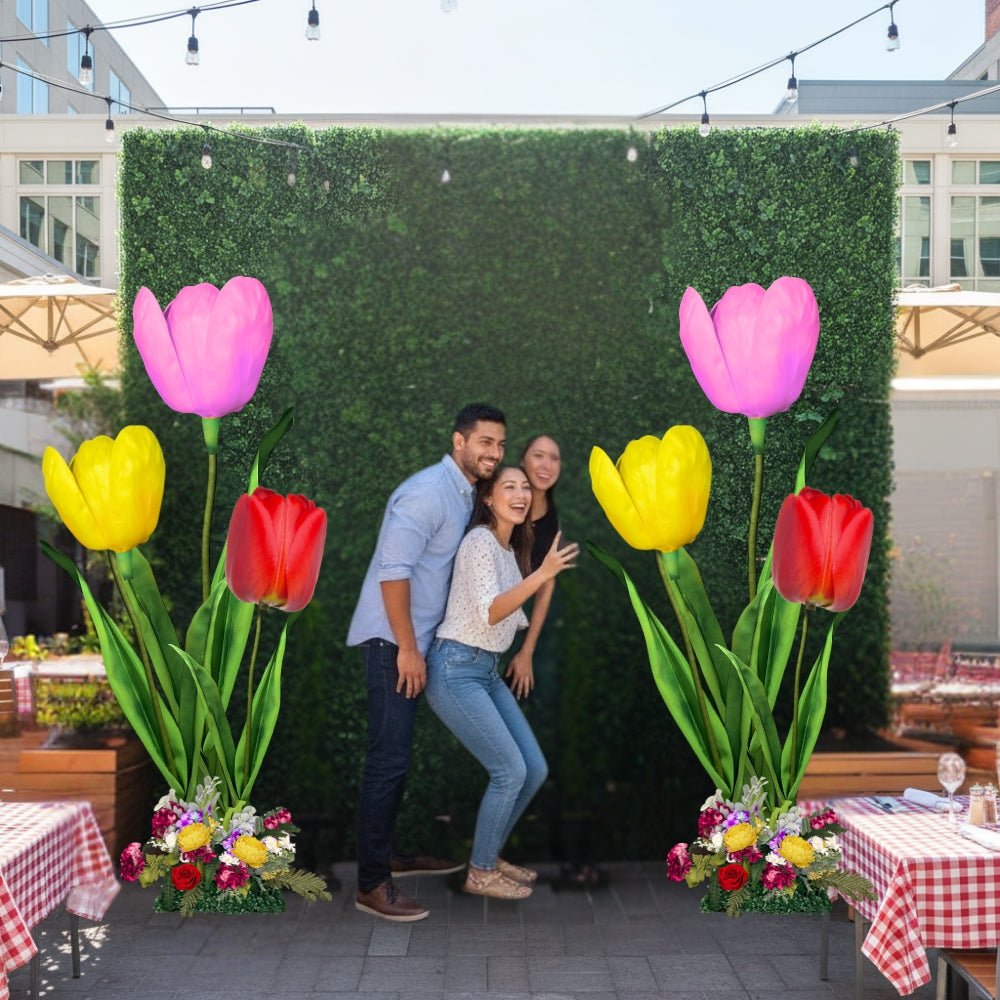
- EVA Foam Sheets (2mm thickness): The star of the show. Look for sheets in multiple colors — blush, coral, white, lavender, and yellow are my go-tos for flowers. We carry them at our shop in a range of colors.
- Child-Safe Scissors: For ages 5 and up, good quality craft scissors cut EVA foam cleanly. For younger kids, pre-cut the petals yourself or grab a pre-cut kit.
- Low-Temperature Hot Glue Gun: This is your assembly tool. Use low-temp only with kids — and supervise closely. Ages 8+ can usually handle this with guidance.
- Bendable Pipe Stems: These give your flowers a real stem. We sell bendable pipe stems that are flexible and easy for kids to work with.
- Foam Ball or Egg (for the center): A 1-2 inch foam ball makes a beautiful flower center and is super satisfying to glue petals around.
- Acrylic Paint + Sponge Brush (optional): If you want to add color variation or ombre effects, a little paint goes a long way. Check out our guide on flawless foam board paint finishes for technique tips.
Pre-Cut Kits: The Game Changer for Busy Parents
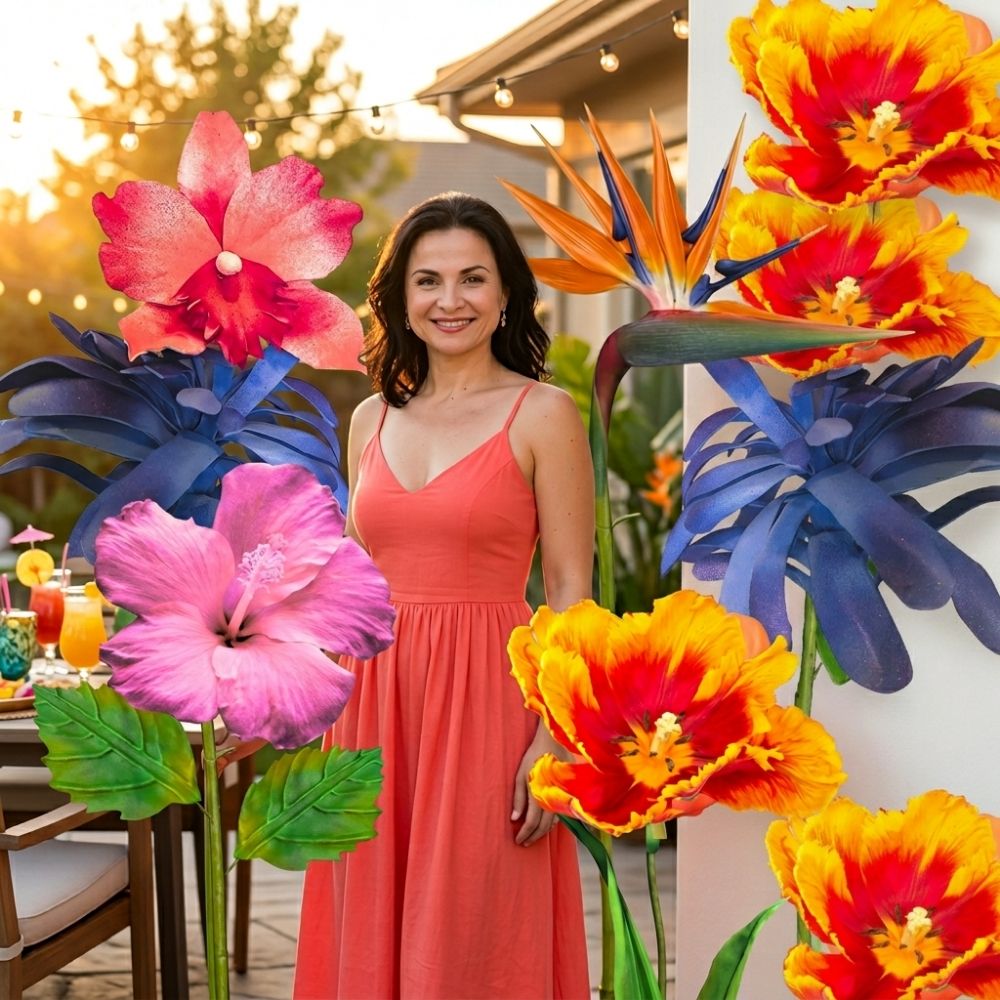
Honestly? If you're doing this with a group of kids — birthday party, classroom, playdate — pre-cut kits are the move. The cutting is genuinely the hardest and most time-consuming part. When that's already done, you can jump straight to the shaping and assembly, which is where all the joy lives.Our Freestanding Giant Flower Kits come with everything pre-cut and include video tutorials. They're designed for adults but work beautifully as guided kid projects too — especially for ages 10 and up.
Kids Craft Real Touch Flowers: Step-by-Step Projects by Age Group
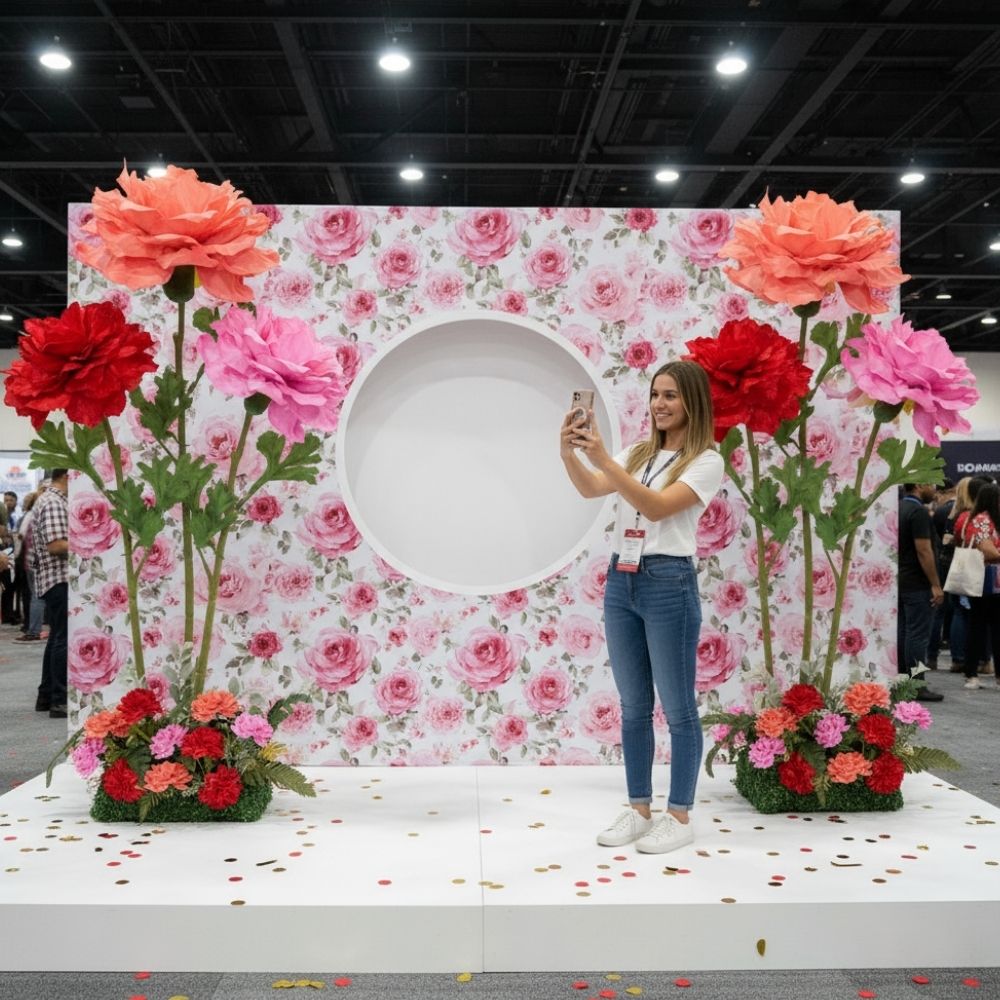
Project 1: Tiny Hands Daisy (Ages 4–6)
This is the simplest version and it is absolutely adorable. We're making a small daisy with 8 petals — no glue gun required for this age group.What you'll need: White and yellow EVA foam sheets, craft glue stick, one foam circle (about 1.5 inches), a popsicle stick for the stem. Step 1: Cut (or have pre-cut) 8 oval petal shapes from white foam, each about 3 inches long and 1.5 inches wide. Step 2: Let the child apply glue stick to the back of each petal and press it onto the foam circle, working around the edge. Step 3: Cut a small circle of yellow foam and glue it to the center. Press firmly and hold for 10 seconds. Step 4: Glue the popsicle stick to the back. Done! This whole project takes about 15 minutes and the results are genuinely charming.
Project 2: The Classic Rose (Ages 7–10)
Ok, this is where it gets really fun. A rolled foam rose is one of those crafts that looks incredibly complex but is actually pretty forgiving once you get the rhythm.What you'll need: Pink or red EVA foam sheet, low-temp glue gun (adult supervises), scissors, a pipe stem. Step 1: Cut a long spiral strip from your foam sheet — start with a circle about 6 inches in diameter and cut inward in a continuous spiral. The strip should be about 1 inch wide. Step 2: Starting at the center end of the spiral, begin rolling the foam tightly. This is the rose center. Step 3: As you roll outward, let the foam fan out slightly to create the look of opening petals. Apply a small dot of hot glue every 2-3 inches to hold the shape. Step 4: When you reach the end of the spiral, apply glue to the bottom edge and press it flat to form the base. Step 5: Insert a pipe stem into the base and secure with a dot of glue. You now have a real-touch foam rose that looks genuinely beautiful.
Project 3: Giant Statement Flower (Ages 11–14)
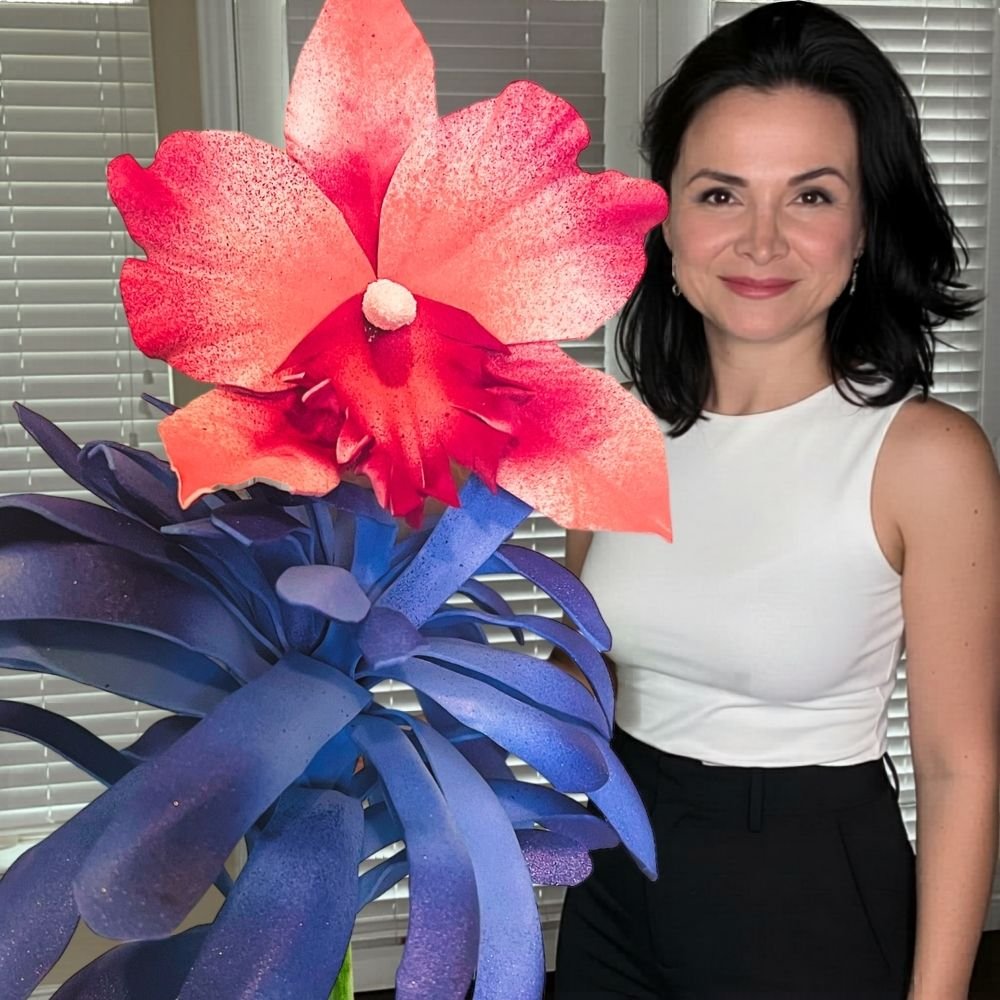
This is the project that makes teenagers actually put their phones down. I'm not even kidding. When they realize they can make something 2 feet wide that looks like it belongs in a magazine spread — they are hooked.What you'll need: Multiple sheets of EVA foam in coordinating colors, hot glue gun, a large foam ball (3-4 inches) for the center, pipe stem, scissors or craft knife (adult use). Step 1: Cut petals in three sizes — small (4 inches), medium (6 inches), and large (8 inches). You'll need about 6-8 petals per size tier. Step 2: Shape each petal by curving it over a rounded surface — a spoon handle, a marker cap, or your thumb. Press and hold for 5-10 seconds. This is the real-touch magic moment. Step 3: Starting with the large petals, glue them evenly around the foam ball, angling them outward. Step 4: Add the medium petals in the gaps between the large ones, angling them slightly more upright. Step 5: Finish with the small petals closest to the center, standing nearly vertical. Step 6: Insert and glue the pipe stem. Stand back and admire what you just made.
For more detail on giant flower construction, our post on making giant blooms has great technique breakdowns.
Shaping Techniques That Make Kids Craft Real Touch Flowers Look Incredible
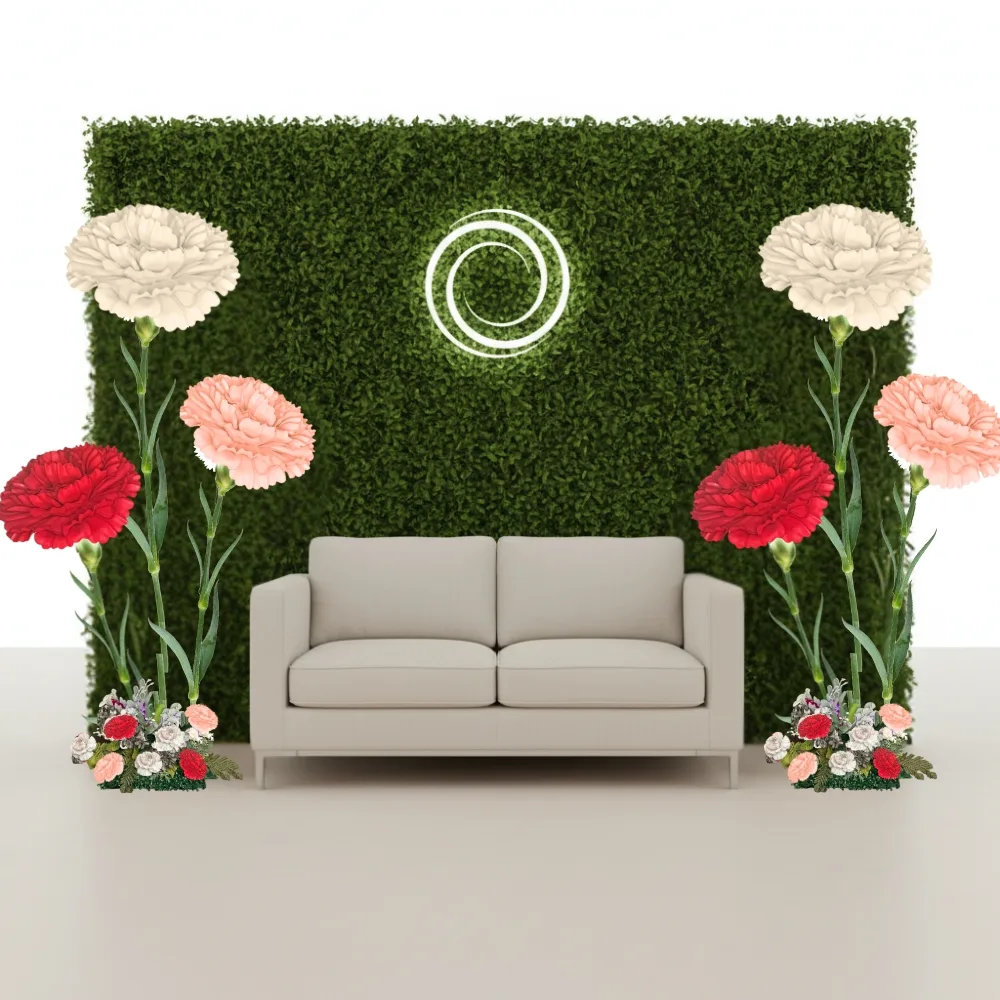
- The Thumb Curl: Press the petal against your thumb and drag slightly. Creates a natural inward curve perfect for roses and tulips.
- The Spoon Method: Press the center of the petal against the back of a spoon and hold for 10 seconds. Gives a cupped shape that looks incredibly lifelike.
- The Pencil Roll: Wrap the petal tip around a pencil and hold for 5 seconds. Creates a delicate curling tip — great for peonies.
- The Edge Ruffle: Run your fingernail along the edge of the petal repeatedly. Creates a ruffled, organic edge that adds so much texture.
- The Warm Hand Press: Simply hold the foam in your palm for 30 seconds. Body heat softens it slightly and you can mold it gently into any curve.
Teach kids these techniques before they start assembling. A 10-minute shaping practice session makes a massive difference in the final result.
Turning Finished Flowers Into Real Home Décor
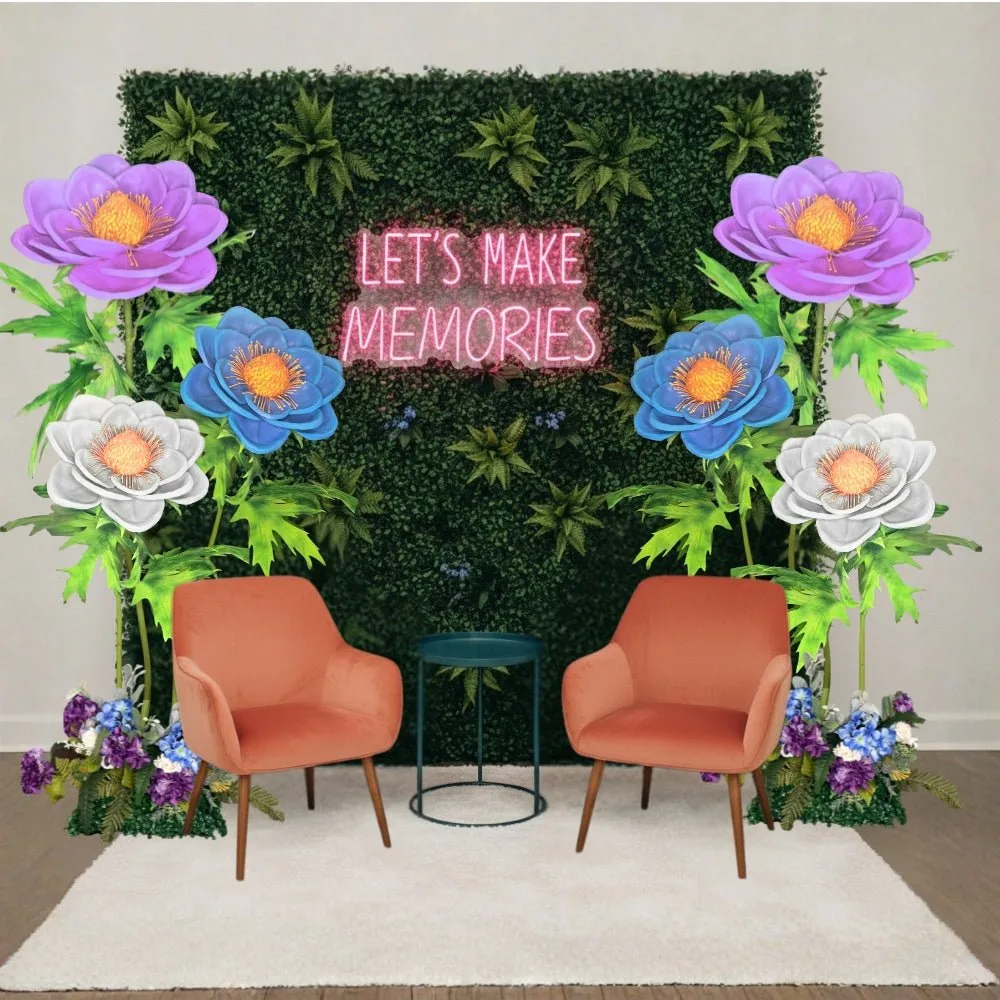
According to a HGTV design feature, handmade home décor pieces carry emotional value that store-bought items simply can't replicate. A child's handmade flower on a wall or shelf tells a story.
Display Ideas That Actually Look Intentional
- Gallery Wall Accent: Mount a cluster of 3-5 small foam flowers on a bedroom wall using adhesive strips. Group them at varying heights for a botanical art effect.
- Vase Display: Arrange several stem flowers in a tall vase — mix sizes and colors. It looks like a real floral arrangement from across the room.
- Wreath Base: Hot glue finished flowers onto a foam wreath form for a door wreath that lasts all season.
- Garland: Thread small flowers onto twine or ribbon for a mantel or window garland.
- Gift Topper: A single handmade real-touch flower tied to a gift box is honestly the most thoughtful presentation I've ever seen.
For wall display inspiration, our guide on wall décor paper flowers has some really gorgeous arrangement ideas.
Making It a Full Afternoon: Hosting a Kids Flower Craft Session
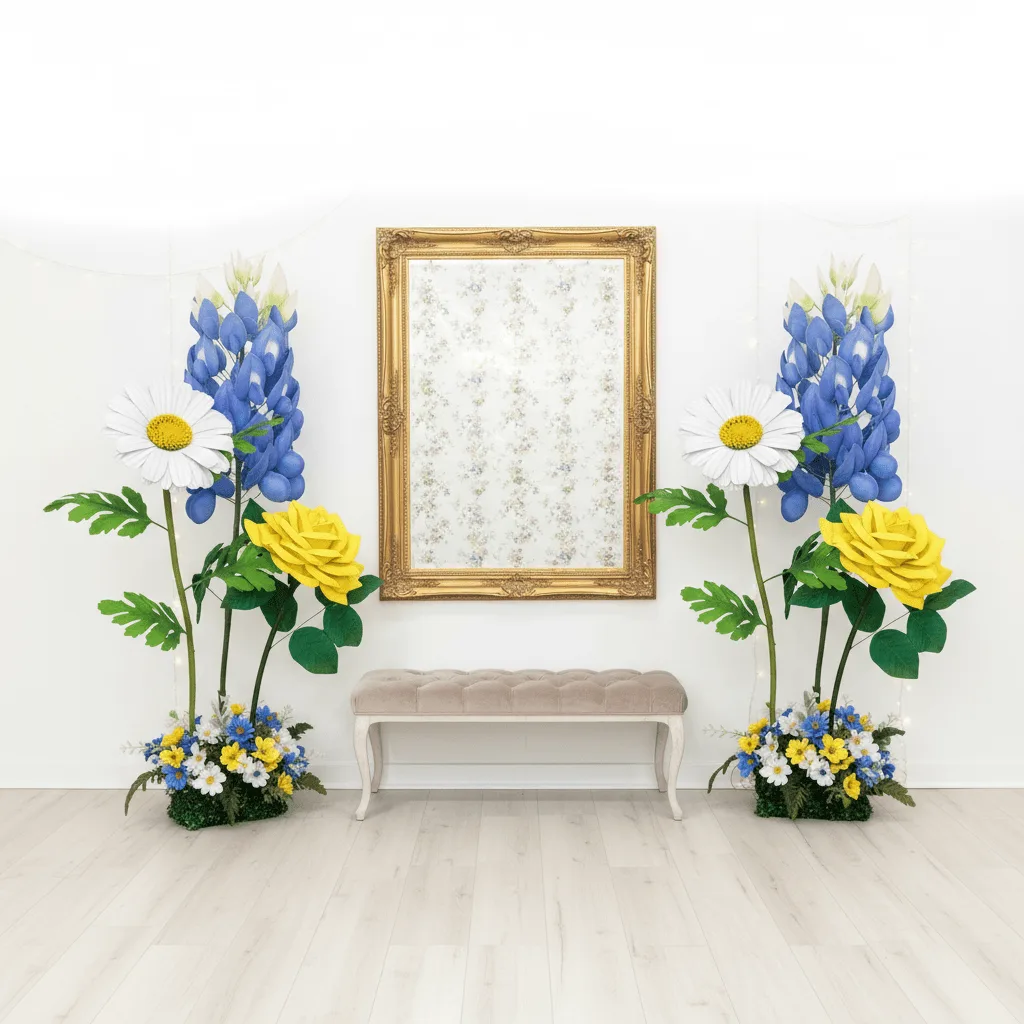
Set up stations. Don't have everyone doing everything at once. Set up a cutting station (adults only or older kids), a shaping station, and an assembly station. Kids rotate through. It's organized, it's fun, and it prevents the glue gun chaos I've witnessed too many times.
Pre-cut everything for under 8s. Seriously. Cutting foam is harder than it looks for small hands. Do it the night before and put each child's petals in a little bag. They'll feel like they're opening a craft kit — which is its own kind of excitement.
Have a display moment. At the end of the session, have everyone hold up their finished flower for a group photo. It sounds small but it's a huge deal for kids. That moment of pride is what they'll remember.
A Parents.com study found that children who regularly engage in craft activities show measurably higher confidence levels and improved problem-solving skills. So yes — this afternoon of flower making is doing a lot of good.
Common Mistakes and How to Avoid Them
- Using regular hot glue (high temp): It melts EVA foam. Always use low-temperature glue sticks with a low-temp gun. Non-negotiable.
- Skipping the shaping step: Flat petals look flat. Even 30 seconds of shaping per petal transforms the result completely.
- Gluing too much at once: Small dots of glue, placed strategically, hold better than big blobs. Big blobs create bumps and mess.
- Cutting petals inconsistently: Make a petal template from cardstock and trace it. Consistent petals make a much more polished flower.
- Rushing the center assembly: The center petals set the whole look. Take an extra minute here and it pays off everywhere else.
For more on working with foam materials, our guide on the best way to cut foam is genuinely one of the most useful things I've written.
Frequently Asked Questions
What age is appropriate for kids craft real touch flower projects?
Honestly, I've seen 4-year-olds successfully make a simple daisy with pre-cut petals and a glue stick. The key is scaling the project to the age. Younger kids do best with pre-cut foam, glue sticks, and simple shapes. Older kids (10+) can handle scissors, low-temp glue guns with supervision, and more complex flower structures like roses and layered blooms.
The most important thing is that the child feels successful. Pick a project slightly below their ability level so they finish feeling proud, not frustrated.
Is EVA foam safe for children to handle?
EVA foam is non-toxic and widely considered safe for children. It doesn't contain latex or BPA, and it doesn't produce harmful dust when cut with scissors. The main safety consideration is the glue gun — always use a low-temperature model and supervise children under 10 closely during the gluing step.
Where can I buy EVA foam sheets for kids' flower crafts?
You can find EVA foam sheets at most craft stores, but the quality varies a lot. For real-touch results, you want foam that's soft, slightly textured, and at least 2mm thick. We carry a curated selection at Amazing Giant Flowers specifically chosen for flower crafting — the colors are rich and the texture is genuinely beautiful.
How long do handmade EVA foam flowers last?
EVA foam flowers can last for years when stored away from direct sunlight and extreme heat. Unlike fresh flowers or paper flowers, they won't wilt, fade, or deteriorate with normal handling. I have flowers I made over five years ago that still look gorgeous. They're genuinely a lasting keepsake.
Can kids paint their foam flowers?
Absolutely — and it's a wonderful creative extension. Acrylic paint works beautifully on EVA foam and opens up so many possibilities: ombre effects, glitter accents, watercolor washes. Use a sponge brush for even coverage and let dry completely before assembling. Our post on foam board paint finishes has great tips that apply directly to foam flowers too.
How many flowers can kids make in one afternoon session?
With pre-cut materials and a simple design, a child can comfortably make 3-5 flowers in a 2-hour session. For more complex designs like layered roses or giant blooms, plan for one flower per hour — but that's still a meaningful, satisfying output. The goal is quality over quantity. One beautiful flower they're proud of beats five rushed ones every time.
There is something genuinely special about watching a child hold up a flower they made themselves — especially one that looks this real. I've seen it happen hundreds of times and it never gets old. That moment of "wait, I made this?" is what crafting is all about. If you're ready to jump in, browse our full collection of kits and supplies at Amazing Giant Flowers. We've got everything you need to make this afternoon unforgettable. And if your little one makes something beautiful — I would absolutely love to see it. Tag us. Seriously.
Ready to Create Something Amazing?
Browse our collection of giant flower kits and start your next project today.