A Life-Size Foam Flower Kids Craft That Feels Fun and Relaxing
Key Takeaways
- EVA foam is the safest, most forgiving material for kids to work with — no sharp tools required for younger ages.
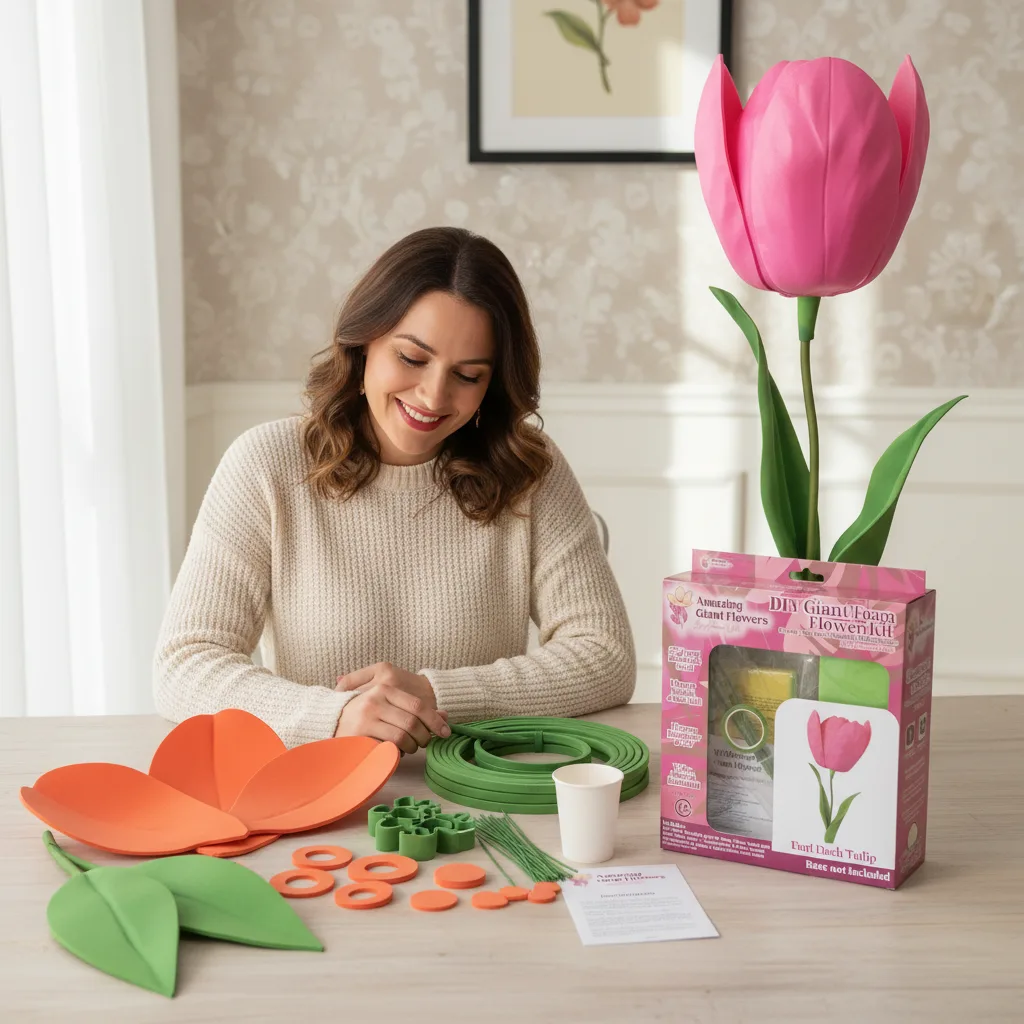
- Life-size foam flowers can be made in 2–3 hours, making them perfect for a party activity or weekend project.
- Kids as young as 5–6 years old can participate with light adult guidance on cutting steps.
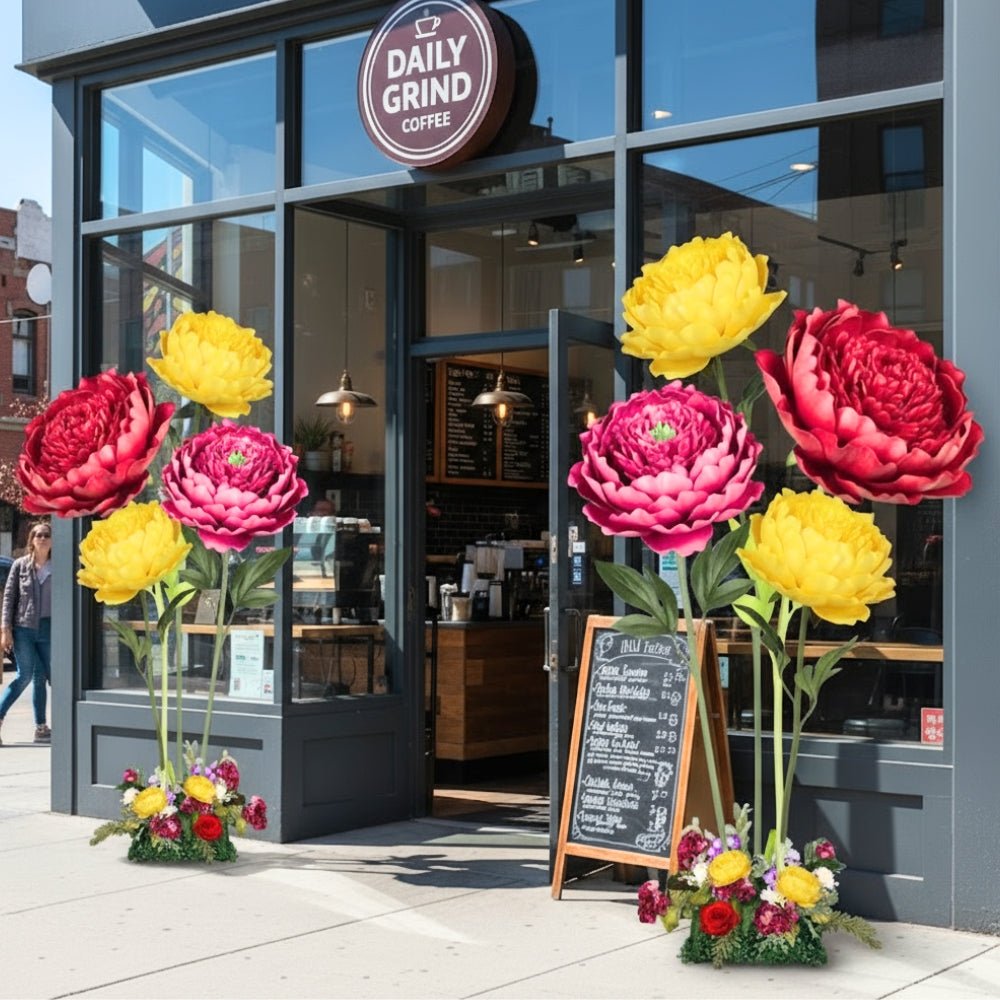
- Finished flowers can be freestanding or wall-mounted, so they actually become room decor kids love.
- Pre-cut kits from Amazing Giant Flowers make the whole process even easier — great for groups and classrooms.
Why EVA Foam Is the Perfect Material for a Kids Craft
Another huge win? EVA foam doesn't require drying time. With paper mache or paint-heavy crafts, you're always waiting. With foam flowers, kids can assemble as they go and hold up their finished flower within the same afternoon. It also holds its shape beautifully. Once you curve a petal, it stays curved. Once you layer the pieces, they stay put. That sense of immediate, visible progress is incredibly satisfying for kids — and honestly, for adults too.
What You'll Need: Materials List for a Life Size Foam Flower Kids Craft
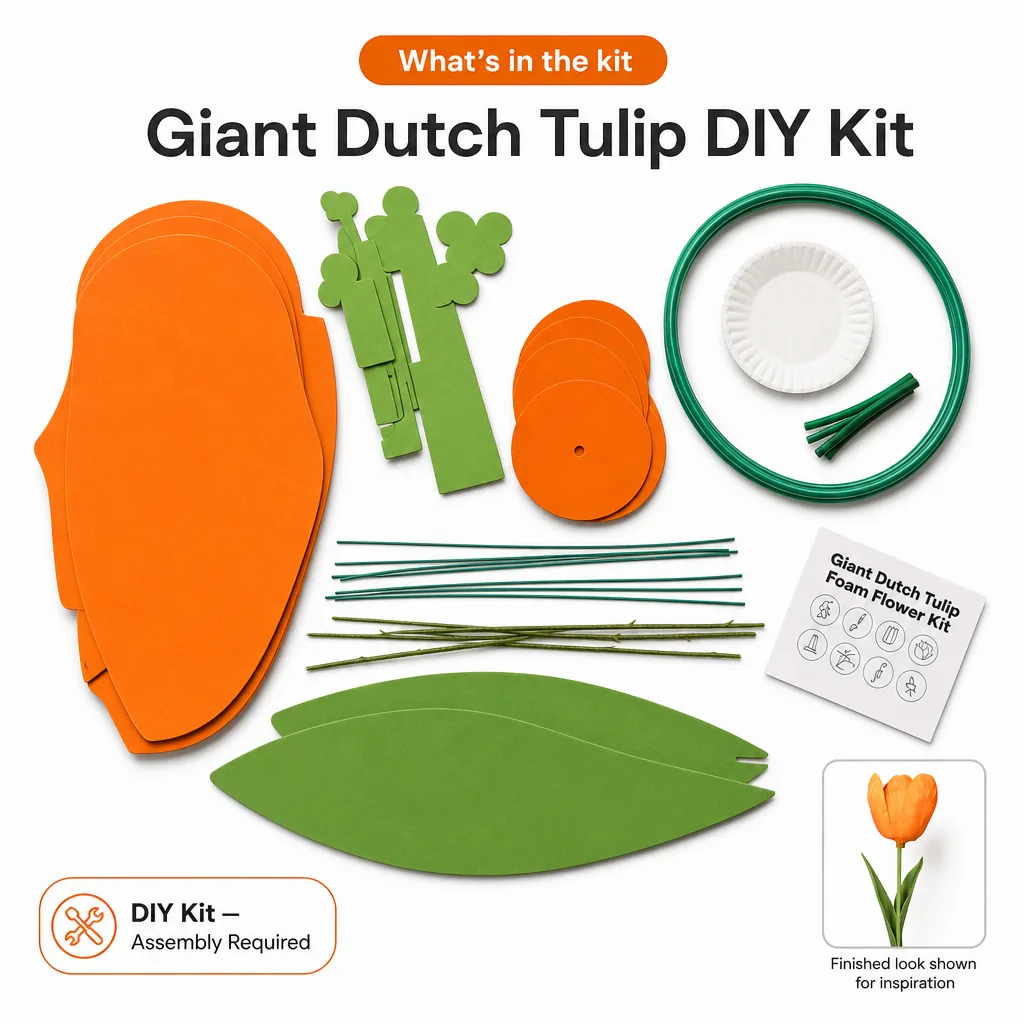
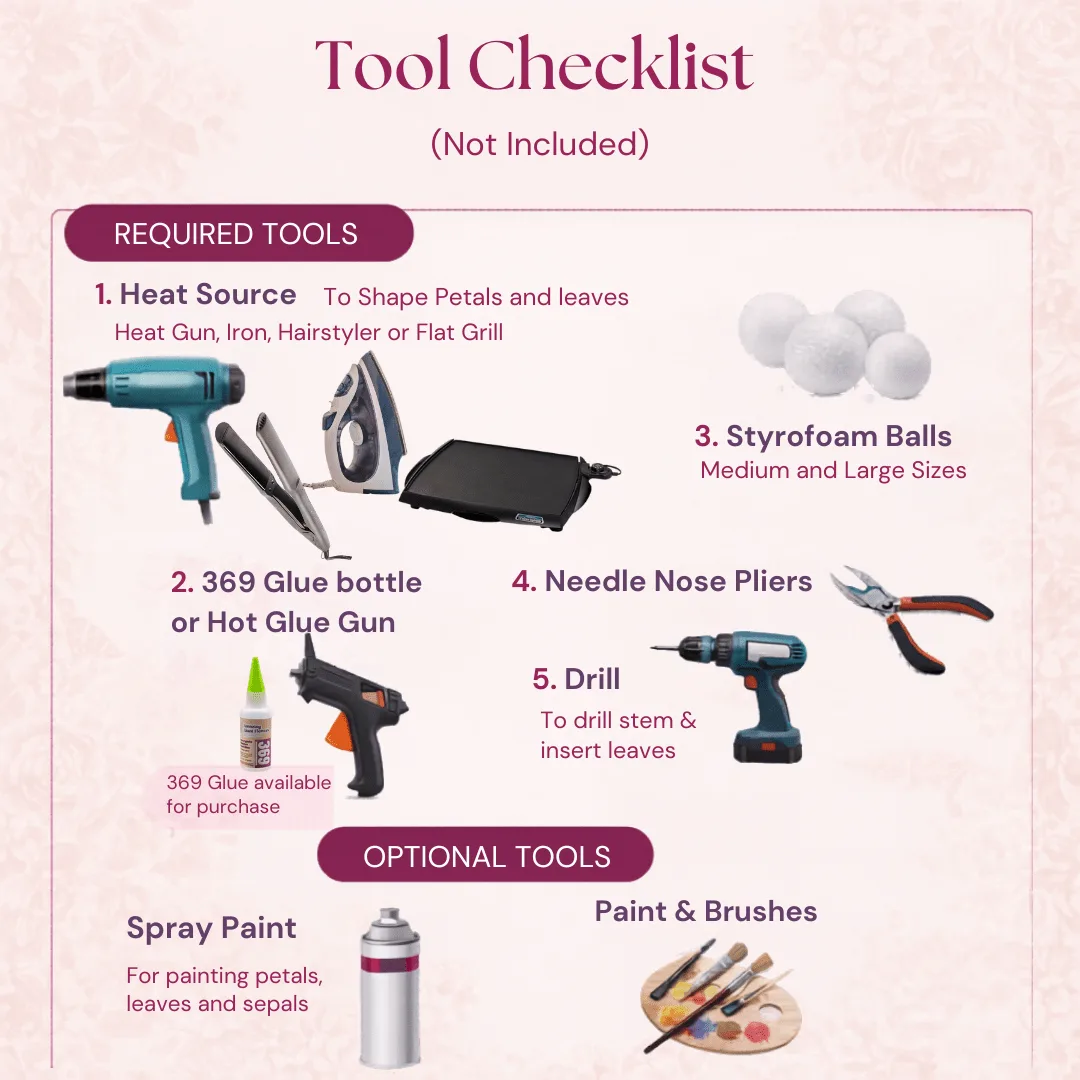
- EVA Foam Sheets (2mm–4mm thickness): Thinner sheets are easier for younger kids to cut. I recommend 2mm for petals and 4mm for the center and base.
- Scissors (rounded tip for younger kids): Adult scissors work faster for older kids and teens. Kitchen scissors are actually great for clean cuts through foam.
- Hot Glue Gun + Glue Sticks: This is the adult-only step for younger children. For ages 10+, supervised glue gun use is totally manageable.
- Bendable Pipe Stems or Floral Wire: These give your flower a real stem. Our bendable pipe stems are specifically sized for giant flowers and hold up beautifully.
- Petal Templates (printed or traced): You can download free templates, or use our pre-cut kits that skip this step entirely.
- Acrylic Paint + Foam Brushes (optional): For kids who want to customize their colors. Check out our guide on flawless foam board paint finishes for tips on getting the best results.
- Cardboard or Foam Core Base: For freestanding flowers, a weighted base keeps everything upright.
Optional Extras That Make It Extra Fun
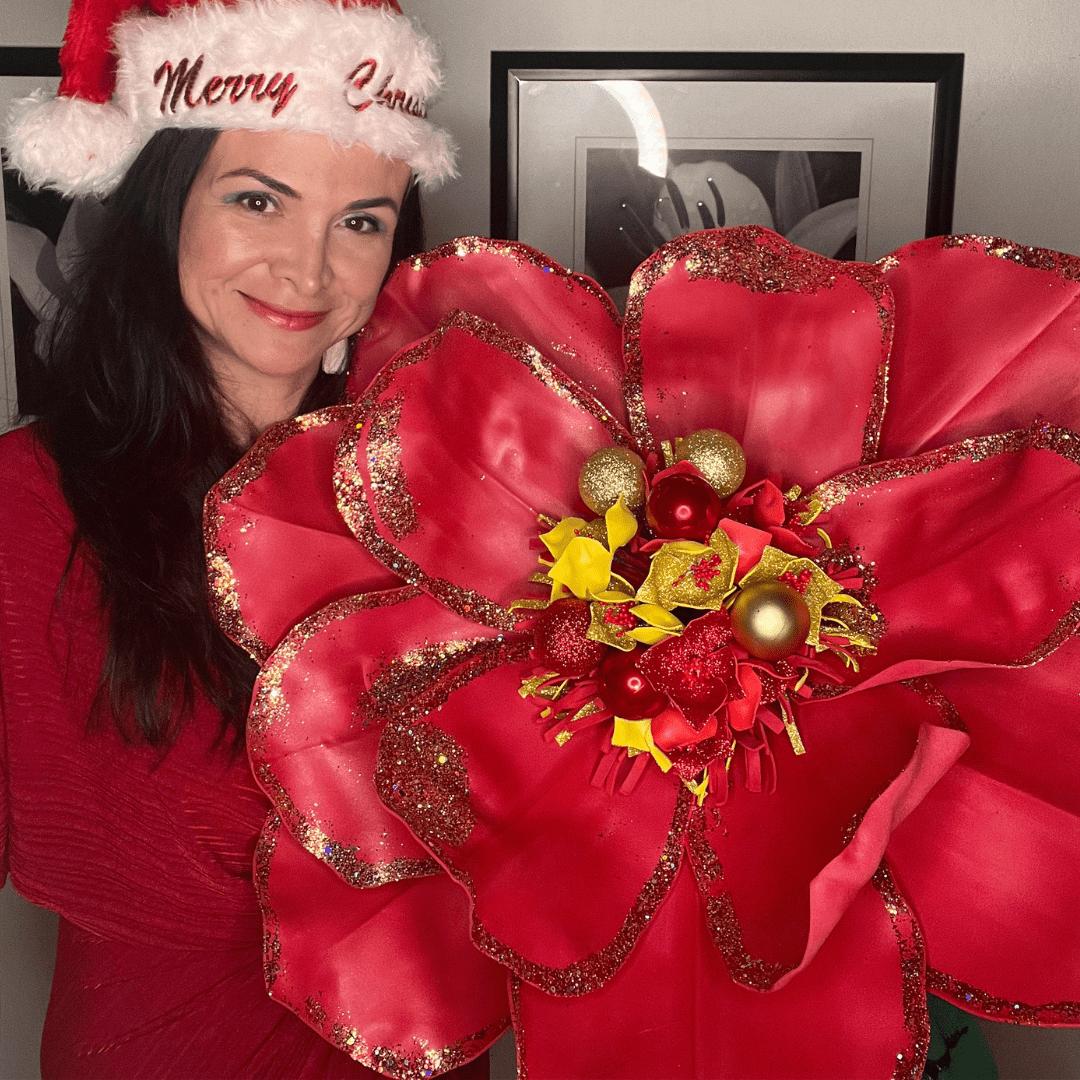
These aren't required, but they take the project from "cool" to "absolutely unforgettable."- Glitter Foam Sheets: The sparkle factor is real. Kids go wild for these.
- Metallic Acrylic Paint: A light dry-brush of gold or silver on the petal edges looks stunning and is easy for older kids to do themselves.
- Ribbon or Twine: For hanging wall-mounted flowers in their bedroom afterward.
- Sticker Embellishments: Gem stickers, foam stickers, even washi tape — all fair game for decorating the center.
Age-by-Age Guide: Who Can Do What
| Age Group | Can Do Independently | Needs Adult Help | Best Flower Size |
|---|---|---|---|
| Ages 4–6 | Decorating, painting, sticking embellishments | All cutting, all gluing | 24–30 inches |
| Ages 7–9 | Cutting thinner foam, tracing templates, assembling layers | Hot glue gun, stem attachment | 30–42 inches |
| Ages 10–12 | Most steps with light supervision | Stem wiring, base assembly | 36–48 inches |
| Ages 13+ | Full project independently | First-time hot glue gun use only | Up to 5 feet |
Step-by-Step Tutorial: Making Your Life Size Foam Flower Kids Craft
Step 1: Choose Your Flower Style and Size
The most kid-friendly flower styles are roses, dahlias, and simple open-petal blooms (think sunflower or gerbera daisy shape). These have repetitive petal shapes, which means less template confusion and more satisfying progress. For a first-time project, I always recommend a simple open bloom with 3 petal layers — an outer layer of 6–8 large petals, a middle layer of 6 medium petals, and an inner layer of 4–5 small petals. Add a round center and you're done.Decide on your final flower size before cutting anything. A 36-inch flower (3 feet) is the sweet spot for most kids — big enough to feel impressive, manageable enough to handle. For that size, your outer petals will be roughly 14–16 inches long and 6–8 inches wide.
Step 2: Trace and Cut Your Petals
Print your petal template (or use one of ours from the kit) and trace it onto your EVA foam sheets. Use a regular ballpoint pen — it shows up clearly and doesn't damage the foam. Pro tip for group activities: Pre-trace all the petals before the kids arrive. Then everyone can jump straight into cutting, which is the part they actually love.For ages 7 and up, cutting the foam is totally doable with a good pair of scissors. Encourage them to cut just outside the line and then trim. EVA foam is very forgiving — small imperfections in petal shape actually make the flower look more natural and organic. For younger kids, an adult or older sibling can pre-cut while the little ones focus on decorating.
Step 3: Shape and Curl the Petals
This step is genuinely satisfying for every age. Take each petal and gently bend it backward over a rounded edge — a marker, a rolling pin, or even your knee works perfectly. The foam has a memory. It will hold whatever curve you give it. For a more open, relaxed bloom, use a gentle curve. For a tighter, more dramatic flower like a rose or dahlia, curl the petal tips more aggressively.Kids love this step because it feels like magic. The flat piece of foam suddenly starts looking like an actual flower petal. I've watched kids do this for 20 minutes straight, just curling and re-curling. It's almost meditative. For a rose-style flower, you can also roll the inner petals into a cone shape and glue the base — this creates that gorgeous tight center. Check out our large fabric flower tutorial for more shaping techniques that translate beautifully to foam.
Step 4: Make the Flower Center
Cut a circle of 4mm EVA foam about 6–8 inches in diameter for your center base. This is what all your petals will attach to. Then cut a second, smaller decorative center — this can be a flat circle, a rolled piece of foam for a button effect, or even layered foam circles in contrasting colors. Kids love choosing the center color because it's often the most visible part of the finished flower.For a sunflower look: Use a dark brown or black foam circle as the center. Cut thin strips of yellow foam and fringe them to create that textured seed-head effect. It takes about 10 extra minutes and the result is absolutely stunning.
Step 5: Assemble the Layers
Start with your largest petals. Apply a small dot of hot glue to the base of each petal and press it onto the center circle, spacing them evenly. Work in a circle. Adults should handle the hot glue gun for younger kids. For older kids (10+), supervise their first few applications and then let them take over. The glue sets in about 30 seconds, so the process moves quickly.Once your outer layer is set, add your medium petals, placing them in the gaps between the outer petals. Then your inner petals, again filling gaps. Finally, glue your center piece on top. The whole assembly usually takes 20–30 minutes once all the petals are cut and shaped. It's fast, visible progress — which is exactly what keeps kids engaged.
Step 6: Attach the Stem
For a freestanding flower, you'll need a stem. Our bendable pipe stems are perfect for this — they're sturdy enough to hold the flower upright but flexible enough to pose at any angle. Push the stem through the center of the flower base and secure it with a generous ring of hot glue on both sides. For extra stability, cut a small foam circle and glue it over the back attachment point.If you want a wall-mounted flower instead, skip the stem entirely. Just add a loop of ribbon or a sawtooth hanger to the back of the center circle. These look absolutely gorgeous in kids' bedrooms — like living wall art. For more wall display inspiration, check out our post on white flowers on wall.
How to Make It a Party Activity: Tips for Groups
- Pre-cut everything the night before: Seriously, this is the difference between a smooth activity and chaos. Have all petals cut and sorted into individual baggies per child.
- Set up an assembly station: One long table with foam pieces, one separate station with the hot glue guns (adult-run). Kids rotate between stations.
- Limit color choices: Offer 3–4 foam colors per child. Too many options leads to decision paralysis. Trust me on this one.
- Have a "decorating table": Paints, stickers, glitter foam scraps — set this up as the final step so kids can personalize while others finish assembling.
- Plan for 90 minutes total: 20 min cutting/organizing, 30 min shaping, 25 min assembly, 15 min decorating. It flows really naturally.
According to NAEYC (National Association for the Education of Young Children), hands-on creative activities significantly support fine motor development and emotional regulation in children. So yes — this craft is basically sneaky brain development disguised as a really good time.
Customization Ideas: Make Every Flower Unique
Color Combinations That Always Work
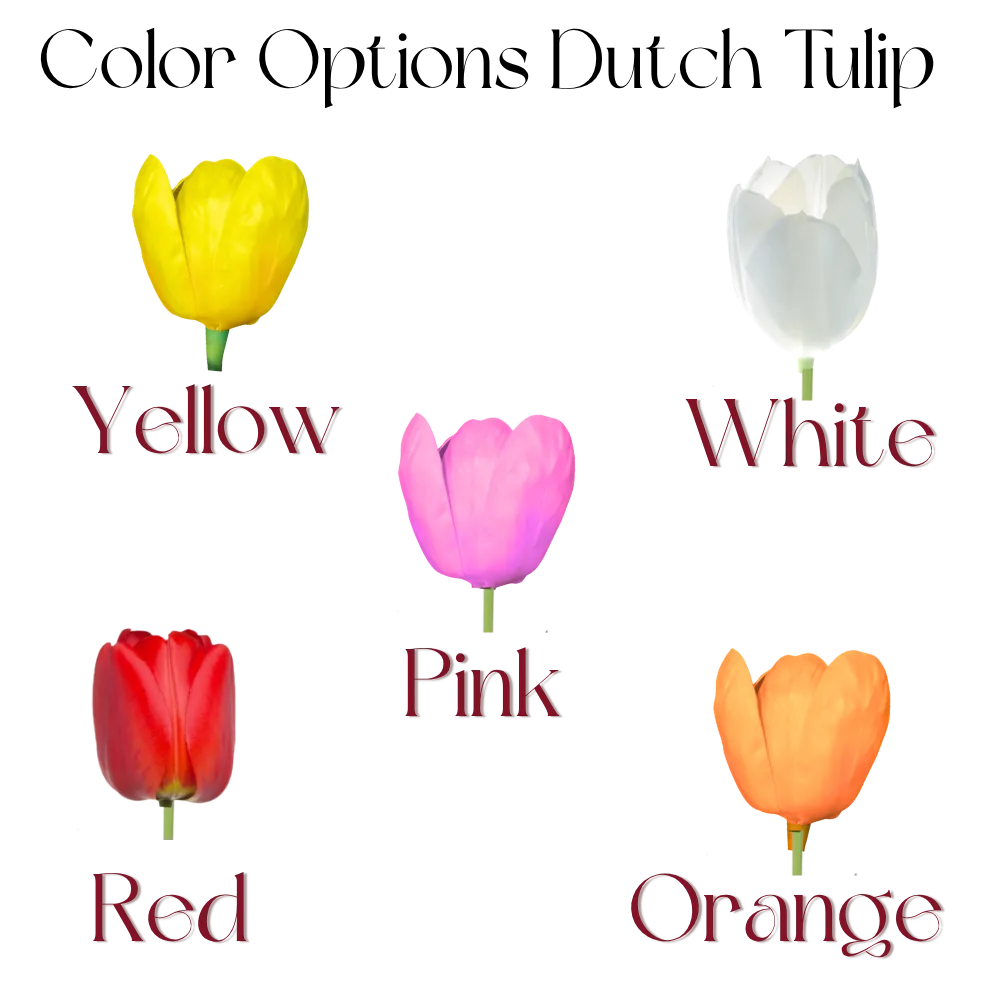
- Ombre Effect: Use three shades of the same color — light pink outer petals, medium pink middle, hot pink center. Gorgeous and easy.
- Contrast Pop: White petals with a bold yellow or orange center. Classic and clean.
- Rainbow Layers: Each petal layer in a different color. Kids absolutely love this one and it photographs beautifully.
- Monochrome Texture: All one color, but mix matte and glitter foam for texture. Elegant and surprisingly sophisticated.
Painting and Decorating the Foam
EVA foam takes acrylic paint beautifully. If your child wants to paint their flower, use a light, dry-brush technique — load just a little paint on the brush and sweep it across the surface. This creates a gorgeous, dimensional look. For tips on getting the best paint finish on foam, I wrote a whole detailed guide: Your Guide to Flawless Foam Board Paint Finishes. It's one of our most popular posts for a reason.What to Do With the Finished Flower
- Bedroom Wall Art: Mount it above the bed or on a feature wall. Kids are SO proud to have something this big that they made themselves.
- Photo Backdrop: Make 3–4 flowers and lean them against a wall for an instant photo moment. Perfect for birthday parties. Get more backdrop ideas in our DIY giant flower backdrop guide.
- Garden Decoration: Stick the stem into a planter or flower bed outside. EVA foam is weather-resistant enough for short-term outdoor display.
- Party Centerpiece: A single giant flower in a weighted vase makes an incredible centerpiece. See our giant flower centerpieces guide for display ideas.
A Parents.com feature on child development noted that when children create something they can display and show others, it builds lasting confidence and a positive association with creative work. These flowers do exactly that. They're not just crafts — they're achievements.
Should You Use a Pre-Cut Kit or DIY From Scratch?
| Option | Best For | Time Required | Cost Range | Skill Level |
|---|---|---|---|---|
| Pre-Cut Kit | Parties, classrooms, first-timers | 60–90 min | $50–$120 per flower | Beginner |
| DIY From Scratch | Crafters who love the full process | 3–5 hours | $15–$40 in materials | Intermediate |
| Bundle Kit (8–12 flowers) | Group parties, backdrops, events | Full day with group | $350–$600 | Beginner–Intermediate |
If you're hosting a birthday party for 10 kids, a pre-cut kit is genuinely a lifesaver. All the tedious prep is done. Kids go straight to the fun part. If it's a quiet weekend project with one or two kids who love the full crafting experience, starting from scratch is incredibly rewarding. You can browse all our kit options at Amazing Giant Flowers — we ship nationwide and include video tutorials with every order.
Frequently Asked Questions
What age is best for a life size foam flower kids craft?
Honestly, there's no wrong age — it just depends on how much adult involvement you're prepared for. Ages 7–12 tend to be the sweet spot where kids can do most of the project themselves and feel genuinely accomplished. Younger kids (4–6) can absolutely participate with adult-cut pieces and lots of decorating freedom. Teens can tackle the whole project independently and often produce stunning results.
Is EVA foam safe for kids to handle?
Yes! EVA foam is non-toxic and widely used in children's products, from play mats to shoe soles. It doesn't produce harmful dust when cut and doesn't require any chemical adhesives. The only step that requires adult supervision is the hot glue gun — and even that is manageable for older kids with guidance.
How long does it take to make a giant foam flower with kids?
With pre-cut pieces, most kids can complete a 3-foot foam flower in about 60–90 minutes. If you're cutting from scratch, budget 2.5–3 hours total including tracing, cutting, shaping, and assembling. For party activities, I always recommend pre-cutting the night before so the actual craft session stays fun and focused.
Can you paint EVA foam flowers?
Absolutely, and it looks amazing. Use standard acrylic paint with a foam brush or a dry-brush technique for the best results. Avoid oil-based paints — they don't adhere well to EVA foam and can stay tacky. For a full breakdown of techniques, check out our guide on painting on foam core.
How do you make the flower stand up on its own?
Attach a bendable pipe stem through the center of the flower base and secure it with hot glue. Then insert the stem into a weighted base — a small bucket filled with plaster of Paris, sand, or floral foam works perfectly. The flower will stand completely upright and can even be posed at a slight angle for a more natural look.
Where can I buy EVA foam sheets for this project?
You can find EVA foam sheets at most craft stores like Hobby Lobby or Michaels, or order them online. We also carry a curated selection of foam sheets and supplies at Amazing Giant Flowers, specifically sized and thickness-tested for giant flower projects. If you want to skip the supply hunting entirely, our pre-cut kits include everything you need.
There's something really special about a craft that kids don't want to throw away. These giant foam flowers end up on walls, in gardens, at birthday parties, and in the corners of bedrooms where kids sneak glances at them and feel quietly proud. That's the whole point. If you're ready to try it, head over to Amazing Giant Flowers to check out our kits and supplies. And if you make one with your kids, I genuinely want to hear about it. Drop a comment, send a photo — nothing makes my day more than seeing what you create.
Ready to Create Something Amazing?
Browse our collection of giant flower kits and start your next project today.