Life-Size Foam Rose Tutorial for Relaxing Home Crafters

Key Takeaways
- EVA foam is the best material for life-size foam roses — it's flexible, durable, and holds its shape beautifully.
- You'll need basic tools: a heat gun, hot glue gun, foam sheets, and a pipe stem for support.
- Roses are built in layers — small tight petals at the center, larger curled petals toward the outside.
- A finished 3-foot foam rose costs a fraction of fresh floral arrangements and lasts indefinitely.
- This tutorial works for freestanding roses, wall-mounted roses, and centerpiece roses.
Why EVA Foam Is the Secret to a Perfect Life-Size Rose
Here's what makes it special for roses specifically:
- Heat-responsive shaping: When you apply a heat gun, EVA foam becomes pliable in seconds. You can curl, cup, and wave petals into any shape you want — and they hold that shape permanently once cooled.
- Lightweight but sturdy: A 3-foot foam rose weighs almost nothing. You can display it freestanding, hang it on a wall, or use it as a centerpiece without any structural drama.
- Paintable surface: EVA foam takes acrylic paint beautifully. You can create realistic gradients, ombre effects, or keep it solid. Check out our guide on flawless foam board paint finishes for pro tips.
- Long-lasting: Unlike fresh roses that wilt in a week, a foam rose lasts years. I have pieces I made four years ago that still look perfect.
For this tutorial, I recommend 2mm EVA foam sheets for petals and 4mm sheets for the base and calyx. Both are available in our shop along with everything else you'll need.
Everything You Need Before You Start
📺 Watch our step-by-step tutorial: How to Make a Giant Rose
One of the biggest mistakes I see beginners make is starting without all their supplies ready. You get halfway through and realize you're missing something, the glue cools, the moment's gone. Let's avoid that.Materials List
- EVA Foam Sheets (2mm): At least 4 large sheets (approximately 12" x 18") in your chosen color. Pink, red, white, and blush are classic rose colors.
- EVA Foam Sheet (4mm): One sheet for the base cone and calyx pieces.
- Bendable Pipe Stem: A 36-inch heavy-gauge bendable stem gives your rose a realistic, poseable stalk. We carry these specifically designed for giant flowers.
- Heat Gun: Not a hair dryer. A proper heat gun with adjustable settings. This is non-negotiable for shaping petals correctly.
- Hot Glue Gun + Extra Glue Sticks: You will go through more glue sticks than you think. Have at least 20 on hand.
- Sharp Craft Scissors or Rotary Cutter: Clean cuts matter for professional-looking petals.
- Acrylic Paint + Foam Brush: Optional but highly recommended for realistic color depth.
- Pencil or Chalk Marker: For tracing petal templates onto foam.
Optional Upgrades
If you want to take your foam rose to the next level, consider adding green EVA foam for leaves, a foam base disc for freestanding stability, or iridescent spray paint for a magical shimmer effect. These small additions make a huge difference in the final look.Your Petal Templates: The Foundation of This Life-Size Foam Rose Tutorial
A rose has three tiers of petals:
- Inner Petals (Tier 1): Small, tightly rolled. These form the bud at the center. Cut 5-7 petals at approximately 4" wide x 5" tall with a rounded top and slightly pointed base.
- Mid Petals (Tier 2): Medium-sized with a wider cup shape. Cut 7-10 petals at approximately 6" wide x 7" tall. These start to open up the flower.
- Outer Petals (Tier 3): Large, gently curled back. Cut 10-14 petals at approximately 8" wide x 9" tall. These give the rose its full, lush appearance.
Draw these templates on cardstock first, then trace them onto your foam. If you're using one of our pre-cut foam kits, the templates are already done for you — which honestly saves so much time and guesswork.
Step-by-Step: Building Your Life-Size Foam Rose

Step 1: Make the Center Cone
Roll a piece of 4mm foam into a tight cone shape, approximately 3 inches tall. This is the foundation everything attaches to. Secure it with hot glue and let it set completely before moving on.Push your bendable pipe stem up through the bottom of the cone and secure it with a generous bead of hot glue. This is your rose's spine — make sure it's solid.
Step 2: Shape and Attach the Inner Petals
Take your Tier 1 petals and use your heat gun on medium heat. Hold the petal about 4 inches from the nozzle and sweep back and forth. You'll see it start to curl and cup naturally.Shape each inner petal into a tight curl — almost like a scroll. Apply hot glue to the base of the petal and wrap it snugly around the cone. Overlap each petal by about 30-40% as you go around. This tight overlapping is what creates that classic rosebud center.
Real talk? Your first couple of petals might not look perfect. That's fine. They'll be hidden by the outer layers anyway.
Step 3: Add the Mid-Layer Petals
For Tier 2 petals, you want a cupped shape — like a small bowl. Use your heat gun and press the center of the petal against your palm as it heats. The foam will naturally cup around your hand shape.Attach these slightly lower on the cone than the inner petals, and space them so they sit between the gaps of the previous layer. Stagger your petals like brickwork — this is the key to a natural, full-looking rose.
Step 4: Build the Outer Petals
The outer petals should curl gently backward at the tips. Heat the top third of each petal and curl it back over a pen or dowel rod. The effect is that classic open-rose look.Attach these at the base of your cone, fanning outward. At this point your rose should really start looking like a rose. Step back and look at it from above — you want even spacing all the way around.
Step 5: Create the Calyx and Leaves
Cut 5 pointed sepal shapes from green 2mm foam — each about 3" long. Heat them slightly and curl the tips backward. Glue them around the base of the flower head where it meets the stem.For leaves, cut elongated oval shapes with pointed tips and add vein details by pressing a ballpoint pen firmly along the length of the leaf. Attach 2-3 leaves along the stem at natural-looking intervals.
Step 6: Paint for Depth and Realism
This step is optional but transformative. Mix a slightly darker shade of your base color and dry-brush it into the center of the rose and along the petal edges. Then add a touch of white or light pink to the outer petal tips.This ombre effect is what makes people think your foam rose is real from across the room. For detailed painting techniques, our post on painting on foam core has everything you need.
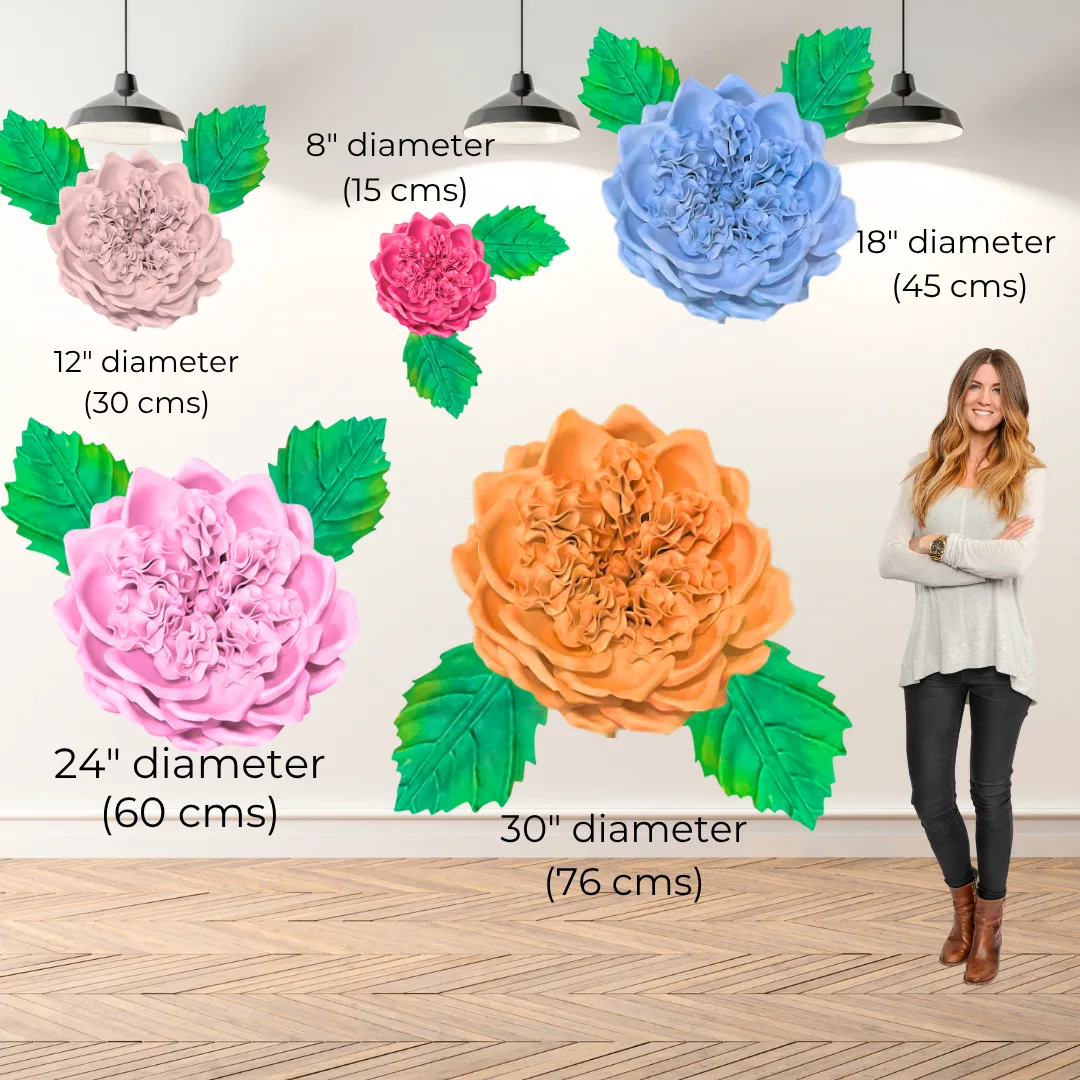
Size Guide: How Big Should Your Foam Rose Be?

| Display Location | Recommended Rose Size | Stem Height | Petal Tiers |
|---|---|---|---|
| Tabletop Centerpiece | 12-18 inches | 12-18 inches | 2 tiers |
| Floor Freestanding | 24-36 inches | 24-36 inches | 3 tiers |
| Wall Art / Backdrop | 18-30 inches | No stem needed | 3 tiers |
| Wedding Arch Feature | 36-48 inches | Optional | 3-4 tiers |
| Event Photo Backdrop | 24-36 inches | No stem needed | 3 tiers |
For wedding arches specifically, I love combining 3-foot roses with smaller accent flowers. Our guide on giant foam flowers for wedding arches shows exactly how to arrange them for maximum impact.
Common Mistakes (And How to Avoid Them)

- Using too much heat too fast: EVA foam can melt and warp if you hold the heat gun too close or too long. Always keep it moving and stay at least 4 inches away from the foam surface.
- Not enough glue at the base: Petals that pop off mid-display are heartbreaking. Apply glue generously at the base of each petal and hold it in place for a full 10-15 seconds.
- Skipping the staggering: Petals lined up in straight rows look artificial. Always offset each new layer so petals sit in the gaps of the previous tier.
- Cutting petals too uniformly: Real rose petals have slight variations. Don't stress about making every petal identical — a little variation actually looks more natural and beautiful.
- Rushing the inner petals: The center of the rose sets the tone for the whole flower. Take your time with those first tight layers.
Foam Roses vs. Fresh Roses: The Real Comparison
| Factor | Life-Size Foam Rose | Fresh Rose Arrangement |
|---|---|---|
| Cost | $15-40 in materials | $200-500+ for comparable impact |
| Lifespan | Years with minimal care | 5-10 days |
| Customization | Any color, any size | Limited by season and availability |
| Setup Time | 2-4 hours to make; instant display | Order in advance; water maintenance |
| Reusability | Use for multiple events | Single use only |
| Allergy-friendly | Yes, completely | Not always |
According to a Brides.com survey, couples spend an average of $2,000-$2,500 on wedding flowers. A full foam rose wedding display — including arches, centerpieces, and backdrop — can be created for a fraction of that cost. That's a real reason so many DIY brides are making the switch.
Creative Ways to Display Your Foam Rose at Home
- Nursery Wall Art: A cluster of 3-5 roses in soft pink and white makes the most gorgeous nursery focal wall. Parents go absolutely wild for this look.
- Entryway Statement Piece: A single oversized rose in a weighted vase or pot by the front door creates an instant wow moment for every guest.
- Bedroom Headboard Backdrop: Mount 5-7 roses in graduating sizes above a bed for a romantic, editorial-worthy bedroom look.
- Home Office Accent: A foam rose on your desk or bookshelf adds color and personality without the maintenance of real plants.
- Seasonal Swaps: Make roses in different colors for different seasons — deep burgundy for fall, white for winter, coral for summer.
For more display inspiration, check out our post on large floral arrangement ideas for stunning displays.
Want to Skip the Cutting? Our Kits Have You Covered
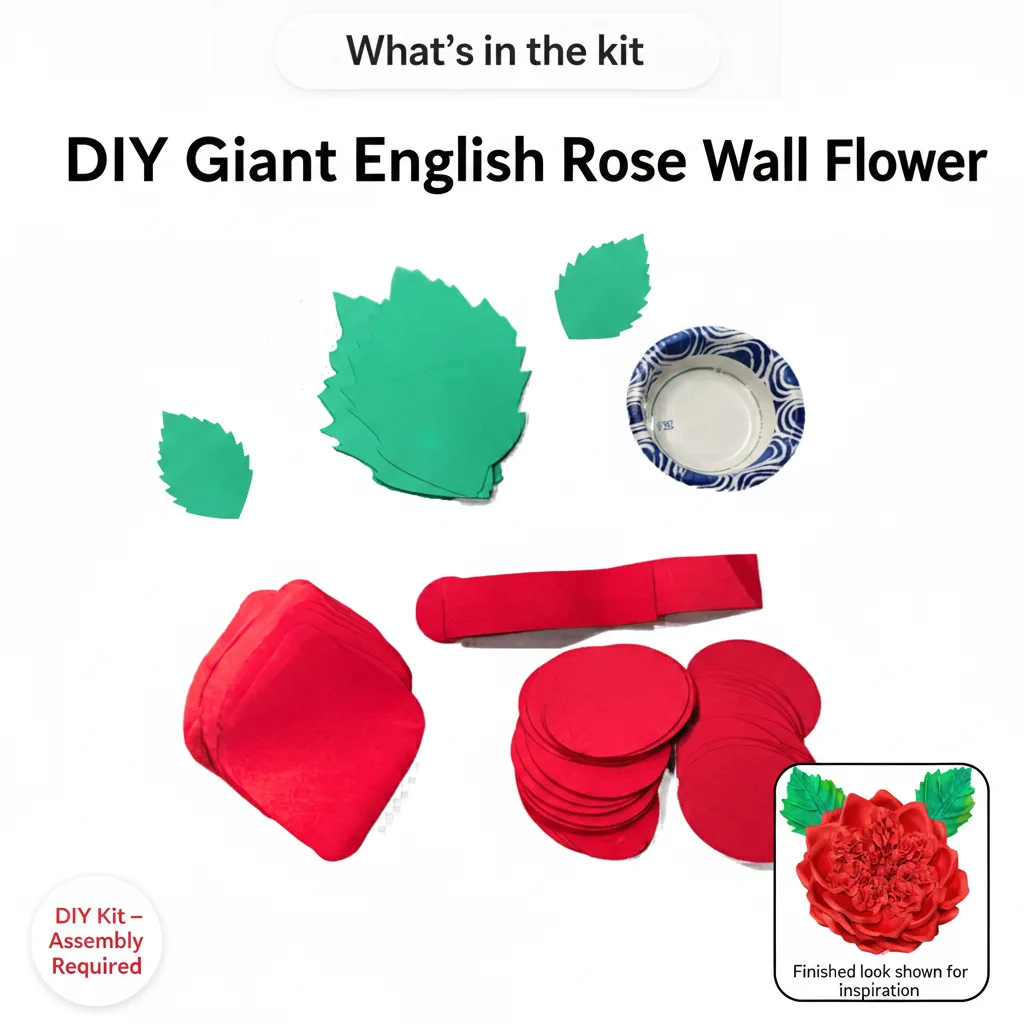
Our Amazing Giant Flowers kits come with every petal pre-cut from professional-grade EVA foam, plus video tutorials that walk you through every step. You get all the fun of the building and shaping process without the template tracing and cutting.
Kits start at around $80 for a single freestanding flower, and we have bundle options if you want to make a whole display. According to Statista, the DIY craft market continues to grow year over year, with more people than ever choosing to make their own home décor — and honestly, once you make your first giant flower, you'll understand why.
Frequently Asked Questions
How long does it take to make a life-size foam rose?
For a complete beginner, plan for 3-4 hours for your first rose. Once you've made one and understand the petal shaping process, you can get that down to about 90 minutes to 2 hours. The inner petals take the most time and attention — the outer layers go surprisingly fast once you're in the rhythm.
What thickness of EVA foam is best for rose petals?
2mm EVA foam is ideal for petals because it's thin enough to curl and cup easily with a heat gun, but sturdy enough to hold its shape. Use 4mm foam for structural parts like the center cone, base disc, and calyx. Thicker foam is harder to shape into the delicate curves a rose needs.
Can I make a foam rose without a heat gun?
Technically yes, but I really don't recommend it. Without heat shaping, your petals will be flat and stiff — they won't have that beautiful cupped, curled look that makes a foam rose look realistic. A basic heat gun costs around $20-30 and is genuinely worth the investment for this craft.
How do I make my foam rose waterproof for outdoor use?
EVA foam is naturally somewhat water-resistant, but for outdoor display I recommend sealing your finished rose with a clear acrylic spray sealer. Apply 2-3 light coats and allow each to dry fully. Avoid prolonged direct sun exposure, which can fade paint colors over time. For long-term outdoor use, bring your rose inside during heavy rain or extreme weather.
Can kids help make a life-size foam rose?
Absolutely — with supervision. The heat gun and hot glue gun are adult-only tools, but kids can absolutely help with tracing templates, cutting petals with safety scissors, and painting the finished flower. According to Parents.com, hands-on craft projects support fine motor development and creative confidence in children. Making a giant flower together is a genuinely wonderful activity.
How do I store a giant foam rose when I'm not using it?
Store your foam rose in a large cardboard box with some tissue paper to support the petals. Never stack heavy items on top — EVA foam can take a permanent dent if compressed for a long time. A cool, dry storage space works perfectly. Most of my roses look just as good after a year in storage as the day I made them.
There you have it — everything you need to make a beautiful, impressive, life-size foam rose from scratch. Whether you're making it for your living room, a wedding, a baby shower, or just because you feel like it (the best reason), I hope this tutorial made the whole process feel doable and fun. If you make one, I genuinely want to see it. Tag us on social or drop a photo in our community — nothing makes my day more than seeing someone create something they're proud of. And if you want to skip straight to the building part, head over to our shop and grab a kit. You've got this.
Ready to Create Something Amazing?
Browse our collection of giant flower kits and start your next project today.