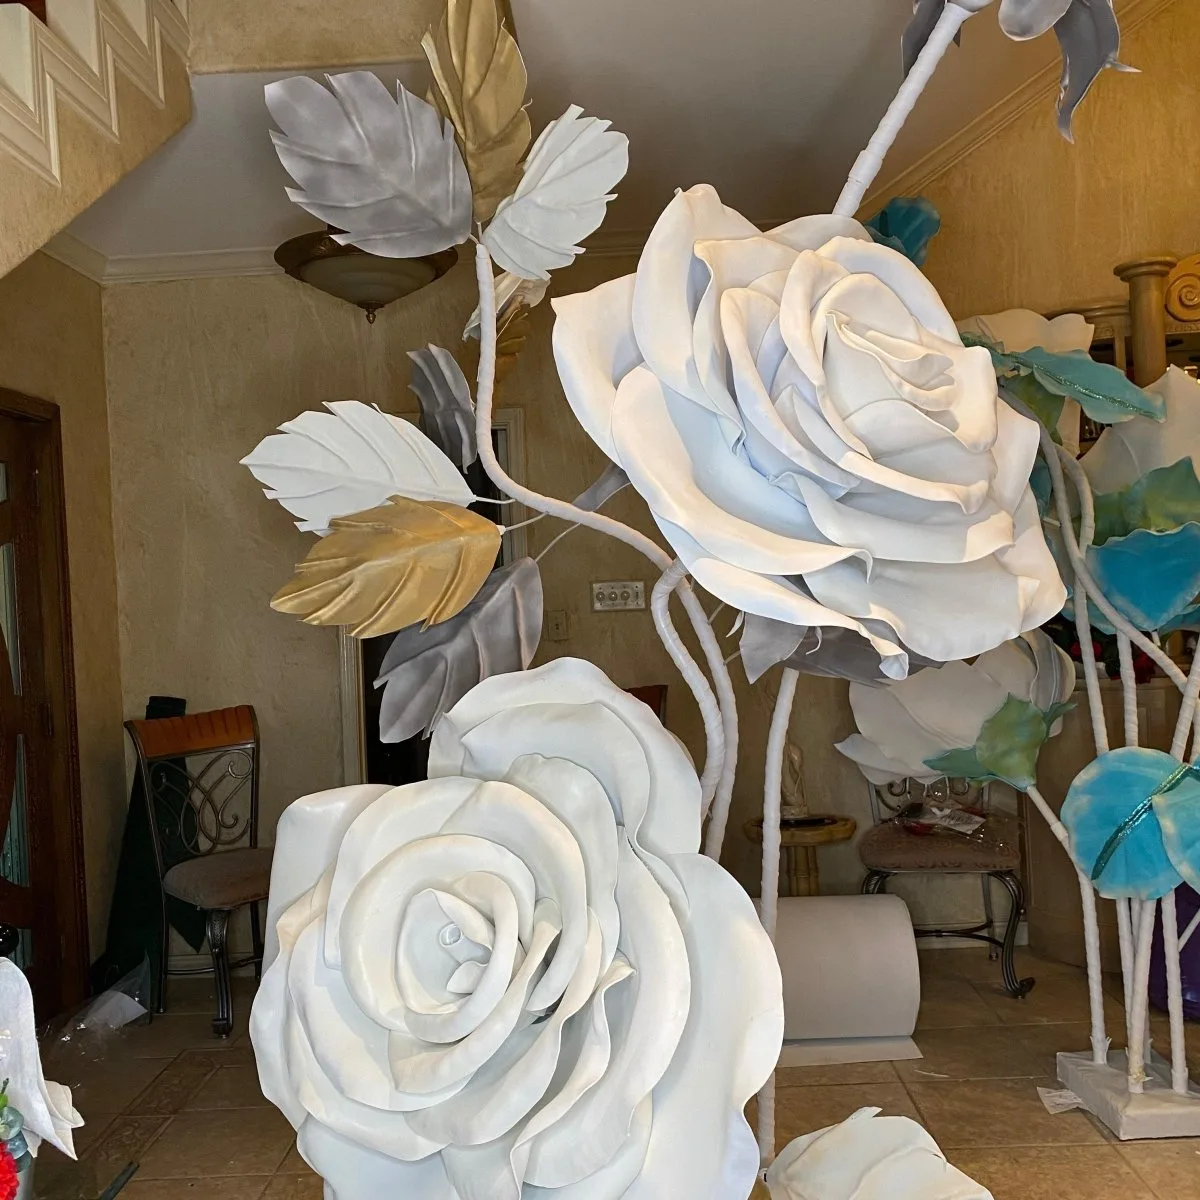
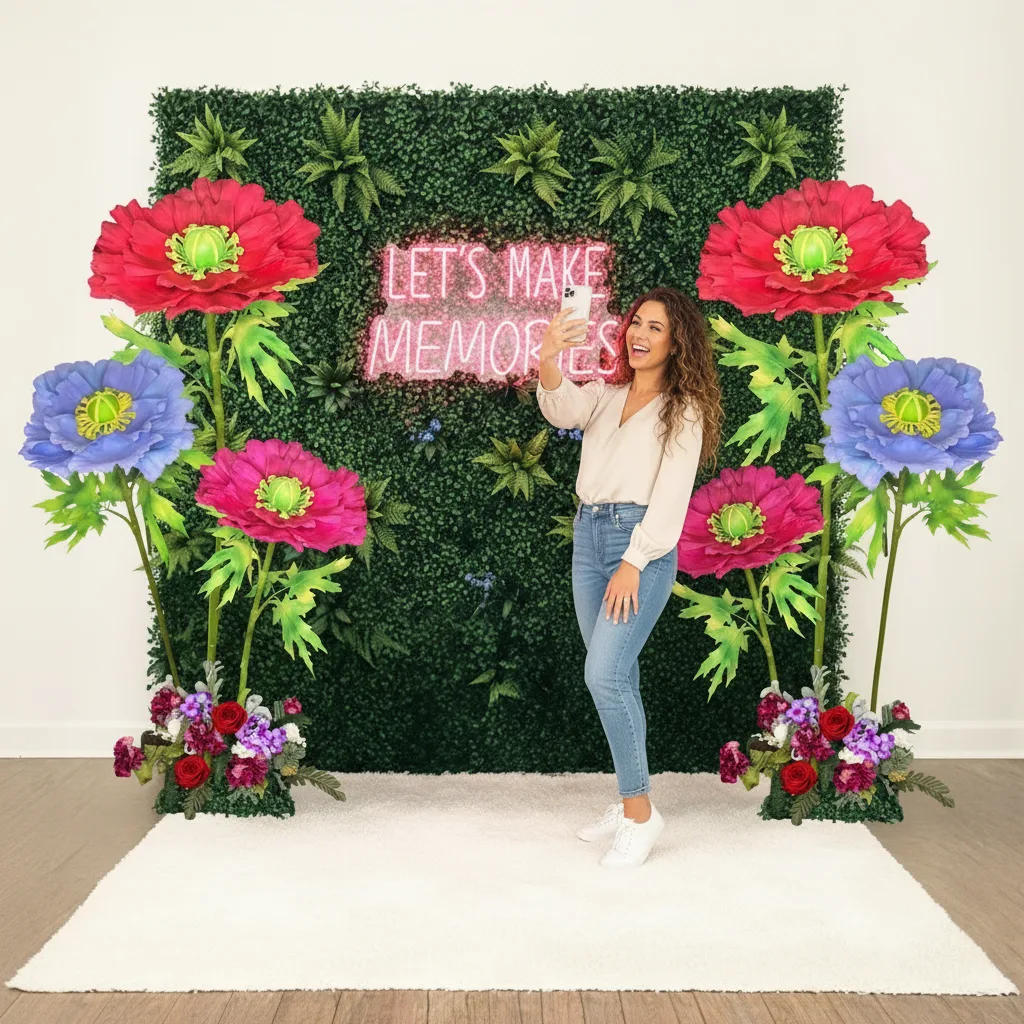
Best Molds for Foam Flower Crafting at Home

Key Takeaways
- Not all molds work for EVA foam — silicone and heat-press molds are your best friends for large-scale foam flowers.
- Petal molds vs. full flower molds are two very different tools, and knowing which to use saves time and materials.
- DIY molds are absolutely possible — I'll show you how to make your own from materials you probably already have.
- Size matters — the best molds for giant flowers (2-5 feet) are not the same as standard craft store options.
- Pre-cut kits can replace molds entirely for beginners who want beautiful results without the setup time.
Why Molds Matter So Much for Foam Flower Crafting
Molds do three things that are really hard to replicate manually. They give you consistent shape, repeatable sizing, and — with the right type — realistic texture that makes your foam petals look like actual flower petals rather than flat cutouts. For giant flowers specifically, this matters even more. When a petal is 18 inches long, even a half-inch variation throws off the whole bloom.
According to Statista, the DIY crafts market has grown significantly in recent years, with millions of Americans spending more time on home crafting projects. The demand for professional-looking results at home has never been higher — and the right tools are what bridge that gap.
The Main Types of Molds for Foam Flower Crafting
Template Molds (Cardstock or Acrylic)
These are the most basic type, and honestly, they're where most people start. A template mold is just a flat shape — usually cut from thick cardstock, cardboard, or acrylic — that you trace around with a marker and then cut. They're inexpensive and easy to make yourself. But they require you to cut every single petal by hand, which gets tedious fast when you're making a 5-foot flower that needs 30+ petals.Silicone Veining Molds
This is where things get interesting. Silicone veining molds press into the foam surface to create realistic vein textures — like the kind you see on rose petals or tropical leaves. They work especially well with thinner EVA foam (2mm sheets) when combined with a heat gun. You heat the foam slightly, press the silicone mold in, hold for a few seconds, and release. The result is a petal with gorgeous texture that catches light beautifully.Heat-Press Cutting Molds (Die Cuts)
These are the heavy hitters. Die-cut molds — sometimes called cutting dies — work with a die-cutting machine like a Sizzix or Cricut to punch out petal shapes in one clean motion. No tracing, no cutting by hand. The limitation? Most die-cutting machines max out at around 12 inches. That's fine for medium flowers, but for truly giant blooms in the 3-5 foot range, you'll need a different approach.3D Petal Shaping Molds
These are two-part molds — usually foam or silicone — that cup around a petal and give it a three-dimensional curve. Think of a rose petal that cups inward at the edges. That shape doesn't happen by accident. With a 3D shaping mold, you press the cut petal between the two halves, apply heat, and the foam holds that curved shape permanently. This is what gives high-end foam flowers that realistic, sculptural quality.Molds for Giant Foam Flowers: What Actually Works
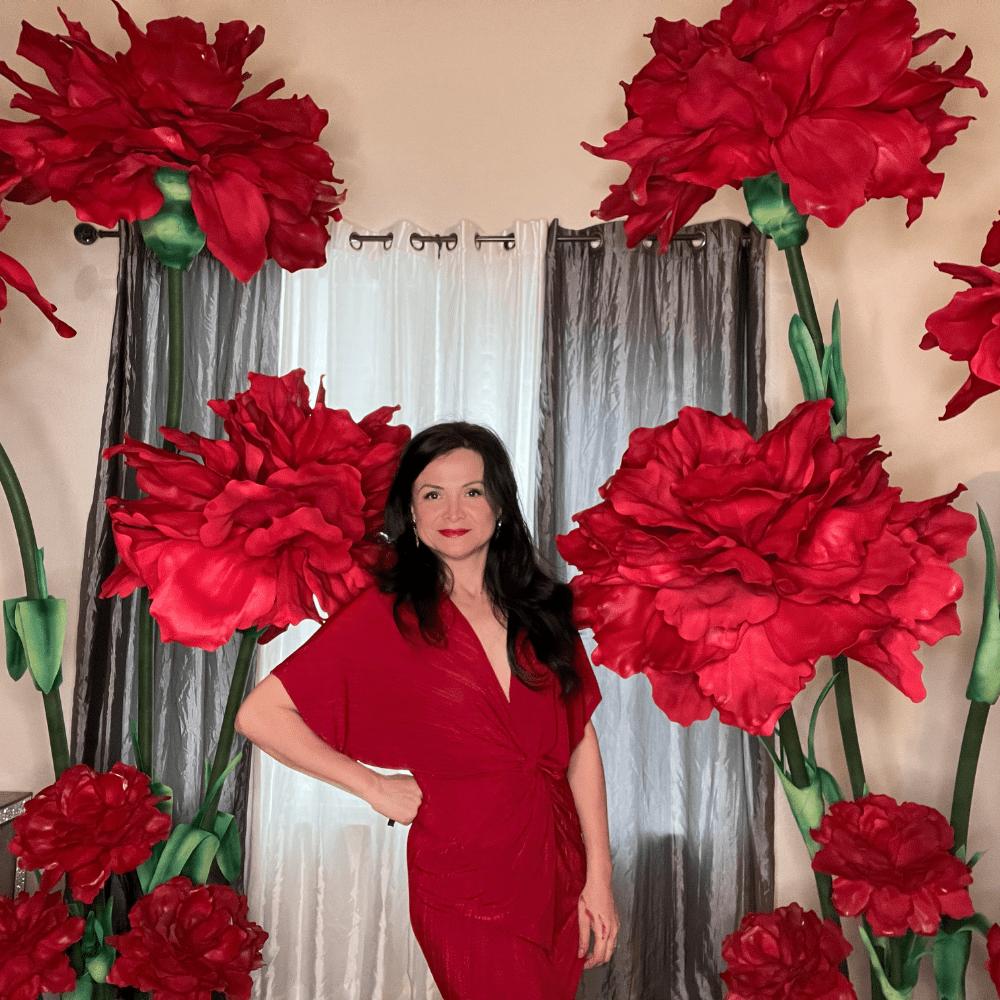
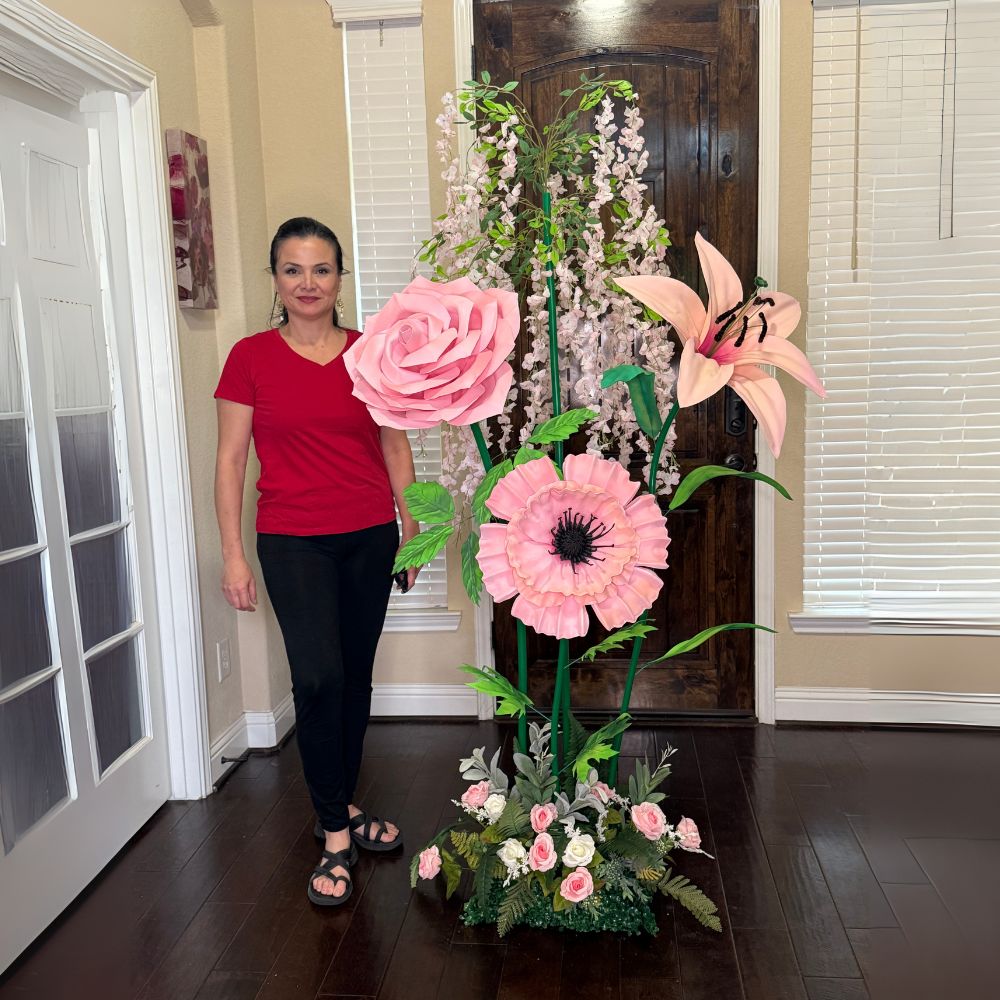
For flowers in the 2-5 foot range, here's what actually works:
- Scaled-Up Cardstock Templates: Print your petal pattern at full size (tiled across multiple sheets if needed), cut it out, and use it as your tracing template. Simple, free, and completely customizable to any size.
- Foam Pipe Insulation as a Shaping Mold: This one sounds weird but works brilliantly. Curved foam pipe insulation pieces can be used to shape large petals into a natural curve while they cool after heating.
- Large Silicone Baking Molds: Oversized silicone molds from kitchen supply stores can double as petal-shaping tools. A large oval silicone mold can cup a 12-14 inch petal beautifully.
- Custom Acrylic Templates: If you're making flowers professionally or in large quantities, having acrylic templates laser-cut to your exact petal shapes is a game-changer. They're durable, precise, and last forever.
- Your Own Hands (Seriously): Once you understand how EVA foam responds to heat, your hands become the best shaping tool you have. Cup a heated petal in your palms and it holds whatever shape you give it.
How to Make Your Own DIY Molds for Foam Flower Crafting
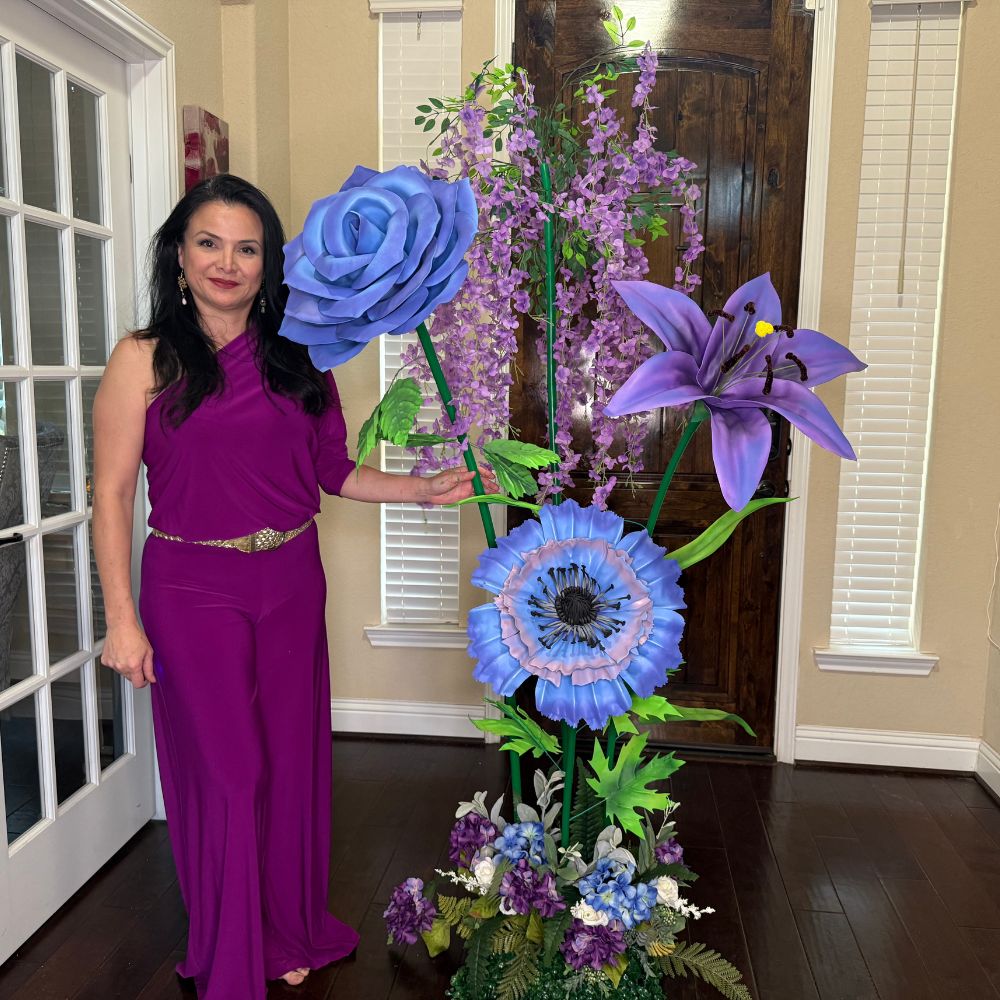
DIY Cardstock Template Method
This is my go-to recommendation for beginners. Here's the basic process: Step 1: Find a petal shape you love — either draw it freehand, find a printable template online, or trace a shape from a reference image. Step 2: Transfer it to thick cardstock or a manila folder and cut it out cleanly. Step 3: Trace around your template onto your EVA foam sheet with a chalk marker or ballpoint pen. Step 4: Cut along the lines with sharp scissors or a craft knife.The key is making your template slightly larger than your final intended petal size, because foam can compress slightly when you shape it with heat. I usually add about 5-10% to my template dimensions.
DIY Silicone Texture Mold Method
This is a little more advanced but produces stunning results. You can actually make your own silicone veining molds using two-part silicone putty (available online or at craft stores for around $20-30). Press the putty around a real leaf or flower petal. Let it cure for about 30 minutes. You now have a custom veining mold that captures every detail of the real thing.Press it into a slightly heated piece of EVA foam and you get the most realistic texture you've ever seen on a foam flower. I did this once with a real magnolia leaf and the result was absolutely breathtaking.
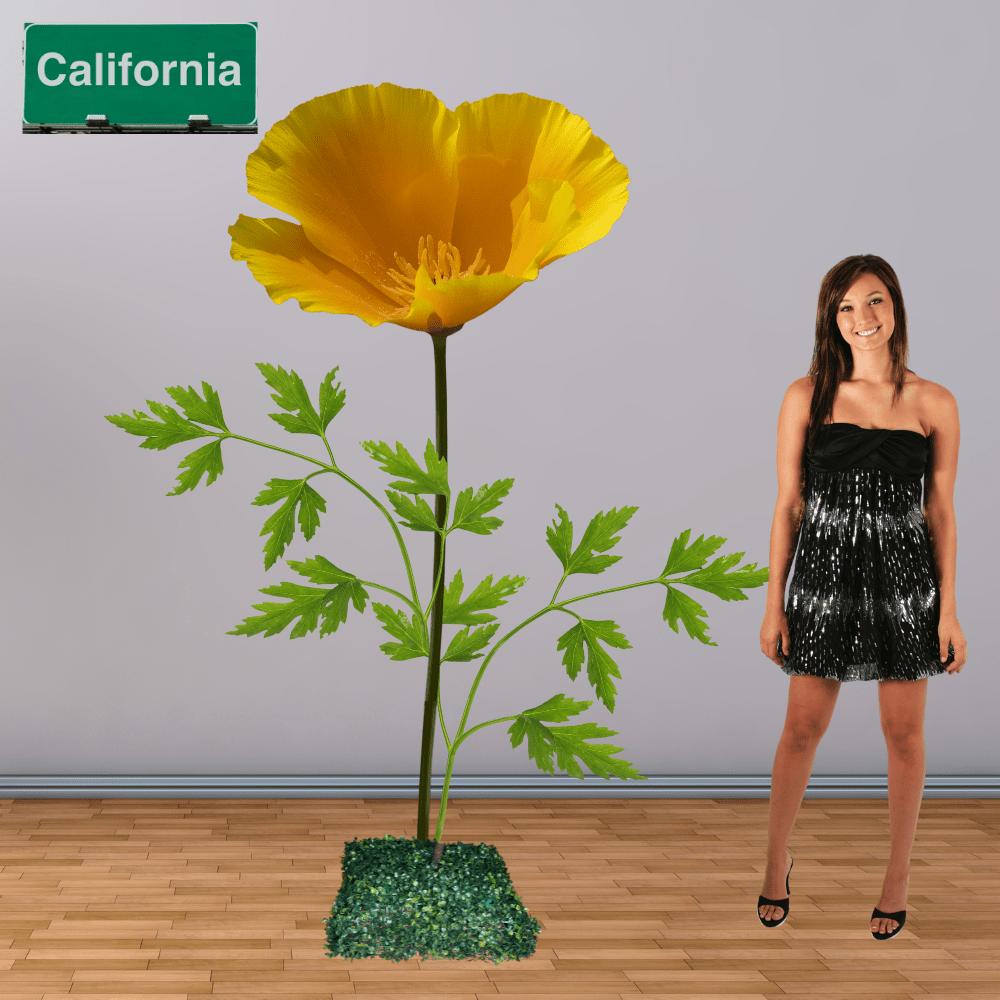
Comparison: Types of Molds for Foam Flower Crafting
| Mold Type | Best For | Max Size | Cost | Skill Level |
|---|---|---|---|---|
| Cardstock Template | All sizes, custom shapes | Unlimited | Free–$2 | Beginner |
| Silicone Veining Mold | Texture on petals up to 10" | ~10 inches | $15–$40 | Intermediate |
| Die-Cut Machine | Small-medium flowers, fast production | ~12 inches | $200–$400+ | Intermediate |
| 3D Shaping Mold | Realistic curved petals | ~14 inches | $25–$80 | Intermediate |
| DIY Silicone Putty Mold | Custom texture from real flowers | ~8 inches | $20–$35 | Intermediate |
| Acrylic Laser-Cut Template | Professional/high-volume production | Unlimited | $50–$200 | Advanced |
| Pre-Cut Kit (No Mold Needed) | Beginners, giant flowers 2–5 ft | Up to 5 feet | $80–$180 | Beginner |
The Skip-the-Mold Option: Pre-Cut Kits for Giant Flowers
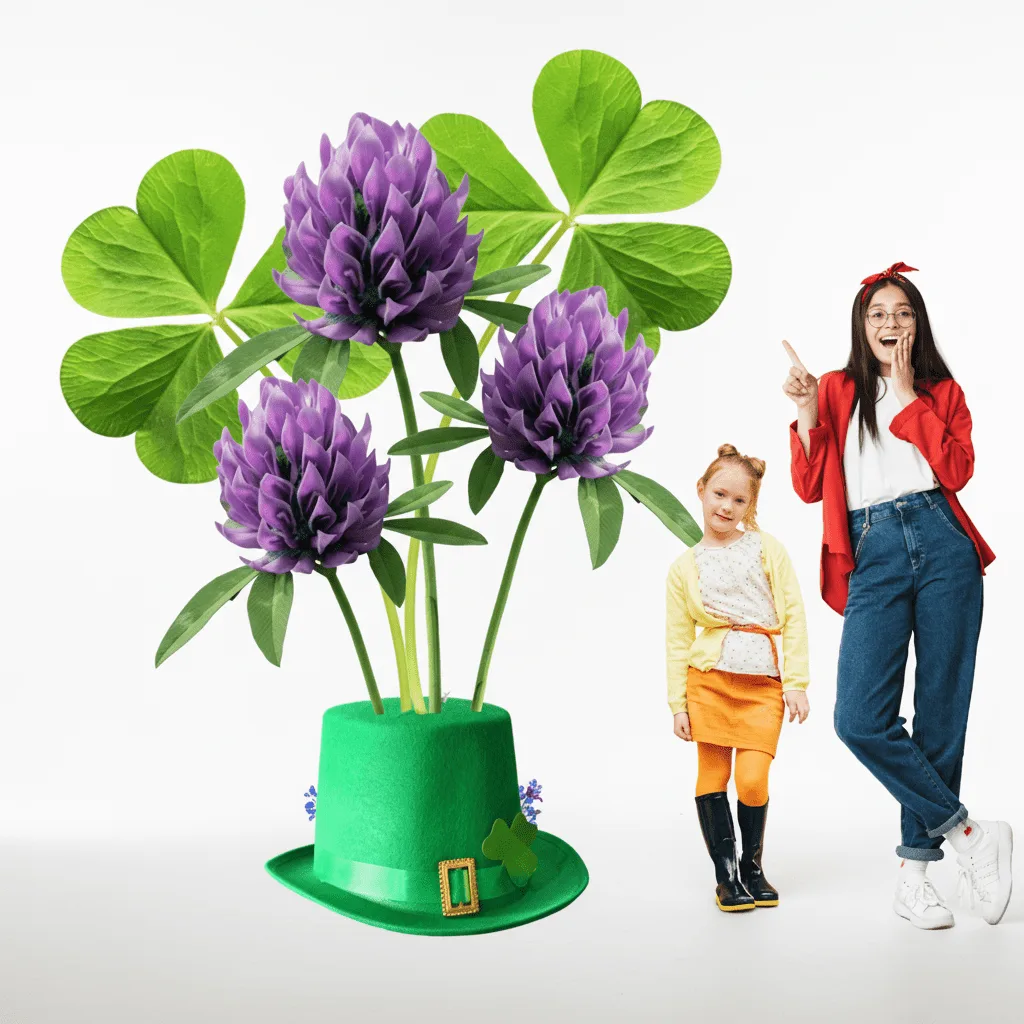
Every petal in our kits is professionally pre-cut from premium EVA foam — no tracing, no cutting, no template hunting required. You get perfectly consistent petals every single time, sized for flowers that actually make a statement at 2, 3, 4, even 5 feet tall. Each kit comes with a step-by-step video tutorial so you're never guessing what to do next. And they ship nationwide, so whether you're in Houston or Hawaii, you can have giant foam flowers at your door.
According to The Knot's annual survey, couples spend an average of $2,000–$2,500 on wedding flowers. A set of giant foam flower kits from us runs $350–$600 for a full bundle — and you keep them forever, reuse them, or resell them after the event.
Tips for Getting the Best Results with Any Mold
Always Use the Right Foam Thickness
This is something I see people get wrong constantly. Thicker foam (6mm-8mm) holds structure but is harder to shape. Thinner foam (2mm-3mm) shapes easily but needs more layers for a full look. For giant flower petals, I typically use 4mm EVA foam as my sweet spot — sturdy enough to hold shape, flexible enough to curve beautifully with heat. Check out our complete guide to every type of foam for giant flowers for a deeper breakdown of which thickness to use for which flower type.Heat is Your Best Friend
EVA foam is thermoplastic — it softens with heat and holds its new shape as it cools. A heat gun set to medium is your shaping tool. Wave it over the foam for 3-5 seconds, then press it into your mold or shape it with your hands immediately. Work fast. You have about 10-15 seconds before the foam starts to set.Seal Before You Paint
If you're painting your foam petals after shaping, always seal the surface first. Unsealed EVA foam is slightly porous and paint can look patchy and uneven. I love a quick coat of Mod Podge or a foam-compatible primer before painting. Our post on flawless foam board paint finishes has everything you need to know about this step.Stack Your Templates for Efficiency
When cutting multiple petals from a template, stack 2-3 layers of foam and cut through all of them at once with a sharp craft knife. This triples your speed and ensures every petal is identical. Just make sure your knife is genuinely sharp — a dull blade drags and distorts the foam edge.Common Mistakes When Using Molds for Foam Flower Crafting
- Using a mold that's too small: A 4-inch silicone petal mold will not work for a 3-foot flower. Always check dimensions before buying.
- Skipping the heat step: Pressing a mold into cold foam does almost nothing. The foam needs to be warm and pliable first.
- Not letting the foam cool in the mold: Pull it out too soon and it springs back to flat. Hold for at least 20-30 seconds after shaping.
- Using thin cardstock for templates: It bends as you trace and your petals come out wobbly. Use manila folder weight or heavier.
- Overheating the foam: Too much heat and the foam bubbles, warps, or melts. Keep your heat gun moving and never hold it in one spot for more than 5 seconds.
Where Molds Fit Into the Bigger Picture
If you're thinking about wall-mounted flowers, the mold process is actually a bit simpler because you don't need petals to be as structurally rigid. Our wall decor flower guide walks through that whole approach.
And for painting your finished flowers? Please don't skip this step. A well-painted foam flower looks absolutely stunning. A poorly painted one looks like... foam. Our crafter's guide to painting on foam core will save you so much frustration.
Frequently Asked Questions
What are the best molds for foam flower crafting at home?
For most home crafters, cardstock templates combined with silicone veining molds give the best results at a low cost. Templates handle the cutting, veining molds add realistic texture. If you're making giant flowers over 18 inches, cardstock or acrylic templates are your best bet since most commercial molds don't come in large enough sizes.
Can I use paper flower molds for EVA foam?
Some paper flower molds — particularly silicone veining molds — work beautifully on thin EVA foam (2mm-3mm). However, molds designed specifically for crepe paper or tissue paper won't work well because foam requires heat to shape, while paper molds are designed for cold manipulation. Always check that a mold is heat-compatible before using it with foam.
Do I need a die-cutting machine for foam flowers?
Absolutely not. A die-cutting machine is a nice tool for speed and consistency on smaller flowers, but it's not necessary — especially for giant flowers, which often exceed the size limits of most machines anyway. Sharp scissors, a craft knife, and a good cardstock template will get you excellent results at a fraction of the cost. Many of our customers make stunning 4-foot flowers with nothing more than scissors and our pre-cut kits.
How do I get curved petals without a 3D mold?
Your hands! Seriously. Heat the petal with a heat gun for 3-5 seconds, then immediately cup it in your palms or press it gently over a rounded object like a bowl, ball, or even your knee. Hold it in position for 20-30 seconds while it cools. The foam will hold that curve permanently. It takes a little practice but becomes second nature quickly.
What foam thickness works best with molds?
2mm foam works best with silicone veining and texture molds because it's thin enough to pick up fine detail. For 3D shaping molds, 3mm-4mm foam gives the best balance of flexibility and structure. For giant freestanding flowers, 4mm-6mm is ideal for outer petals, with thinner foam used for inner, more delicate layers.
Is it cheaper to make my own molds or buy them?
For template molds, making your own is essentially free — just cardstock and scissors. For texture molds, DIY silicone putty molds cost around $20-30 in materials and produce results just as good as commercial options. Buying commercial silicone molds runs $15-80 depending on size and detail. If you're making flowers regularly, investing in a few quality commercial molds plus DIY templates for sizing is the most cost-effective approach.
So here's where I'll leave you: the "best" mold for foam flower crafting is the one that matches your project size, your budget, and your patience level. Start simple — a good cardstock template and a heat gun will take you surprisingly far. And if you want to skip the mold puzzle entirely and jump straight to the fun part of assembling and painting gorgeous giant flowers, our pre-cut kits at Amazing Giant Flowers are made exactly for that. I'd love to see what you create — seriously, tag us when you're done. Nothing makes my day like seeing someone's first giant flower come to life.
Ready to Create Something Amazing?
Browse our collection of giant flower kits and start your next project today.