Small Craft Foam Flowers: Gift Toppers and Party Favors Made Easy
Adriana | Amazing Giant Flowers August 26, 2026 15 min read
If you've ever stared at a wrapped gift and thought *"this needs something more"* — I get it. That's exactly how I fell down the rabbit hole of making **small craft foam flowers gifts favors** years ago. What started as a quick fix for a friend's baby shower turned into one of my absolute favorite things to teach. These little blooms are inexpensive, they last forever, and they make everything look like you hired a professional decorator.
I'm going to walk you through everything. How to make them, how to size them, how to attach them to gifts, and how to turn them into party favors that guests actually want to keep. No floral design degree required. Just some foam, a few tools, and a little patience.
Whether you're planning a birthday party, a baby shower, a bridal event, or just want to add some serious charm to your holiday gift wrapping — this is the tutorial for you. Let's get into it.
Key Takeaways
- Small craft foam flowers are incredibly budget-friendly — you can make 20+ gift toppers for under $15 in materials.
- EVA foam is the best material for small decorative flowers because it holds shape, bends without cracking, and takes paint beautifully.
- The right sizing matters: 3-5 inch flowers work best as gift toppers; 1-3 inch flowers are perfect for favor tags and small accents.
- You can customize color, texture, and petal shape to match any party theme — no craft store limitations.
- These flowers are reusable, which makes them a sustainable and cost-effective alternative to ribbon bows and fresh florals.
Why Small Craft Foam Flowers Are a Game-Changer for Gifts and Favors
Real talk? I used to spend so much money on ribbon bows that got crushed in transit or wilted-looking tissue paper flowers that fell apart by the time guests arrived. Then I started making small foam flowers and never looked back.
EVA foam is the secret weapon here. It's lightweight, flexible, and incredibly durable. Unlike paper or fabric flowers, foam flowers don't wilt, crumple, or absorb moisture. They look just as good three weeks after the party as they did on day one.
According to a The Knot survey, couples spend an average of $2,500 or more on wedding florals alone. Small foam flower accents can dramatically cut that number while actually looking more intentional and design-forward. And it's not just weddings. Statista reports the US party supplies market is valued at over $10 billion — which tells you people are spending serious money on celebrations. Making your own foam flower accents is one of the smartest ways to stretch that budget without sacrificing style.
These little flowers punch way above their weight. Guests notice them. They photograph beautifully. And honestly? People ask where you bought them. (The answer is: you made them. Which feels even better.)
According to a The Knot survey, couples spend an average of $2,500 or more on wedding florals alone. Small foam flower accents can dramatically cut that number while actually looking more intentional and design-forward. And it's not just weddings. Statista reports the US party supplies market is valued at over $10 billion — which tells you people are spending serious money on celebrations. Making your own foam flower accents is one of the smartest ways to stretch that budget without sacrificing style.
These little flowers punch way above their weight. Guests notice them. They photograph beautifully. And honestly? People ask where you bought them. (The answer is: you made them. Which feels even better.)
Materials You'll Need for Small Craft Foam Flowers Gifts Favors
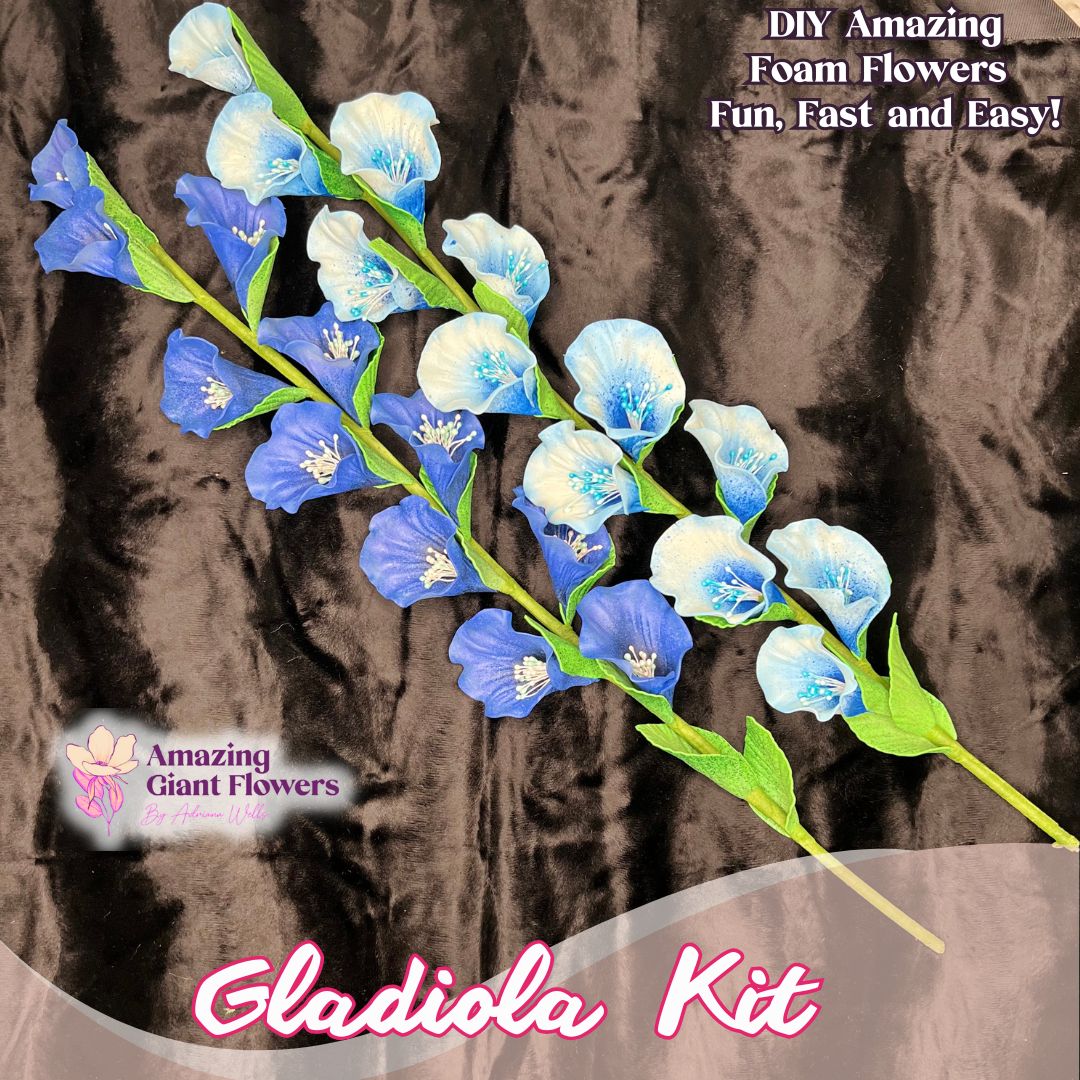
- EVA Foam Sheets (2mm thickness): This is your main material. At 2mm, foam is thin enough to curl and shape but sturdy enough to hold its form. I sell these in my shop and they're the exact weight I use for small decorative flowers.
- Sharp Scissors or a Craft Knife: Dull scissors will drag and tear your petals. Invest in a good pair. I use Fiskars micro-tip scissors for detailed cuts.
- Hot Glue Gun: Low-temp is ideal for small flowers so you don't warp the foam. High-temp works but move fast.
- Acrylic Paint or Foam-Safe Spray Paint: EVA foam takes paint beautifully. I have a whole guide on flawless foam board paint finishes if you want to go deep on this.
- Floral Wire or Toothpicks: For stems on favor flowers or gift toppers that need a little lift.
- Foam Adhesive or Double-Sided Tape: For attaching finished flowers to gift wrap without bulk.
One thing I want to be clear about: not all foam is created equal. I've tested craft foam from dollar stores and big box craft chains, and the quality varies wildly. Thin, cheap foam tears when you try to curl it and doesn't hold paint well. If you want professional-looking results, start with good material. You can browse our complete guide to foam types for giant flowers — most of those principles apply to small flowers too.
How to Size Your Small Craft Foam Flowers for Different Uses

Gift Toppers
For standard gift boxes and wrapped presents, aim for flowers in the 3-5 inch diameter range. A 4-inch flower sits beautifully on top of a medium gift box without competing with the wrapping paper. For large gift bags or oversized boxes, go up to 5-6 inches.Party Favor Flowers
Favor flowers are meant to be kept — tucked into a purse, set on a desk, or used as a little decoration at home. For these, I recommend 2-3 inch blooms. They're substantial enough to feel like a real gift but small enough to be practical.Accent and Embellishment Flowers
These are the tiny ones — 1-2 inches — that you scatter across a dessert table, tuck into favor bags, or use to decorate place cards. At this size, you want simple petal shapes. Anything too detailed gets lost.| Use Case | Recommended Size | Best Petal Style | Attachment Method |
|---|---|---|---|
| Gift Box Topper | 3–5 inches | Rounded or ruffled | Double-sided tape or hot glue |
| Party Favor Flower | 2–3 inches | Classic rose or daisy | Wire stem or toothpick base |
| Favor Bag Accent | 1–2 inches | Simple 5-petal shape | Hot glue directly to bag |
| Place Card Decoration | 1–1.5 inches | Flat layered petals | Foam adhesive |
| Gift Bag Handle Wrap | 3–4 inches | Open bloom or peony | Wire tie or ribbon loop |
Step-by-Step Tutorial: Making Small Craft Foam Flowers for Gift Toppers
Step 1: Cut Your Petal Strips
Start with a 2mm EVA foam sheet in your chosen color. Cut strips that are 1.5 inches wide and 6 inches long. Along one long edge of each strip, cut a scalloped or rounded petal shape — think half-circles about 1 inch tall spaced every inch or so. You'll get about 6 petals per strip.For a finished 3-inch flower, you'll need about 3 strips (roughly 18 petals total). For a 5-inch flower, bump that up to 5-6 strips.
Step 2: Curl the Petals
This step makes the difference between a flat, craft-fair looking flower and something that looks genuinely lush. Use a pencil, dowel, or the barrel of a marker to curl each petal backward. Roll the petal tip around the dowel and hold for a few seconds. The foam has memory — it'll keep that curve.Want tighter curls? Use a thinner dowel. Want a more open, relaxed petal? Use something wider like a ¾-inch wooden dowel. I usually mix it up — tighter curls for inner petals, looser ones for outer petals. It creates a much more realistic bloom.
Step 3: Roll and Glue the Center
Take your first petal strip and apply a thin line of hot glue along the flat bottom edge. Roll it tightly, pressing as you go. This becomes your flower center — the tight bud that everything else wraps around.Keep going. Add each subsequent strip by gluing the base and wrapping it around the previous layer, slightly lower each time. This is what creates that beautiful dimensional rose effect. By the time you've added all your strips, you'll have a full, layered bloom.
Step 4: Finish the Base
Cut a small circle of foam — about 1 inch in diameter — and hot glue it to the bottom of your flower. This caps the base and gives you a clean surface to attach your flower to gifts or stems.If you're making a favor flower with a stem, push a floral wire or toothpick through the center of the base circle before the glue sets. Done. You've got a stemmed flower ready to display.
Color and Finish Ideas for Small Craft Foam Flowers Gifts Favors

Working with Pre-Colored Foam
If your party has a clear color palette — say, blush and sage for a bridal shower — buy foam sheets in those colors and you're halfway there. No painting needed. I love this approach for large batches because it saves so much time.Painting Your Foam Flowers
For custom shades, acrylic paint is your best friend. Apply it with a dry brush for a natural, slightly textured look. Or mix two colors on the petal for an ombre effect — I do this a lot with roses, going from deep magenta at the base to soft pink at the tips.You can also use alcohol ink for a translucent, watercolor-style finish that looks absolutely stunning on lighter foam colors. My full tutorial on painting on foam core covers techniques that translate beautifully to small flowers.
Adding Shimmer and Texture
A light dusting of iridescent glitter glue or pearl spray paint can elevate a simple foam flower into something that looks genuinely luxe. For holiday gifts, I love adding a light gold edge to white foam petals. It takes about 30 seconds per flower and the effect is incredible.Party Favor Ideas Using Small Foam Flowers
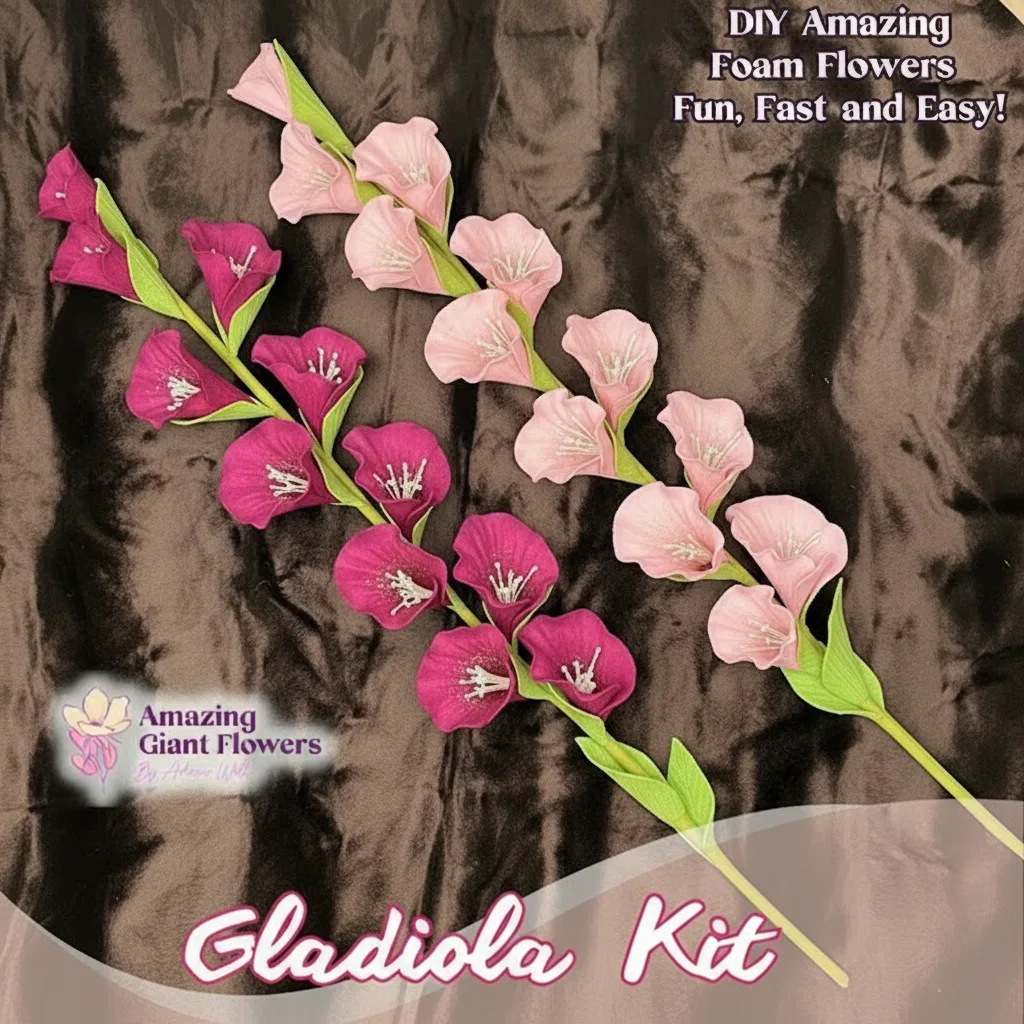
- Flower Favor Pots: Hot glue a 2-3 inch foam flower to a toothpick or thin wooden dowel and "plant" it in a small terra cotta pot filled with floral foam or moss. Add a tag with the guest's name. Adorable, personal, and totally reusable.
- Flower Hair Clips: Glue a small foam bloom to a plain alligator clip or barrette. These are huge hits at kids' birthday parties. Make them in the party colors and guests wear them home — instant wearable favor.
- Flower Bookmarks: Attach a 1-2 inch flower to the top of a ribbon bookmark with a hot glue dot. Tuck it into a small book or journal for a literary-themed party favor.
- Flower Magnets: Glue a small round magnet to the back of a flat foam flower. These are surprisingly popular at bridal showers and baby showers — practical enough that people actually use them.
- Flower Bag Charms: Thread a small foam flower onto a keyring or lobster clasp. Guests clip them to their bags or keychains. Simple, charming, and costs pennies to make.
For a full baby shower setup, check out our welcome board backdrop ideas for baby showers — these small flowers pair beautifully with larger backdrop displays.
How to Attach Foam Flowers to Gifts Without Damaging the Wrapping
This is one of those things nobody talks about but everyone struggles with. You've made a beautiful flower. Now how do you get it onto the gift without the whole thing sliding around or tearing the paper?
For Rigid Gift Boxes
Use double-sided foam tape. Cut a small piece, press it to the base of your flower, and press firmly onto the box. It holds securely but peels off cleanly if the recipient wants to save the flower separately. Which they will.For Soft Gift Bags
Hot glue directly to the bag, or use a small safety pin through the base of the flower to pin it to the bag's handle or front panel. The pin method is great because it's adjustable and the flower can be repurposed later.For Wrapped Gifts with Ribbon
Thread your flower's stem (if it has one) under the ribbon before tying your final knot. The ribbon holds the flower in place naturally. For stemless flowers, tuck them into the ribbon loop and add a tiny dab of hot glue to the underside of the flower base.Scaling Up: Making Small Craft Foam Flowers in Bulk for Events
If you're making favors for a party of 30, 50, or 100 guests, you need a system. Here's how I approach bulk production:
Set up an assembly line. Cut all your foam strips first. Then curl all the petals. Then roll and glue all the centers. Then add outer petals. Then finish the bases. Working in stages is dramatically faster than making one flower at a time from start to finish.
For a party of 50 guests, plan on about 3-4 hours of production time if you're working alone, or 1.5-2 hours with a helper. Many of my customers turn this into a craft night with friends — put on a good playlist, pour some wine, and make flowers together. Genuinely one of my favorite ways to spend an evening.
According to Brides.com, fresh floral favors can cost $5-$15 per guest when sourced through a florist. DIY foam flower favors typically run $0.50-$1.50 per flower in materials — a savings of 70-90% without sacrificing visual impact.
If you're planning a larger event with foam flower backdrops or centerpieces alongside your small favor flowers, our giant flower event budget guide breaks down costs in detail.
For a party of 50 guests, plan on about 3-4 hours of production time if you're working alone, or 1.5-2 hours with a helper. Many of my customers turn this into a craft night with friends — put on a good playlist, pour some wine, and make flowers together. Genuinely one of my favorite ways to spend an evening.
According to Brides.com, fresh floral favors can cost $5-$15 per guest when sourced through a florist. DIY foam flower favors typically run $0.50-$1.50 per flower in materials — a savings of 70-90% without sacrificing visual impact.
If you're planning a larger event with foam flower backdrops or centerpieces alongside your small favor flowers, our giant flower event budget guide breaks down costs in detail.
Common Mistakes to Avoid When Making Small Foam Flowers
I've made every one of these mistakes so you don't have to.
- Using foam that's too thick: Anything over 3mm is very difficult to curl for small flowers. It cracks or resists shaping. Stick to 2mm for anything under 5 inches.
- Skipping the curling step: Flat petals look flat. The curling step takes an extra five minutes and makes a massive difference. Don't skip it.
- Using too much glue: A little hot glue goes a long way. Blobs of glue show through the petals and create bumpy, uneven flowers. Use thin lines and work quickly.
- Making all petals the same size: Real flowers have variation. Make your inner petals slightly smaller and tighter, and let the outer petals be a little wider and looser. It reads as much more natural.
- Not letting paint dry fully before assembling: If you're painting your foam before cutting, make sure it's completely dry. Wet paint + hot glue = a mess. Give it at least 20-30 minutes of dry time.
Frequently Asked Questions
What type of foam is best for small craft foam flowers for gifts and favors?
EVA foam at 2mm thickness is my top recommendation for small decorative flowers. It's flexible enough to curl into realistic petal shapes, holds its form without cracking, and takes paint beautifully. Craft foam from big-box stores can work in a pinch, but the quality varies — I always recommend sourcing from a dedicated foam supplier for consistent results.How long do small foam flowers last?
Indefinitely, honestly. That's one of the biggest advantages over paper or fresh flowers. I have foam flowers I made five years ago that still look perfect. They don't fade, wilt, or absorb moisture. Just keep them out of direct, intense sunlight for extended periods, which can cause slight color fading over time.Can kids make small craft foam flowers?
Absolutely — with some supervision. The cutting and hot glue steps need adult involvement for younger kids, but the curling and assembly steps are very kid-friendly. I've seen eight and nine-year-olds make beautiful flowers with a little guidance. For younger children, use low-temp glue guns and pre-cut the foam shapes for them.How many foam flowers can I make from one sheet?
A standard 9x12 inch foam sheet yields roughly 8-12 small flowers at the 2-3 inch size, depending on your petal style and how efficiently you cut. If you're making favor flowers for 50 guests, budget for about 5-6 sheets per color. Buying foam in bulk rolls is much more economical for large batches.What's the best way to display foam flower party favors?
I love displaying stemmed favor flowers in a shallow tray or box filled with floral foam — it creates a beautiful "garden" effect on your favor table. You can also line them up in a row of small vases or mason jars. For flat favor flowers (like magnets or clips), a tiered tray or decorative bowl works beautifully. Check out our giant flower centerpiece ideas for inspiration on styling favor displays alongside larger arrangements.Can I sell foam flower gift toppers and favors?
Yes! Many of my customers start making foam flowers for their own events and end up launching small businesses. According to IBISWorld, the US floral industry generates nearly $8 billion annually — and handmade, reusable alternatives are a growing segment. Etsy, local markets, and event planning partnerships are all great starting points. Our kits are designed to make production faster and more consistent, which is key when you're selling.There's something genuinely magical about handing someone a gift topped with a flower you made yourself. It changes the whole feeling of the moment. And once you get the hang of it, you'll find yourself looking for excuses to make more — trust me, I still do. If you're ready to dive in, head over to the Amazing Giant Flowers shop and grab some EVA foam sheets to get started. And if you want to go bigger — like, *really* bigger — check out our DIY giant flower backdrop tutorial. Because once you fall in love with foam flowers, small is just the beginning.
Ready to Create Something Amazing?
Browse our collection of giant flower kits and start your next project today.