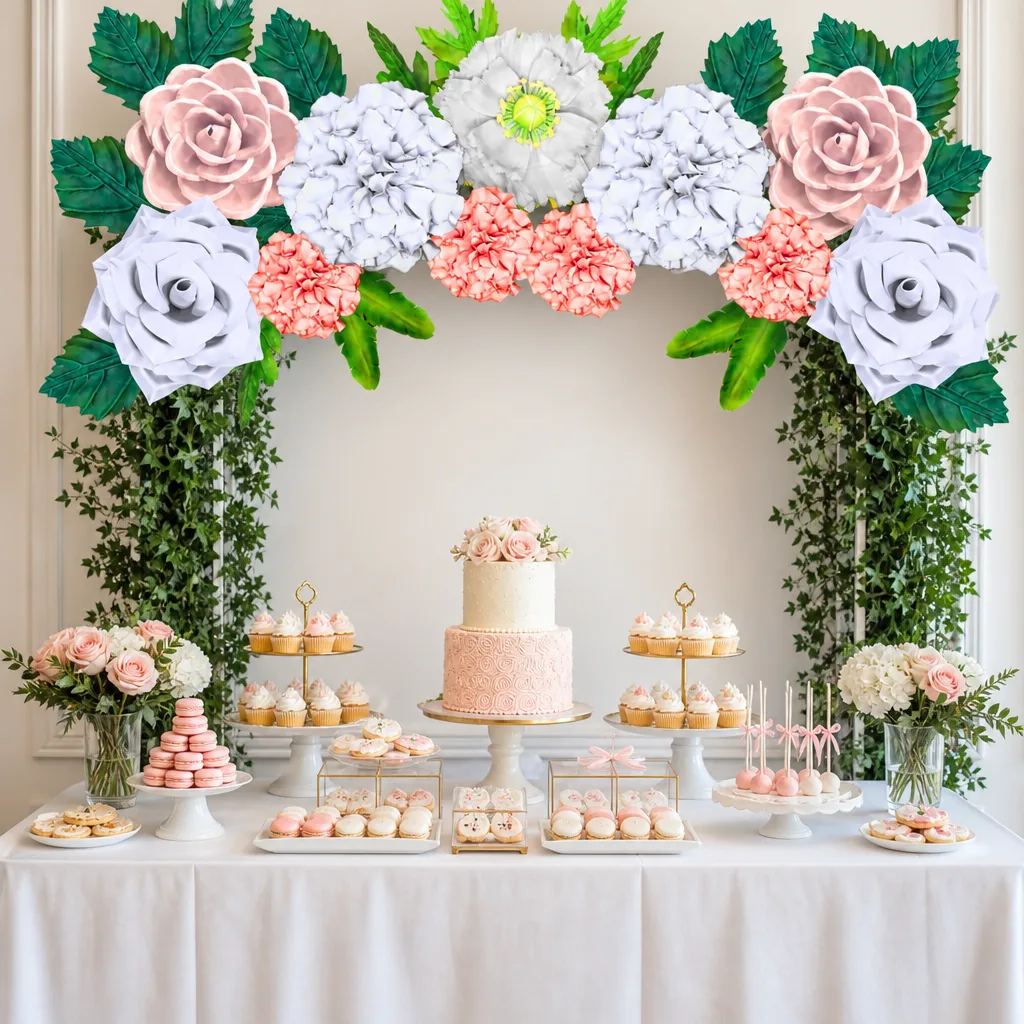
How to Build a Spring Giant Flower Photo Backdrop
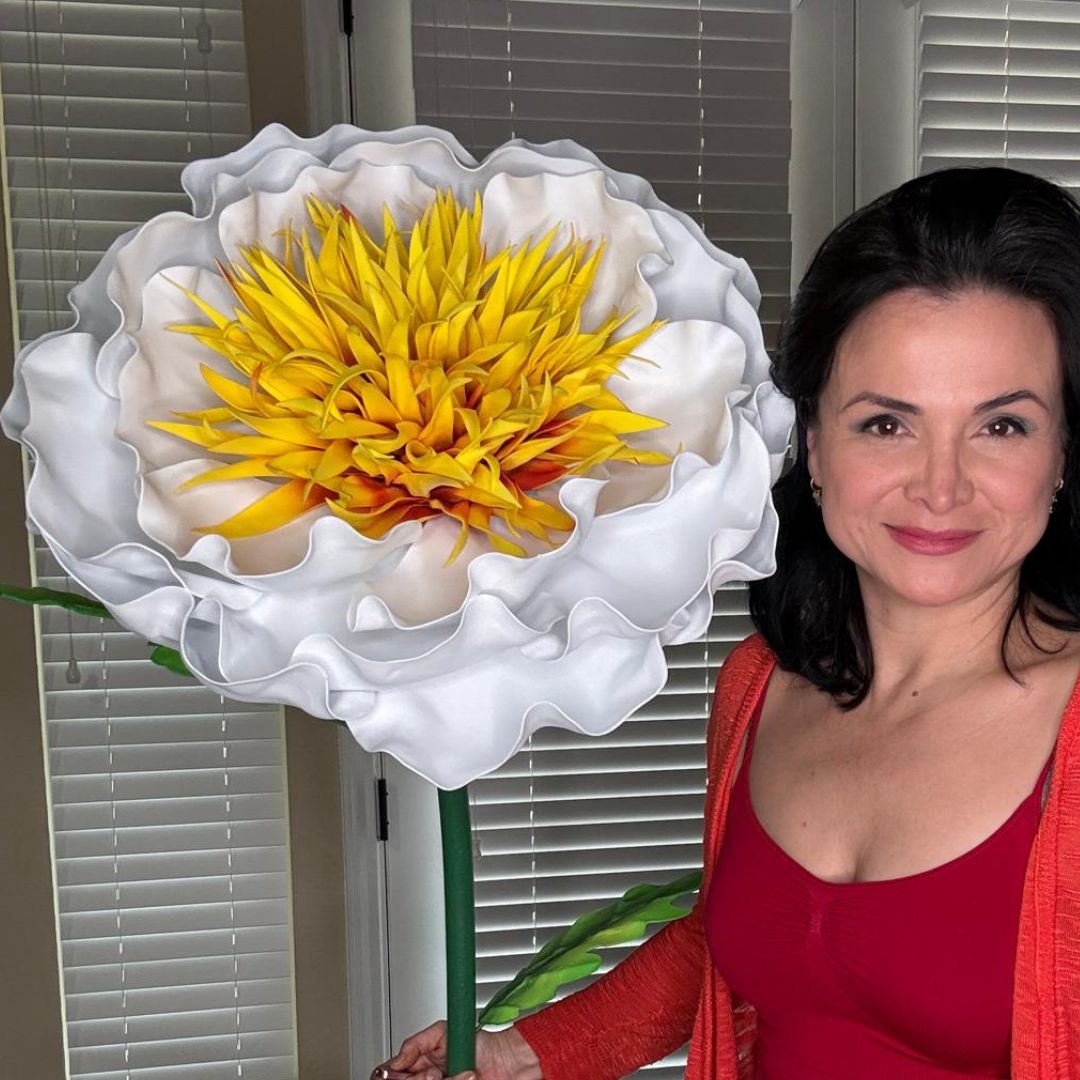
Key Takeaways
- A spring giant flower photo backdrop typically requires 8–15 flowers ranging from 2 to 5 feet in diameter for full coverage on a standard 8×8 ft frame.
- EVA foam is the best material for giant flowers — lightweight, durable, and easy to paint in any spring color palette.
- You don't need professional skills. Pre-cut kits with video tutorials make this totally beginner-friendly.
- Spring color palettes (blush, coral, lavender, sage) photograph beautifully and work for almost any event type.
- A DIY foam flower backdrop costs a fraction of what florists charge — saving you $500–$2,000+ compared to fresh floral installations.
Why Giant Flower Backdrops Are Having a Moment (Especially in Spring)
And here's what makes giant foam flowers perfect for spring backdrops specifically:
- Color versatility: EVA foam takes paint beautifully, so you can nail any spring palette — blush pink, butter yellow, lilac, mint, coral, cream.
- Lightweight construction: You can hang them, mount them on a frame, or lean them against a wall without worrying about weight.
- Reusability: Unlike fresh flowers that wilt by noon, foam flowers last for years. Use them for multiple events.
- Weather resistance: Planning an outdoor spring garden party? Foam holds up in light wind and doesn't wilt in humidity.
- Photo quality: The scale and dimension of giant flowers photograph incredibly well — they create depth and drama that flat paper or fabric simply can't match.
What You'll Need: Materials and Tools
The Flowers Themselves
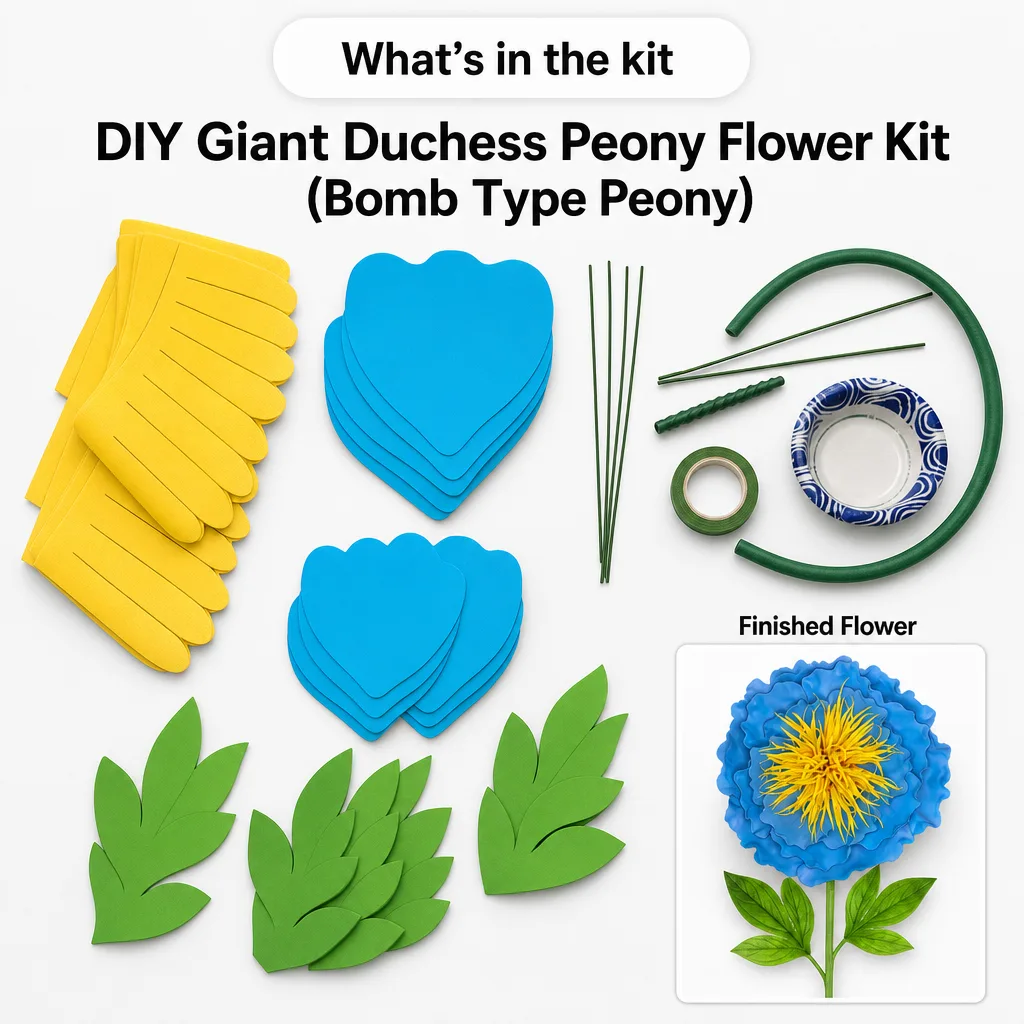
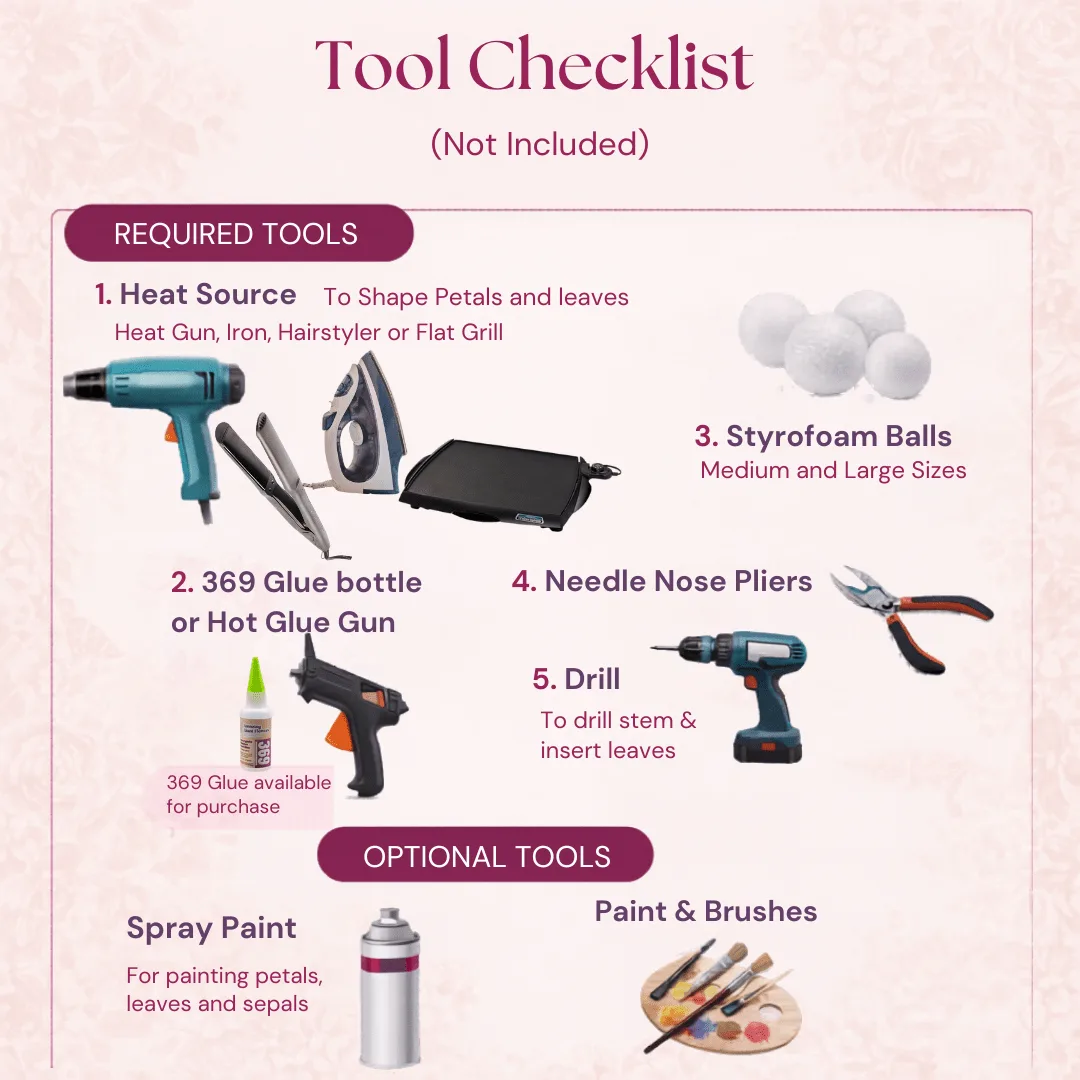
You have two routes here. You can build from scratch using raw EVA foam sheets, or you can start with a pre-cut kit that gives you everything ready to assemble. Honestly? If this is your first time, I cannot recommend our kits enough. I designed them specifically so that beginners can skip the most frustrating part — the cutting — and jump straight into the fun stuff. Check out our full shop to see what's available.Core Materials List
- EVA Foam Sheets (6mm for petals, 10mm for bases): This is the heart of your flowers. EVA foam is flexible, cuttable, and holds shape beautifully. I go deep on material choices in my crafter's guide to every type of foam for giant flowers.
- Acrylic Paint or Foam-Safe Spray Paint: For spring colors, I love using layered acrylic for depth. Check out my tips in Your Guide to Flawless Foam Board Paint Finishes.
- Hot Glue Gun + Extra Glue Sticks: You'll go through more than you think. Buy two packs minimum.
- Backdrop Frame (8×8 ft or 8×10 ft): A pipe-and-drape system or adjustable photo backdrop stand works great. You can find these on Amazon for $40–$80.
- Floral Wire or Zip Ties: For attaching flowers to the frame securely.
- Scissors + Box Cutter: Even with pre-cut kits, you'll want these on hand for trimming.
- Foam-Safe Primer: Helps paint adhere and gives you a more polished finish.
Optional But Game-Changing Extras
- Greenery Filler: Artificial eucalyptus, fern leaves, or tropical leaves fill gaps and add that lush, garden feel.
- Fairy Lights: Weave warm white or blush LED strands through the backdrop for evening events. The glow is unreal.
- Butterfly or Bee Accents: Small foam or paper accents add a whimsical spring touch.
- Ribbon or Tulle: Great for softening the edges and adding texture at the base.
Choosing Your Spring Color Palette
Popular Spring Palettes for Photo Backdrops
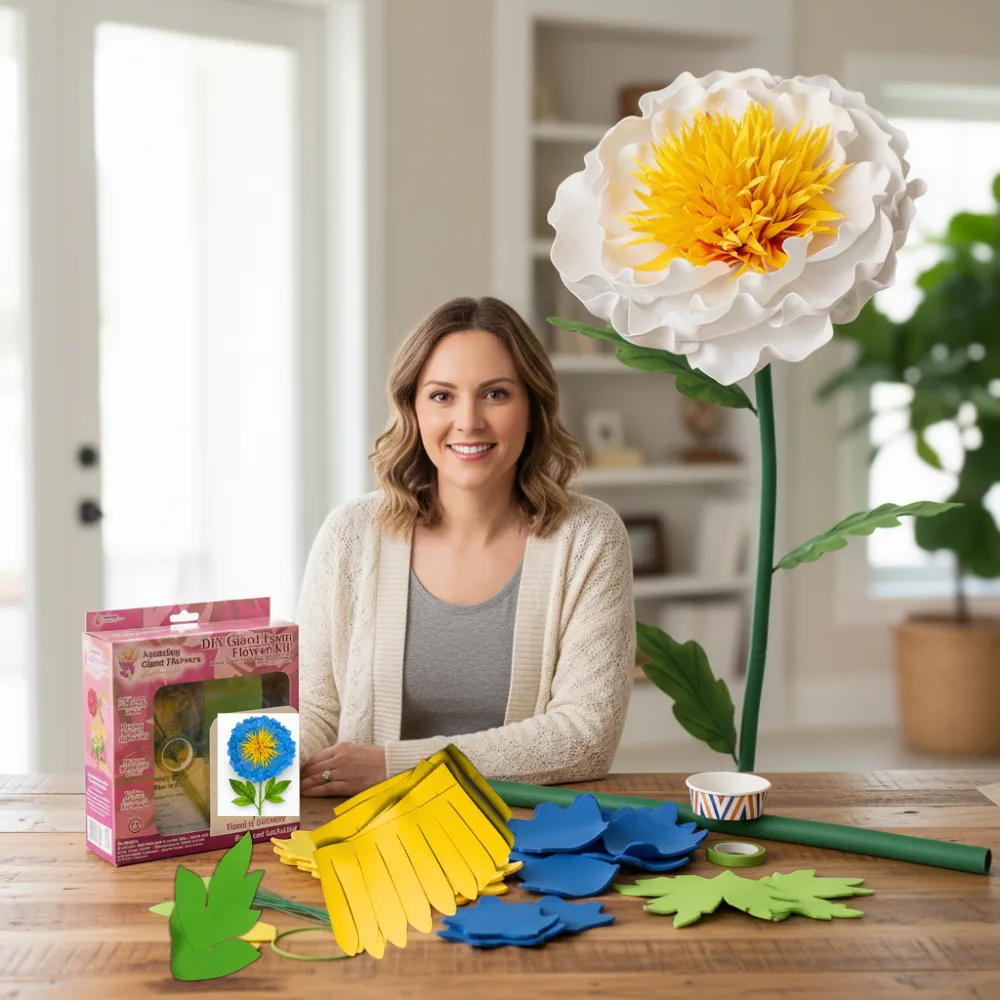
- Romantic Garden: Blush pink, dusty rose, cream, sage green. Timeless and works for almost every event.
- Citrus Pop: Coral, peach, butter yellow, white. Bright and energetic — perfect for outdoor parties and kids' events.
- Lavender Dreams: Lilac, soft purple, pale pink, silver-white. Ethereal and elegant, especially for bridal or baby showers.
- Tropical Spring: Hot pink, orange, fuchsia, tropical green. Bold and fun — great for quinceañeras or vibrant celebrations.
- Soft Neutrals: Ivory, champagne, blush, dusty mauve. Sophisticated and photography-friendly in any lighting.
Pro tip from me to you: always test your colors against the wall or backdrop frame before committing. What looks perfect in the store can read differently in photos, especially under event lighting. A Brides.com color palette guide notes that soft, muted tones photograph most consistently across different lighting conditions — which is exactly what you want for a photo backdrop.
How to Make Your Giant Flowers: Step-by-Step
Step 1: Cut Your Petals
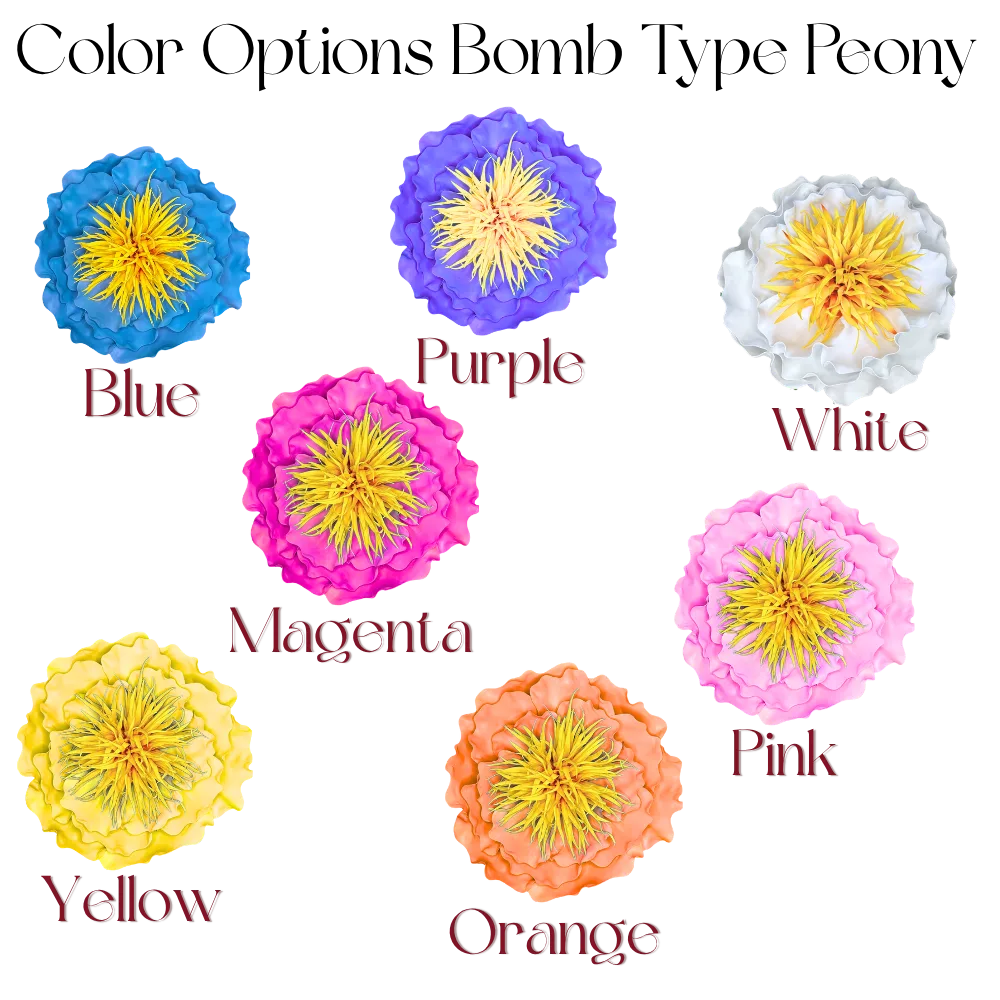
If you're using raw foam sheets, draw your petal templates on cardstock first. For a 3-foot flower, your outer petals should be approximately 14–16 inches long and 8–10 inches wide. Inner petals scale down from there — about 10–12 inches for the second layer and 6–8 inches for the innermost layer. Each flower typically uses 15–25 petals across 3–4 layers, depending on the bloom style.Step 2: Shape Your Petals
This is the step most beginners skip, and it's the difference between a flat, lifeless flower and one that looks dimensional and real. Use a heat gun or hair dryer on low heat to gently warm each petal. While it's warm, cup it in your hands or press it over a rounded surface (a bowl works great) to create a natural curve. Work fast — EVA foam cools and sets in seconds.Step 3: Paint Your Petals
Paint before assembly — it's so much easier. Use a wide flat brush for base coats and a smaller brush for detail work like ombre effects or petal veining. For spring flowers, I love doing a two-tone ombre: start with your deeper color at the base of the petal and blend to a lighter shade at the tip. It adds incredible depth and looks stunning in photos. Let petals dry completely — usually 30–45 minutes for acrylic paint on foam.Step 4: Assemble the Flower
Start with your base circle — cut a foam circle about 10–12 inches in diameter for a 3-foot flower. This is your foundation. Work from the outside in. Hot glue your largest petals around the outer edge, overlapping them slightly. Then add your second layer, slightly inward and rotated to offset the gaps. Continue until you reach the center. For the center, I love using tightly rolled foam strips to create a rose-like center, or you can layer small petals in a spiral for a dahlia effect.Step 5: Create Variety
Don't make all your flowers the same. Mix up your bloom styles for a more natural, garden-fresh look:- Full Roses: Tightly layered petals, domed center, very lush and romantic.
- Open Dahlias: Pointed petals, flat profile, works beautifully in bold colors.
- Simple Ranunculus: Rounded petals, multiple layers, soft and feminine.
- Anemones: Wide flat petals with a dark center — great for contrast in a spring palette.
Building the Spring Giant Flower Photo Backdrop Frame
Frame Options
| Frame Type | Best For | Approx. Cost | Pros | Cons |
|---|---|---|---|---|
| Pipe & Drape Stand | Indoor events, adjustable sizing | $50–$120 | Adjustable, reusable, easy to transport | Needs sandbag weights for stability |
| PVC Pipe Frame | DIY on a budget | $20–$40 | Very affordable, customizable size | Less polished, requires assembly skills |
| Wood Pallet Frame | Rustic/garden aesthetic | $0–$30 | Free if you source pallets, very sturdy | Heavy, harder to transport |
| Adjustable Photo Stand | Photographers, frequent use | $60–$150 | Professional look, collapses easily | Weight limits may apply |
| Wall-Mounted | Permanent installation, home decor | $0 (uses existing wall) | No frame needed, very stable | Not portable, requires wall hooks |
For most events, I recommend the pipe and drape system. It's the most flexible, looks professional, and you can reuse it for every event you do going forward.
Attaching Flowers to the Frame
Use floral wire or zip ties to secure flowers at the stem or base. For heavier flowers (4–5 feet), add a second attachment point higher up on the petal cluster. Don't attach every single flower before stepping back. Place your largest anchor flowers first, then fill in with medium flowers, then small accent blooms. Step back every few additions and check your layout from 8–10 feet away — that's how your guests will see it.Arranging Your Backdrop for Maximum Photo Impact
The Golden Rules of Backdrop Arrangement
Rule 1: Odd numbers look more natural. Groups of 3 or 5 flowers always look better than even groupings. Rule 2: Vary your sizes dramatically. A 5-foot focal flower surrounded by 2-foot and 3-foot flowers creates visual hierarchy and depth. Everything the same size looks flat. Rule 3: Leave intentional gaps. Greenery and negative space are your friends. A backdrop packed edge-to-edge with flowers can actually look less impressive than one with breathing room.The Classic Triangle Layout
Start with your three largest flowers placed in a triangle formation — one at the top center, one lower left, one lower right. This creates a natural focal point that draws the eye. Fill in the spaces with medium flowers, then use small accent blooms and greenery to complete the composition. This method works every single time and it's what I use for most of my own builds.Creating Depth and Dimension
Flat backdrops look amateur. Dimensional backdrops look professional. Here's how to add depth:- Layer flowers at different depths: Some flush against the frame, some extended forward 4–6 inches on stems or wire.
- Use bendable pipe stems: Our bendable pipe stems let you angle flowers outward, creating a more organic, garden-like feel.
- Add trailing greenery: Let eucalyptus or ivy cascade down from the top corners for a lush, overgrown effect.
For more inspiration on creating stunning backdrops, I love this deep-dive into DIY giant flower backdrops for photos — it covers so many creative angles.
Spring Giant Flower Photo Backdrop: Sizing Guide
| Backdrop Size | Flowers Needed | Recommended Flower Sizes | Est. Build Time |
|---|---|---|---|
| 4×4 ft (small corner) | 5–8 flowers | 2–3 ft diameter | 4–6 hours |
| 6×6 ft (standard) | 8–12 flowers | 2–4 ft diameter | 8–12 hours |
| 8×8 ft (event standard) | 12–18 flowers | 2–5 ft diameter | 12–18 hours |
| 8×10 ft (large event) | 18–25 flowers | 2–5 ft diameter | 18–24 hours |
Build time tip: Spread your build over 2–3 days. Your hands will thank you, and you'll make better decisions when you're not rushing.
Common Mistakes to Avoid on Your Spring Flower Backdrop
Mistake 1: All the Same Size Flowers
I see this constantly. A backdrop of twelve identical 3-foot flowers looks like a pattern, not a garden. Mix your sizes aggressively. Go from 2 feet all the way to 5 feet in the same backdrop.Mistake 2: Skipping the Petal Shaping Step
Flat petals make flat flowers. Taking an extra 5 minutes per flower to heat-shape your petals gives you that lush, dimensional look that stops people in their tracks.Mistake 3: Not Testing Your Color Palette in the Actual Space
Colors look completely different under warm incandescent light vs. cool LED vs. natural daylight. Always do a test arrangement in the actual event space before your final install.Mistake 4: Forgetting the Greenery
Greenery is the secret weapon of every beautiful backdrop. It fills gaps, adds texture, and makes everything look more intentional and lush. Don't skip it.Mistake 5: Building It All the Night Before
Giant flower backdrops take time. According to event planning pros at BizBash, most professional floral installations require 2–3x more time than initially estimated. Start early. Always.Cost Breakdown: DIY vs. Hiring a Florist
Compare that to a DIY foam flower approach:
- Pre-cut flower kits (8–12 flowers): $350–$600 from our shop
- Backdrop frame: $50–$120
- Paint and supplies: $30–$60
- Greenery accents: $20–$40
- Total DIY cost: $450–$820 for a full 8×8 ft backdrop
And here's the kicker — you can reuse your foam flowers for years. That $450–$820 investment pays for itself after just one or two events. If you're an event planner or small business owner, that ROI is incredible. For a deeper dive into event budgeting, check out my post on how much a giant flower event really costs.
Frequently Asked Questions
How long does it take to build a spring giant flower photo backdrop?
For a standard 8×8 ft backdrop with 12–18 flowers, plan for 12–18 hours of total build time. I always recommend spreading this over 2–3 days. You'll make better creative decisions when you're not exhausted, and the glue has time to fully cure between sessions.
Can I use a spring giant flower photo backdrop outdoors?
Yes! EVA foam is surprisingly weather-tolerant. It handles light wind and humidity well. For outdoor spring events, I recommend securing your frame with sandbag weights and avoiding direct rain exposure. If there's a chance of rain, have a covered area or tent ready. The flowers themselves won't be damaged by light moisture, but prolonged soaking can loosen hot glue bonds.
What's the best EVA foam thickness for giant flower petals?
6mm EVA foam is my go-to for petals — it's flexible enough to shape beautifully but sturdy enough to hold its form. For bases and structural pieces, I use 10mm foam. Anything thinner than 4mm tends to look flimsy at large scales, and anything over 10mm gets heavy fast.
How do I store a giant flower backdrop between events?
This is one of my favorite things about foam flowers — storage is easy. Stack flowers flat in large plastic bins or hang them from a rod in a storage closet. Keep them away from prolonged heat (like a hot car) which can warp the foam. Most of my flowers have lasted 3–5 years with basic care.
Do I need any special tools to make giant foam flowers?
Not really! You need a hot glue gun, scissors or a box cutter, and a heat gun or hair dryer for shaping. That's genuinely it for the basics. If you're using our pre-cut kits, you skip the cutting entirely and just need glue and a heat source. No Cricut, no special dies, no fancy equipment required.
Can I make a spring giant flower photo backdrop if I've never crafted before?
Absolutely. I designed our kits specifically for beginners. Every kit comes with video tutorials that walk you through every single step. I've had customers with zero crafting experience create absolutely stunning backdrops on their first try. The key is following the steps, not rushing, and trusting the process.
There is genuinely nothing more satisfying than standing back and looking at a backdrop you built with your own hands — knowing that every petal was shaped and placed with intention. A spring giant flower photo backdrop isn't just a decoration. It's a centerpiece, a memory-maker, and honestly? A serious conversation starter. If you're ready to start building, head over to our shop at Amazing Giant Flowers and browse our spring kits. I'd love to see what you create — tag us when your backdrop is up. I genuinely get excited every single time a customer shares their finished work. You've got this.
Ready to Create Something Amazing?
Browse our collection of giant flower kits and start your next project today.