How to Use Flower Molds with Foam and Clay for Crisp Petals

Key Takeaways
Real talk? Before I started using molds consistently, my petals were inconsistent. One would curve left, one would droop, one would be slightly wider than the others. From a distance it looked fine. Up close? Not great.
Molds solve that problem completely. They give you repeatable, consistent shapes every single time — which matters enormously when you're making 8 petals for one flower and need them to match.
And the texture detail you can achieve is incredible. A good silicone mold captures every vein, every subtle curve, every natural wrinkle that makes a petal look like a real flower rather than a craft project.
According to IBISWorld, the US floral industry is worth over $7.9 billion annually. Event decorators are increasingly turning to permanent floral alternatives — giant foam flowers included — because they photograph beautifully and don't wilt mid-ceremony.
That's the world we're working in. And molds are how we compete with fresh florals on detail and texture.
Understanding Your Materials: Foam Clay vs. EVA Foam
This is where most beginners get confused. Foam clay and EVA foam sheets are both incredible materials, but they behave completely differently in molds. Let me break it down.
Foam clay is a lightweight, air-dry modeling material. It starts soft and pliable — almost like thick whipped cream — and hardens over 24 to 48 hours into a firm but slightly flexible finished piece.
It's perfect for detailed, sculptural petals where you want to capture texture from a mold. Think roses, ranunculus, peonies — flowers with lots of layered, curved petals that need to hold a specific shape permanently.
EVA foam is the material I use most at Amazing Giant Flowers. It's a closed-cell foam sheet that comes in thicknesses ranging from 2mm all the way up to 10mm. It's heat-formable, which means you can use a heat gun to make it curve and shape before it cools and holds that position.
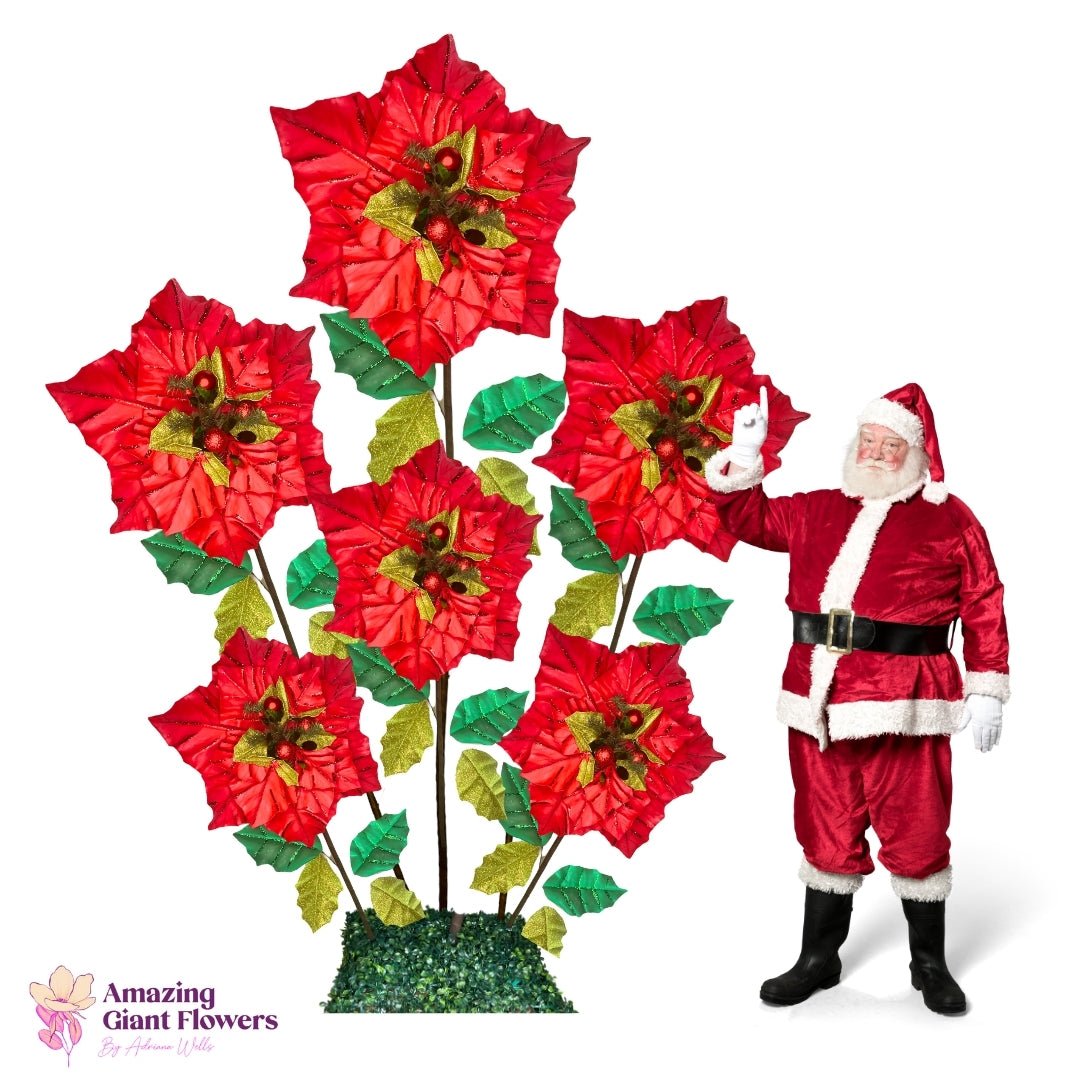
For giant flowers — the 2 to 5 foot statement pieces we're known for — EVA foam is typically the go-to. It's lightweight, durable, and takes paint beautifully. If you want to dive deeper into EVA foam options, I wrote a whole guide on every type of foam for giant flowers that's worth bookmarking.
Here's my honest take: foam clay works best with rigid press molds and texture mats. You press it in, let it set, pop it out. Beautiful detail, every time.
EVA foam works best with heat-forming molds and petal cutters — you heat the foam, press it into a curved mold or over a ball, and it holds that dimensional shape as it cools.
Both are valid. Both are amazing. The choice depends on your flower type and your timeline.
| Feature | Foam Clay | EVA Foam (2-4mm) | EVA Foam (6-10mm) |
|---|---|---|---|
| Best Mold Type | Silicone press molds, texture mats | Petal cutters, heat-form molds | Ball tools, curved forms |
| Drying/Setting Time | 24-48 hours air dry | 30-60 seconds (heat cooling) | 30-60 seconds (heat cooling) |
| Detail Level | Very high — captures fine veining | Medium — smooth curves | Medium-high — dimensional shape |
| Best For | Roses, ranunculus, peonies | Dahlias, gerberas, large flat blooms | Giant statement flowers, arches |
| Finished Weight | Light to medium | Very light | Light |
| Paintability | Excellent with acrylics | Excellent with foam-safe paint | Excellent with foam-safe paint |
Types of Flower Molds: What's Actually Worth Buying
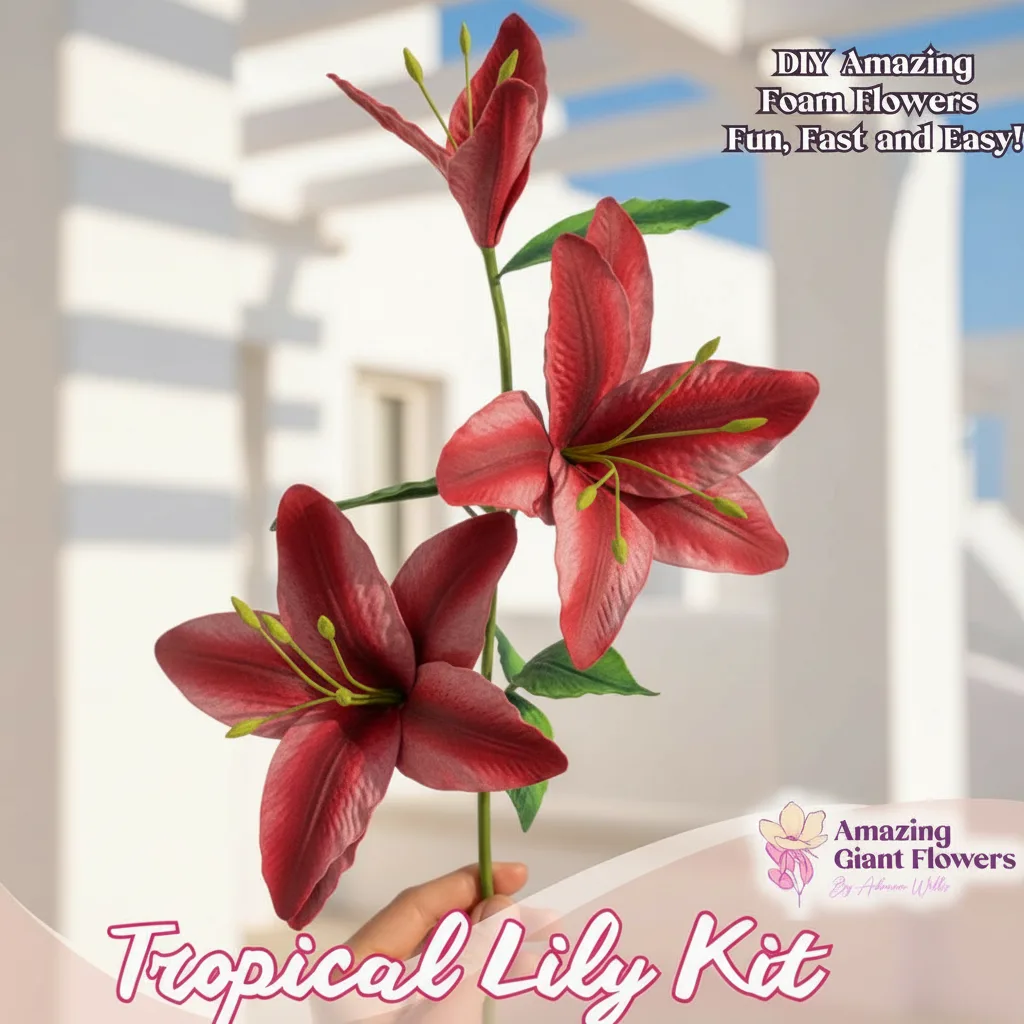
Not all molds are created equal. I've bought cheap sets that lasted one project and professional-grade molds I've used hundreds of times. Here's what I actually recommend.
Silicone molds are the gold standard for foam clay work. They're flexible, so you can peel your finished petal out without distorting it. They capture incredible texture detail — individual veins, petal edges, natural curves.
Look for molds specifically labeled for sugar craft, cake decorating, or polymer clay. Those are designed for fine detail and they work perfectly with foam clay too.
Metal petal cutters are what you use when you're working with EVA foam sheets. You heat the foam slightly, press the cutter through, and you get a perfectly shaped petal every time. Pair these with a ball tool and a foam pad to add dimension.
I've seen people try to use paper templates and scissors for this. It works, but it's slow. Once you try a good metal cutter set, you won't go back.
Veiners are two-part silicone molds that press onto both sides of a petal simultaneously, leaving a realistic vein pattern. These are incredible for medium-sized flowers where detail matters.
For giant EVA foam flowers, I often use a simple rounded bowl or balloon as a heat-forming mold — press the heated foam over it, hold for 30 seconds, and you've got a gorgeous curved petal. Sometimes the best tools aren't fancy.
How to Use Flower Molds with Foam Clay: Step-by-Step

Ok, this is where it gets really fun. Let's walk through the complete process for using flower molds with foam clay to create crisp, detailed petals.
This step is non-negotiable. Always prep your mold before adding clay. Even silicone molds can stick if you skip this.
Lightly brush the inside of your mold with cornstarch, shortening, or a dedicated mold release spray. I prefer cornstarch for foam clay — it's cheap, it works, and it doesn't affect the clay's surface texture.
Take a piece of foam clay and work it in your hands for 60 to 90 seconds before pressing it into the mold. This warms it up and makes it more pliable, which means it'll pick up finer details from the mold surface.
Cold, stiff foam clay won't capture the veining detail you're going for. Warm clay = better impressions. Simple as that.
Press your conditioned clay firmly into the mold, starting from the center and working outward. You want to push the clay into every corner and crevice of the mold without trapping air bubbles.
Use your thumb to press firmly along the edges. Then use a flat spatula or the back of a spoon to smooth the back of the clay flat. The back doesn't need to be perfect — it won't show — but it should be even in thickness.
Step 4: Trim the Excess
Use a sharp craft knife or clay blade to trim any foam clay that's overflowing the edges of the mold. Do this while the clay is still soft — it's much easier than trying to trim a dried piece.
Run the blade flush along the edge of the mold. Clean, confident cuts. Don't saw back and forth — one smooth slice gives you the cleanest edge.
Gently flex the silicone mold to release the petal. If it's sticking, flex from the back rather than pulling the clay directly — you'll distort the petal if you pull too hard.
Place your released petal on a foam drying rack or crumpled aluminum foil to support its shape as it dries. This is important — if you lay it flat on a table, gravity will flatten out all that beautiful dimension you just created.
Let it dry for a full 24 to 48 hours. I know. It feels like forever. But rushing this step is how you end up with petals that warp or crack when you try to assemble them.
How to Use Flower Molds with EVA Foam: The Heat-Forming Method

Working with EVA foam and molds is a completely different process — faster, and honestly really satisfying once you get the hang of it.
Start by cutting your petal shapes from your EVA foam sheet. You can use pre-made petal templates, metal cutters, or our pre-cut kits from Amazing Giant Flowers that come with everything already sized and shaped for you.
For a standard giant flower, petals typically range from 10 to 18 inches in length depending on the bloom variety. Roses tend to have shorter, more cupped petals. Sunflowers and dahlias have longer, flatter ones.
Use a heat gun on a low to medium setting, held about 4 to 6 inches from the foam surface. Move it in slow circles — don't hold it in one spot or you'll scorch the foam.
The foam is ready to shape when it becomes noticeably softer and slightly tacky to the touch. This usually takes about 15 to 20 seconds per petal. Work quickly once it's heated — you have about 30 seconds before it starts to cool and stiffen.
Immediately press the heated foam petal into your mold, curved form, or over a ball tool. Apply even pressure across the entire surface.
For cupped petals (like roses), press the center of the petal into a rounded form — a large wooden ball, a round bowl, even a balloon works. For curved petal edges, use a ball tool and drag it along the edge of the petal on a foam pad.
Step 4: Hold and Cool
Hold the foam against your mold or form for 30 to 45 seconds while it cools. Don't let go too early — that's the most common mistake beginners make, and the petal springs back flat.
Once it's fully cooled, it will hold that shape permanently. No drying time needed. This is one of the big advantages EVA foam has over foam clay — you can assemble your flower the same day.
Different flowers need different mold strategies. Here's my quick breakdown for the most popular bloom types.
I've made every single one of these mistakes. So you don't have to.
I cannot stress this enough. Even silicone molds will stick to foam clay if you don't use a release agent. And when foam clay sticks, it tears — and you lose all that beautiful detail you just worked for.
Always use cornstarch, shortening, or mold release spray. Every single time. No exceptions.
Foam clay that hasn't fully dried is still flexible. That sounds good, but it means the petal will distort when you handle it during assembly. Wait the full 24 to 48 hours.
If you're in a humid environment, it might take even longer. I once made a batch in Houston in August (hello, humidity) and those petals needed a full 72 hours to dry completely. Patience, friend.
Using Foam That's Too Thin or Too Thick
For heat-forming with molds, 2mm to 4mm EVA foam is the sweet spot for most petals. Thinner than 2mm and it won't hold the shape. Thicker than 6mm and it becomes difficult to heat evenly and press into a mold cleanly.
Match your foam thickness to your petal size. Larger petals can handle slightly thicker foam. Delicate inner petals need the thinner sheets.
If your EVA foam starts to bubble, warp, or smell strongly, your heat gun is too close or too hot. Scorched foam can't be fixed. Keep the heat gun moving and maintain that 4 to 6 inch distance.
When in doubt, use less heat and take more time. You can always reheat a petal that isn't soft enough. You can't un-scorch one that's been burned.
This one kills me because it's so easy to fix. Foam clay petals need to be supported in their final shape while they dry — not laid flat on a table.
Use crumpled foil, a foam egg carton, or a dedicated drying rack. Shape matters during drying. What position the petal dries in is the position it keeps forever.
Finishing and Painting Your Molded Petals

Ok so you've got beautiful, crisp petals. Now let's make them look even more incredible.
Acrylic paint works beautifully on dried foam clay. Start with a base coat in your main petal color, let it dry fully, then add depth with a slightly darker shade in the creases and a lighter highlight along the raised veins.
A flawless foam paint finish makes the difference between a craft project and something that looks genuinely professional. Don't skip the layering step — flat single-color petals look flat. Layered paint looks alive.
For EVA foam, use foam-safe acrylic paint or spray paint. Regular spray paint can eat into certain foam types, so always test on a scrap piece first.
I love using a dry-brush technique on EVA foam petals — load a stiff brush with paint, wipe most of it off, then drag it lightly across the surface. It catches the texture beautifully and creates a natural gradient effect without any fancy tools.
A coat of matte or satin Mod Podge seals both foam clay and EVA foam petals and gives them a gorgeous finished look. For outdoor events, use a clear UV-resistant spray sealer to protect against sun fading.
According to The Knot, over 40% of weddings now include outdoor elements — which means your flowers need to be able to handle some weather. Sealing is not optional for outdoor displays.
Assembly: Putting It All Together
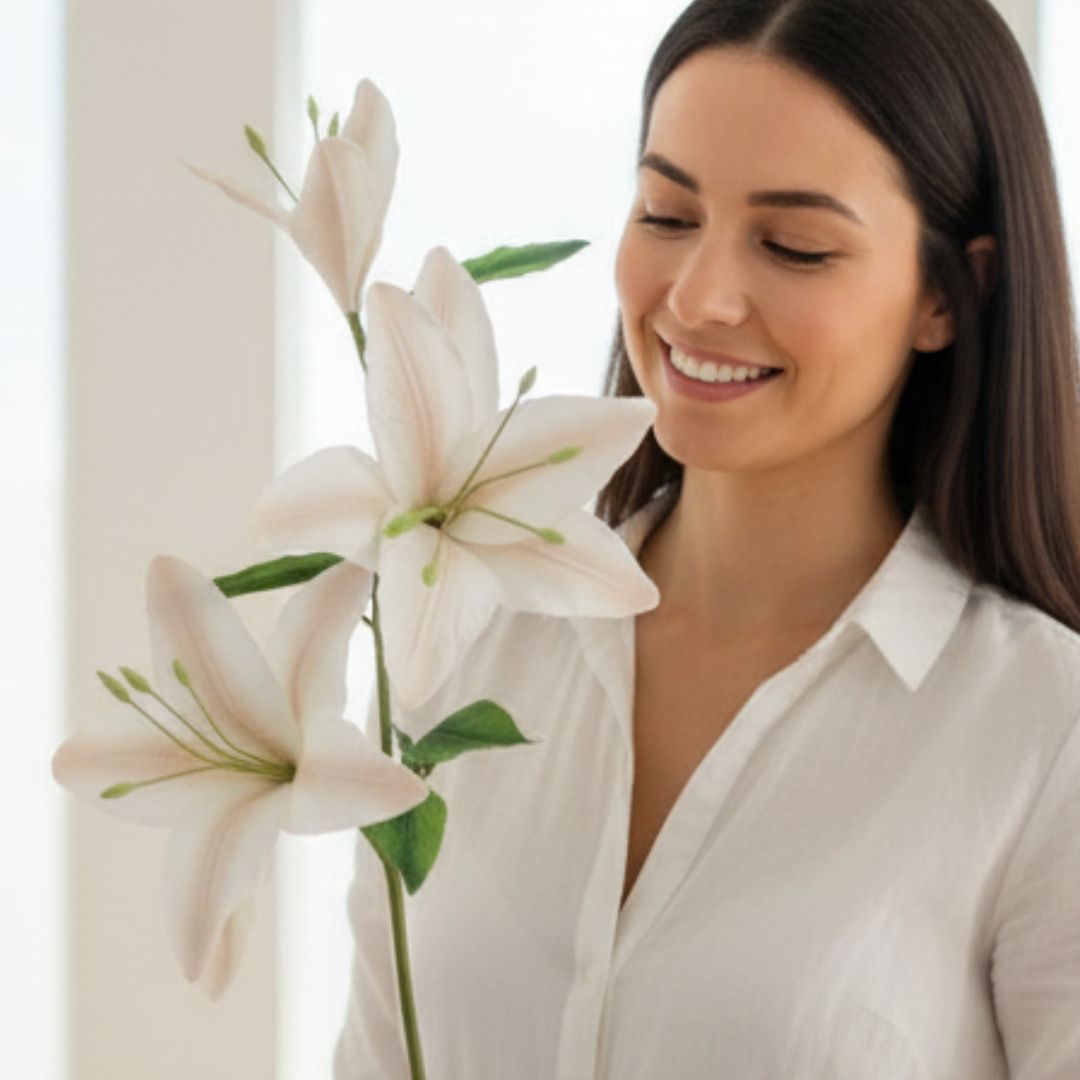
Once your petals are dry, painted, and sealed, it's time to build your flower. This is genuinely one of my favorite moments — watching all those individual pieces come together into something breathtaking.
For giant freestanding flowers, I use bendable pipe stems (available in our shop) that can be shaped and adjusted to position each petal exactly where you want it. Start from the center and work outward, securing each petal with a hot glue gun.
For wall-mounted arrangements, petals can be glued directly to a foam board backing or a wire frame. Check out our guide on DIY giant flower backdrops for full assembly instructions on wall displays.
A Brides.com survey found couples spend an average of $2,000 to $2,500 on wedding flowers. A full giant flower backdrop using foam clay and EVA foam techniques can be created for a fraction of that cost — often under $300 in materials — and it lasts forever.
Once you've mastered the single flower, the natural next step is thinking bigger. Wedding arches. Photo booth backdrops. Retail displays. Corporate activations.
The same mold techniques scale beautifully. You're just making more petals. Our giant flower wedding arch guide walks through exactly how many flowers you need for different arch sizes and how to structure the installation.
According to Statista, the global events industry is projected to reach $1.5 trillion by 2028. Giant flowers are increasingly a go-to for event designers because they're photogenic, reusable, and completely customizable.
If you're planning a larger installation, our giant flower event budget guide breaks down real costs so you can plan without surprises.
For commercial decorators and small business owners, giant molded foam flowers are an incredible investment. A set of quality molds might cost $30 to $80 upfront, but they'll produce hundreds of petals over their lifetime. The per-flower cost drops dramatically as you build your mold collection.
Check out our visual merchandising ideas for boutiques if you're thinking about using giant flowers in a retail context — there are some genuinely creative applications in there.
Cornstarch is my go-to — it's cheap, effective, and doesn't affect the clay's surface texture or paintability. A thin dusting is all you need. Shortening (like Crisco) also works well and gives a slightly smoother release. Dedicated mold release sprays are great too, especially if you're doing high-volume production.
Avoid using water as a release agent with foam clay — it can change the clay's consistency and cause uneven drying.
How long does foam clay take to dry in a mold?
You should remove foam clay from the mold fairly quickly — within 10 to 15 minutes of pressing it in. If you leave it too long, it can stick even with a release agent. The actual drying time after removal is 24 to 48 hours depending on thickness and humidity.
Thicker pieces take longer. Humid environments take longer. If you're in a rush, a dehydrator on the lowest setting can speed things up slightly, but don't use a heat gun on foam clay — it can cause uneven drying and surface cracking.
Yes! Molds designed for polymer clay, air-dry clay, sugar craft, or even resin all work beautifully with foam clay. Silicone molds are the most versatile and easiest to release. Rigid plastic molds work but require more care during release. Metal molds work well too, especially for clean geometric petal edges.
Just make sure whatever mold you use has enough depth and detail to be worth the effort. Shallow molds don't add much texture to foam clay — you're better off shaping those petals by hand.
Three things: sharp tools, cold clay, and clean molds. Trim excess clay with a fresh craft blade while the clay is still soft. If you wait until it's partially dried, the edges get ragged. Clean your molds between uses — dried clay residue in the mold creates texture in the wrong places.
Also, slightly chilling your foam clay in the fridge for 10 minutes before trimming makes it firmer and easier to cut cleanly. I learned that trick after years of frustrated edge-trimming sessions.
What thickness of EVA foam works best with petal molds?
2mm EVA foam is ideal for delicate inner petals and flowers that need to look lightweight and airy. 4mm foam is my workhorse thickness — it's sturdy enough to hold shape but thin enough to heat and form easily. 6mm and above is better for structural base petals on very large installations.
When in doubt, start with 4mm. It's the most forgiving thickness for beginners and works with the widest range of mold types.
How much does it cost to make giant flowers with molds?
A single giant flower using EVA foam and basic molds typically costs between $8 and $25 in materials, depending on size and complexity. A full backdrop of 15 to 20 flowers might run $150 to $400 in materials — compared to $1,500 or more for fresh florals that won't last the weekend.
Quality molds are a one-time investment. A good silicone petal mold set runs about $15 to $40 and will last for hundreds of uses. The math gets really good really fast.
Ready to Create Something Amazing?
Browse our collection of giant flower kits and start your next project today.