Real-Touch Foam Flower Wreath Ideas for Home Crafting
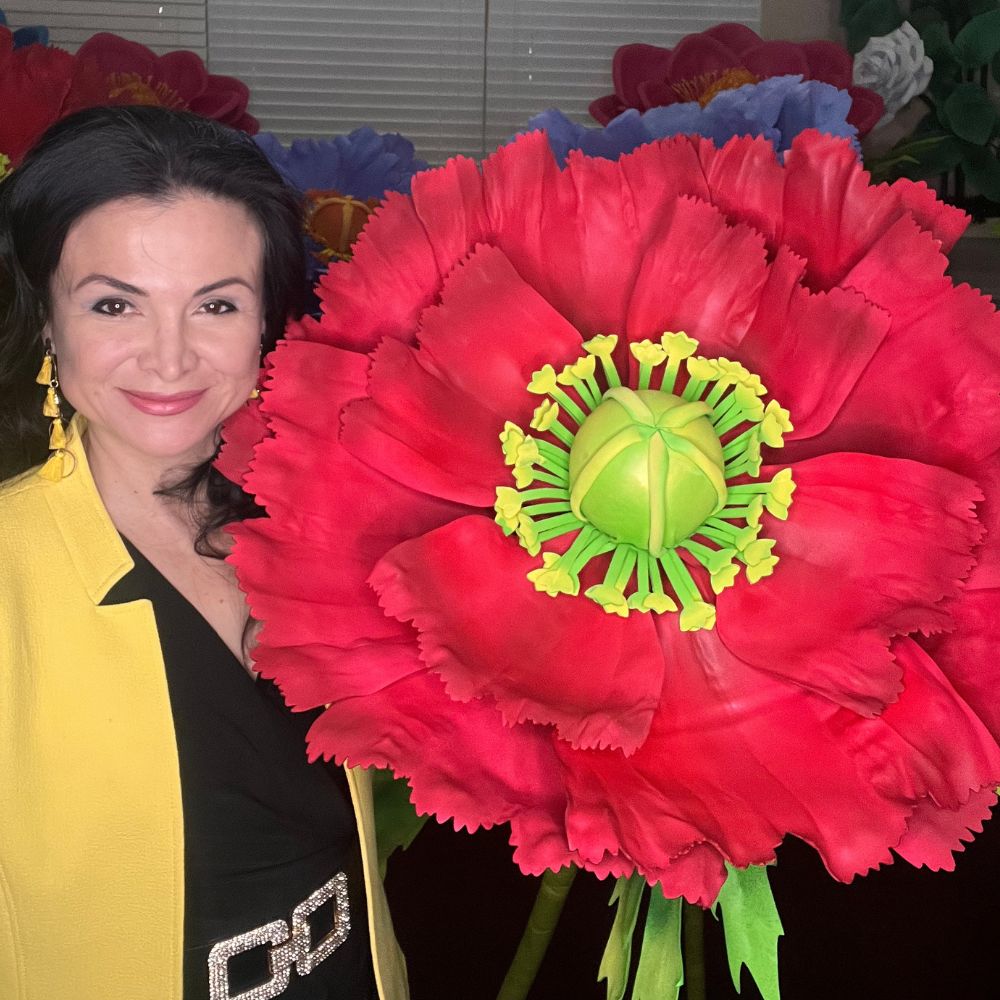
If you've ever walked past a wreath at a craft store and thought "that looks nothing like a real flower" — same. That's exactly why I fell in love with real touch foam flower wreaths. They have this incredible, almost lifelike quality that makes people stop and actually reach out to touch them. And when they do? They're always surprised.
I've been making giant foam flowers for years now, and wreaths are honestly one of my favorite projects to teach. They're approachable for beginners, wildly customizable, and the end result looks like something you'd pay $200 for at a boutique shop. Spoiler: you can make one for a fraction of that.
In this guide, I'm going to walk you through everything — materials, techniques, design ideas, seasonal variations, and the mistakes I made so you don't have to. Whether you're a total beginner or you've been crafting for years, there's something here for you.
Key Takeaways
The term "real touch" gets thrown around a lot in the floral world. But what does it actually mean for foam flowers?
It comes down to three things: texture, flexibility, and layering. When all three come together, your brain just accepts it as a flower — even up close.
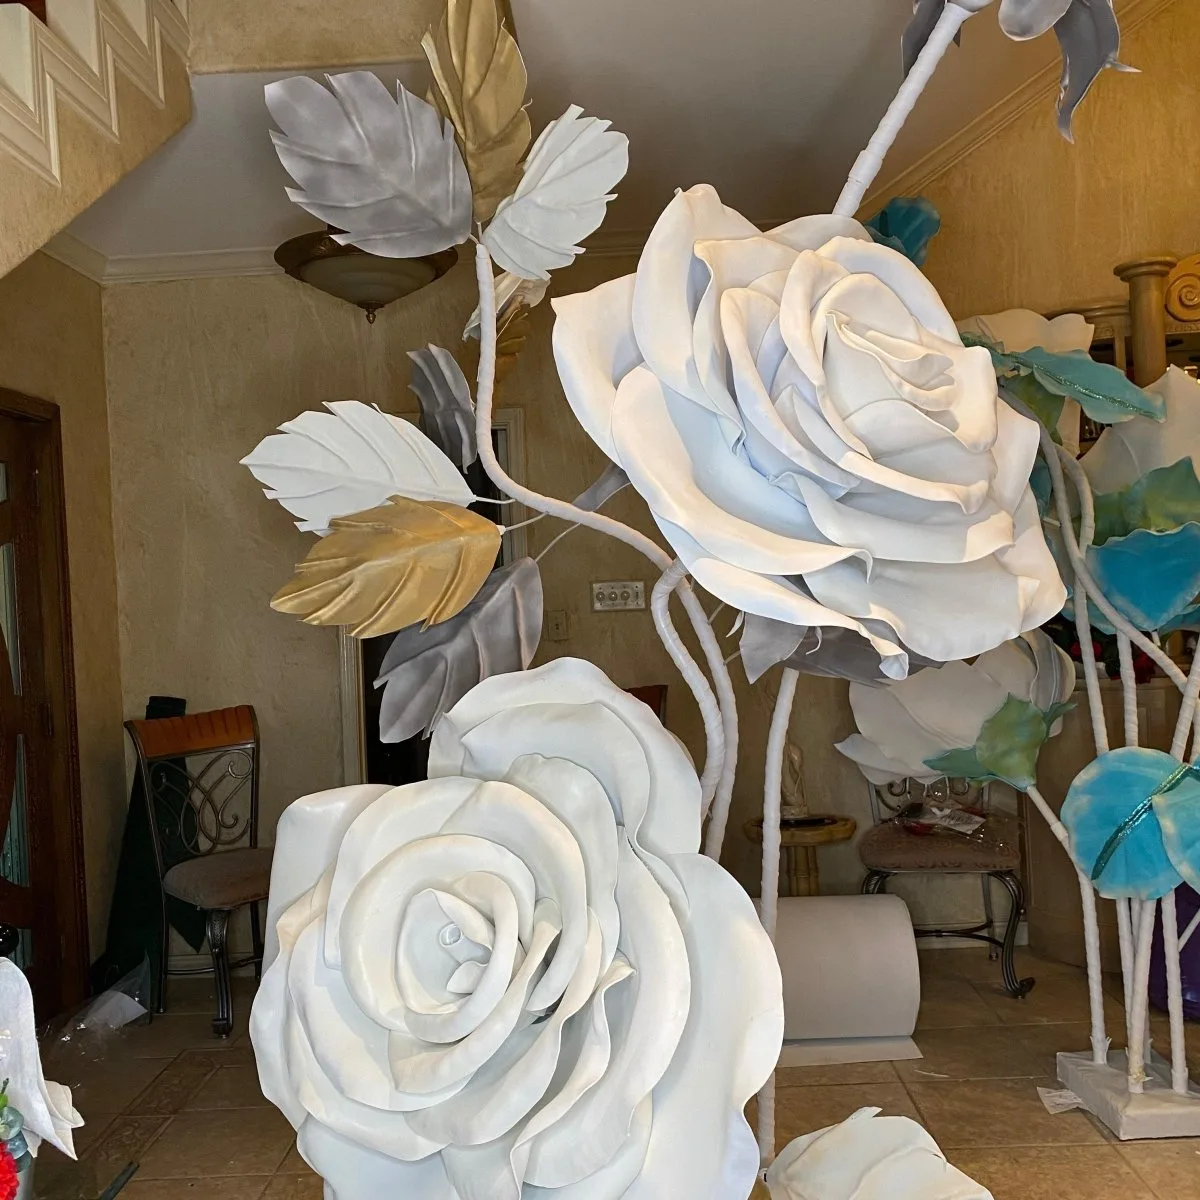
EVA foam (ethylene-vinyl acetate) is the secret ingredient. It's the same material used in high-end cosplay, theatrical props, and yes — our giant flower kits.
Why EVA Foam Outperforms Every Other Material
Unlike cardstock or crepe paper, EVA foam has a slight give to it. You can curl the edges, shape the petals with heat, and layer them in ways that create real depth. That depth is what makes the difference between a flat, obviously fake flower and one that makes your guests say "wait, is that real?"
According to Grand View Research, the global EVA foam market is growing steadily, largely driven by craft and decorative applications — which tells you everything about how popular this material has become.
Here's where it gets fun. A few simple techniques take your foam petals from "craft project" to "is that silk?" Here's the real list — not the "technically possible" list, but the one that actually gives you beautiful results:
Your base sets the foundation for everything. I personally love a grapevine wreath base for a more organic, rustic look — the natural texture peeks through beautifully between flowers.
For a cleaner, modern look, go with a foam wreath ring (the round Styrofoam ones). They're lightweight and easy to pin directly into.
Standard sizes range from 12 inches to 24 inches in diameter. For a front door wreath, I recommend 18–22 inches — it's visible without being overwhelming. For an interior wall or nursery, 14–16 inches is plenty.
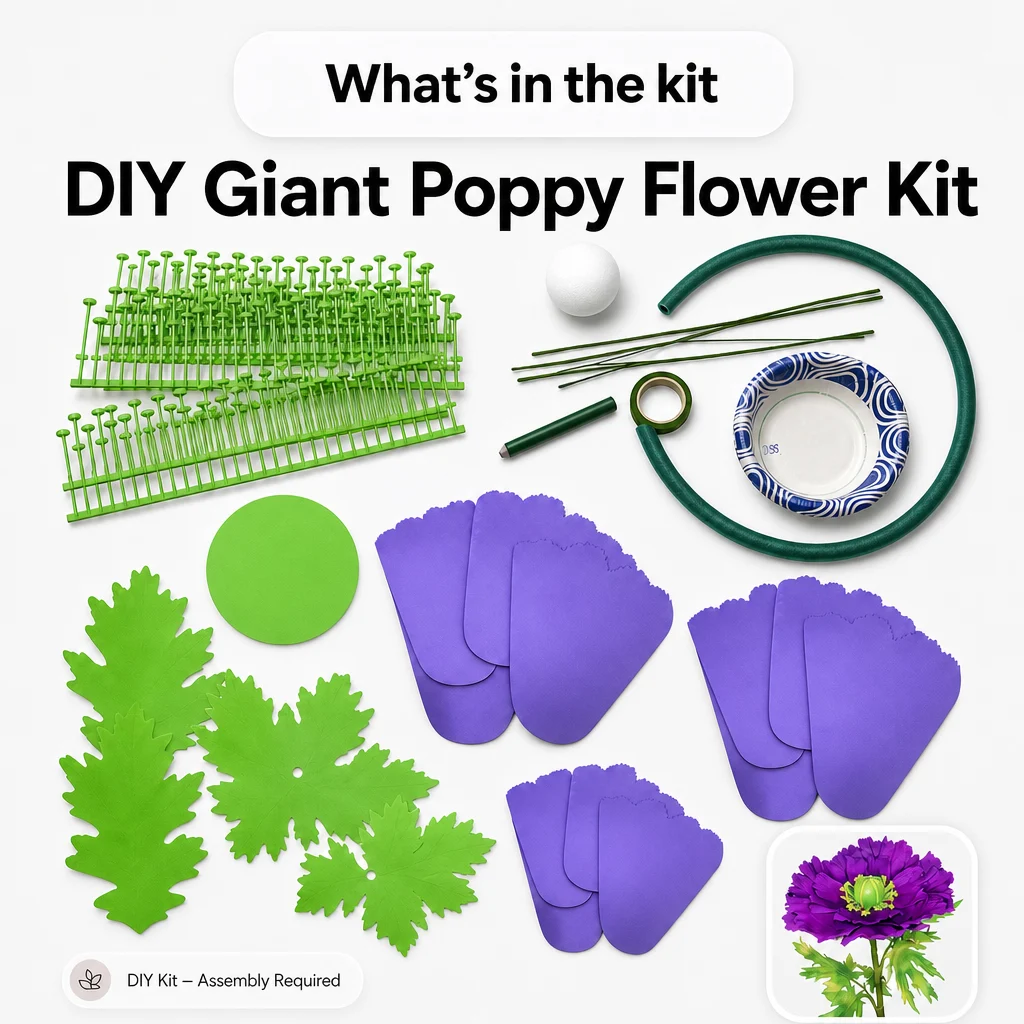
You have two options: cut your own petals from EVA foam sheets, or use pre-cut kits that have everything ready to go.
Honestly? If you're making your first wreath, start with a pre-cut kit. The cutting is the most time-consuming part, and getting consistent petal shapes matters more than you'd think. You can check out our shop for pre-cut EVA foam flower kits that are specifically designed for this.
If you want to cut your own, use 2mm EVA foam sheets for small to medium petals and 4mm sheets for larger statement blooms. Our guide to every type of foam for giant flowers breaks down the differences really clearly.
Complete Supplies Checklist
- EVA foam sheets or pre-cut kits: The foundation of every petal. Choose 2mm for delicate flowers, 4mm for bold, structured blooms.
- Hot glue gun (high temp): Low-temp guns don't bond foam reliably. Go high-temp and work fast.
- Heat gun: Essential for shaping and curling petals to create that real-touch look.
- Acrylic paint + dry brush: For adding realistic color gradients and depth to each petal.
- Matte spray sealer: Removes the foam shine and locks in your paint. Non-negotiable.
- Floral wire and tape: For securing flowers to grapevine bases or adding stems.
- Scissors or craft knife: A sharp craft knife gives you cleaner petal cuts than scissors.
How Foam Flower Wreaths Compare to Other Options
I get asked all the time how foam flower wreaths stack up against fresh, silk, and dried alternatives. So let me just put it all in one place.
The value story really is that clear. Foam wins on longevity, cost per use, and customization — every single time.
This is the part I love most — the design phase. Once you understand the basics, the creative possibilities are genuinely endless.
This is the one everyone recognizes. 8–12 flowers of varying sizes arranged in a full circle around the wreath base, with no gaps. It's lush, dramatic, and makes a statement.
For this style, I like to mix two to three flower types — maybe a large peony as the focal point, medium dahlias to fill in, and small ranunculus tucked into the gaps. Vary the heights slightly by building some flowers up with extra petal layers.
If you want something more modern and editorial, try a crescent arrangement. Cluster your flowers along the bottom third of the wreath ring, leaving the top bare or lightly accented with greenery.
This style is huge right now in wedding and event décor. According to Brides.com, asymmetrical floral arrangements have been trending consistently since 2022 — and foam flowers are perfect for recreating this look at home.
Sometimes less is more. One giant focal flower — we're talking 18–24 inches across — centered on a simple grapevine ring is incredibly striking.
This works especially well for nurseries, children's rooms, or a boho-style bedroom wall. The flower becomes the art. Check out our large fabric flower tutorial for techniques that translate beautifully to this style.
The Layered Greenery + Foam Flower Wreath
Real touch foam flower wreaths don't have to be all flowers. Adding faux eucalyptus, preserved moss, or foam leaf accents between blooms creates a lush, garden-fresh look that feels incredibly natural.
The greenery also helps fill gaps without adding bulk or weight, which matters a lot when you're hanging something on a door or wall.
Here's one of my favorite things about foam flower wreaths: your skills transfer across every season. Learn the technique once, and you can make something beautiful for every month of the year.
Think soft pinks, coral, lavender, and white. Peonies, ranunculus, and dahlias are perfect spring choices. For summer, go bold — sunflowers, tropical hibiscus, and bright marigolds.
According to Statista, spring and summer are the peak seasons for floral décor purchases in the US. Making your own foam versions means you get that seasonal freshness without the price tag or the wilting.
Fall is honestly one of my favorite seasons for foam flower wreaths. The color palette is so rich — burnt orange, deep burgundy, mustard yellow, and chocolate brown.
Try large foam dahlias in rust tones, mixed with foam leaves and maybe a few painted foam pinecones tucked in. It looks like something straight out of a Williams-Sonoma catalog, I promise.
Winter and Holiday
White foam flowers with gold or silver dry-brush accents look stunning against a dark grapevine base. Add foam holly leaves, mini foam poinsettias, or even glittered foam berries for a holiday wreath that'll last for years.
Real talk? I've had customers tell me they pull out the same foam flower holiday wreath every December and it still looks perfect five years later. Try that with a fresh wreath.
Okay, let's actually make one. I'm going to walk you through a classic 18-inch full bloom wreath using a mix of large and medium foam flowers.
Don't start gluing to your base until every single flower is fully assembled and shaped. Trust me on this. I used to glue as I went and ended up with mismatched heights and flowers I couldn't adjust.
Assemble 3 large blooms (10–12 inches), 5 medium blooms (6–8 inches), and 4–6 small accent flowers (3–4 inches). Use your heat gun to curl and shape every petal before assembly.
Paint your flowers before attaching them to the wreath base. It's so much easier to get into all the petal layers when the flower is in your hand, not stuck to a ring.
Apply your base color, then dry brush a slightly darker shade at the petal edges. Let dry completely, then hit everything with matte spray sealer. For painting tips that apply directly to foam, our guide to flawless foam board paint finishes is genuinely helpful.
Step 3: Plan Your Layout Before You Glue
Lay your wreath base flat and arrange all your flowers on top of it — without gluing — until you love the composition. Photograph it from above with your phone.
This is your blueprint. Large flowers should be roughly evenly spaced to anchor the design. Medium flowers fill the gaps. Small accent flowers tuck in wherever there's space.
Start with your large anchor blooms. Apply a generous bead of hot glue to the back of the flower base and press firmly for 15–20 seconds. Then add your medium flowers, then your small accents.
For grapevine bases, you can also wire flowers in place before gluing for extra security — especially important if the wreath will be on a front door that opens and closes frequently.
Once your flowers are secured, step back and look for any gaps or bare spots. This is where faux eucalyptus sprigs, foam leaves, or small filler flowers come in. Hot glue them in place until the wreath feels full and balanced.
Add a ribbon or twine loop at the top back for hanging, and you're done. Seriously — it's that satisfying.
Common Mistakes to Avoid with Real Touch Foam Flower Wreaths
I've made all of these. Learn from my pain.
The front door gets all the glory, but honestly? There are so many other incredible places for these wreaths.
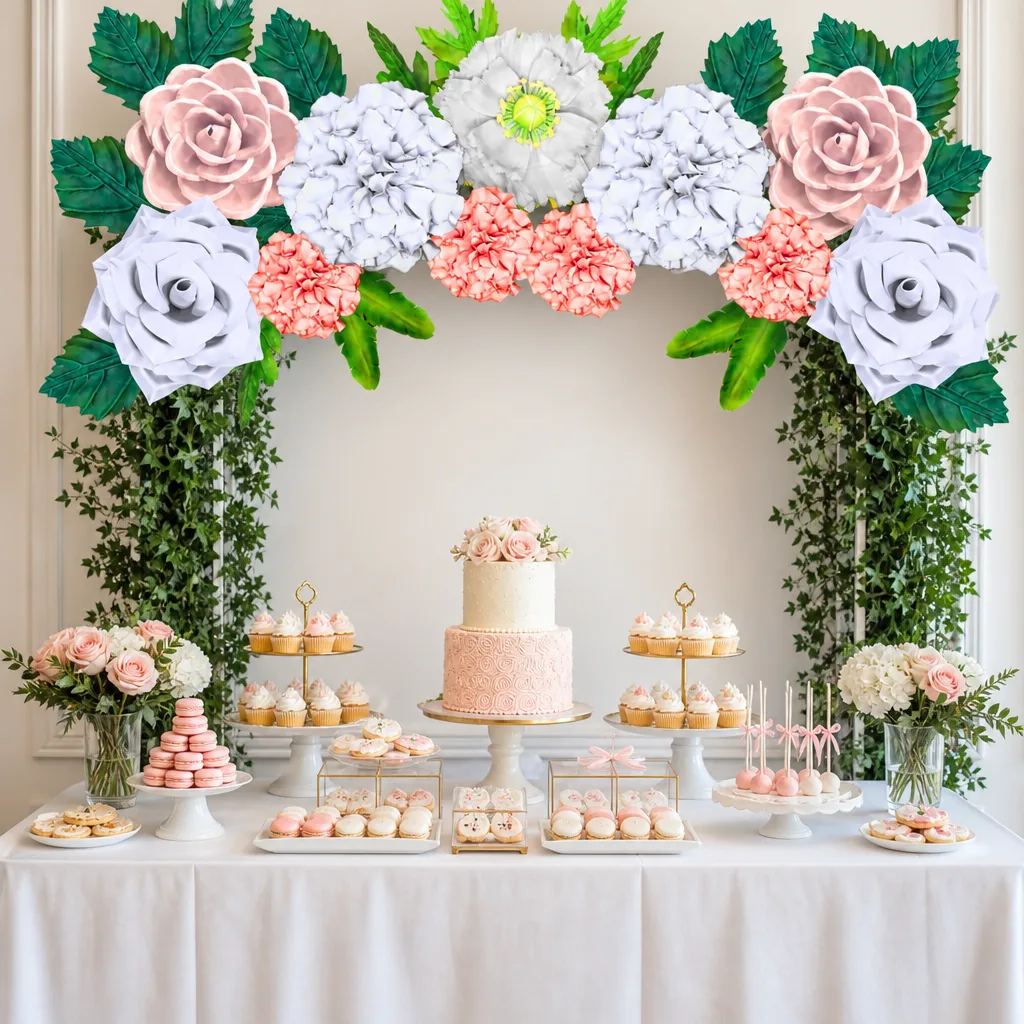
For events, a foam flower wreath makes a stunning welcome sign frame — just attach it around a mirror or acrylic sign for an instant wow moment. Our welcome board backdrop ideas for baby showers show exactly how beautiful this can look.
For home décor, think above a fireplace mantel, centered on a large wall in a nursery, or even as a table centerpiece laid flat with a candle in the center. The giant flower centerpiece ideas post has tons of inspiration for this.
For photography, a foam flower wreath hung as a backdrop element creates an instantly gorgeous, professional-looking setup. Pair it with other wall flowers for a full DIY giant flower backdrop effect.
Frequently Asked Questions
How long do real touch foam flower wreaths last?
With proper care, a well-made EVA foam flower wreath can easily last 5–10 years. The key is keeping it out of direct, prolonged sunlight (which can fade the paint over time) and storing it in a cool, dry place when not in use.
Unlike fresh wreaths that last 1–2 weeks, or even silk wreaths that can fade and fray within a few years, foam is remarkably durable. Many of my customers use the same wreath for multiple seasons just by swapping accent pieces.
Yes — with a caveat. EVA foam handles covered porches beautifully. If your door gets direct rain or intense afternoon sun, I'd recommend a UV-protective spray sealer and bringing the wreath inside during extreme weather.
The paint is the most vulnerable element. A good matte UV sealer adds significant protection and keeps colors vibrant much longer.
For a full, lush look on an 18-inch wreath base, plan on approximately 3 large flowers (8–12 inches), 4–5 medium flowers (5–7 inches), and 4–6 small accent flowers (2–4 inches). That's roughly 11–14 flowers total.
For a half-moon or crescent style, you can cut those numbers roughly in half and focus the arrangement on one section of the ring.
What's the best EVA foam thickness for wreath flowers?
2mm EVA foam is ideal for delicate flowers with many thin petals — think ranunculus, anemones, or small roses. 4mm foam works better for bold, structured blooms like dahlias, peonies, or sunflowers where you need the petals to hold their shape without curling too much.
For most wreaths, I recommend having both thicknesses on hand. The variety in petal weight actually contributes to that realistic, mixed-garden look.
Absolutely. This is genuinely one of the most beginner-friendly foam crafting projects out there. The wreath format is forgiving — you can adjust, add, and cover gaps easily as you go.
I always recommend starting with a pre-cut foam flower kit so you're not spending your first session just cutting petals. Once you've made two or three wreaths, you'll feel confident enough to cut your own custom shapes. Check out our shop for beginner-friendly kit options.
A beautiful, full foam flower wreath typically costs between $40–$80 in materials when you DIY it — including the wreath base, foam sheets or pre-cut kit, paint, and supplies. Compare that to $150–$300 for a comparable-looking fresh or preserved wreath from a florist.
According to a The Knot report, couples spend an average of $2,000+ on fresh wedding flowers alone. Foam alternatives offer the same visual impact at a dramatically lower cost — which is why so many brides and event planners are making the switch.
There's something really special about making something with your hands that looks this good. Every time I finish a wreath and hang it up, I get that same little rush of "I made that." And I want that for you too.
If you're ready to start your first real touch foam flower wreath, head over to our shop and grab a pre-cut kit — everything you need is right there. And if you make something beautiful, please share it. I genuinely love seeing what you all create.
Ready to Create Something Amazing?
Browse our collection of giant flower kits and start your next project today.