Hot Glue Techniques for Giant Foam Flowers: Avoid Common Mistakes
If you've ever tried to assemble a giant foam flower and ended up with a stringy, lumpy, burned-finger disaster — welcome to the club. Foam flower hot glue techniques are genuinely one of those things that sound simple until you're standing there at midnight with glue strings in your hair and a petal that just won't stay put. I've been there more times than I can count.
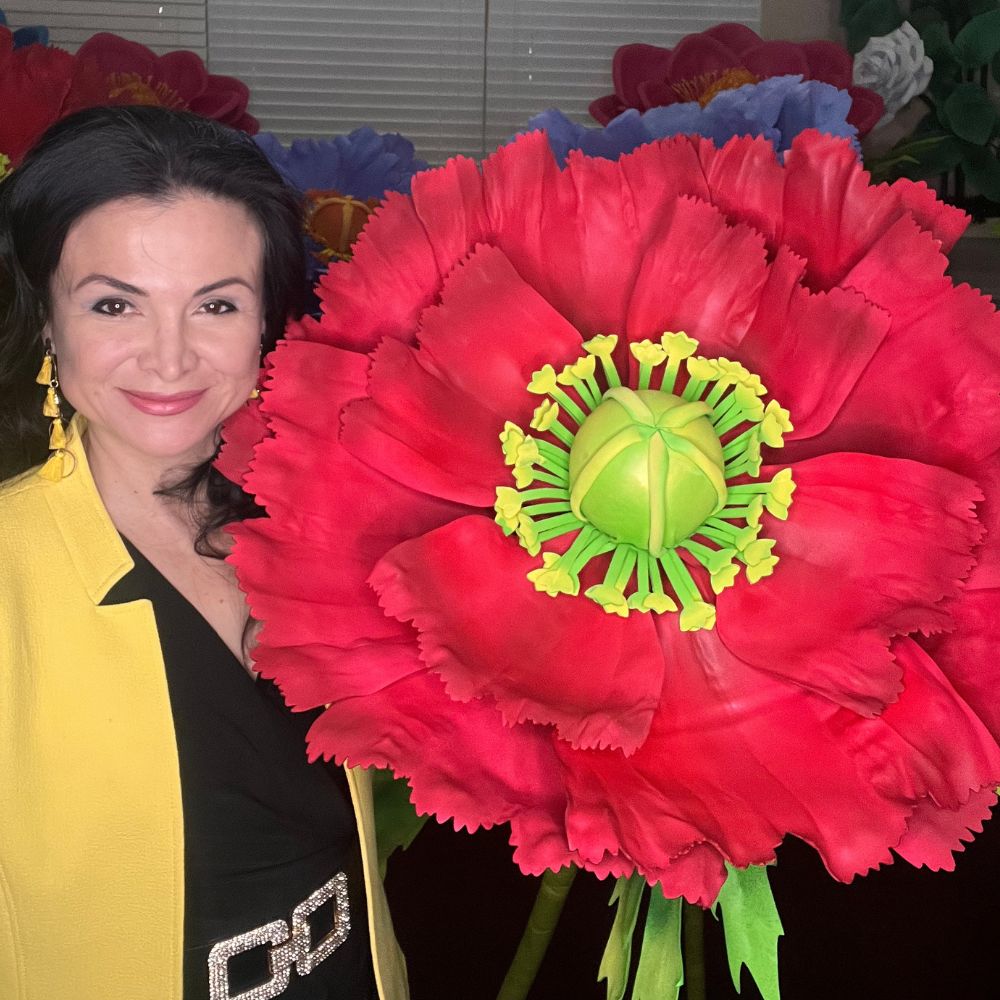
But here's the thing. Once you understand how EVA foam actually behaves with heat — and which glue gun moves work with it instead of against it — everything clicks. Your petals curve beautifully. Your layers stack cleanly. Your flowers look like something out of a Dolce & Gabbana window display, not a craft fair gone wrong.
In this tutorial, I'm going to walk you through everything I know about gluing giant foam flowers the right way. The temperatures, the tools, the timing, the mistakes I made so you don't have to. Let's get into it.
EVA foam is magical stuff. It's lightweight, flexible, carvable, and it holds shape like a dream. But it has one very specific quirk: it's heat-sensitive.
That's actually what makes it so great for shaping petals — you can warm it and curve it. But it also means that if your glue gun is running too hot, you can literally melt, warp, or dent your foam before the glue even sets.
According to Statista, the U.S. craft and hobby industry generates over $44 billion annually — and hot glue guns are one of the most universally used tools across every category. But most crafters are using them the same way for every material, and that's exactly where the trouble starts.
EVA foam — especially the 2mm, 4mm, and 6mm thicknesses we use for giant flowers — needs a more thoughtful approach than, say, gluing ribbon to a wreath form.
Real talk? The single biggest mistake I see from beginners is using a high-temp glue gun cranked all the way up, thinking more heat = stronger bond. It doesn't. It just means melted foam, burned fingers, and a flower that looks like it survived a house fire.
So before we talk technique, let's talk tools.
Not all glue guns are created equal. This is one area where I'm genuinely opinionated, because the wrong gun will sabotage you no matter how good your technique is.
A Good Housekeeping review of the best hot glue guns specifically flagged dual-temp options as the most versatile for mixed-media crafting — and I completely agree. If you're only going to buy one gun, make it dual-temp.
One more thing on tools: a silicone finger guard. I know it sounds overly cautious. I thought so too, until I burned the same two fingers so many times they went slightly numb. Just get the guards. Your future self will thank you.
Also keep a silicone mat or parchment paper on your work surface. Glue drips are inevitable, and you do not want them bonding to your table — or worse, to the underside of your flower.
Step-by-Step Foam Flower Hot Glue Techniques That Actually Work
Ok, this is where it gets really fun. Let me walk you through the actual techniques I use, in the order I use them when assembling a giant flower from scratch.
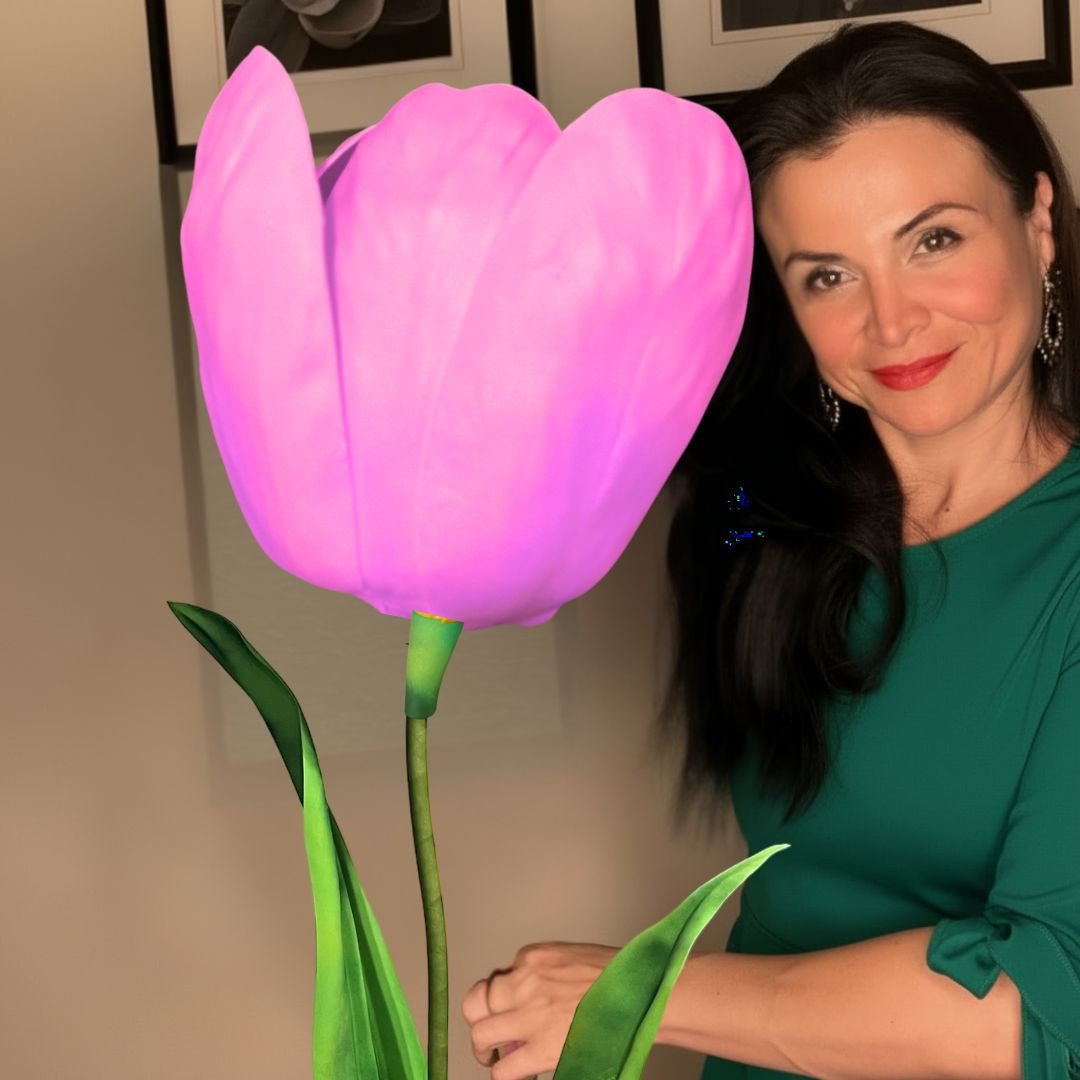
Here's something a lot of tutorials skip: you should shape your petals before you glue anything. Trying to curve a petal after it's already attached is a nightmare.
For EVA foam, I use a heat gun or hair dryer on medium heat to warm each petal, then curve it over my hand or a round form — like a bowl or a ball. Hold it for 15-20 seconds until it cools in that curved position. It will hold the shape permanently.
Only once your petals are shaped do you start gluing. This sequence matters. Trying to do both at once just means you're rushing, and rushed glue work shows.
There are two main ways to apply hot glue to foam, and each has its place.
The Bead Method: Run a thin bead of glue along the base edge of your petal — about ¼ inch from the edge. Press firmly for a count of ten. This is ideal for attaching individual petals to a base layer or center cone. It gives you a clean bond line without excess glue squishing out the sides.
The Spread Method: Apply glue to a larger surface area and spread it quickly with a silicone tool or even your fingertip (carefully — it cools fast on foam). This works well when you're bonding two large flat pieces together, like attaching a back plate or securing a wall-mount bracket.
Don't mix them up. Using the spread method on individual petals means glue everywhere. Using the bead method on a large structural bond means it'll pop apart under weight.
According to a Brides.com survey, couples spend an average of $2,000–$2,500 on wedding flowers. Giant foam flowers can replicate that lush, full look for a fraction of the cost — but only if the construction is solid. Sloppy glue work on a wedding arch flower is going to show up in every single photo.
If you're building flowers for a wedding arch specifically, I'd really recommend reading my full guide on Giant Flower Wedding Arch: A Complete Guide for 2026 — I go deep on structural assembly there.
Timing is everything with the bead method. You have roughly 8-12 seconds of working time before low-temp glue starts to set. That sounds like enough. It isn't, when you're fumbling with a curved petal. Practice the motion before you apply glue. Seriously — do a dry run.
- Working Time (Low-Temp): Approximately 8-12 seconds before the glue begins to set.
- Working Time (High-Temp): Approximately 15-20 seconds — more time, but higher risk of foam damage.
- Full Cure Time: 60-90 seconds for a full bond. Don't stress-test it before then.
- Ideal Application Temperature: Low-temp guns at 245-265°F are the sweet spot for most EVA foam thicknesses.
One technique I swear by: hold the glue gun slightly above the foam surface rather than dragging the nozzle directly on it. Direct nozzle contact can leave drag marks in the foam and also pulls the glue unevenly. Hovering about ½ inch above lets the glue flow smoothly and gives you a cleaner line.
Layering is where giant flowers really come to life. Most of our kits at Amazing Giant Flowers have 3-5 petal layers, each slightly smaller and more cupped than the last as you move toward the center. The glue technique shifts slightly with each layer.
Outer layers: use the bead method along the base of each petal, spacing petals evenly around the circumference. Middle layers: offset each petal so it sits between the petals of the layer below — this is what creates that full, lush look. Inner layers and center: this is where the mini glue gun earns its place. Precision matters here.
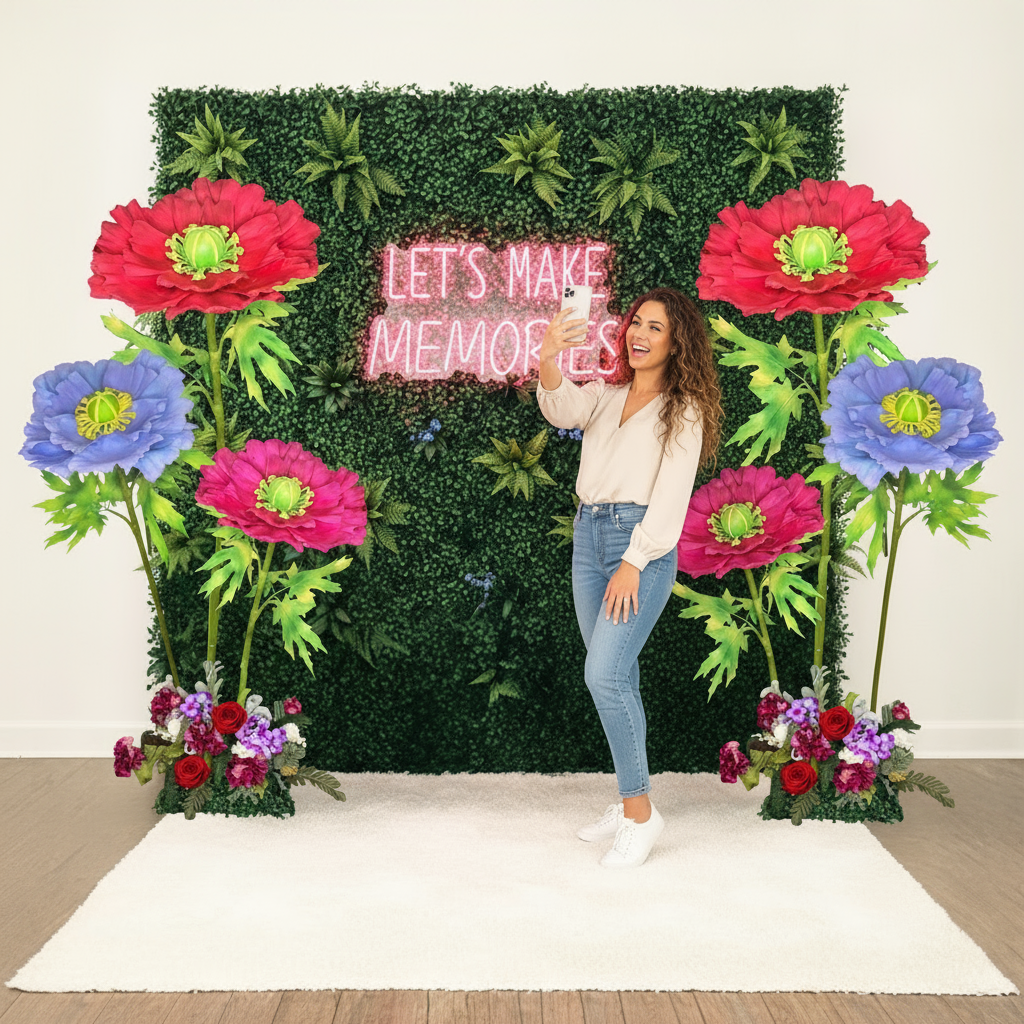
If you're planning a full backdrop build — like a photo wall or a quinceañera installation — I'd point you toward my post on DIY Giant Flower Backdrop for Photos: Easy Guide for the full layout strategy.
Common Hot Glue Mistakes (And How to Fix Them)
I've made every single one of these mistakes. Some of them multiple times. No judgment here — just learn from my pain.
- Glue Strings Everywhere: This happens when you pull the gun away too fast. Move slowly and twist the gun slightly as you pull away — it breaks the string cleanly instead of dragging it across your work.
- Petal Won't Bond / Pops Off: Usually means the surface wasn't clean, or you didn't hold long enough. Make sure foam surfaces are free of dust or paint residue. Hold each bond for a full 30-45 seconds minimum.
- Foam Melting or Denting Under the Glue: Your gun is too hot. Switch to low-temp, or let the glue cool for 3-5 seconds on a silicone mat before applying it to the foam.
- Lumpy, Visible Glue Lines: Too much glue, applied too thick. A thin, even bead is always stronger than a thick blob. You can also use a heat gun on low to gently re-melt and smooth visible glue after it sets.
- Petals Drooping After Assembly: This means the petal wasn't fully shaped before gluing, or the bond point is too small to support the petal's weight. Add a second small glue point ½ inch above the base bond to create a two-point anchor.
The drooping petal issue is so common, especially on larger flowers — anything 3 feet and above. At that scale, gravity is working against you. Two anchor points per petal is non-negotiable for freestanding flowers that need to hold up through an entire event.
According to IBISWorld, the U.S. floral industry is worth approximately $7.9 billion. Event decorators are increasingly turning to foam alternatives not just for cost savings, but because foam flowers hold up through heat, humidity, and multi-day events in ways fresh flowers simply can't. But they have to be built right.
If your foam flowers are going to be painted — and a lot of ours are, especially for commercial installs — you need to glue first, paint second. Paint can create a slight surface barrier that weakens adhesion. Always assemble, then finish. Check out my guide on Flawless Foam Board Paint Finishes for the full painting process.
One last thing I want to mention: glue gun maintenance. I know this sounds boring but stick with me. A clogged or partially blocked nozzle means inconsistent glue flow, which means inconsistent bonds. Run a plain glue stick through your gun every few sessions to clear any residue. Wipe the nozzle tip with a dry cloth while it's warm. It takes thirty seconds and it makes a real difference.
A The Knot report found that floral décor accounts for up to 8-10% of total wedding budgets. For a $30,000 wedding, that's $2,400-$3,000 on flowers alone. Our giant foam flower kits — starting around $80 for a single freestanding flower — let couples redirect that budget without sacrificing the visual impact. But the craftsmanship has to be there to make it work.
For anyone building flowers for corporate events or retail displays, the stakes are even higher — these installations get photographed, shared, and they represent a brand. I wrote about this in my post on Visual Merchandising Ideas for Boutiques if you want to see how foam flowers work in a commercial context.
According to Event Marketer, 74% of consumers say engaging with branded event experiences makes them more likely to buy. A stunning floral installation — built correctly, held together with solid technique — is one of the most effective tools in an experiential marketer's kit.
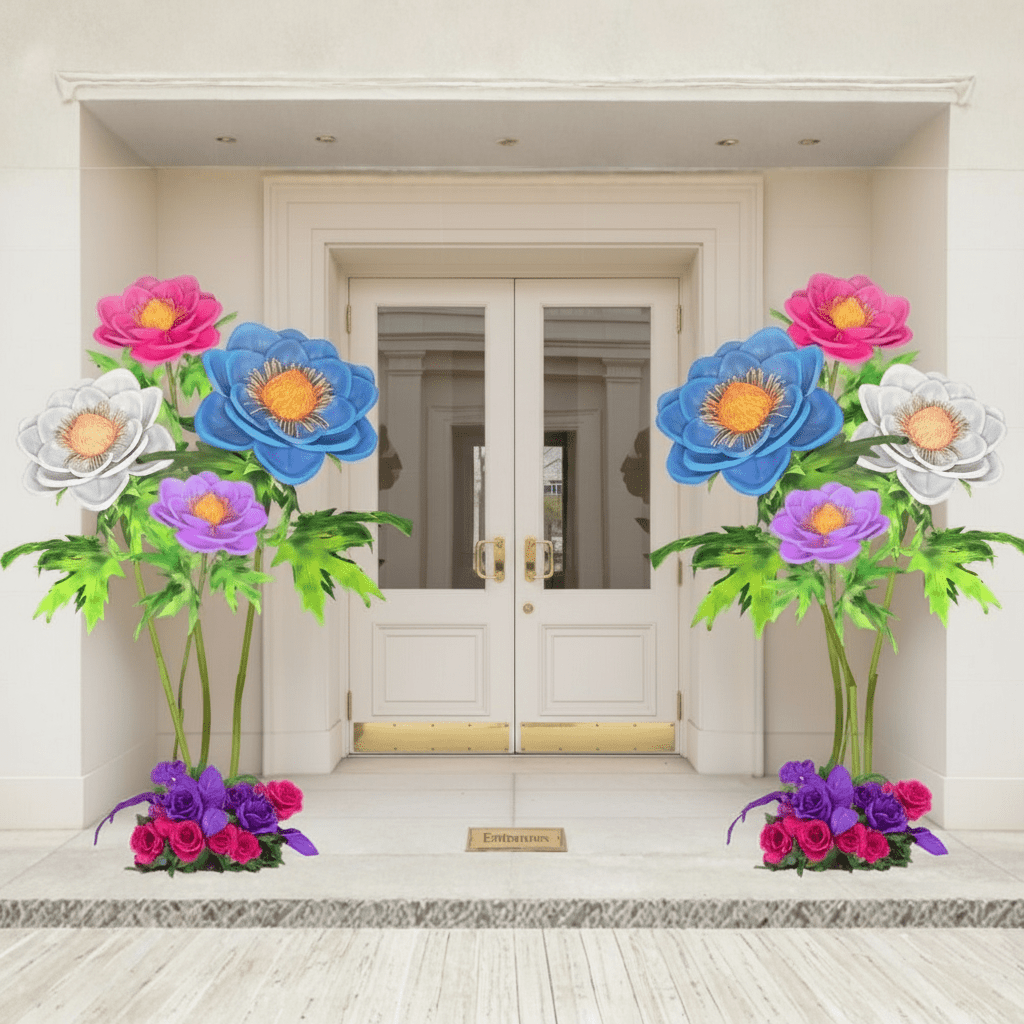
And if you're thinking about a larger installation — a full arch or a backdrop wall — the glue techniques scale up, but the principles stay the same. Correct temp, correct method, correct timing. I break down the full arch build process in my post on Giant Foam Flowers for Wedding Arch.
You've got this. I mean it. The first time I assembled a giant dahlia — about four feet across — I was convinced it was going to fall apart. It didn't. It held up through a full outdoor wedding in Houston summer heat. Because the glue work was right.
If you're ready to start building, come browse the kits over at Amazing Giant Flowers. Everything comes pre-cut with video tutorials, so you're not starting from scratch. And if you have questions about technique — seriously, reach out. I love talking about this stuff. What's the flower you're most nervous to try?
```Ready to Create Something Amazing?
Browse our collection of giant flower kits and start your next project.
Shop All Flowers