Giant Flower Wall Installation: Expert Tips for Stunning Results
Key Takeaways
Let me give you some real context here. According to The Knot's annual wedding report, floral backdrops and statement walls are consistently ranked among the top wedding decor trends, with couples allocating more of their budgets to one dramatic focal point rather than scattered small arrangements.
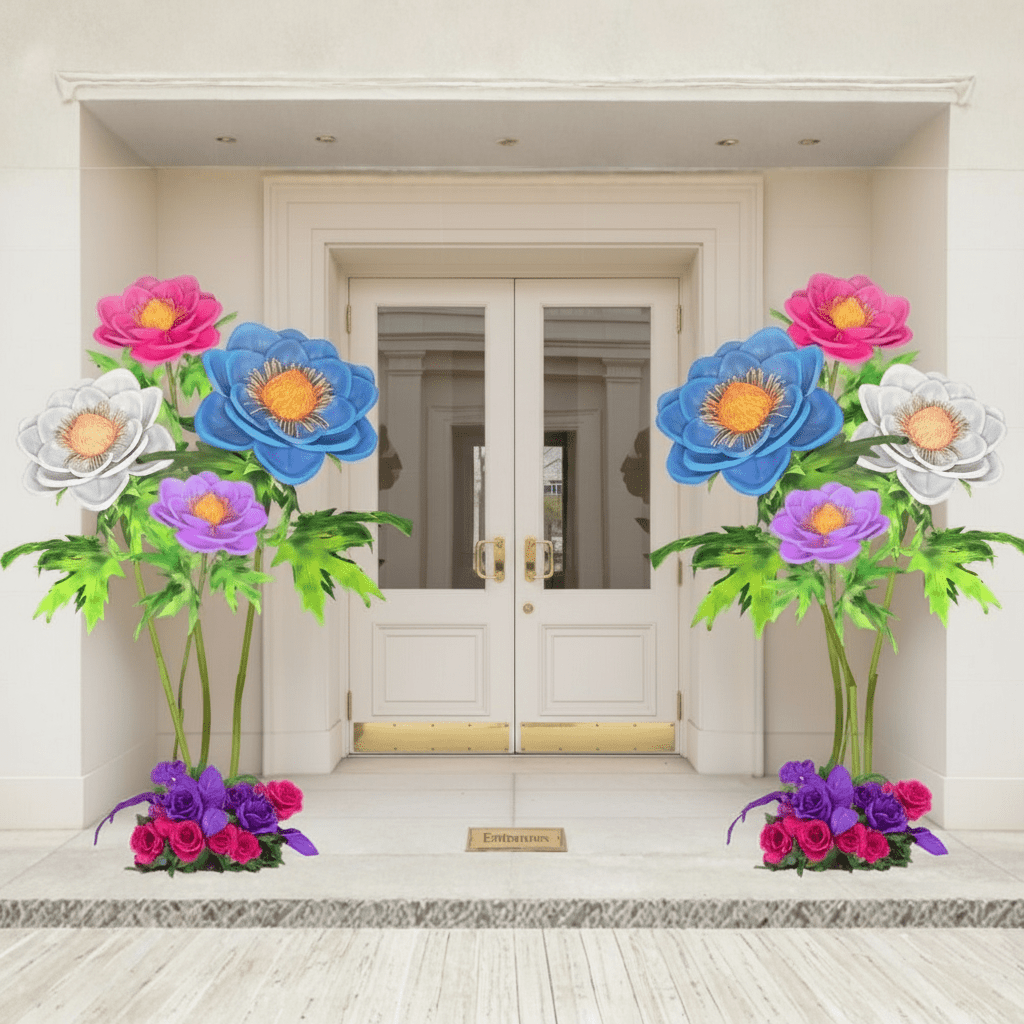
And it's not just weddings. Corporate events, brand activations, quinceañeras, baby showers, retail pop-ups — flower walls have become THE go-to backdrop for any occasion where photos matter.
Fresh floral walls can run $1,500 to $8,000+ depending on your market. A Brides.com survey found couples spend an average of $2,000–$2,500 on wedding flowers total — and a fresh flower wall can eat that entire budget in one shot.
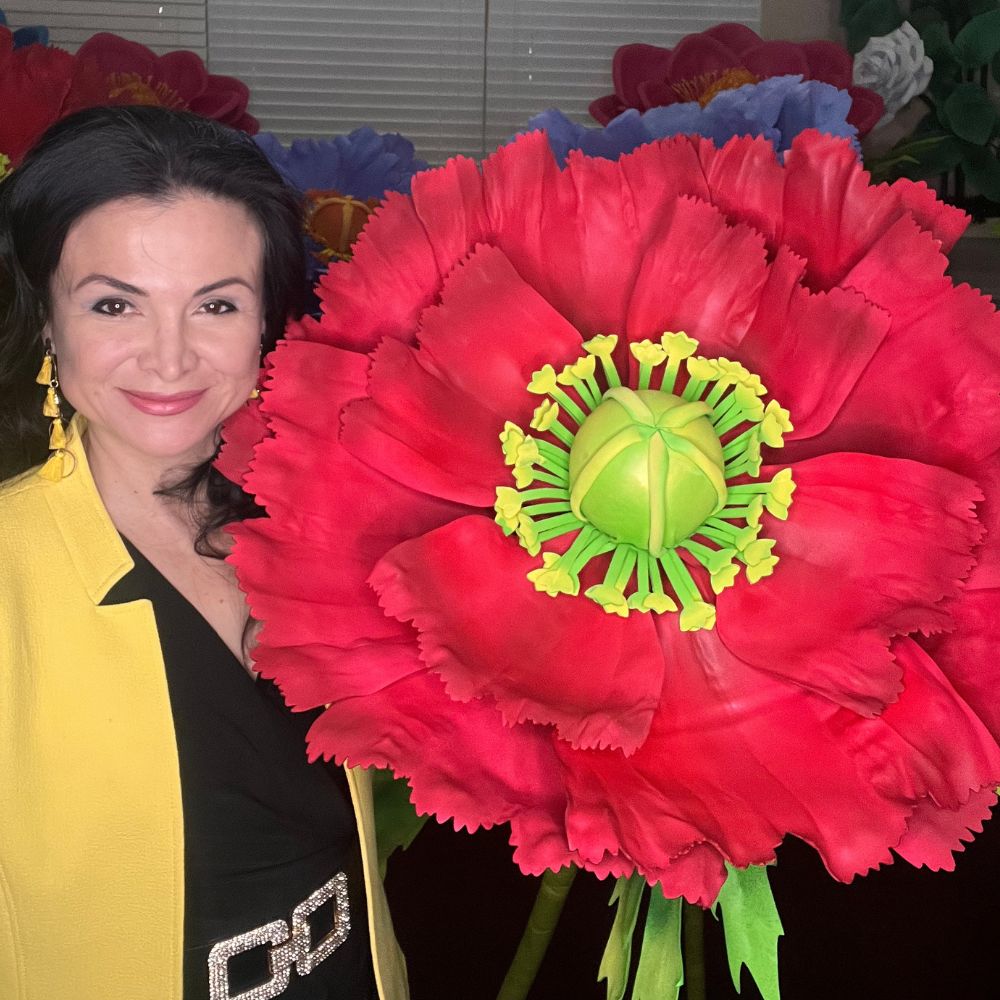
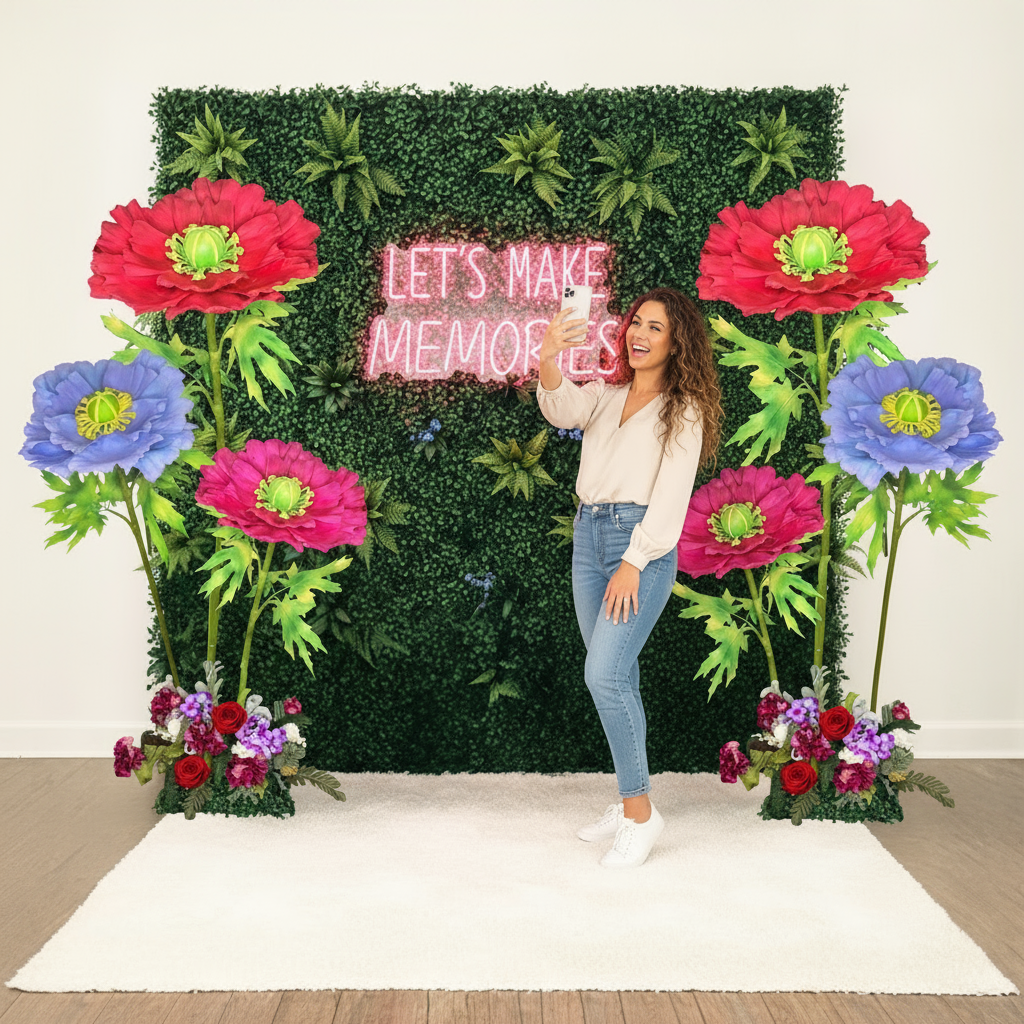
That's exactly why so many people are turning to giant EVA foam flowers. You get the same visual impact — honestly, more impact because the scale is dramatic — at a fraction of the cost.
I've had customers tell me their guests assumed the flowers were real. That's the goal.
Giant Flower Wall Installation Tips: Start With Your Surface
Ok, this is where most people skip ahead and regret it later. Your wall surface determines everything — your mounting method, your hardware, and ultimately whether your installation holds up or comes crashing down mid-event.
Real talk? I've seen gorgeous flower walls fall because someone used Command strips on a textured stucco wall. Don't be that person.
Here's a number you need to know: each of our giant EVA foam flowers weighs between 4 and 14 ounces depending on size. A 5-foot statement flower is about 12-14 ounces. A 2-foot accent flower is closer to 4-6 ounces.
Do the math before you start. A wall with 30 flowers averaging 8 ounces each is 15 lbs total. Your mounting system needs to handle that comfortably — with a safety margin.
Standard drywall anchors hold 25-50 lbs each. You're fine. But always err on the side of more anchor points, not fewer.
Planning Your Layout Before You Install a Single Flower
I cannot stress this enough. Do not wing it. I know it's tempting to just start hot-gluing and see what happens. I've done it. It never ends well.
Spend 30 minutes planning and you'll save 3 hours of frustration. Promise.
Grab some paper and sketch your wall dimensions. Mark where each flower will go, noting the size, color, and variety. This sounds old-school, but it works every single time.
I always recommend starting with your largest anchor flowers first — typically your 3-5 foot blooms — and building around them. Think of them as the cornerstones of your design.
Here's a mistake I see constantly: clustering all the same color together. It creates blobs of color instead of a cohesive, flowing look.
Instead, think of your color palette like a checkerboard — distribute similar colors diagonally across the wall so your eye travels naturally from one side to the other.
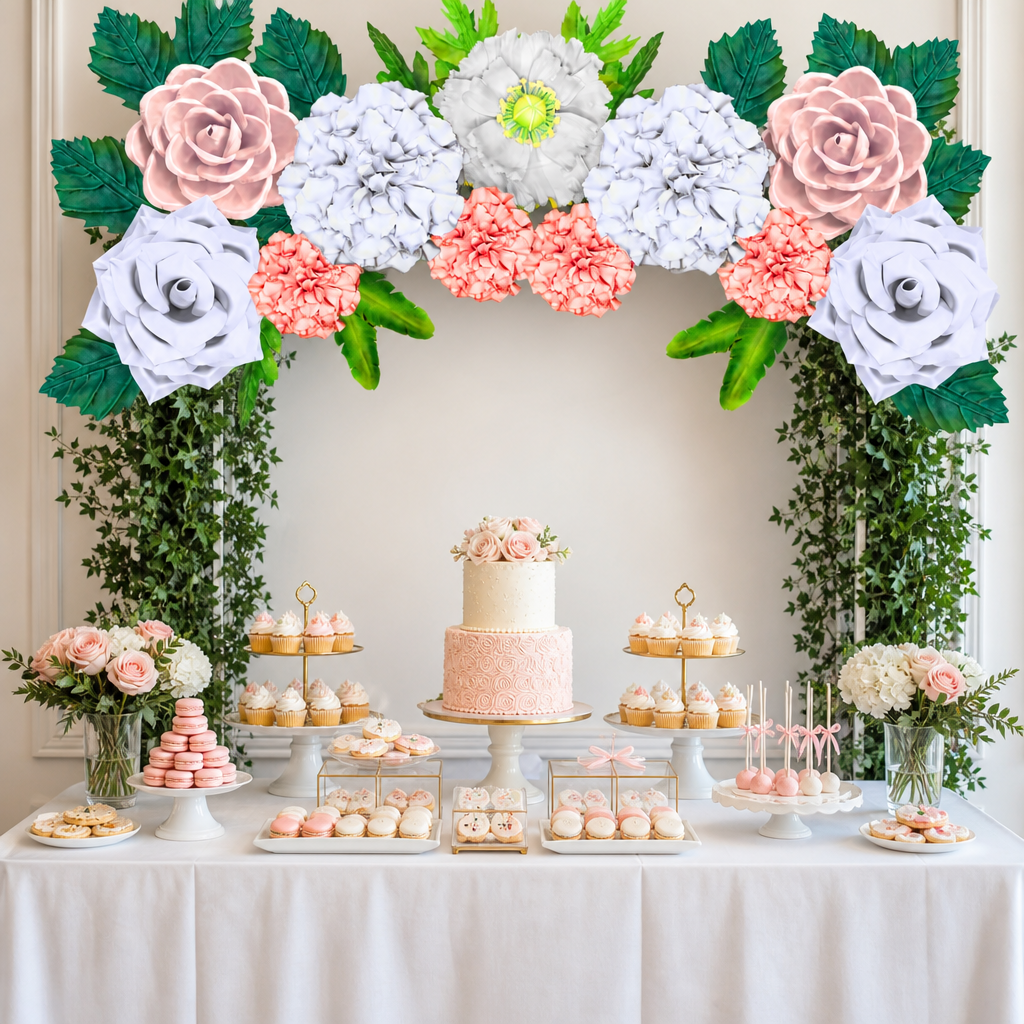
For a classic romantic look, I love a palette of blush, ivory, and dusty rose with pops of deep burgundy. For something bold and modern, try hot pink, coral, and white with gold accents.
Sizing and Density Guidelines
This table will save you so much guesswork. Use it as your starting point:
Not all giant flowers are created equal. And I say this as someone who has tried basically everything on the market.
When I first started, I experimented with crepe paper flowers, tissue paper, fabric, and eventually EVA foam. EVA foam won. It wasn't even close.
Here's the honest breakdown of what I've worked with:
For more on working with foam materials, check out our guide on flawless foam board paint finishes — the painting tips there apply directly to EVA foam flowers too.
Alright, here's where we get into the actual installation. I'm going to walk you through exactly how I approach every single flower wall I build.
Arrive early. Seriously, give yourself at least 2-3 hours for a standard 6x8 foot wall, and 4-5 hours for anything larger. Rushing is how you make mistakes.
Lay out all your flowers on the floor in your planned arrangement before you mount anything. Take a photo of it. That photo is your map.
Use a level and painter's tape to create a light grid on your wall or frame. Mark the center point first — that's where your largest statement flower typically goes.
I use a chalk line for large installations. It wipes off easily and keeps everything perfectly aligned. Eyeballing it leads to wonky results, no matter how good your eye is.
Step 3: Install Your Anchor Points
For a pipe-and-drape frame, I zip-tie a piece of wire mesh or chicken wire across the back of the frame. This gives you a flexible grid to hook or wire flowers into without any wall damage at all.
For direct wall installation, use 3M Command Large Picture Hanging Strips (rated for 16 lbs per pair) for lighter flowers, and drywall anchors with screws for your heavier statement pieces.
Start with your biggest blooms. Place them at your pre-marked positions and step back to check the overall balance before moving on.
This is the moment where you'll catch any layout issues. Fix it now, not after 20 more flowers are up.
Work outward from your large anchor flowers. Medium flowers go in next, filling the gaps. Small flowers come last and do the heavy lifting of filling negative space and creating that lush, full look.
Don't be afraid to overlap petals slightly. Overlapping creates depth and makes the wall look more organic and less flat.
Step 6: Add Greenery and Filler
This is the secret step that most tutorials skip. Greenery changes everything. Even simple faux eucalyptus or leaf stems tucked between flowers adds dimension and makes the whole installation look more intentional and lush.
I love using our bendable pipe stems to add curling tendrils between blooms. It gives the wall that wild, garden-fresh feel even though everything is foam.
Ok, this is where it gets really fun. The difference between a flat flower wall and a breathtaking one is almost always depth and layering.
Professional installations don't sit flat against the wall. They project outward at different depths, creating shadows and dimension that make the whole thing come alive — especially in photos.
Mount some flowers directly against your backing surface. Then mount others on 1-2 inch foam risers or cardboard spacers so they project slightly forward. Your largest flowers should project the most.
This technique is something I picked up from working on a commercial installation for a major retail client. The difference in photos was dramatic — and that's ultimately what matters, because your flower wall will be photographed constantly.
Speaking of photography backdrops, our post on DIY giant flower backdrops for photos goes deep on optimizing your installation specifically for camera angles and lighting.
Angle your flower faces in slightly different directions — some facing straight out, some tilted up, some tilted slightly left or right. In nature, flowers don't all face the same direction. Your wall shouldn't either.
A wall where every flower faces perfectly forward looks manufactured and stiff. Vary those angles and suddenly it looks like a living garden.
Let me save you some heartache. These are the mistakes I see — and have made — most often.
Outdoor flower walls are absolutely stunning. They're also a completely different beast from indoor installations. I've done enough outdoor events in Houston heat and humidity to write a whole separate guide — but here are the essentials.
According to Statista, the outdoor events market in the US continues to grow year over year, with outdoor weddings and parties making up a significant portion of the event planning industry. That means more flower walls in the sun, wind, and humidity.
EVA foam is genuinely one of the best materials for outdoor use because it doesn't absorb moisture, doesn't wilt, and holds its color in sunlight far better than paper alternatives. Still, there are precautions to take.
I get asked this a lot: "Why not just use a balloon wall? Or a fabric drape? Or a printed banner?" Fair questions. Let me be honest with you.
The foam flower wall wins on visual impact per dollar — especially when you factor in that you can reuse it for multiple events. An event planner who invests in a good flower wall kit can recoup the cost in one or two bookings.
For more ideas on how to maximize your flower wall investment, check out our post on large floral arrangement ideas for stunning displays.
Making Your Flower Wall Work Double Duty
Here's something I love telling event planners: a well-made flower wall is not a single-use item. With EVA foam flowers, you can disassemble, store flat, and reassemble for the next event.
I've had customers use the same flower wall kit for a bridal shower, the wedding itself, a corporate event, and a baby shower — all in the same year. That's incredible value.
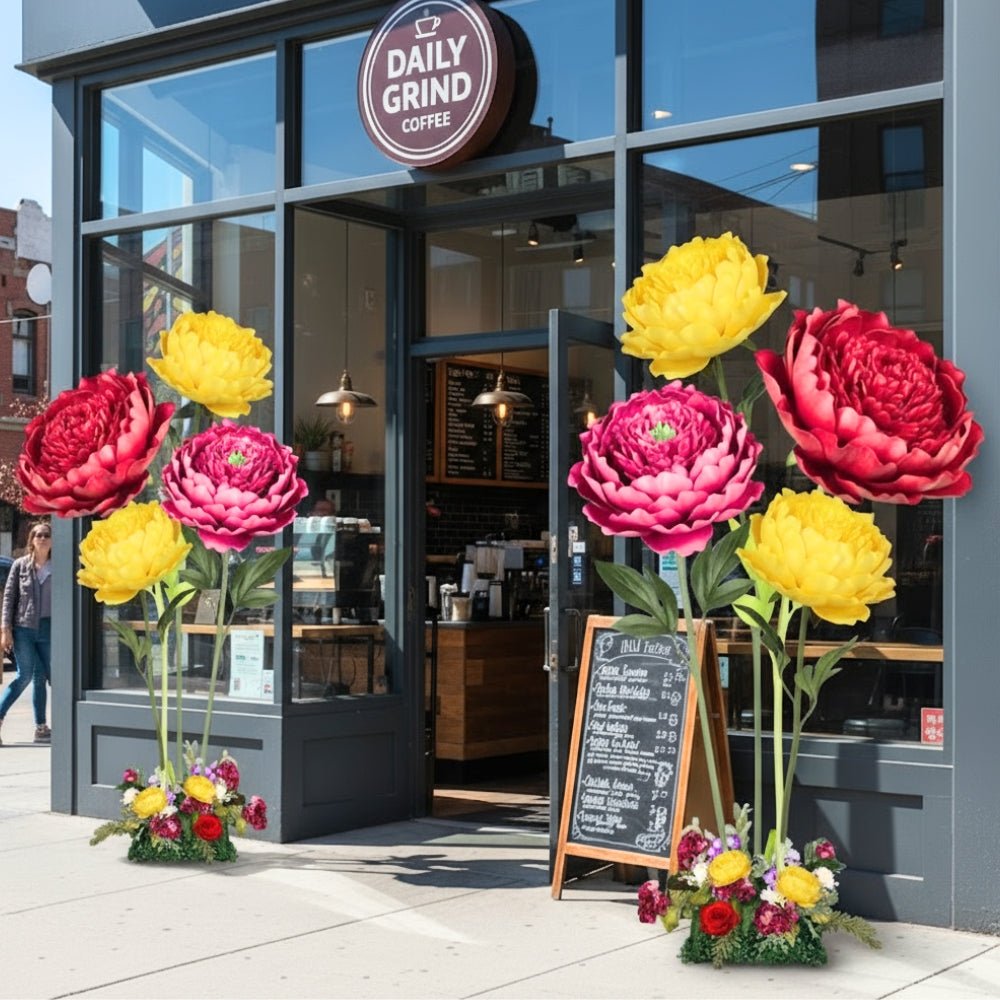
If you're thinking about using your wall for commercial purposes, our guide on visual merchandising ideas for boutiques shows how flower walls are being used to drive foot traffic and social media engagement for retail businesses.
And for corporate applications specifically, 10 corporate event engagement ideas for 2026 covers how brands are using giant flower installations as interactive photo moments that generate serious social media ROI.
For a 6x6 foot wall, plan on 2–3 hours if you've done your prep work and have your layout planned. A larger 8x10 foot or 10x10 foot wall can take 4–6 hours. First-timers should add an extra hour to those estimates — everything takes a little longer the first time.
The biggest time-savers are planning your layout in advance, having all your supplies organized and within reach, and not second-guessing your color plan mid-installation.
My top recommendation is a pipe-and-drape frame with wire mesh stretched across the back. It's portable, doesn't damage any walls, and gives you a flexible grid to attach flowers to. For permanent installations, wood paneling or plywood sheeting mounted to the wall gives you the most versatile surface to work with.
For a quick-setup option, pre-built foam board panels (typically 2x4 feet each) that you can cover with flowers and then hang are incredibly popular with event planners who need fast, repeatable setups.
How many flowers do I need for a flower wall?
It depends on your flower sizes and how full you want the look. As a general rule: a 6x6 foot wall needs 15–20 flowers, a 8x8 foot wall needs 25–35 flowers, and a 10x10 foot wall needs 40–55 flowers. These numbers assume a mix of large, medium, and small blooms with some greenery fill.
If you want a super lush, no-gaps look, bump those numbers up by about 20%. If you prefer a more airy, garden-style feel with visible negative space, you can go 15–20% lower.
Yes — and EVA foam flowers are actually one of the best options for outdoor use because they don't wilt, absorb moisture, or fade quickly in sunlight. The key is securing your frame properly against wind (sandbag those feet!) and wiring every flower to the frame rather than relying on adhesive alone.
Avoid positioning your wall in direct afternoon sun for extended periods if possible, and always have a contingency plan for unexpected weather.
Absolutely — and this is one of the biggest advantages of EVA foam over paper or fresh flowers. A well-made EVA foam flower wall can be disassembled, stored flat, and reinstalled dozens of times without significant wear. Many of my customers use the same kits for years across multiple events.
Store your flowers flat in a cool, dry place — not in a hot garage or car trunk. Extreme heat can warp EVA foam over time. A climate-controlled storage space keeps them looking brand new.
What glue works best for attaching foam flowers to a backing?
For temporary installations, I love heavy-duty Command strips for lighter flowers and removable velcro strips for medium-weight pieces. For semi-permanent or permanent installations, a low-temperature hot glue gun works beautifully on EVA foam — just be careful with high-temp guns as they can melt the foam.
For outdoor or high-humidity environments, use a waterproof construction adhesive like Loctite PL Premium. Always test your adhesive on a scrap piece of foam first to make sure it bonds properly without melting or discoloring.
Ready to Create Something Amazing?
Browse our collection of giant flower kits and start your next project today.