Foam Flower Craft for Beginners: A Simple Weekend Project
Key Takeaways
- EVA foam is the best material for beginner giant flowers — it's forgiving, lightweight, and easy to shape with heat.
- You only need 5-6 basic tools to complete your first foam flower craft project this weekend.
- Petal shaping with a heat gun is the game-changer that turns flat foam into realistic, dimensional blooms.
- A single giant foam flower costs roughly $8-$20 in materials, compared to $50-$200+ for fresh or silk alternatives.
- Pre-cut kits from Amazing Giant Flowers can cut your build time in half if you want a shortcut without sacrificing quality.
Why Foam Flowers Are the Perfect Beginner Craft
According to Statista, the global DIY craft market is projected to exceed $50 billion by 2025. Giant foam flowers have exploded in popularity specifically because they photograph beautifully — making them a favorite for events, photo backdrops, and social media content.
Giant foam flowers are also incredibly cost-effective. A Brides.com survey found couples spend an average of $2,000–$2,500 on wedding flowers. DIY foam flowers can replicate that lush, dramatic look for a fraction of that cost.
What You'll Need: Materials and Tools for Your First Foam Flower Craft
The Essential Materials
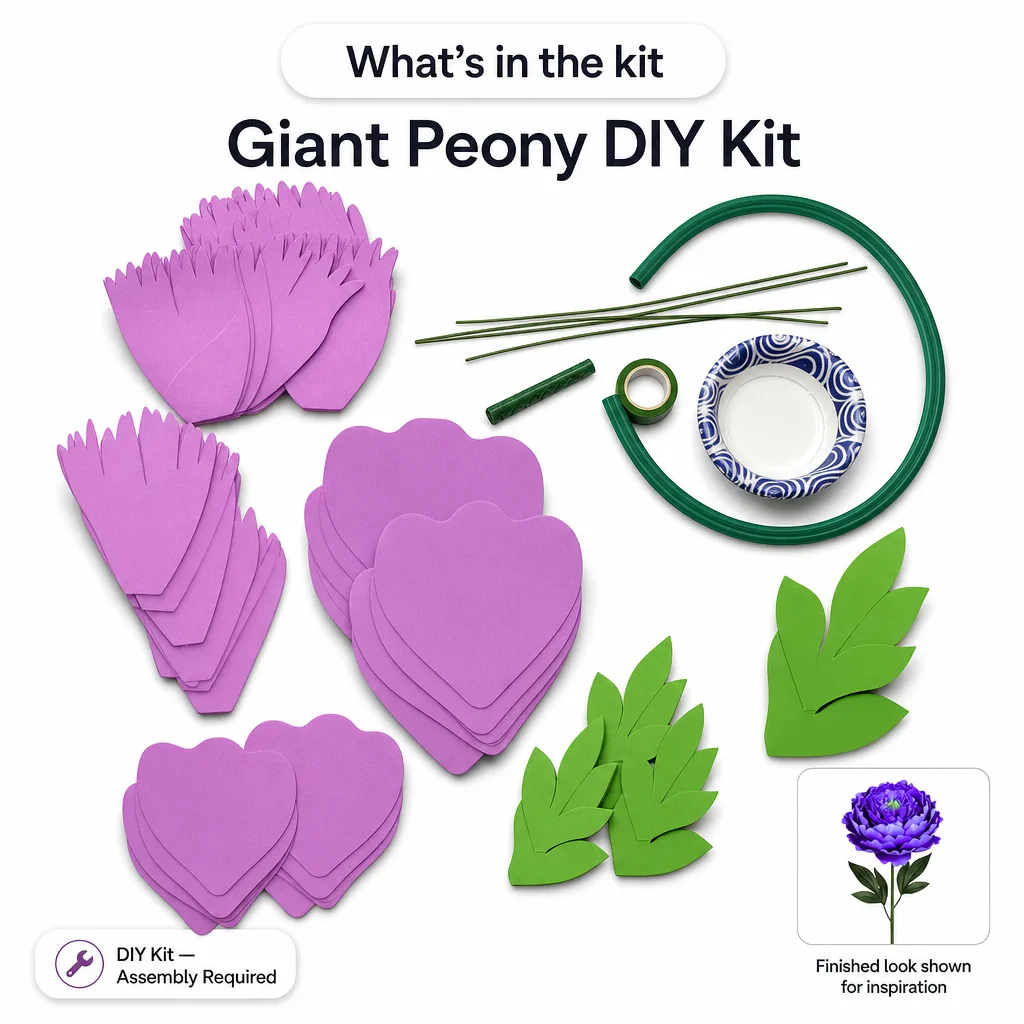
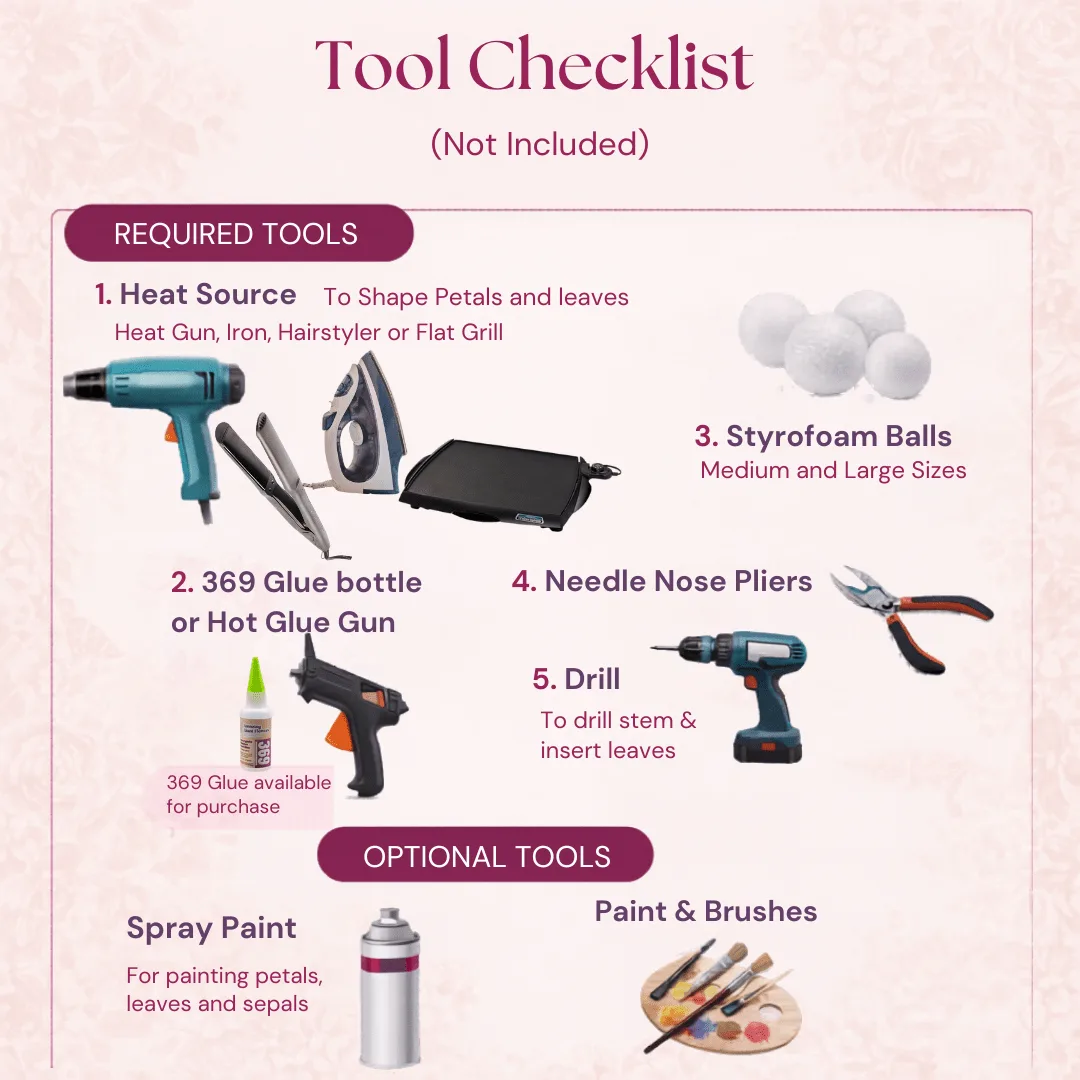
- EVA Foam Sheets (2mm–6mm thickness): This is your primary material. I recommend 2mm for delicate petals and 4mm–6mm for structural base layers. Look for sheets that are at least 12" x 18". You can find these in our shop or at most craft stores.
- Hot Glue Gun and Glue Sticks: A full-size, high-temp glue gun is worth every penny here. Mini guns don't flow fast enough and you'll end up with stringy glue everywhere.
- Heat Gun or Embossing Gun: This is the magic tool. Heat gently curves and shapes your foam petals. A basic heat gun under $30 works perfectly.
- Sharp Scissors or a Craft Knife: Dull scissors will drag and distort your foam edges. Sharp is non-negotiable.
- Petal Templates (printed or hand-drawn): You'll need at least 3 petal sizes — small, medium, and large — for a realistic layered bloom.
- Acrylic Paint or Spray Paint: For coloring your finished flower. Check out our guide on flawless foam board paint finishes for pro tips on getting the color just right.
Optional but Helpful Supplies
- Bendable Pipe Stems: If you want a freestanding flower, you'll need a sturdy stem. We sell heavy-duty bendable pipe stems specifically sized for giant foam blooms.
- Foam Ball or Cardboard Circle: This becomes your flower center — the base everything attaches to.
- Cutting Mat: Protects your table surface and keeps cuts cleaner.
- Ruler and Marker: For tracing templates accurately.
Choosing the Right Foam: A Quick Comparison
| Foam Type | Thickness Range | Best For | Beginner Friendly? | Avg. Cost per Sheet |
|---|---|---|---|---|
| EVA Foam | 2mm – 10mm | Giant flowers, petals, bases | ✅ Yes — most forgiving | $1 – $5 |
| Foam Board (Foamcore) | 3mm – 5mm | Flat backdrops, signage | ⚠️ Limited shaping | $2 – $6 |
| Craft Foam (thin) | 1mm – 2mm | Small flowers, detail work | ✅ Easy to cut | $0.50 – $2 |
| Upholstery Foam | 1" – 4" | 3D sculptures, bases | ❌ Hard to shape cleanly | $8 – $20 |
| Glitter Foam | 2mm | Accent petals, kids' projects | ✅ Fun and easy | $1 – $3 |
Step-by-Step: How to Make Your First Foam Flower Craft for Beginners
Step 1: Create Your Petal Templates
You'll need three petal sizes. Draw them on cardstock and cut them out.- Small petals: Approximately 5" tall x 4" wide — teardrop or rounded tip shape.
- Medium petals: Approximately 8" tall x 6" wide — slightly more elongated.
- Large petals: Approximately 12" tall x 8" wide — these form your outer layer.
Step 2: Trace and Cut Your Foam Petals
Lay your templates on the EVA foam sheets and trace around them with a marker. Then cut carefully with sharp scissors. You'll want to cut approximately:- 8–10 small petals (for the center)
- 10–12 medium petals (for the middle layer)
- 12–14 large petals (for the outer layer)
Step 3: Shape Your Petals with Heat
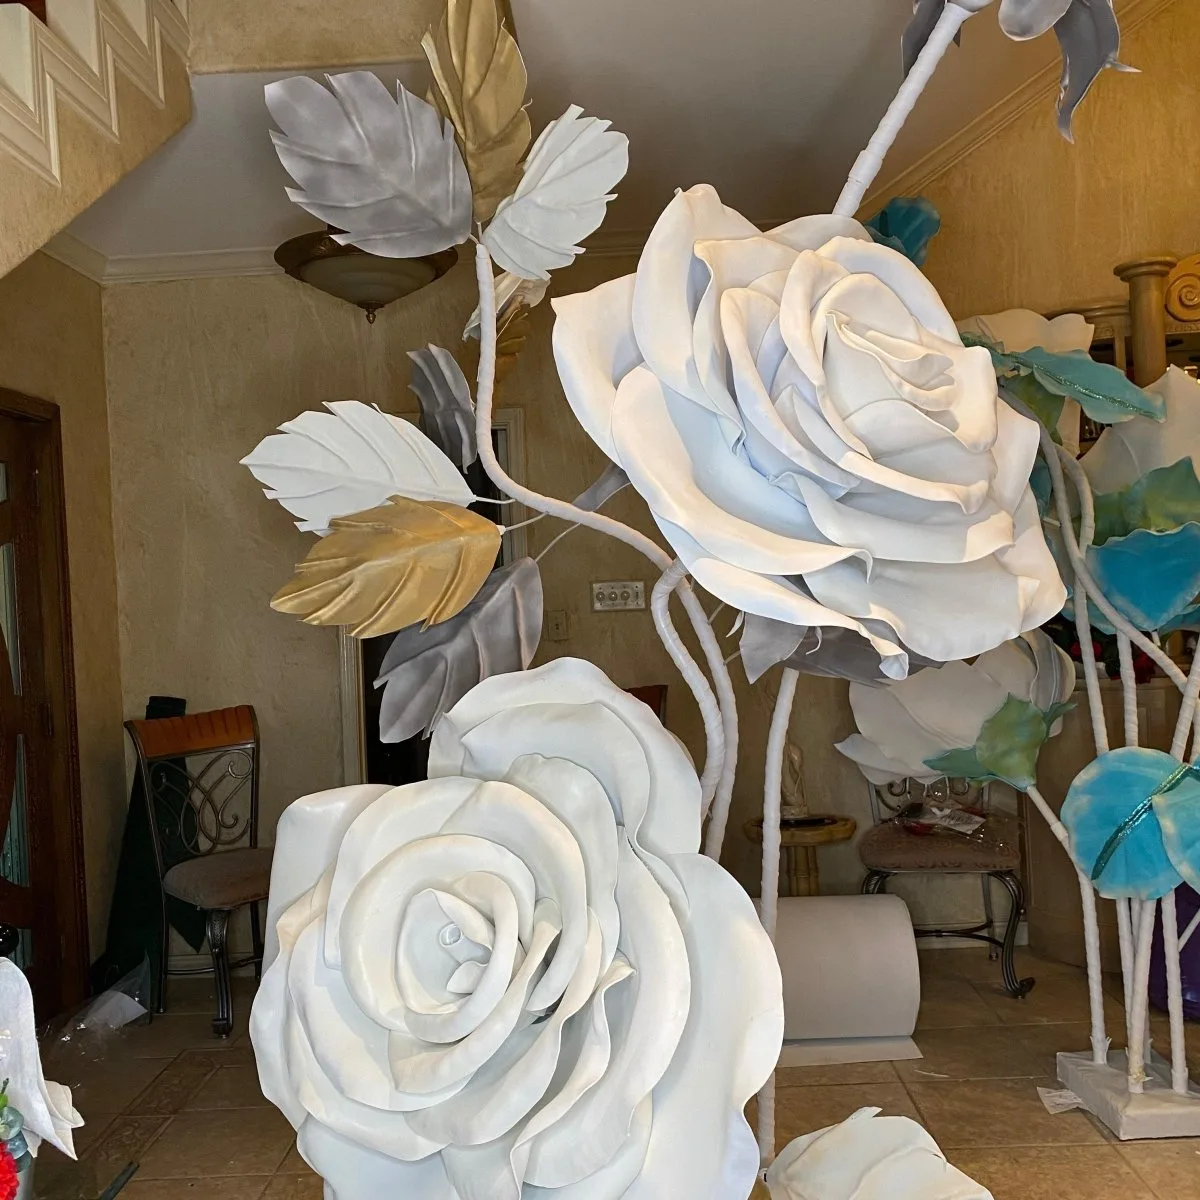
This is the step that transforms flat foam into something that looks genuinely alive. This is my favorite part. Hold a petal over your heat gun from about 4–6 inches away. Move it gently — don't hold it in one spot or you'll melt it. Within 5–10 seconds, the foam will become pliable. While it's warm, cup it in your hands or press it over a rounded surface (like a bowl or your knee) to create a natural curve. Hold for about 10 seconds until it cools and sets.Real talk? Your first few petals will probably be a little wonky. That's completely normal. By petal ten, you'll have the technique down and you'll be shaping them like a pro.
Step 4: Build Your Flower Center
Take a foam ball (3–4 inch diameter) or roll a piece of foam into a tight cone and secure it with hot glue. This is your center anchor. Start with your small petals. Apply a thin line of hot glue along the bottom edge of each petal and press it around the base, slightly overlapping each one. Work in a spiral pattern, angling petals slightly inward.Step 5: Layer Your Medium and Large Petals
Once your center is built up, move to the medium petals. Glue these around the outside of your small petal cluster, angling them slightly outward for that natural blooming look. Then your large petals go on last — these should angle out and slightly downward, like a flower that's fully open. The more you vary the angles slightly, the more realistic it looks.Step 6: Paint and Finish Your Flower
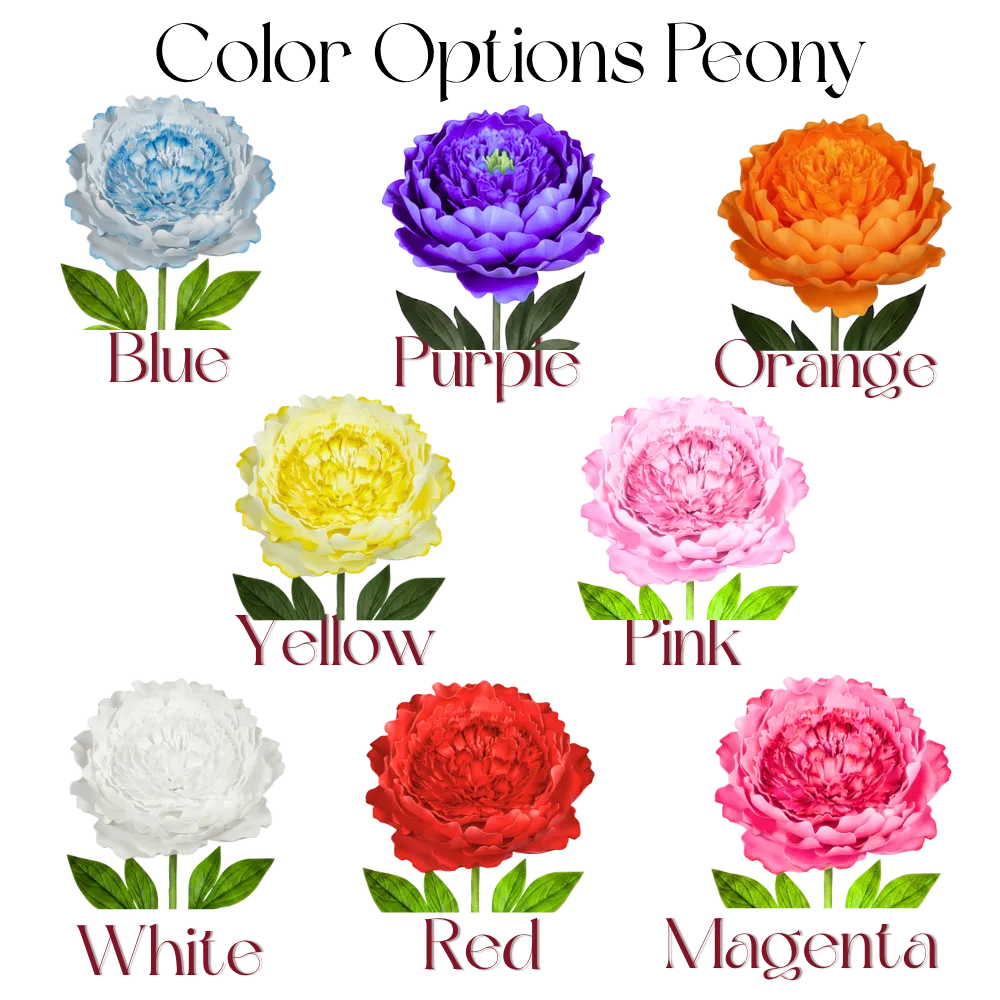
Once fully assembled, it's time to add color. Acrylic paint works beautifully on EVA foam — just apply it with a sponge brush in thin layers. Want an ombré effect? Start with a deeper shade at the base of each petal and blend toward a lighter tone at the tips. It sounds fancy but it's surprisingly easy to pull off. For spray paint, use paint specifically formulated for foam or plastic — regular spray paint can eat through EVA foam. Our guide on painting on foam core has more detail on this.Common Beginner Mistakes (And How to Avoid Them)
- Using a low-temp glue gun: Low-temp guns don't bond EVA foam well. The petals pop off. Use high-temp hot glue and just be careful with your fingers.
- Skipping the heat shaping step: Flat petals make flat flowers. The heat gun step is what gives your bloom dimension and life. Don't skip it.
- Cutting all petals the same size: Variety is everything. Even small variations in petal size make the flower look dramatically more realistic.
- Using too much paint at once: Thick paint cracks on foam. Thin layers, built up gradually, always look better.
- Rushing the assembly: Let each glued section set for a few seconds before adding the next petal. Patience here pays off in a cleaner final result.
How to Display Your Finished Foam Flower
Freestanding Display
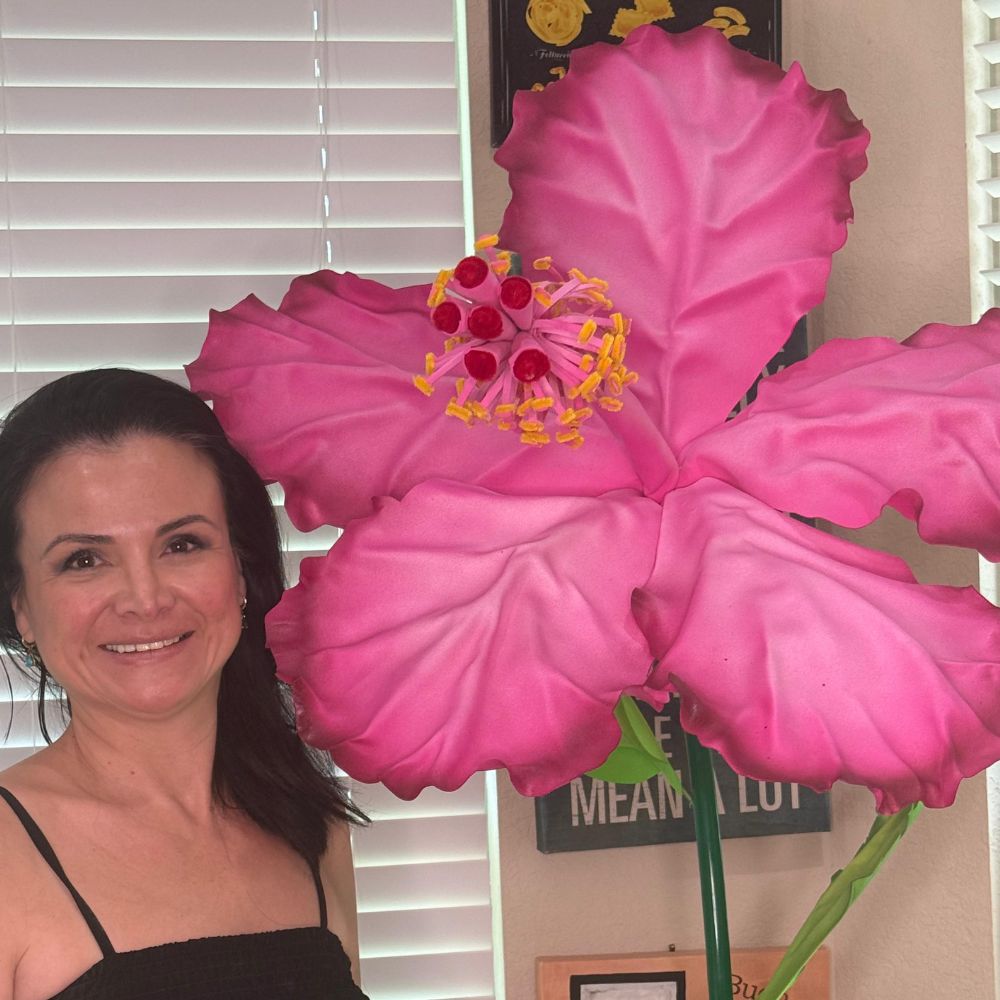
Attach your flower to a bendable pipe stem using hot glue and floral tape. These stems can be bent to any angle and pushed into a foam base or floral foam block inside a vase. We sell stems specifically designed for giant flowers in our shop.Wall-Mounted Display
Hot glue a sawtooth picture hanger or a loop of ribbon to the back of your flower center. These look incredible as wall art, especially in clusters of 3–5 flowers at varying heights. If you love this idea, check out our wall decor flower guide for arrangement inspiration.Event Backdrop
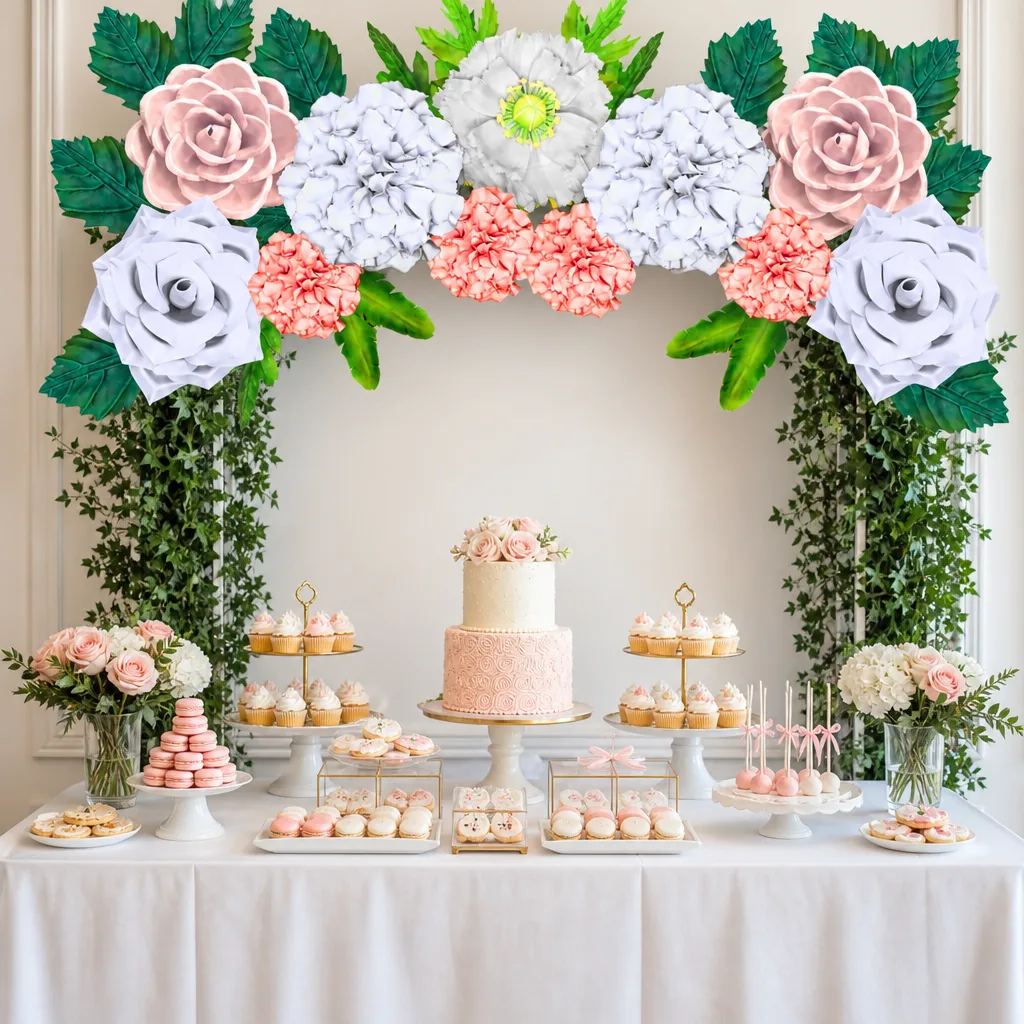
This is where giant foam flowers really shine. A grouping of 8–12 flowers in coordinating colors makes an absolutely stunning photo backdrop. For step-by-step backdrop assembly, our DIY giant flower backdrop guide walks you through the whole setup.Should You DIY or Buy a Pre-Cut Kit?
According to Event Marketer, 74% of event attendees say they're more likely to buy a product after engaging with a branded experiential display. Giant flowers consistently rank as one of the most photographed event elements — which is exactly why brands like Disney and Dolce & Gabbana have trusted us to create them.
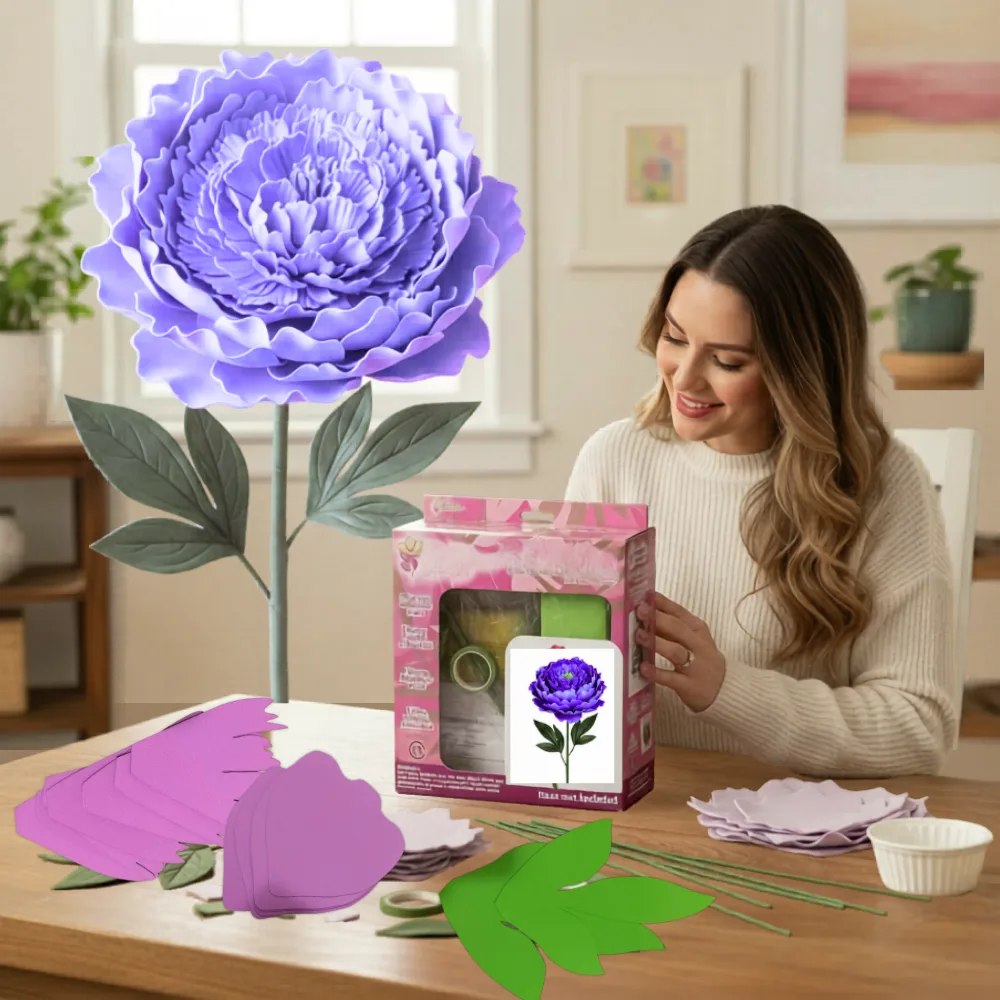
Our Freestanding Giant Flower Kits start at around $80, and Bundle Kits for 8–12 flowers range from $350–$600. Compare that to hiring a floral designer for an event backdrop, which can easily run $1,500–$5,000+, and the value is pretty clear.
Fun Foam Flower Project Ideas for Beginners
- Baby Shower Backdrop: Soft pink and white blooms in varying sizes make the most gorgeous backdrop. See our baby shower welcome board ideas for layout inspiration.
- Birthday Party Decor: Giant flowers in a child's favorite colors are pure magic. They're also completely reusable — store them and pull them out next year.
- Wedding Ceremony Arch: Yes, beginners can absolutely do this! Start with a simple arch and add flowers in clusters. Our giant flower wedding arch guide breaks down exactly how.
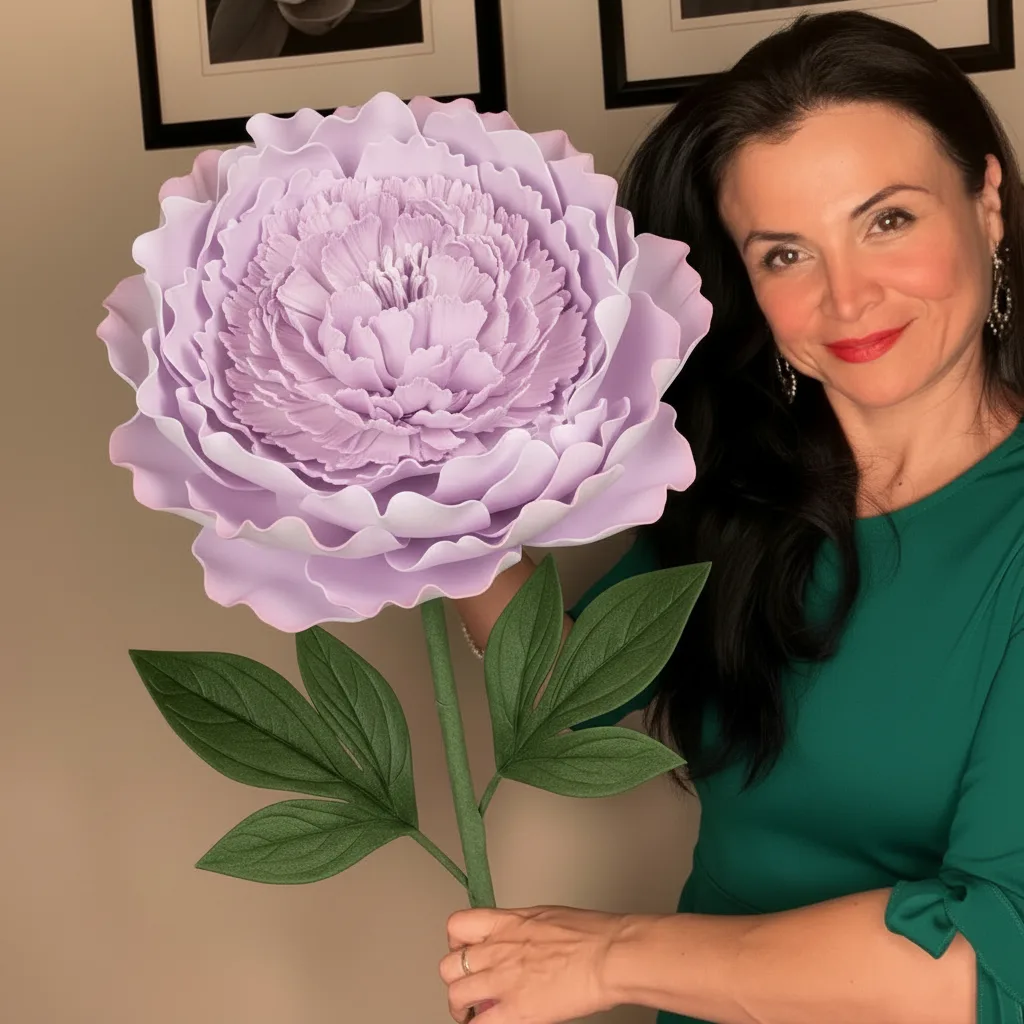
- Photo Booth Prop: A single oversized flower on a stem makes a fun, interactive photo booth element. Guests love holding them.
- Home Wall Art: A cluster of three flowers in your living room color palette is a genuinely stunning decor statement that costs under $30 to make.
Frequently Asked Questions
How long does it take to make a giant foam flower for beginners?
For a complete beginner making a 24-inch diameter flower from scratch, expect to spend about 3–5 hours total — including cutting, shaping, and assembly. That time drops significantly with practice. By your third or fourth flower, most people complete one in under 2 hours.
If you use a pre-cut kit, you can realistically finish a beautiful flower in 60–90 minutes.
What is the best foam for a foam flower craft for beginners?
2mm EVA foam for petals and 4mm EVA foam for base layers is the combination I recommend to every beginner. EVA foam is heat-shapeable, lightweight, and forgiving — meaning you can reheat and reshape if you don't love the curve on a petal. It's also widely available and very affordable, typically $1–$5 per sheet.
Do I need a heat gun, or can I use a hair dryer?
A hair dryer will work in a pinch, but it takes significantly longer and doesn't get hot enough to shape thicker foam effectively. A basic heat gun (around $20–$30) is worth the investment — it's faster, more precise, and opens up a lot more shaping possibilities. You'll use it for every single flower you make going forward.
How much does it cost to make a foam flower at home?
A single giant foam flower (24 inches) typically costs between $8 and $20 in materials depending on the foam thickness and paint you choose. That's a fraction of what you'd spend on fresh flowers or silk alternatives of comparable size. For events requiring many flowers, the savings add up quickly — our giant flower event budget guide breaks down the full cost comparison.
Can kids do a foam flower craft?
Absolutely — with supervision. The cutting and heat gun steps should be handled by adults, but kids can absolutely help with petal shaping (once the foam cools slightly), layering, and painting. It's a genuinely fun family project. According to PBS Parents, hands-on craft projects support fine motor development and creative confidence in children — so it's a win on every level.
How do I store giant foam flowers after an event?
This is one of the best things about foam flowers — they're completely reusable. Store them in large plastic bins or garment boxes, laying them flat or gently stacking them with tissue paper between layers. Avoid crushing the petals under heavy items. Stored properly, a well-made EVA foam flower can last years.
You made it to the end — which tells me you're serious about this, and I love that. Your first foam flower craft is going to be better than you think. I promise. The learning curve is real but it's short, and the moment that first bloom comes together, you'll understand exactly why I've built my whole business around these flowers. If you're ready to jump in, browse our shop at Amazing Giant Flowers for pre-cut kits, EVA foam sheets, and stems that make the whole process smoother. And if you make something you're proud of — please share it. Seeing what beginners create never gets old for me.
Ready to Create Something Amazing?
Browse our collection of giant flower kits and start your next project today.