Giant Cherry Blossom Branches: Japanese-Inspired Foam Flower DIY

Key Takeaways
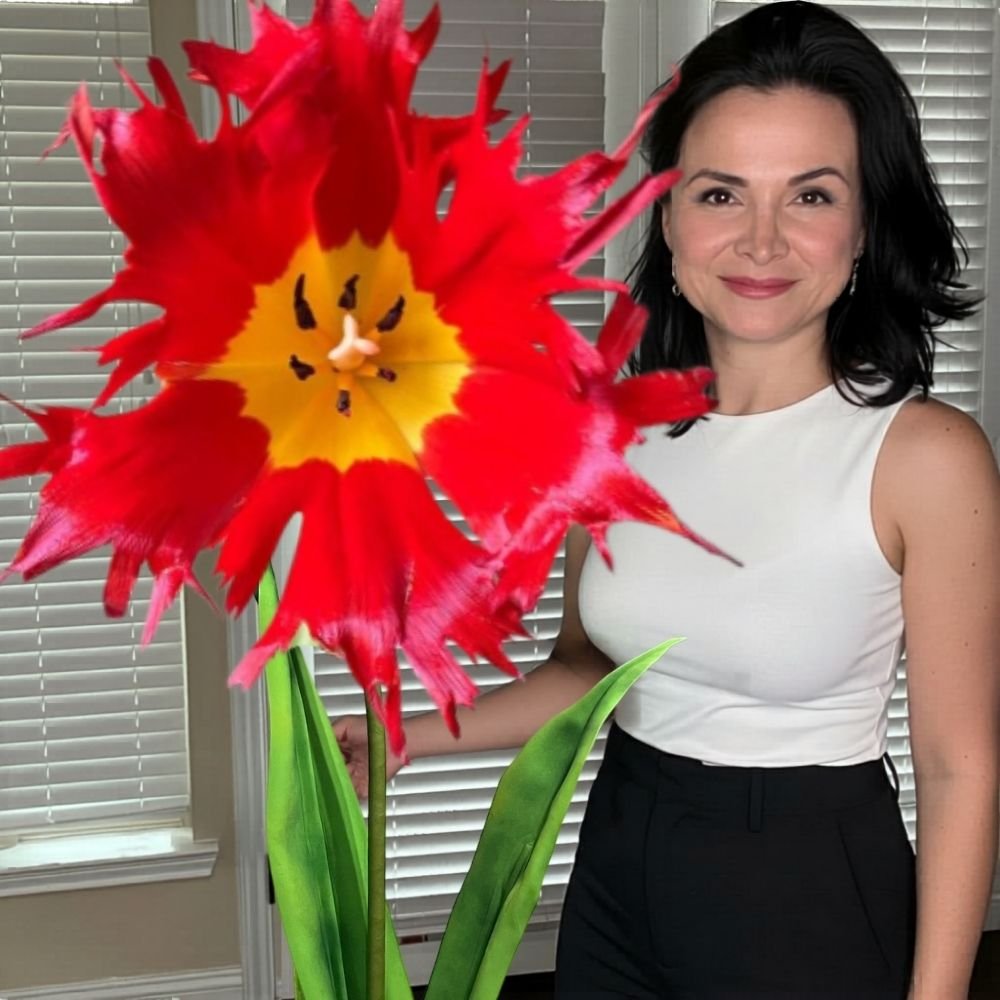
- A giant cherry blossom branch DIY uses EVA foam petals, wire-wrapped branches, and simple tools to create jaw-dropping, photo-ready décor.
- Each finished branch can stand 5–8 feet tall and hold 30–60 individual foam blossoms depending on your design.
- EVA foam is the best material for this project — it's lightweight, flexible, and holds paint beautifully for realistic petal shading.
- This project typically costs $40–$90 in materials, compared to $300–$600+ for professionally rented floral installations.
- You can make these branches freestanding, wall-mounted, or as part of a larger arch or backdrop installation.
Why Cherry Blossoms? The Case for This Stunning DIY
That's where foam comes in. When you build a giant cherry blossom branch DIY, you get all the visual drama without any of the limitations. No wilting. No seasonal restrictions. No $400 florist bill. I've used these branches for everything from wedding ceremony backdrops to brand activations. They photograph beautifully, they're reusable, and every single time I set them up, someone asks me where I bought them. That's the best compliment in the world.
Materials You'll Need Before You Start
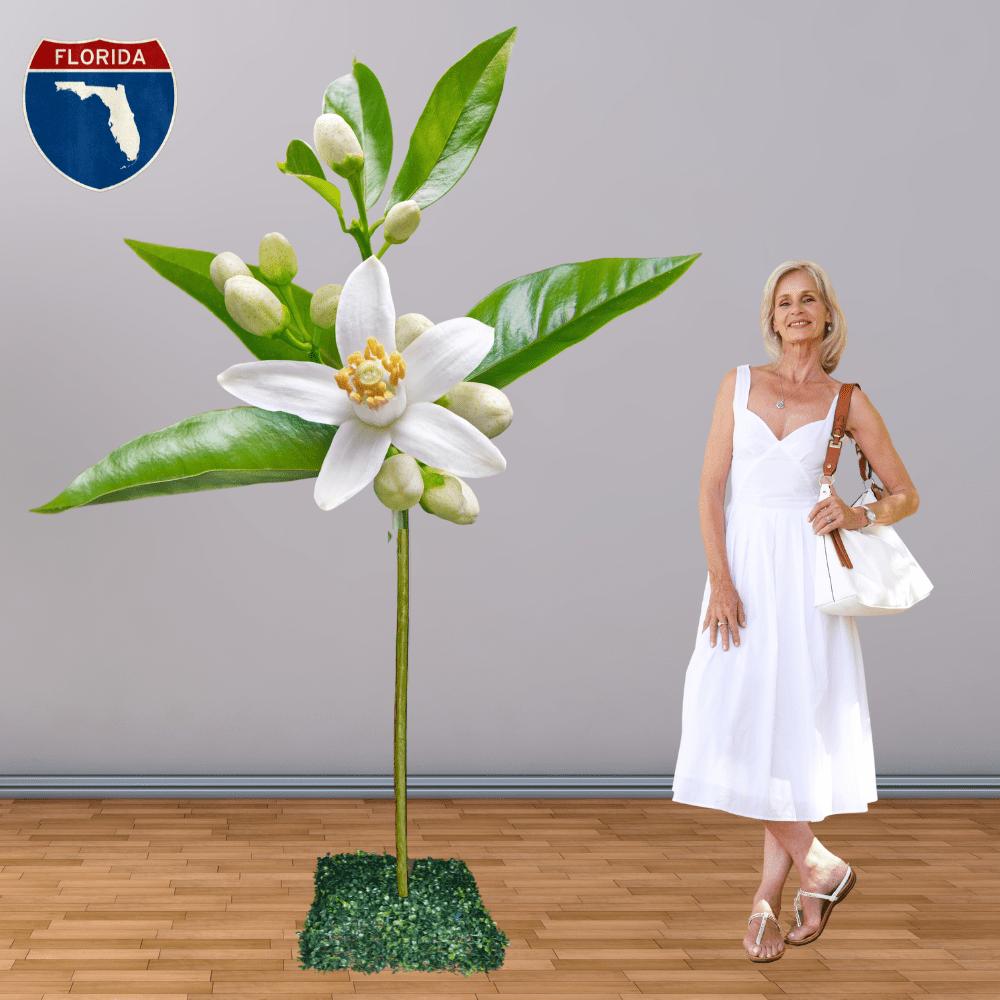
- EVA Foam Sheets (2mm and 4mm thickness): The 2mm is perfect for delicate outer petals that need to curl and bend naturally. The 4mm gives structure to the inner petals and base layers. You can grab both from our shop here.
- Bendable Pipe Stems (18–22 gauge floral wire): You'll use these to attach blossoms to branches and to create the characteristic drooping clusters that make cherry blossoms look so realistic.
- Faux Branches or PVC Pipe Wrapped in Brown Floral Tape: I prefer real faux branches from craft stores for the most organic look. Look for ones with natural-looking irregular shapes — that's what makes it feel real.
- Acrylic Paint in Blush Pink, Deep Rose, and White: Cherry blossoms aren't one flat color. They have gradient tones and that's what gives them life. Don't skip the shading step.
- Heat Gun or Hair Dryer: Essential for shaping EVA foam petals into their characteristic cupped, slightly ruffled shape.
- Hot Glue Gun (high temp): Low-temp guns don't bond EVA foam well enough. Trust me on this one — I learned the hard way when an entire blossom cluster fell off mid-event.
Optional But Game-Changing Supplies
You don't NEED these, but they elevate the finished product significantly. Yellow or gold mini stamens (the little center details) make your blossoms look incredibly realistic. You can find these at any craft store or online. Each blossom uses about 5–8 stamens bundled together. Chalk spray or matte sealant gives the petals that soft, velvety finish that mimics real cherry blossom texture. One light coat changes everything.How to Make the Cherry Blossom Petals: Step-by-Step

Step 1: Cut Your Petal Shapes
Cherry blossom petals have a very specific shape — they're roughly oval with a small notch at the tip. That notch is what makes them instantly recognizable. Don't skip it. Each blossom needs 5 petals. For a full, lush look, I actually layer two sets of 5 — one slightly smaller inner layer and one larger outer layer — giving you 10 petals per blossom.For sizing, I use: - Outer petals: approximately 3.5 inches long by 2.5 inches wide for standard-sized blossoms - Inner petals: approximately 2.5 inches long by 1.75 inches wide - For oversized statement blossoms: scale up to 6 inches by 4 inches Cut a template from cardboard first. Then trace and cut your foam. For a full branch with 40 blossoms, you're cutting 400 individual petals. Put on a good podcast. I'm serious.
Step 2: Shape the Petals with Heat
This step transforms flat foam into something magical. Take your heat gun and hold it about 3–4 inches from the petal surface. Move it in slow circles. The foam will start to soften within about 5–8 seconds. The moment it does, press it gently into your palm or over a rounded surface (I use the back of a spoon). Hold for 10 seconds. Release.You'll see it cup and curl naturally. That's exactly what you want. Cherry blossom petals have a slight bowl shape — they're not flat. This step is what separates a professional-looking result from something that looks like a craft project. Work in batches of 20–30 petals at a time. Once you get into a rhythm, it goes fast.
Step 3: Paint for Realistic Depth
Real cherry blossoms aren't bubble-gum pink. They're closer to blush white with deep rose at the base, fading outward. That gradient is everything. Start with a base coat of soft blush pink (I mix white acrylic with just a touch of coral). Let it dry completely — about 15–20 minutes.Then take a slightly darker rose tone and dry-brush it from the base of each petal outward, fading as you go. Finally, add a tiny wash of deep burgundy or magenta right at the very center where the petals will meet. This gives incredible depth. If you want to go deeper on painting techniques for foam, I wrote a whole guide on flawless foam board paint finishes that covers everything.
Assembling Individual Cherry Blossoms
Building the Blossom Center
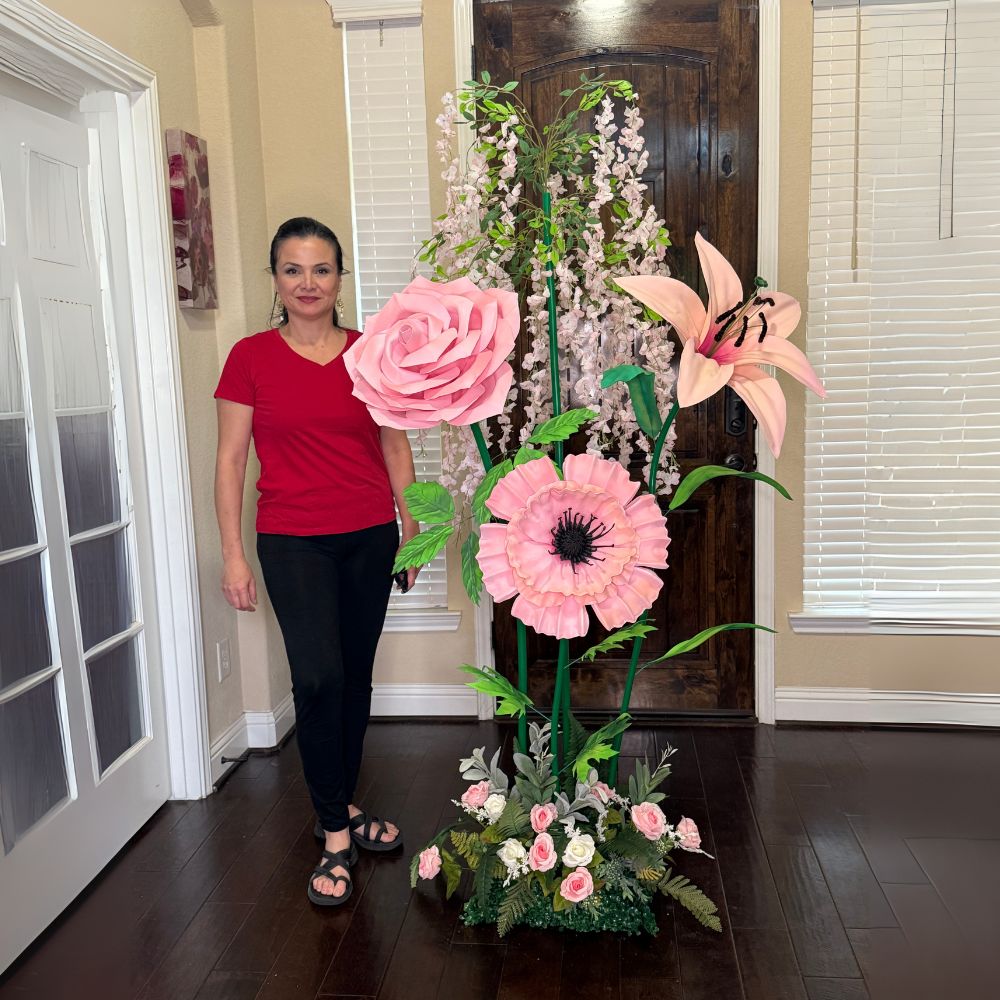
Take your 5–8 yellow stamens and fold them in half. Twist a small piece of floral wire around the fold point to secure them. This becomes the center of your blossom. Now take your inner petals (the smaller set of 5) and hot glue them around the stamen bundle, slightly overlapping each one. Work in a circle. Press each petal firmly at the base and hold for 10–15 seconds until the glue sets.Adding the Outer Petals
Layer the larger outer petals between the gaps of the inner petals. Stagger them so you see all 10 petals when looking at the blossom from above. The finished blossom should be roughly 3–4 inches in diameter for standard size, or up to 6–7 inches for your statement blooms. Leave about 3–4 inches of wire stem at the base of each blossom — you'll use this to attach them to the branch.Building and Preparing Your Branch Structure
Choosing Your Branch Base
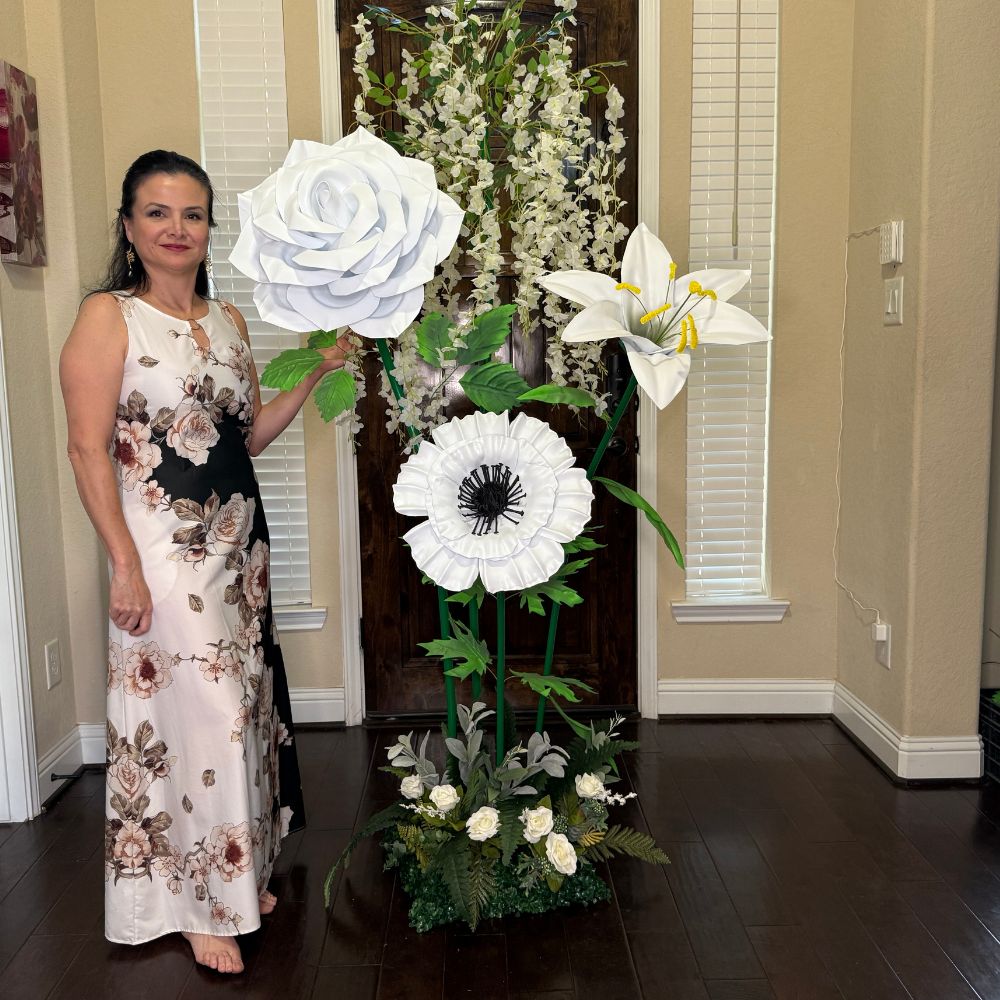
I have two approaches depending on the project: **Option 1: Faux Craft Store Branches** — These are my go-to for smaller installations and indoor events. Look for ones that are 4–6 feet long with natural-looking irregular branching. The more asymmetrical, the better. **Option 2: PVC Pipe Frame** — For larger, freestanding installations over 6 feet tall, I build a PVC skeleton and wrap it with brown floral tape layered with crumpled brown kraft paper and hot glue for texture. It sounds labor-intensive but it's incredibly sturdy.Making It Freestanding
For freestanding branches, you need a weighted base. I use a 5-gallon bucket filled with quick-set concrete, with the branch base embedded while it's still wet. Once cured (about 24 hours), it's rock solid. Cover the bucket with moss, fabric, or decorative stones for a finished look. For weddings, I've wrapped them in flowing fabric that coordinates with the table linens. Gorgeous.If you're going wall-mounted instead, check out our pro guide to flowers on walls for mounting tips that won't damage your surfaces.
Attaching Blossoms to the Branch: The Secret to a Realistic Look
Study Real Cherry Blossom Clusters
Real sakura blossoms grow in clusters of 3–6 flowers per node, with small buds interspersed between open blooms. The clusters hang slightly downward. The branch tips have fewer, smaller blossoms. The middle sections are fullest. Mimic this pattern intentionally. Don't just glue blossoms wherever there's space.Wiring Blossoms to the Branch
Take each blossom's wire stem and wrap it tightly around a branch node or twig. Then secure with a tiny dot of hot glue at the wrap point. For clusters, twist 3–5 blossom stems together first, then attach the whole cluster to the branch at once. This gives you those natural-looking groups.Add a few small foam buds (just tiny teardrop shapes of pink foam, not yet "opened") at the tips of branches. This detail makes the whole thing look like it's mid-bloom. It's the difference between good and extraordinary. For more inspiration on building out larger branch and arch structures, my complete giant flower wedding arch guide walks through the structural side in detail.
Sizing and Scale: How Many Blossoms Do You Actually Need?
| Branch Size | Blossom Count | Build Time | Best Use |
|---|---|---|---|
| 3–4 ft branch | 20–30 blossoms | 4–6 hours | Table centerpiece, small corner accent |
| 5–6 ft branch | 40–60 blossoms | 8–12 hours | Ceremony backdrop, photo booth |
| 7–8 ft branch | 70–100 blossoms | 14–20 hours | Statement installation, arch feature |
| Paired arch branches | 150–200 blossoms | 25–35 hours | Wedding ceremony arch, grand entrance |
Real talk? For a wedding arch installation, I always recommend spreading the build across 3–4 days. Your hands will thank you. And the blossoms actually look better when the glue has fully cured before you start bending and positioning them.
Cost Comparison: DIY vs. Professional Floral Installation
Here's what a DIY giant cherry blossom branch actually costs in materials:
- EVA Foam Sheets (pack of 10): $15–$25
- Floral wire and stems: $8–$15
- Faux branches: $20–$40 depending on size
- Paint and supplies: $10–$20
- Stamens and finishing details: $5–$10
- Total per branch: approximately $58–$110
And here's the kicker — you keep them. Use them for the wedding, then repurpose for a photo booth, a home installation, or rent them out to recoup your costs. A WeddingWire analysis found that couples who DIY their floral décor save an average of 40–60% on overall floral budgets.
Styling Ideas: Where to Use Your Giant Cherry Blossom Branches
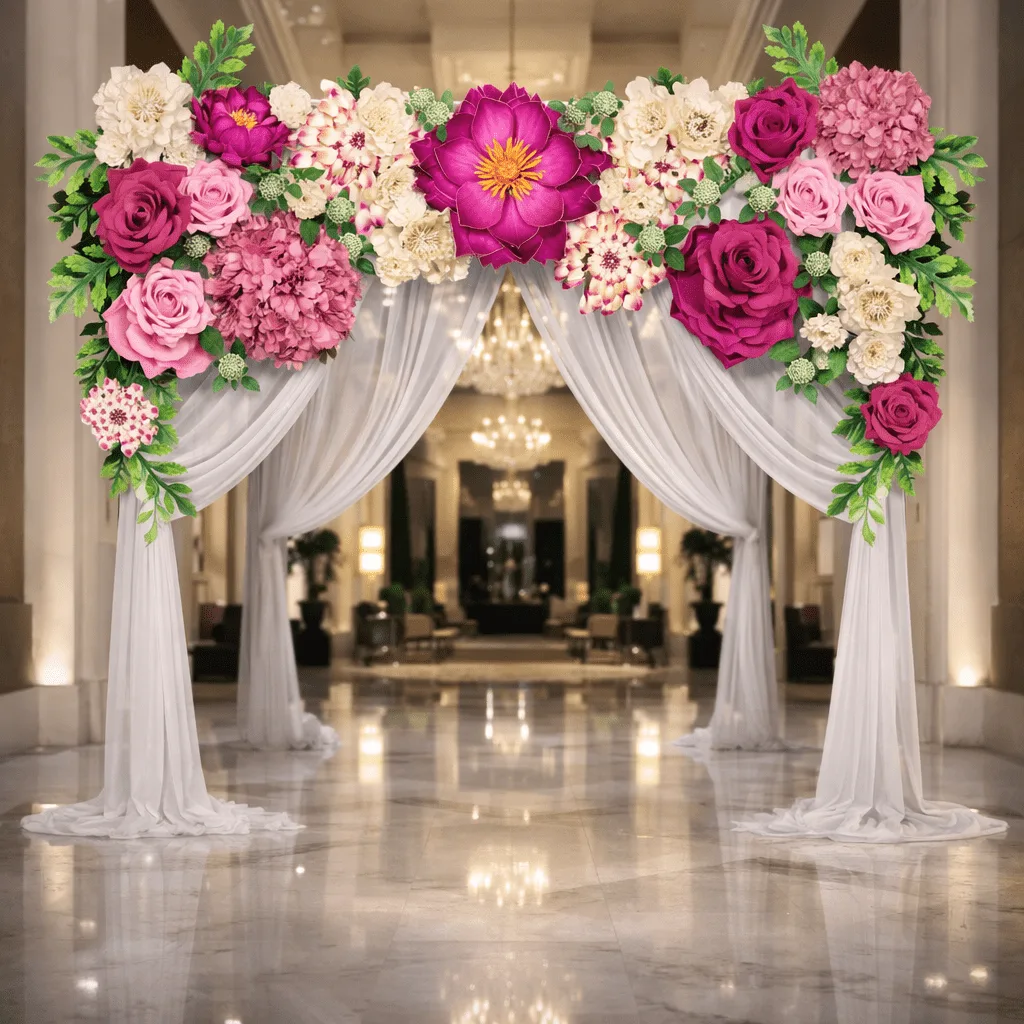
- Wedding Ceremony Arch: Pair two tall branches on either side of a simple wooden or metal arch frame. Let them arch inward at the top. Absolutely stunning and very on-trend for 2025–2026 events. See our wedding ceremony arch flowers guide for more ideas.
- Quinceañera Grand Entrance: Line the entrance path with four to six branches of varying heights. The effect is like walking through an actual cherry blossom grove. Magical. We have a full quinceañera backdrop guide you'll love.
- Baby Shower Backdrop: A single large branch against a white or sage green wall is an incredible photo backdrop. Add some hanging ribbon or paper cranes for a Japanese-inspired baby shower theme.
- Corporate Brand Activation: I've made these for brand pop-ups and experiential marketing events. They're reusable, they ship flat, and they create incredible social media moments. Check out our experiential marketing activations guide for more ideas.
- Home Décor Statement Piece: A 5-foot branch in a large ceramic pot in your entryway or living room corner? It's a conversation piece every single time someone walks in.
Common Mistakes to Avoid on Your Giant Cherry Blossom Branch DIY
Mistake #2: Skipping the gradient paint step. Flat pink blossoms look artificial. The gradient is what makes people do a double-take. It takes an extra 30 minutes per branch and it is 100% worth it. Mistake #3: Making all blossoms the same size. Real cherry blossom clusters have variation — some fully open, some half-open, some still budding. Build in that variety from the start.
Mistake #4: Attaching blossoms before the branch is fully secured. Always finalize your branch structure and mounting first. Adding blossoms to an unstable branch is a recipe for frustration. Mistake #5: Underestimating the time commitment. This is a beautiful project, but it's not a quick afternoon craft. Plan for it. Enjoy the process. According to The Knot, DIY floral projects are most successful when couples start at least 4–6 weeks before their event.
Frequently Asked Questions
How many foam sheets do I need for one giant cherry blossom branch?
For a standard 5–6 foot branch with 40–60 blossoms, plan on using 8–12 sheets of 2mm EVA foam and 4–6 sheets of 4mm EVA foam. I always buy a few extra — cutting mistakes happen, especially when you're first learning the petal shape.
Can I make a giant cherry blossom branch DIY without a heat gun?
Technically yes — a regular hair dryer on its highest setting can work, but it takes significantly longer to soften the foam and the results aren't as precise. If you're making more than one branch, a heat gun is genuinely worth the $20–$30 investment. It'll save you hours.
How do I make the branches look more realistic?
Three things make the biggest difference: irregular branch shapes (avoid perfectly symmetrical faux branches), gradient petal painting with darker color at the base, and varying blossom sizes across the branch. Adding small foam buds at the branch tips also creates that mid-bloom look that's incredibly convincing.
Are foam cherry blossom branches suitable for outdoor events?
EVA foam holds up reasonably well in mild outdoor conditions, but it's not designed for extended sun exposure or rain. For outdoor events, I recommend setting up on the day of the event and bringing branches inside or under cover as soon as possible. A matte UV-resistant sealant spray can add some protection if you know you'll be outdoors.
How do I store giant cherry blossom branches after an event?
Store them upright in a large box or bin with the blossoms facing up. Don't stack anything on top of them — the petals will compress and lose their shape. I wrap mine loosely in tissue paper and they last for multiple uses over several years. That reusability is honestly one of the best arguments for foam over fresh flowers.
Can I buy pre-cut foam pieces to speed up the process?
Yes! That's actually exactly what we offer at Amazing Giant Flowers. Our kits come with pre-cut EVA foam pieces, video tutorials, and all the guidance you need to skip the template-making and cutting stage entirely. Browse our full shop to see what's available — it can cut your build time nearly in half.
There is something so deeply satisfying about finishing a giant cherry blossom branch and stepping back to look at it. It never gets old. Every single time, I still can't believe that a few sheets of foam and some paint can create something that beautiful. If this is your first time tackling a project like this, don't let the petal count intimidate you. Start with a smaller branch — 20–30 blossoms — get comfortable with the process, and then scale up. You've got this. And if you want to skip some of the prep work, head over to Amazing Giant Flowers and check out our kits. I designed them specifically so that more people can experience the joy of making something extraordinary.
Ready to Create Something Amazing?
Browse our collection of giant flower kits and start your next project today.