Giant Foam Rose Tutorial: Build a Stunning 3-Foot Rose
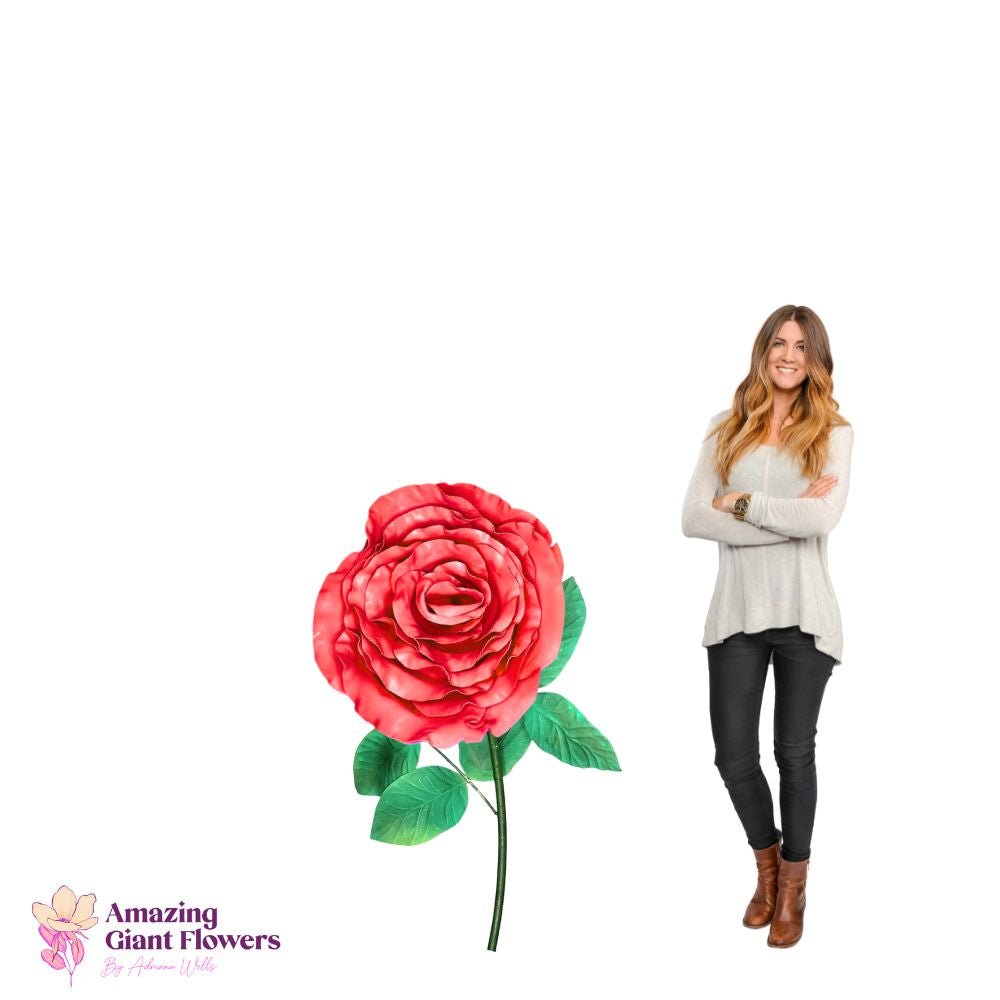
If you've been searching for a giant foam rose tutorial step by step that actually makes sense — not just a vague "cut some petals and glue them together" situation — you're in the right place. I've made hundreds of these roses over the years, and I'm going to walk you through exactly how I build a 3-foot foam rose from scratch, the same way I'd explain it to a friend sitting at my craft table.
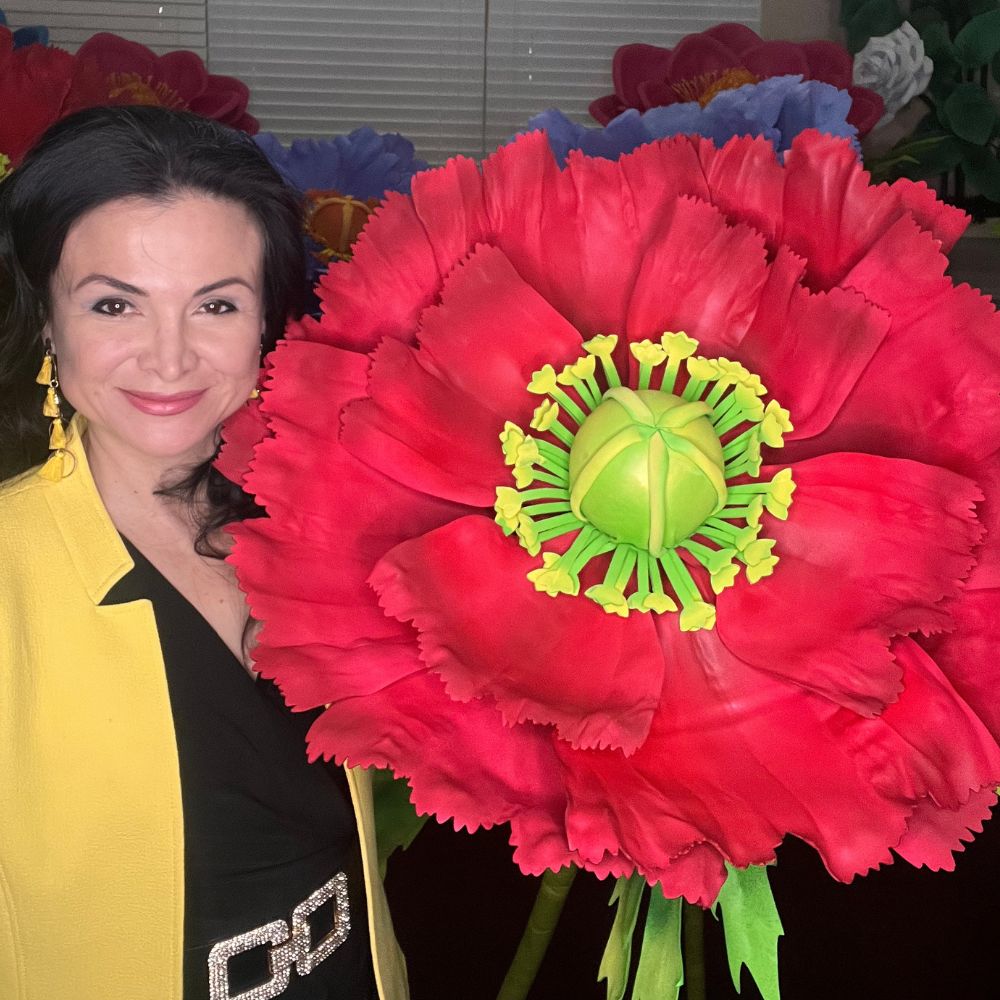
Roses are honestly my favorite flower to make at large scale. There's something about that spiral, layered structure that just translates so beautifully when you blow it up to three feet tall. I've made them for Disney installations, Dolce & Gabbana events, wedding arches, baby showers — you name it. And every single time, people stop and stare.
By the end of this tutorial, you'll know exactly what foam to buy, how to cut and shape every single petal layer, how to assemble the spiral core, and how to finish it so it looks like something out of a fairy tale. Let's get into it.
Real talk? The materials make or break this project. I learned that the hard way when I first started — I grabbed whatever foam I could find at the dollar store and ended up with petals that looked like sad, floppy pancakes.
EVA foam is the only material I trust for giant roses. It's lightweight, durable, heat-shapeable, and holds a curve beautifully. You want the right thickness for each layer, because a rose has multiple petal types and they each behave differently.
Here's exactly what you'll need for a 3-foot freestanding foam rose:
According to Statista, the DIY and craft market in the US generates over $44 billion annually — and giant paper and foam flower making has exploded as one of the fastest-growing niches within it. People want statement pieces that don't cost a fortune.
A fresh floral arrangement of this scale would run you $300-$600 minimum from a florist. Your foam version? Under $30 in materials if you source smart. And it lasts forever.
Ok, this is where it gets really fun. A rose is built in five distinct petal layers, each one larger and more open than the last. Think of it like an onion — tight in the center, gradually opening outward.
Here are the five layers and their approximate sizes for a 3-foot rose:
Trace your templates onto the foam with a ballpoint pen — it shows up clearly and doesn't damage the surface. Cut just inside your traced line so you don't end up with pen marks on your finished petals.
Each petal should have a slightly pointed tip and a rounded base that narrows slightly where it attaches to the center. Real rose petals have a little "pinch" at the bottom — replicate that and your foam version will look incredibly realistic.
How to Shape Petals with a Heat Gun
This step is everything. An unshaped foam petal looks flat and fake. A heat-shaped petal looks like it grew that way.
Hold your heat gun 3-4 inches from the foam surface and move it in slow, sweeping passes. The foam will soften within about 5-8 seconds. The moment it starts to feel pliable — like warm taffy — shape it immediately over your hand, a ball, or a bowl.
For inner petals (Layers 1-2), cup them inward over your fist. Press the center of the petal against your knuckles and hold for 10-15 seconds until it cools. You want a tight, cupped shape.
For mid petals (Layer 3), cup them slightly and then curl the top edge backward with your fingers. This creates that half-open rose look.
For outer petals (Layer 4), heat the top third of the petal and curl it backward dramatically — almost like a wave. The base stays more flat. This is what creates that full, blooming appearance.
I have a whole deep-dive on this technique over in my heat gun techniques guide if you want to really master the shaping process. It's genuinely one of the most satisfying skills to develop.
Work in batches. Shape all your Layer 1 petals, then move to Layer 2, and so on. It keeps you organized and your workflow smooth.
Assembly is where your rose goes from a pile of foam shapes to something genuinely breathtaking. Take your time here. Rushing the glue is the number one mistake I see beginners make.
Start with your stem. If you're making a freestanding rose, insert your pipe stem into a foam base or floral foam block first. You want it stable before you start adding weight.
Take your 2-3 Layer 1 petals and roll the first one tightly around itself, gluing the base as you go. This becomes the very center of your rose — that tight little spiral you see at the heart of a real bloom.
Wrap the second and third core petals around the first, offsetting them slightly so the seams don't line up. Apply hot glue along the bottom 1-2 inches of each petal only — you want the tops to stay free and natural-looking.
Once your core is built, attach it to the top of your stem with a generous amount of hot glue. Let it fully cure — about 60 seconds — before moving on. A wobbly core will throw off every layer that follows.
Now add your Layer 2 inner petals, one at a time, spacing them evenly around the core. Each petal should overlap the previous one by about one-third of its width. That overlap is what creates the spiral illusion.
Continue outward with Layers 3 and 4, always gluing at the base and keeping that one-third overlap. As you move to the outer layers, the petals naturally angle slightly downward — let them. Don't force them upright. A real rose opens and droops slightly at the outer edges, and that's exactly what makes it look real.
Your Layer 4 outer petals are the drama of this whole project. Space them carefully and make sure those backward curls are facing outward. Step back and look at your rose from across the room after each petal. You'll catch any gaps or awkward angles before they're buried under the next layer.
Finish with your Layer 5 guard petals at the base. These should wrap around the stem and create a clean transition. Angle them slightly downward — almost like a collar — and they'll give your rose a finished, professional look from every angle.
According to WeddingWire, oversized floral installations are consistently ranked among the top 5 wedding decor trends, with giant roses specifically cited as a favorite for ceremony backdrops and photo moments.
Finishing Touches: Color, Texture, and Display
Your rose is built. Now let's make it look absolutely incredible.
Plain white EVA foam is beautiful on its own — honestly, an all-white giant rose is stunning. But if you want color, acrylic paint is your best friend. It adheres to EVA foam without cracking, and you can blend colors for an incredibly realistic gradient effect.
For a classic red rose, start with a deep burgundy base coat on all petals. While it's still slightly tacky, dry-brush a brighter red over the raised areas. Then add the tiniest touch of pale pink or white to the very tips of your outer petals. That three-tone effect is what makes a foam rose look like it came from a garden, not a craft table.
For blush roses, start with white and layer soft pink from the base upward, leaving the tips lighter. Coral, peach, lavender — all of these work beautifully with the same layering technique. Check out my full guide on foam board paint finishes for more color techniques.
A The Knot survey found that couples spend an average of $2,000-$2,500 on wedding flowers. A single giant foam rose — lasting forever and costing under $30 to make — can anchor an entire ceremony backdrop. The math is pretty undeniable.
Want to see how a single rose becomes part of something even bigger? My giant foam flowers for wedding arch guide shows exactly how to combine multiple roses and blooms into a full arch installation.
For display, a freestanding rose needs a weighted base. I use a simple weighted bucket filled with plaster of Paris — pour it in, insert your stem, and let it cure overnight. Cover the bucket with kraft paper or fabric and it disappears completely.
For wall-mounted roses, hot glue a sawtooth hanger or command strip plate directly to the back of the base petals. A 3-foot foam rose weighs less than 2 pounds, so standard wall hardware handles it easily.
If you're planning a full backdrop — maybe for a wedding, quinceañera, or baby shower — you'll want to read my DIY giant flower backdrop guide. It covers spacing, color combinations, and how to build a backdrop that photographs beautifully from every angle.
According to IBISWorld, the US floral industry is worth $7.9 billion — and event decorators who offer giant foam floral installations are carving out a genuinely profitable niche within that space. I've seen small business owners turn this exact skill into full-time income.
Speaking of small businesses — if you're a boutique owner or event planner thinking about using giant roses for visual merchandising, my visual merchandising ideas guide is full of specific, actionable ways to use oversized florals to drive foot traffic and sales.
And if roses aren't quite your thing — or you want to pair them with other blooms — my large floral arrangement ideas post has tons of inspiration for mixing giant flower types into cohesive, stunning displays.
One last thing I want to mention: sealing your finished rose. A light coat of matte Mod Podge or clear acrylic sealer over your painted petals will protect the color and give the foam a slightly more organic texture. It also makes the rose easier to wipe clean — which matters when these things end up at outdoor events.
According to a Martha Stewart Weddings feature on floral trends, oversized statement blooms have moved from novelty to mainstream in event design — appearing at everything from luxury brand activations to backyard birthday parties. The demand is real, and the skill is learnable.
I also want to point you toward my freestanding giant flower arrangements guide if you're thinking about creating multiple roses for an event. It covers how to plan a full installation, calculate how many flowers you need per space, and transport everything safely.
For brides specifically, my giant flower wedding arch complete guide walks through how to build a full ceremony arch using roses as the anchor blooms — it's one of my most popular tutorials and it pairs perfectly with what you just learned here.
You just built a 3-foot foam rose. That's not a small thing — that's a genuinely impressive, professional-quality piece that will stop people in their tracks. I remember the first giant rose I made that actually looked right — I put it in my living room and just kept walking past it and smiling. That feeling doesn't get old.
If you want to skip the template-making and material sourcing, our pre-cut giant flower kits at Amazing Giant Flowers come with everything you need — foam pre-cut to size, video tutorials, and all the supplies. But honestly? Whether you DIY from scratch or use a kit, I just want you to make something beautiful. What color rose are you making first?
📺 Watch our step-by-step tutorial: How to Make a Giant Rose
Ready to Create Something Amazing?
Browse our collection of giant flower kits and start your next project.
Shop All Flowers