Instagram Event Photography: How to Shoot Giant Flowers Like a Pro
If you've ever spent hours setting up the most beautiful giant flower display — petals perfectly shaped, colors coordinated, stems standing tall — and then taken a photo that looks completely flat and sad on Instagram, you are not alone. Learning real Instagram event decor photography tips changed everything for me and for so many of my customers who use our giant EVA foam flowers at weddings, parties, and brand activations.
Here's the thing: your flowers aren't the problem. Your camera isn't the problem either. It's almost always the light, the angle, or the background. And once you know what to look for? You'll never take a bad flower photo again.
I'm going to walk you through exactly how I shoot our giant flowers — the same techniques I use when we're creating content for our own feed and the same advice I give to event planners and brides who want their displays to stop people mid-scroll. Let's get into it.
Real flowers are stunning in person. But photographically? They're a nightmare. Petals wilt, colors shift under artificial light, and intricate details blur into a muddy mess.
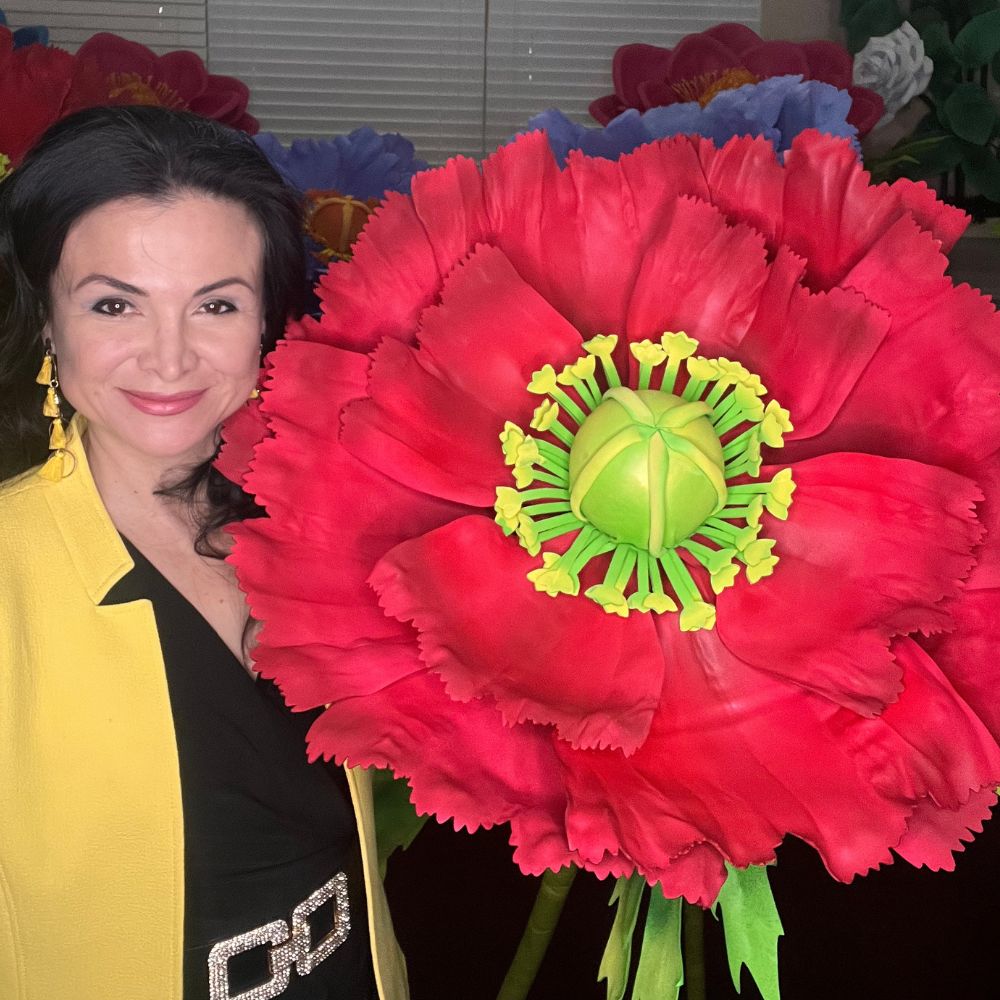
Giant EVA foam flowers don't do any of that. They hold their shape, they're bold enough to read from across a room, and they photograph beautifully in almost any lighting condition. That's honestly one of the reasons I fell in love with making them.
Our flowers range from 2 to 5 feet tall, which means they fill a frame naturally. You don't have to fight for visual impact — it's already built in.
According to Sprout Social, Instagram posts with high visual contrast get up to 38% more engagement than low-contrast images. That stat lives rent-free in my head every time I'm setting up a shot.
And consider this: a Statista report shows Instagram has over 2 billion monthly active users. The event and wedding space is one of the most competitive niches on the platform. Your decor photos need to work harder than ever.
So let's make sure your giant flowers do exactly that.
I'm not going to tell you to "find good light" and leave it at that. That's the kind of advice that sounds helpful and means absolutely nothing. Let me actually break this down.
Natural light is your best friend. Full stop. If you're shooting indoors, position your flower display within 6 to 10 feet of a large window. You want the light coming from the side — not directly behind the flowers, not blasting straight at them from the front.
Side lighting creates dimension. It catches the curves of each petal and creates those gorgeous soft shadows that make a 2D photo feel three-dimensional.
If you're at an outdoor event, golden hour is non-negotiable. That's the hour after sunrise or the hour before sunset. The light is warm, diffused, and flattering on literally everything — but especially on flowers.
Midday sun is brutal. It bleaches colors, creates harsh shadows under petals, and makes even the most beautiful arrangement look cheap. If you have to shoot at midday, find open shade. Under a tent, beside a building, anywhere that blocks direct overhead sun.
For evening events with artificial lighting? This is where it gets tricky. Warm LED lights (around 3000K color temperature) are your ally. They make pinks look lush and whites look creamy. Avoid cool fluorescent lighting at all costs — it turns every color slightly green and makes foam flowers look plastic instead of lush.
Angles That Make Giant Flowers Look Incredible
Most people photograph flower displays straight on, standing at eye level. And honestly? That's the most boring angle. Here's what I actually do.
- Low and Looking Up: Crouch down and shoot upward at a freestanding giant flower. This makes the flowers look monumental — like they belong in a fairy tale. It also blurs out any messy floor or table surface below.
- 45-Degree Side Angle: Don't stand directly in front. Step to the side about 45 degrees. This shows depth and layers in an arrangement, especially if you have multiple flowers at different heights.
- Overhead Flat Lay: If you have wall-mounted flowers or a DIY giant flower backdrop, shoot straight down from above. This works especially well for smaller displays on a table or floor installation.
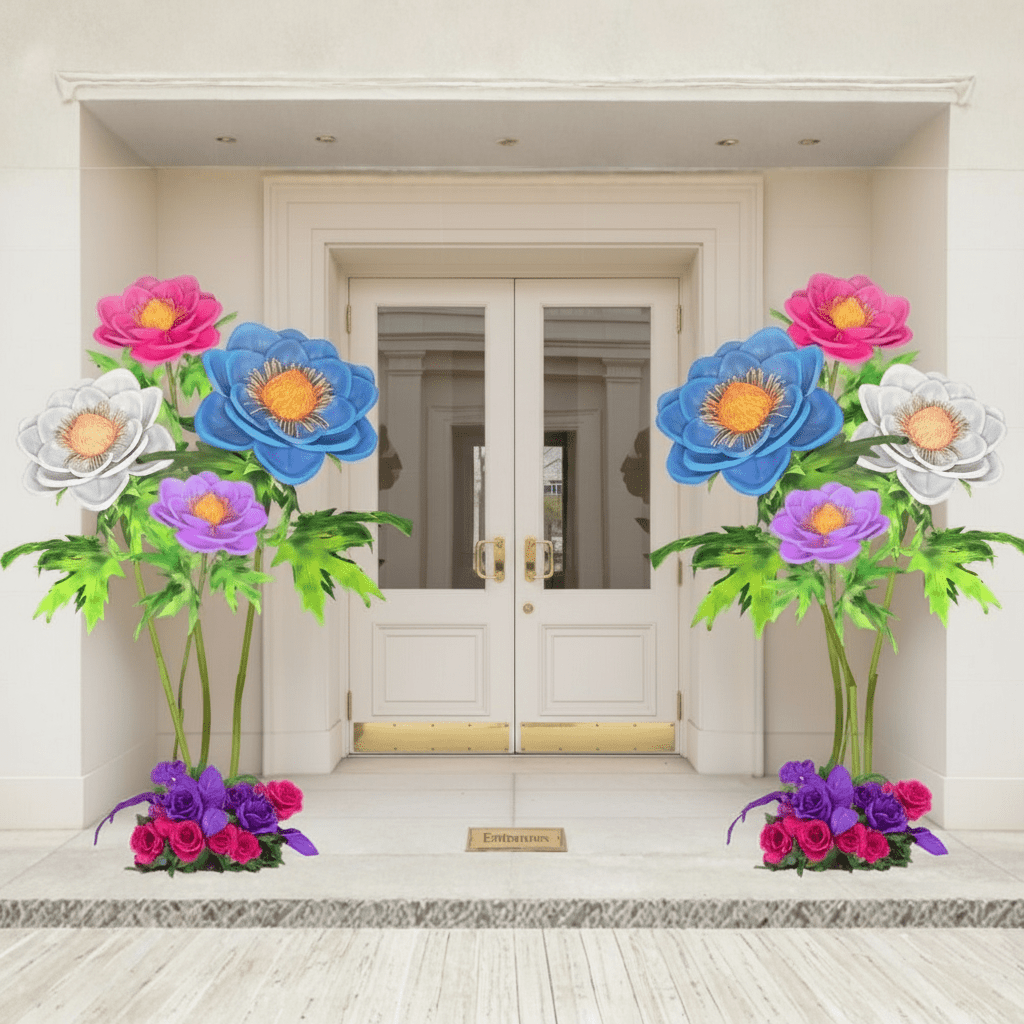
- Through Something: Shoot through a doorway, through an arch, or through the gap between two flowers. Framing within a frame creates instant visual depth and makes the image feel intentional and editorial.
- Detail Close-Up: Get close. Like, really close. Fill the entire frame with one petal. Show the texture of the EVA foam, the curve of the edge, the color gradient if you've painted or layered colors. These detail shots are incredibly shareable.
I always shoot at least three different angles for every display. One wide establishing shot, one mid-range showing the full arrangement, and one tight detail shot. That gives you content variety for multiple posts without moving anything.
If you're creating a flower arch backdrop specifically for photos, think about the angles before you even start building. Where will people stand? What's behind them? What's the light source? Build the arch to work with your shooting position, not the other way around.
Composition Rules (And When to Break Them)
Here's something I learned the hard way: composition is what separates a snapshot from a photograph. You don't need to go to art school. You just need to know a few rules.
The rule of thirds is the big one. Imagine your frame divided into a 3x3 grid. Place your main flower — or the focal point of your arrangement — at one of the four intersection points of that grid, not dead center. It creates visual tension in the best possible way.
Most phones have a grid overlay option in the camera settings. Turn it on. Use it every single time.
Leading lines are your secret weapon at events. A long banquet table, a row of freestanding giant flower arrangements, a staircase railing — these all create lines that draw the eye into the frame and toward your flowers.
Negative space is something most people are afraid to use. But leaving 30-40% of your frame as empty sky, wall, or floor actually makes your flowers feel bigger and more dramatic. It's counterintuitive. It works.
Now, when do you break the rules? When something feels right. If centering a single giant dahlia in the middle of the frame makes it look like a portrait — do it. Rules exist to give you a foundation, not a cage.
According to Later's Instagram engagement research, images with a clear focal point consistently outperform cluttered compositions. One hero flower. Clean background. Strong light. That formula works every single time.
For wedding and event setups, I always recommend having a dedicated photo moment built into the design. A single arch or backdrop that's positioned specifically for guest photos. If you're planning something like that, our giant flower wedding arch guide walks through exactly how to design for photography first.
Editing, Posting, and Making Your Photos Stop the Scroll
Okay, you've taken the shot. Now let's make it sing.
Editing is not cheating. Every professional photographer edits. Every brand edits. The goal isn't to make something fake — it's to make the photo look the way the display actually felt in person. Because cameras lie. They flatten and dull everything.
My go-to editing moves for giant flower photos:
- Increase Exposure Slightly: Bright images perform better on Instagram. Bump exposure up just enough that the petals glow without looking washed out.
- Boost Vibrance (Not Saturation): Saturation cranks up every color equally and often looks garish. Vibrance intelligently boosts muted colors while protecting already-saturated tones. Much more natural.
- Add Warmth: Slide the temperature slightly warm (toward yellow/orange). It makes everything feel more inviting and lush. Even white flowers benefit from a tiny bit of warmth.
- Sharpen Carefully: A small amount of sharpening brings out petal texture beautifully. Too much and the foam starts to look artificial. Stay subtle.
- Adjust Highlights Down: If any petal edges are blowing out to pure white, pull the highlights down to recover that detail. Petal edges are where all the texture lives.
For apps, I use Lightroom Mobile for serious editing and VSCO for quick consistent filters. Both are free to start. Both are miles ahead of Instagram's built-in editing tools.
Real talk? Consistency matters more than perfection. Pick a color palette and stick to it across your feed. If your giant flowers are blush and cream, your editing should lean warm and soft. If you're going bold tropical colors, lean into saturation and contrast. Your feed should feel like a world someone wants to live in.
A HubSpot marketing study found that consistent visual branding increases revenue by up to 23% for small businesses. For event planners and decorators, your Instagram IS your portfolio. It's often the first and only thing a potential client sees before they decide to reach out.
On the posting side, captions matter more than most people think. Don't just post a pretty picture and walk away. Tell the story. Where was this event? What size flowers did you use? How long did setup take? People are nosy in the best way — they want the behind-the-scenes details.
Hashtags are still worth using, but be strategic. Mix broad tags like #eventdecor and #weddingflowers with niche tags like #giantpaperflowers, #foamflowers, and location-based tags like #houstonwedding or #dallaswedding. According to Sprout Social's hashtag research, posts using 3 to 5 targeted hashtags consistently outperform posts using 20+ broad ones.
Video content is performing better than ever. A quick 15-second Reel showing your giant flower setup process — foam sheets to finished display — gets incredible reach right now. I've seen simple setup videos outperform polished photos 3 to 1 on engagement. Don't overthink it. Just hit record.
If you're building backdrops specifically designed for guest photo moments at events, our large paper flower arch decoration guide has some really practical design tips for creating displays that look as good in photos as they do in person. And if you're working on a corporate activation or brand event, check out our corporate event engagement ideas post — there's a whole section on designing for social sharing.
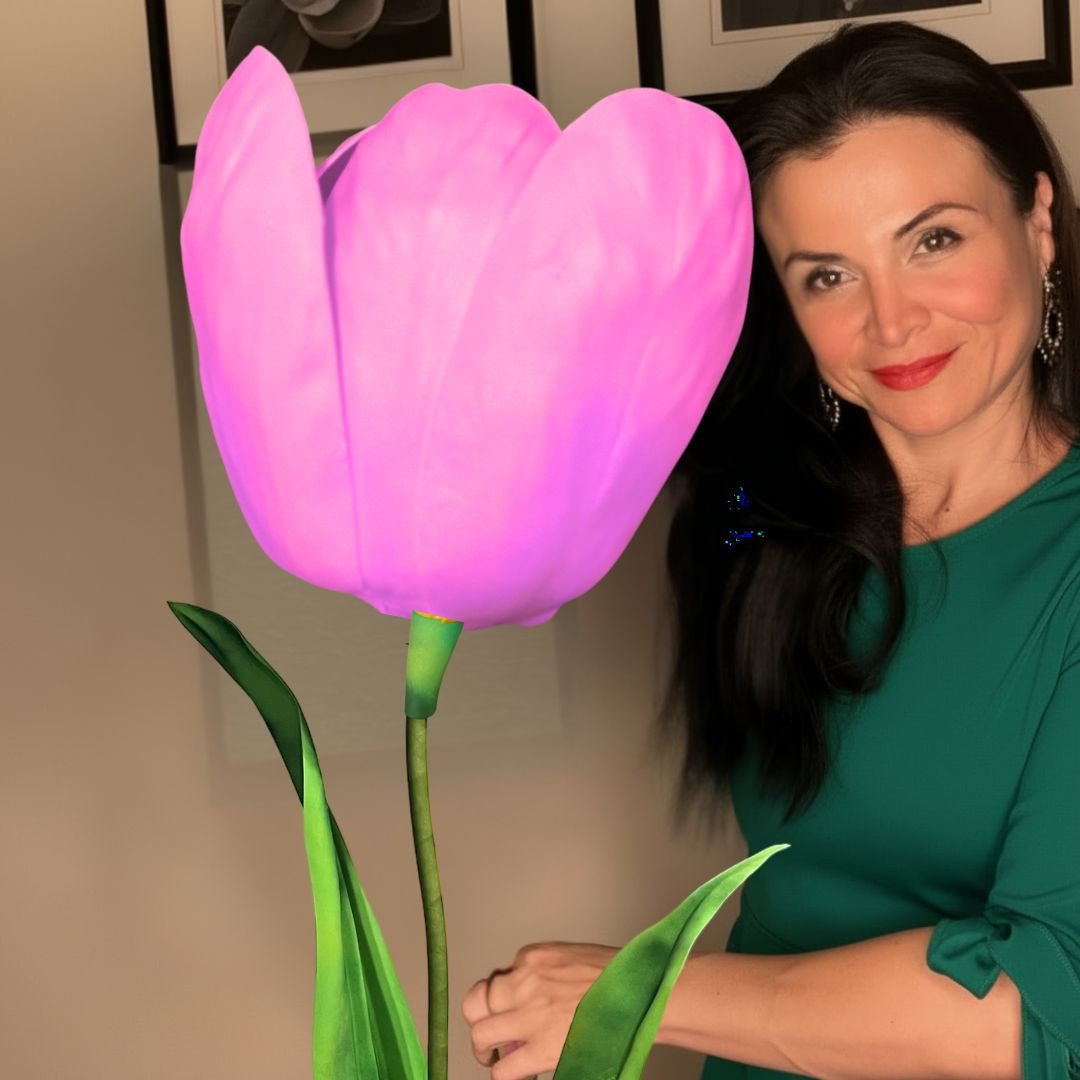
One more thing I want to mention: people in photos perform better than empty displays. A bride standing in front of a giant flower arch. A kid reaching up to touch a 4-foot dahlia. A brand ambassador laughing in front of a flower wall. According to Social Media Examiner, Instagram photos that include human faces receive 38% more likes than those without. Build your displays to invite people in, not just to be admired from a distance.
And honestly, that's what giant flowers do better than almost any other decor element. They make people want to walk up, touch them, stand next to them, take a photo. They're interactive by nature. Lean into that.
If you're just getting started and want to build something truly photo-worthy for your next event, come browse our shop. We have everything from individual freestanding kits to full bundle kits with 8 to 12 flowers — all pre-cut, all ready to assemble with our video tutorials. You don't need to be crafty. You just need to want something beautiful.
What kind of event are you shooting next? I'd genuinely love to know — drop it in the comments or send me a message. And if you post your giant flower photos, tag us. Nothing makes my day like seeing what you all create.
Ready to Create Something Amazing?
Browse our collection of giant flower kits and start your next project.
Shop All Flowers